In the whole world, no one can endure a Slow Internet Connection, whether it is iPhone or Mac. Are you one of them? Right. So I decided to help in the best way with Slow WiFi Connection Problem With Your Mac, MacBook, or iMac and Mac Mini. So first, analyze your situation and the exact reason for low WiFi network connectivity because you might be experiencing a Router problem, Low bandwidth from the internet service provider, and an Internal browser problem (Last time OS X Update created the problem on Safari).
It doesn’t matter, what MacOS version you own. These tips are common for all the MacBook, Mac, iMac Mac Monterey, Big Sur, MacOS Catalina, Mac Mojave or running any of the MacOS. Starting with checking the internet connection.
Important! Recently some Mac users reported an issue with the iCloud Private Relay, which means Apple’s Proxy server sends slow internet access when iCloud Private Relay is Turned on. We can turn on iCloud Private Realy from the Network Preferences on Mac for Selected WiFi networks. Apple Logo > Network > WiFi from Left side of window > Uncheck “Use iCloud Private Relay“. And check Internet Speed tests like fast.com
Common Reasons For a Low WiFi Connection on Your MacBook Pro, Mac
1). Check Internet Connection/Speed
Check internet connectivity on another Apple device that is using the same internet. Or use Speed test checker online on your browser, Open Safari or Chrome browser, Open fast.com website to check internet speed. And Match the Downloading and Uploading speed with your internet plan. If the speed is okay on another device, then you should go with the below troubleshooting. Otherwise, Contact your Internet Service Provider and Request your problem.
2). Remove VPN From Your MacBook, Mac
Some secure internet services can’t be compatible with your Internet, Because your MacBook is connected to high-risk systems. So, Your connection is blocked, and you experience a slow internet connection—Uninstall VPN software or Disable VPN connection on your MacOS. If you are not using VPN, follow the other troubleshooting that will help boost your internet connectivity.
3). Use Public Google DNS
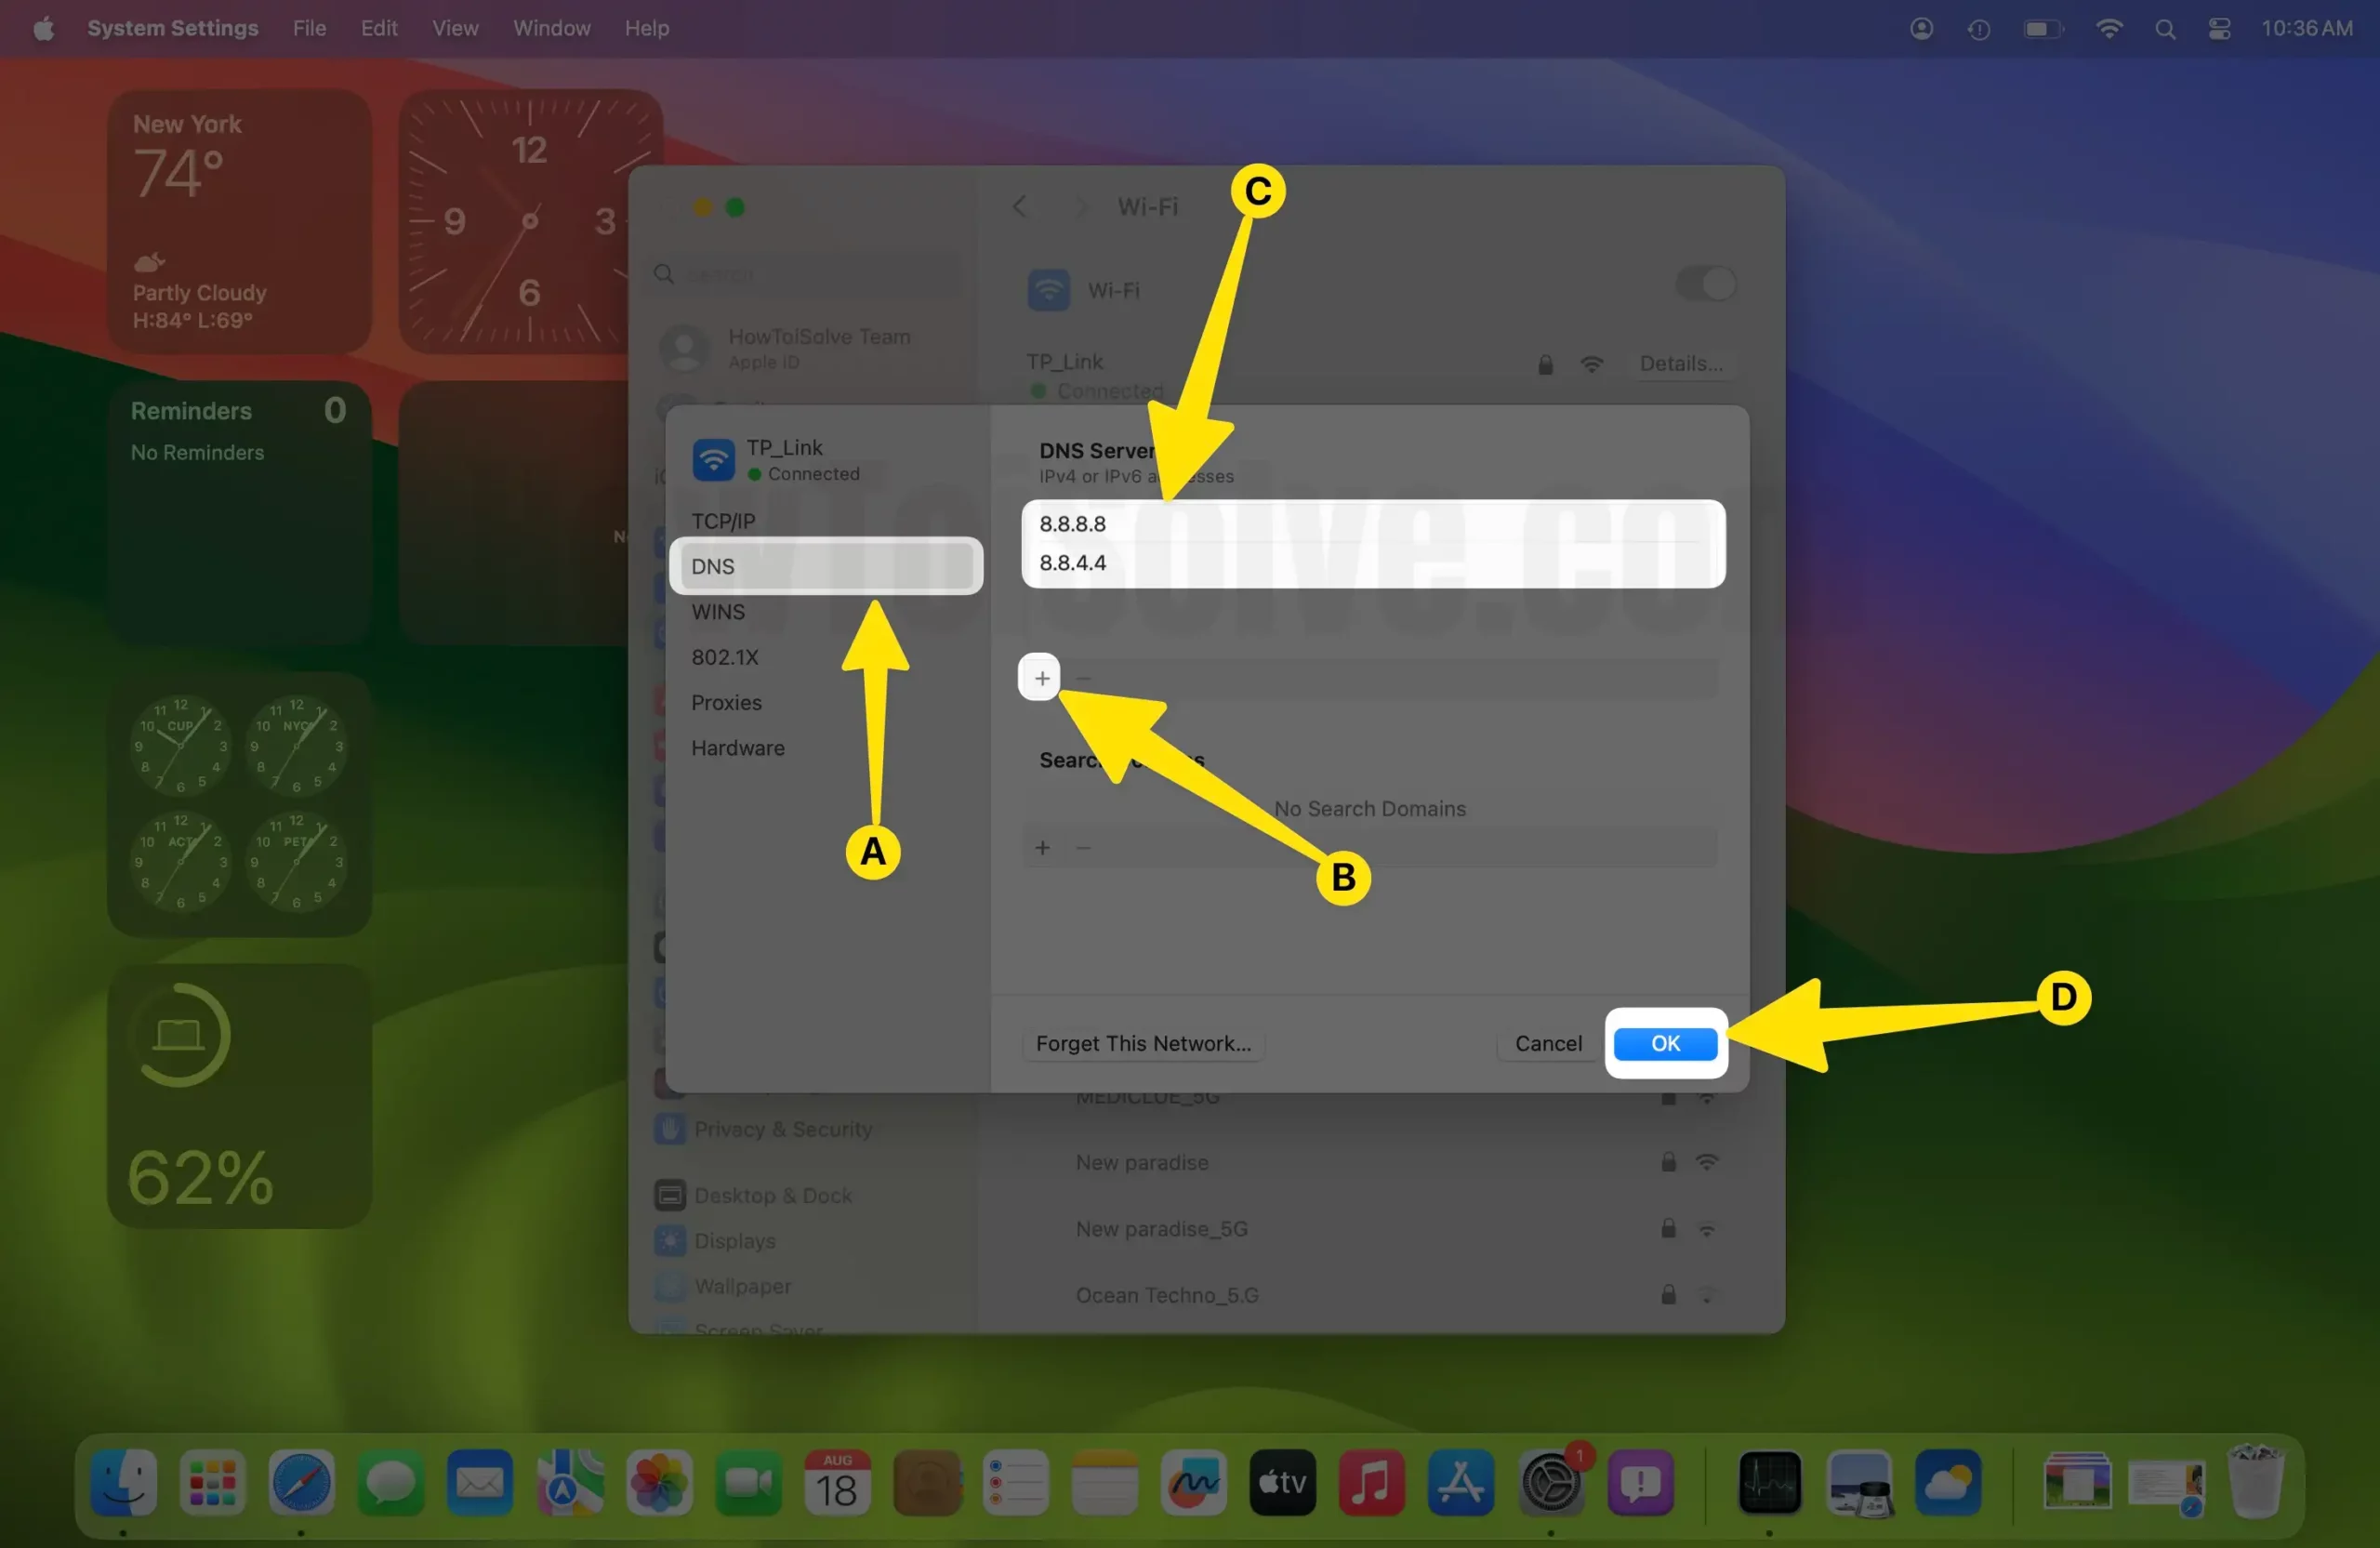
Configure your private home or office network with the public DNS, Google Public DNS will not block any connection and Data to your PC. Normally your private DNS is safe and Fast, But for some reason, if you have trouble accessing some website domains or are Slow, then I recommend using OpenDNS or GoogleDNS in your WiFi Preferences on MacBook Mac. Use This Address Using the steps given below, Preferred: 8.8.8.8, Alternate: 8.8.4.4
macOS Ventura or Later
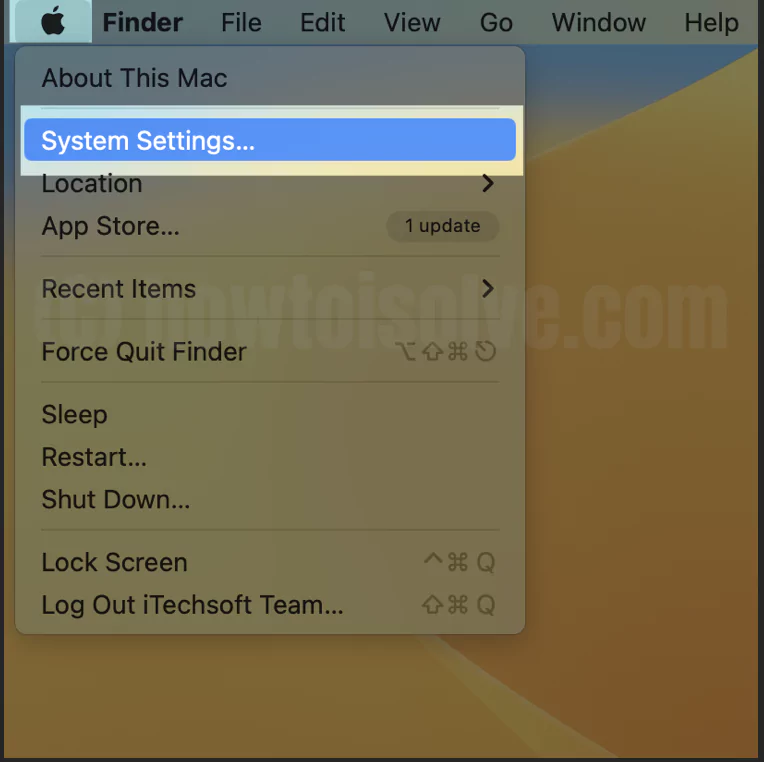
- Go to the Apple Logo from the top menu > System Settings.
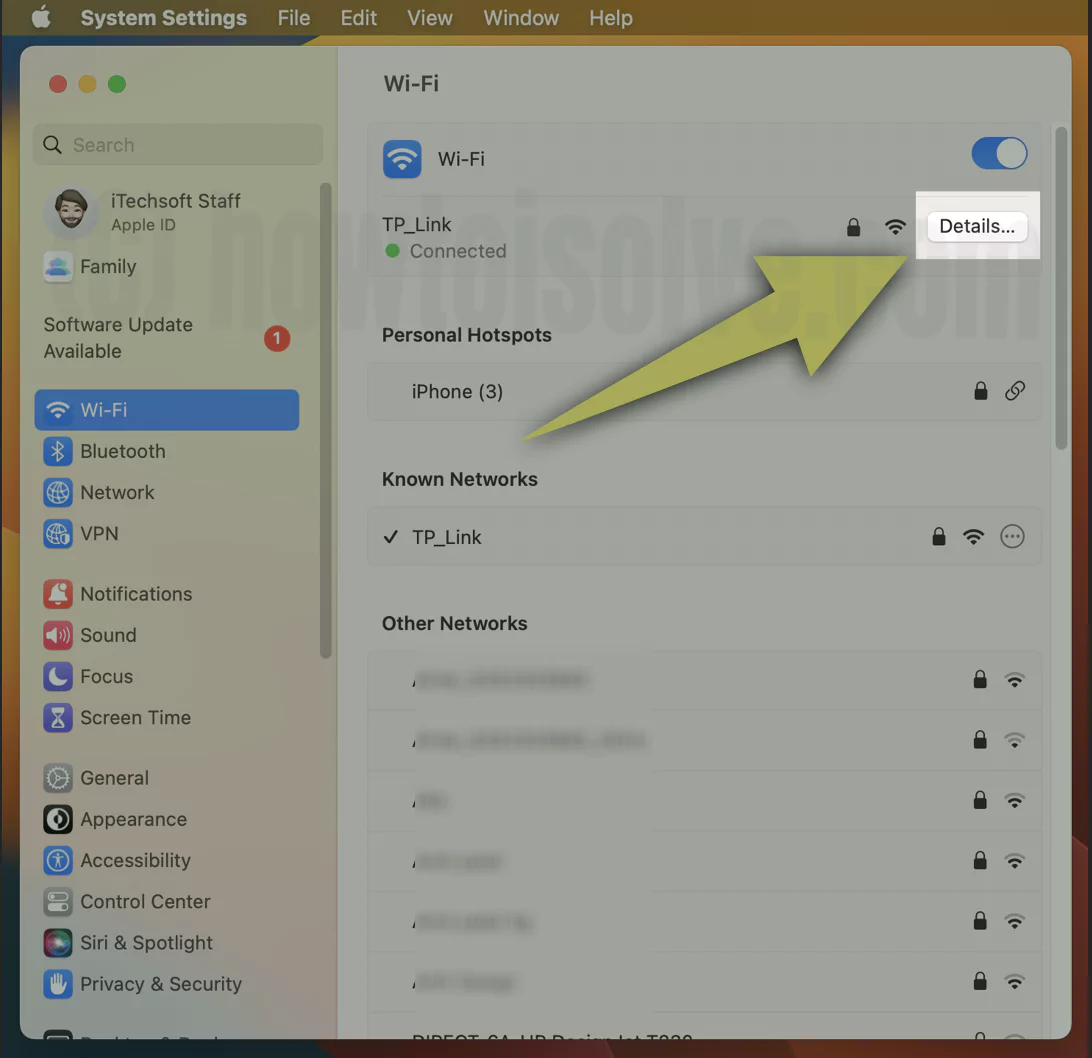
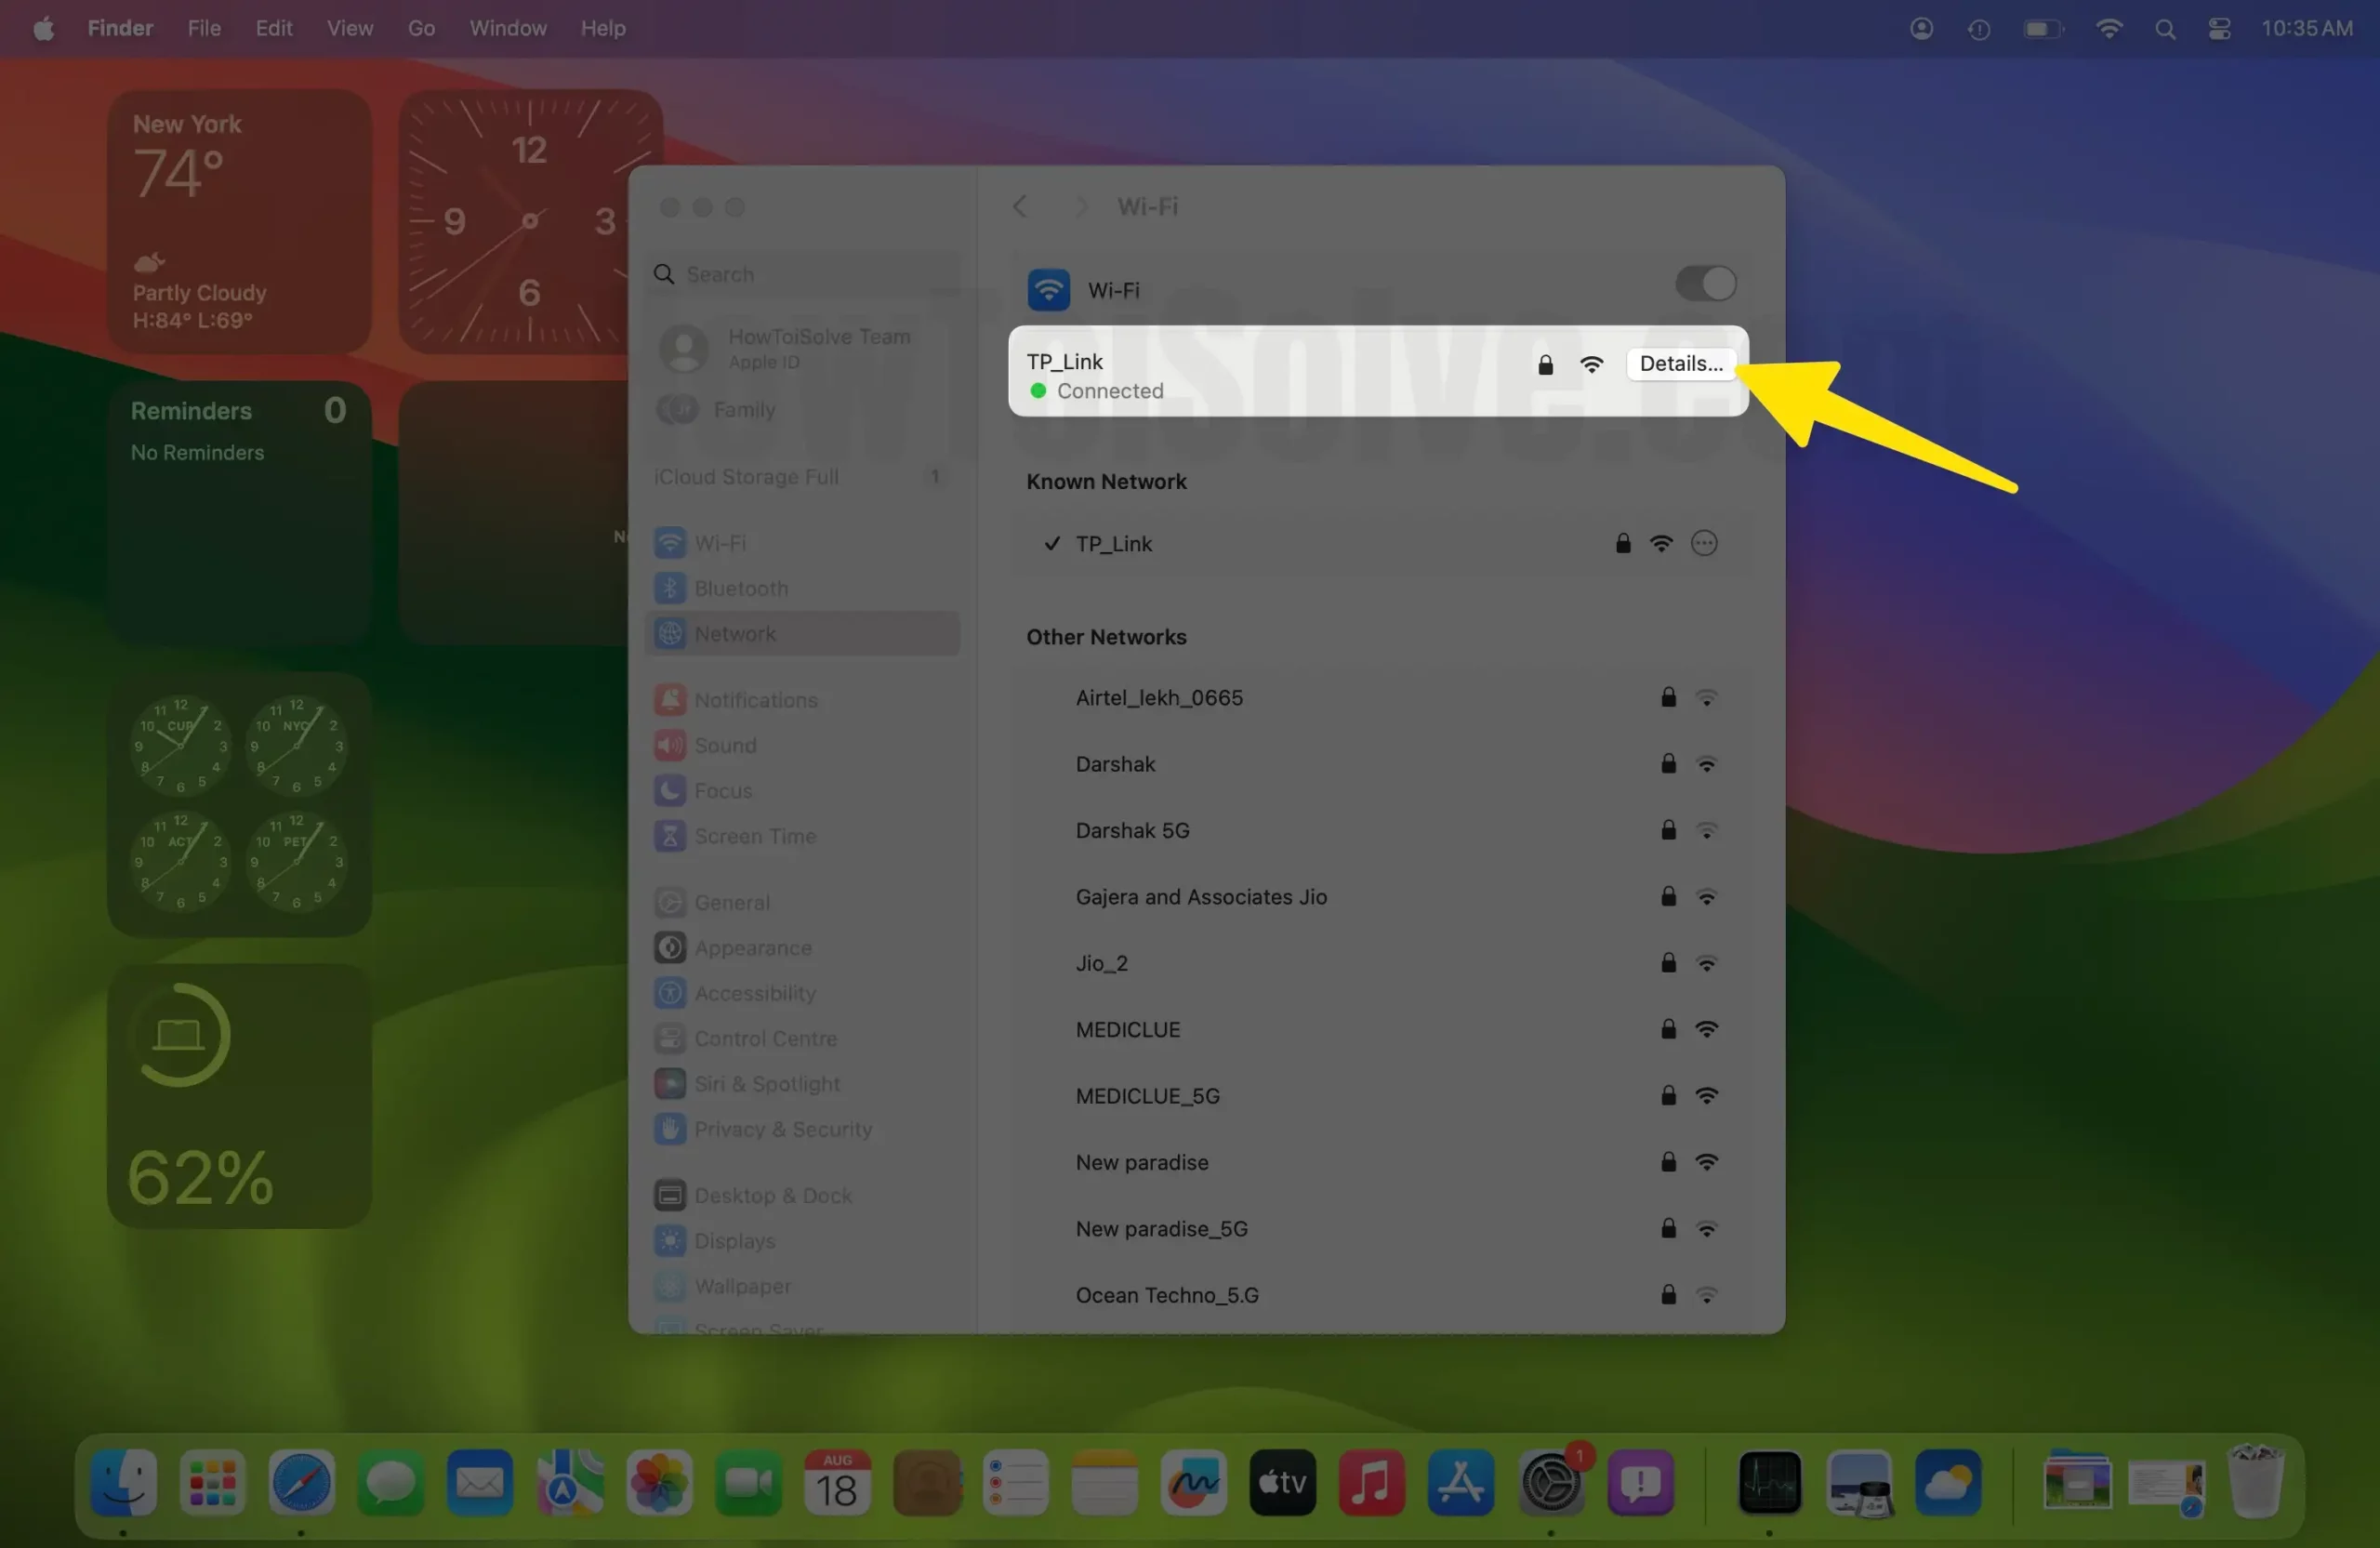
- Click on WiFi > Next, and Click on Details next to the WiFi name.
- Select DNS from the left-side panel option. Click on ‘+‘ Button to Add a field for the IP Address.
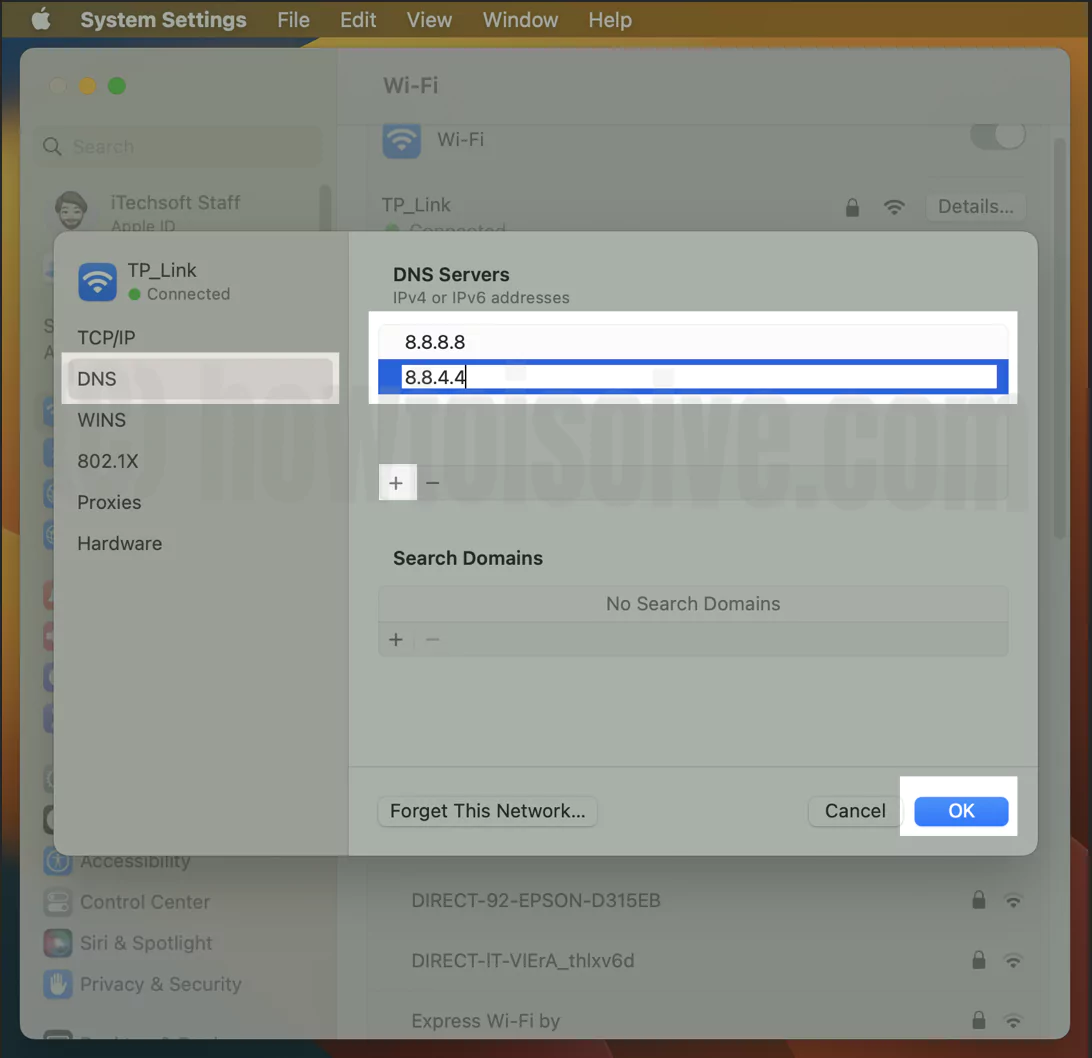
- Click on Ok to apply the changes.
macOS Monterey & Earlier
- Click on Apple Logo () From Top Mac Menu > Next, Click on System Preferences.
- Next, Network > Click on DNS from the side panel.
- Click on + sign to add, And Enter 8.8.8.8 and 8.8.4.4.

4). Remove Your WiFi From Network Settings
Remove your saved WiFi network from your Mac WiFi Preferences settings. Your WiFi network is contracting with other wifi networks. So you must remove the unused & Ideal WiFi network, from your WiFi Network preferences. Follow the below steps to Remove Your WiFi Network on your MacBook Pro, Air.
On MacOS Ventura & later
- Go to the Apple Logo from the top menu > System Settings.
- Open WiFi Options. Next, See the Known Networks section. Right-click on the Network name to Get the “Forget This Network…” option.

On MacOS Monterey & Earlier
- Click on Apple Logo () From Top Mac Menu > Next, Click on System Preferences.
- Next, Network > Click on WiFi from the side panel.
- Click on Advanced, And Select the WiFi Network and Click (-) sign in to Remove it.

That’s it.
6). Reset Network Settings on Mac
After removing the Wi-Fi preference files from the Mac, if you can’t observe any network connection improvements, try this—Re-Configure WiFi Profile on Mac.
Delete WiFi Profile On Mac
Step 1: Go to the Apple Logo from the top menu > System Settings.
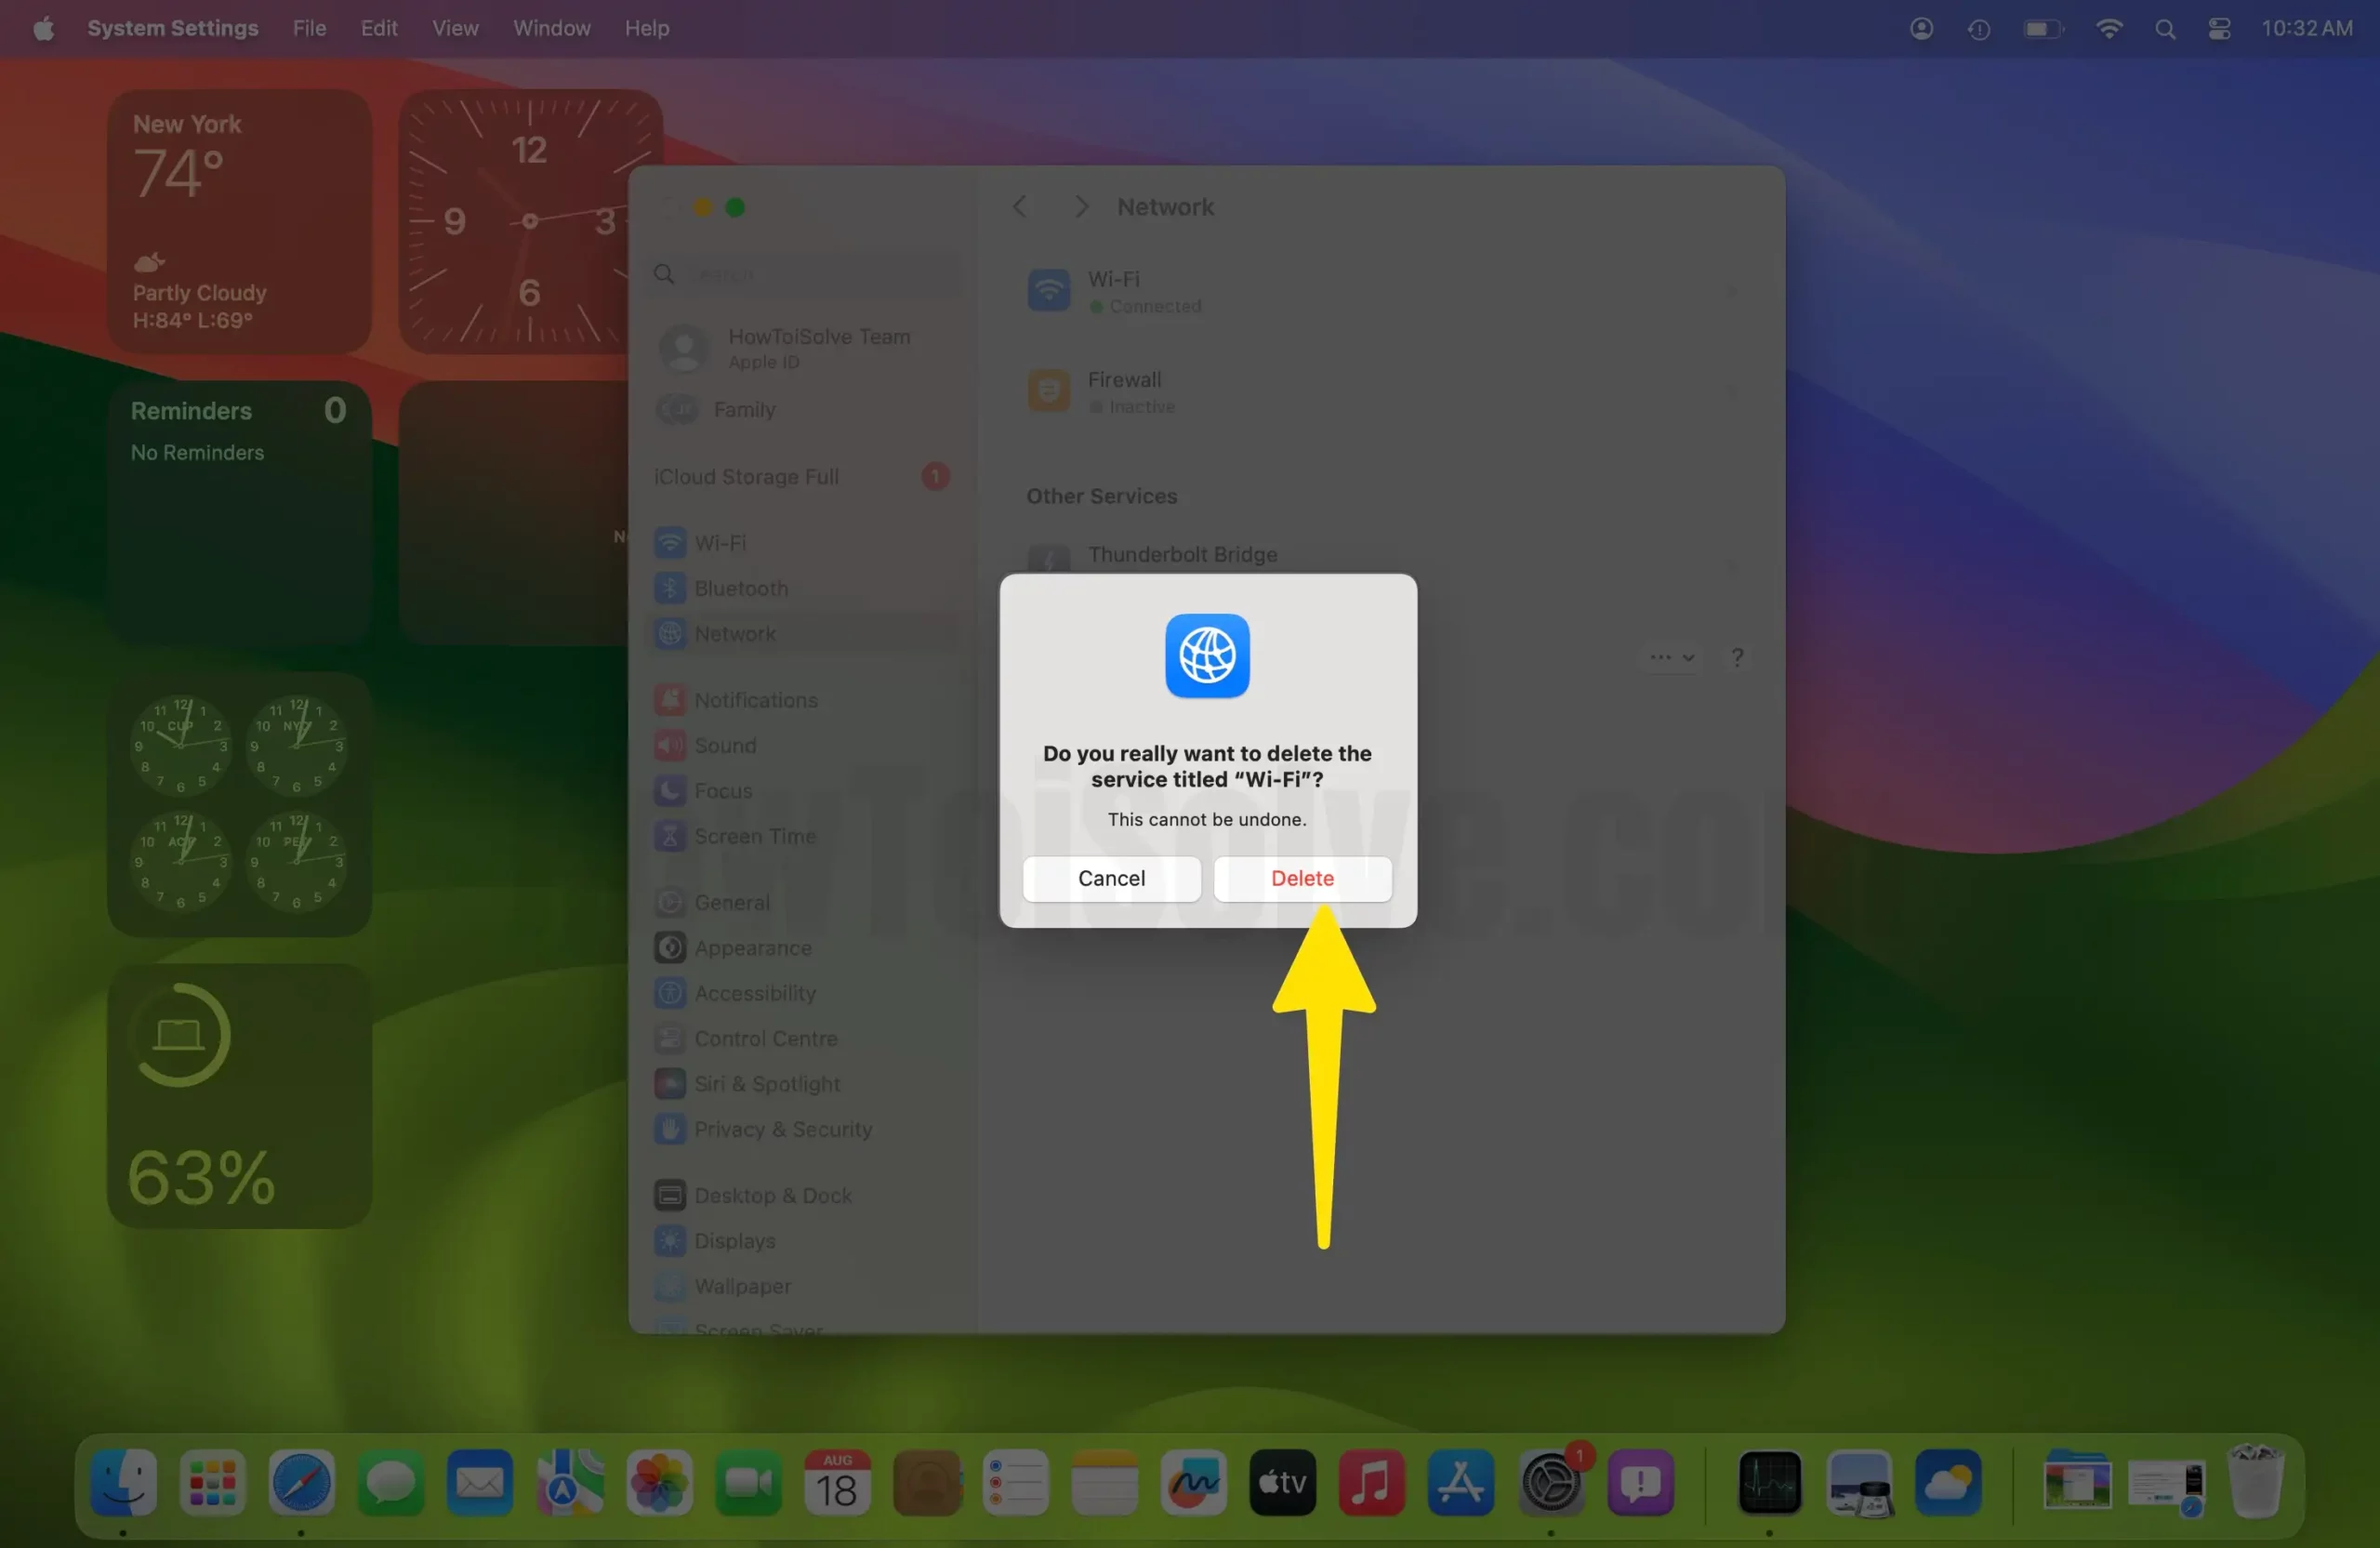
Step 2: Select Network Option from the left side of the window, Right Click on “Wi-Fi” > Delete Service…
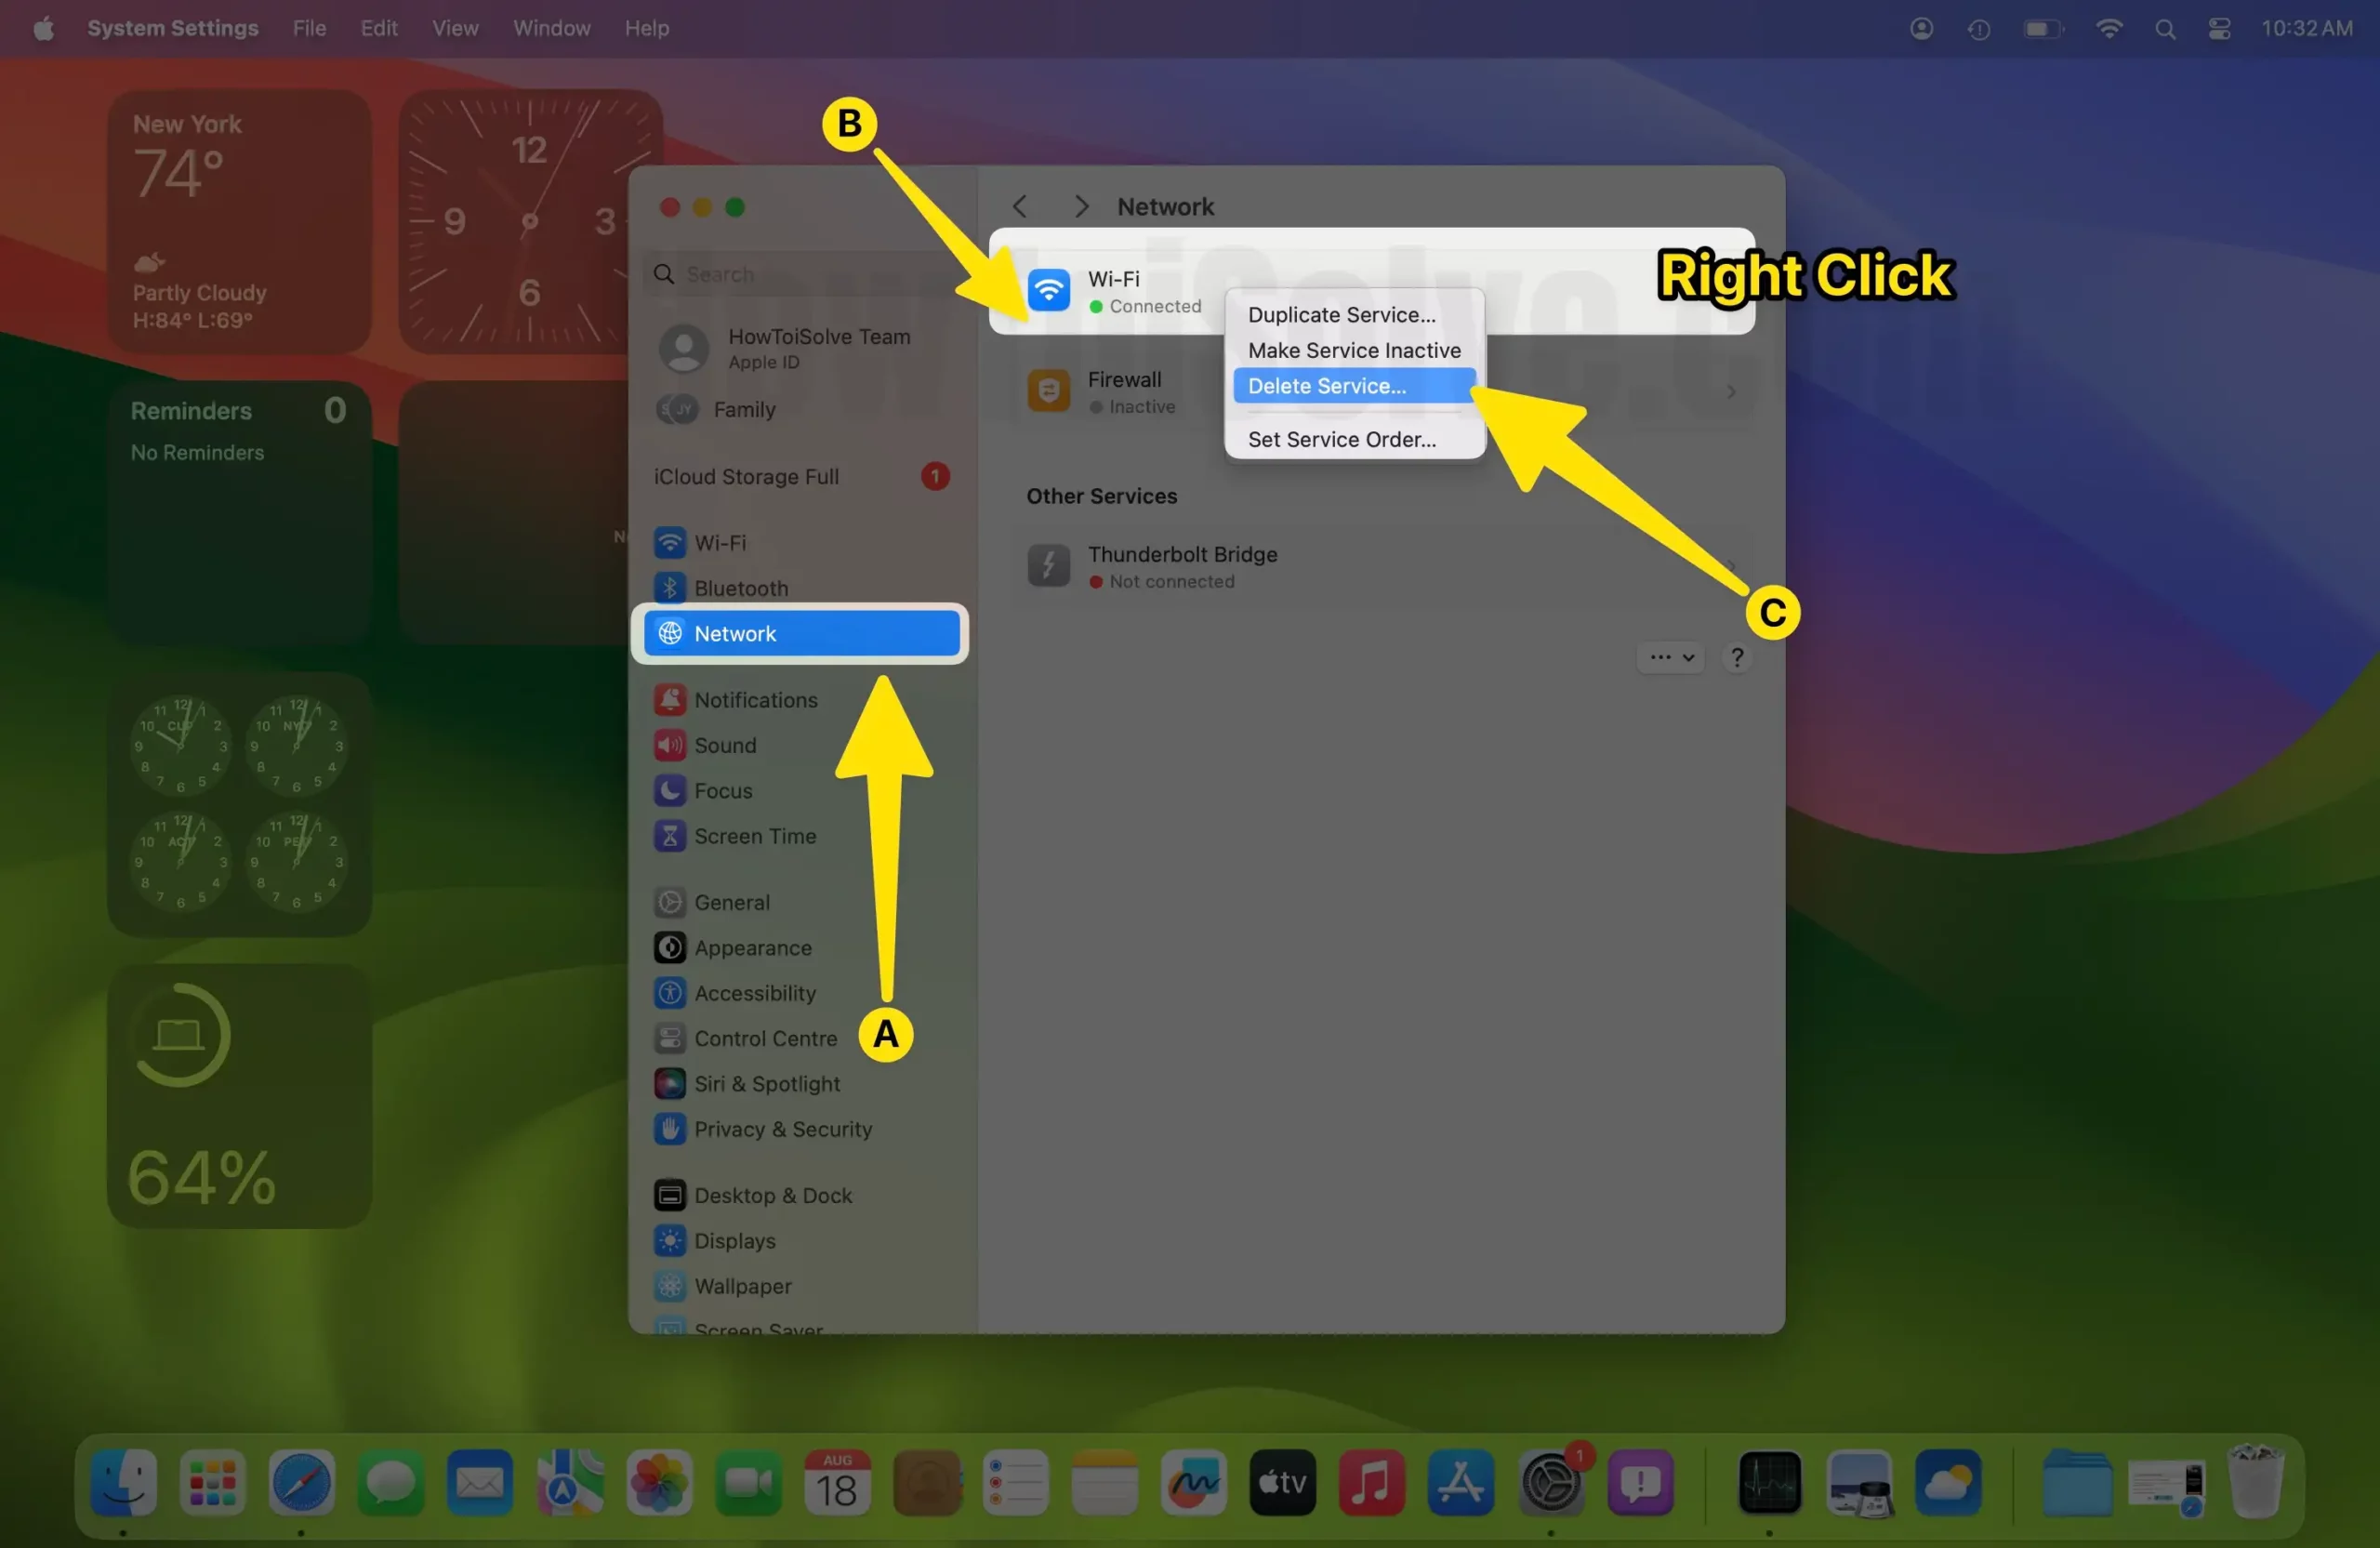
Confirm the Delete Option.
Step 3: Follow the next steps to re-add a WiFi Profile to Mac.
Add a New WiFi Profile (Service) On Mac
Step 1: Go to the Apple Logo from the top menu > System Settings. Click Network. Now, Select “Add Service…” Option.

Step 2: Select Interface: Wi-Fi. And Give the Service name Wi-Fi. Now, Click on Create button. Wait for a few seconds or Minutes.

Step 3: Now, Click on WiFi name > Find your Network name and Join with the correct password. Still, if you find a problem, then Change DNS on Mac. Now, expand the Network Name menu and choose the Wi-Fi network, to connect.
Click the Details button and then TCP/IP tab.
Step 4: Select Renew DHCP Lease.
Next, select DNS tab, and click (+), below the DNS Servers. If not added, add 8.8.8.8 and 8.8.4.4; these are Google Public DNS.
Again click on the Hardware tab and Configure: Manually and MTU: Custom, where enter 1453 in the custom field.
Click OK and close the System Preferences. Try to check your internet speed after rebooting your Mac.
5). Reset Your WiFi Network from your MacBook Mac
After checking the above Three steps, you are still acquiring a Slow WiFi connection or network. Then go to forward ways. Best Of Luck! We’ve listed the cache files related to the Wi-Fi connection, removed all of them, and rebooted the Mac.
Stuck with Network interface system files: For most of the OS X
your first attempt should be reset network preference files, by deleting it from the Mac system. Turn off WiFi from the menu item.
1→ Open Finder on Mac, Go to Go > Go to The Folder. Copy the below folder path and move.
/Library/Preferences/SystemConfiguration/

Find the below files (plist) and move them to another place as a backup on the desktop.
preferences.plist

NetworkInterfaces.plist

com.apple.wifi.message-tracer.plist

com.apple.airport.preferences.plist

com.apple.network.identification.plist
Restart or Reboot your Mac.
7). Restart Your Router
Please turn off your router completely and turn it on, So your wifi network will set up again. and Fix the internet connectivity issues. Unplug the adapter of the router and, after 1-2 minutes, plug it back.
8). Update your MacBook Mac OS
Keep your MacBook Updated with the latest version of MacOS on your Mac. Click on Apple Logo () From Top Mac Menu > System Preferences > Software Update > Download and Install Software Update.
Or click on the Apple logo > About This Mac > Software Update.
9). Reset PRAM on MacBook Mac
- Shut Down your MacBook and Turn it on using the power button. Now, Quickly Press and Hold on “Option + Command + P + R“. Release all the Keys after 20 seconds; at that time, your Mac will restart. And Release the Key after you hear the second startup time. Now, Login with your MacBook.
That’s it.
10). Reset SMC on MacBook Mac
Reset SMC – System Management Controller, Doing this can fix the network connection issues with the Mac, and MacBook.
- Shut down your MacBook. Connect with power supply (Power supply required during reset).
- Press Shift + Control + Option at the same time and Start Mac from the Power button at the same time. And release after a few seconds. Your MacBook will reboot reset all the System Configuration.
- Read more about the SMC apple guide for your model.
11). Create a New User on MacBook
If nothing helps you, Then fix the file system of MacOS running on your MacBook Mac by creating a new Administrator account on the same Mac. Because the new Account creates a new file system, we can get fresh Network files and fix the software issues causing slow wifi on MacBook Mac.
- Click on Apple Logo () From Top Mac Menu > Next, Click on System Settings/Preferences.
- Click on Group & Users Option, Click on (+) sign to add a new account as an Administrator,

Sign out of This account and Enter your New Account on Mac.
That’s it.
12). Re-Install MacOS On MacBook Mac
Re-Installation of macOS on your MacBook Pro/Air, Feel like New Mac. If this Trick doesn’t work, try fixing your WiFi hardware issues. Diagnose at your Nearby Apple store, So we can book an appointment online at Apple Store and talk to the Apple Support Center.
- Clean Install MacOS On your MacBook Mac in just 5 Steps.
Misconfigured, Low Hardware profile router causes problems with your internet data speed over the air. Here we have the best option as a Long Range Router for Mac. Misconfiguration can be resolved by resetting it.
Check the speed test on a different device, Through the iOS app (SpeedTest). Or On the Browser website: speedtest.net, Problem is there, then contact your internet service provider.
Try to surf with Google Chrome (The best one), Safari, and Mozilla as an Alternate Best browser for Mac OS X Especially.
Troubleshooting steps for Poor/ Slow WiFi connection on macOS
More suggestions on solving the Slow WiFi connection MacBook might be fixed by Creating a new network of network settings in your case. But not helpful in my case.
Thanks, and I welcome any suggestions on Poor/Slow WiFi connection. Share with us in our discussion section.
Reset SMC fix it. Thank You!