
Key Takeaway
Easily manage external drives on your Mac by adding them to the Finder sidebar using simple steps outlined in the article, enabling easy access and organization of files. Additionally, you can customize your sidebar for better visibility and efficiency.
Mac computers are a great machine for managing files and supports external drive. You can also access it from the Finder in the left column below locations. If your external drive isn’t showing up on your Mac computer, chances are it has not been formatted accurately or is faulty or corrupted. There are instances when wrongly configured Mac setting is a cause of such problems. If you’re stuck with the same issue, here is how to add an external drive to a location on a Mac.
Add an External Drive to the Finder Sidebar
Below are the steps to add an external drive to locations on a Mac.
Steps to add an external drive to locations on a Mac
- Click on the Finder icon on your Mac Dock.
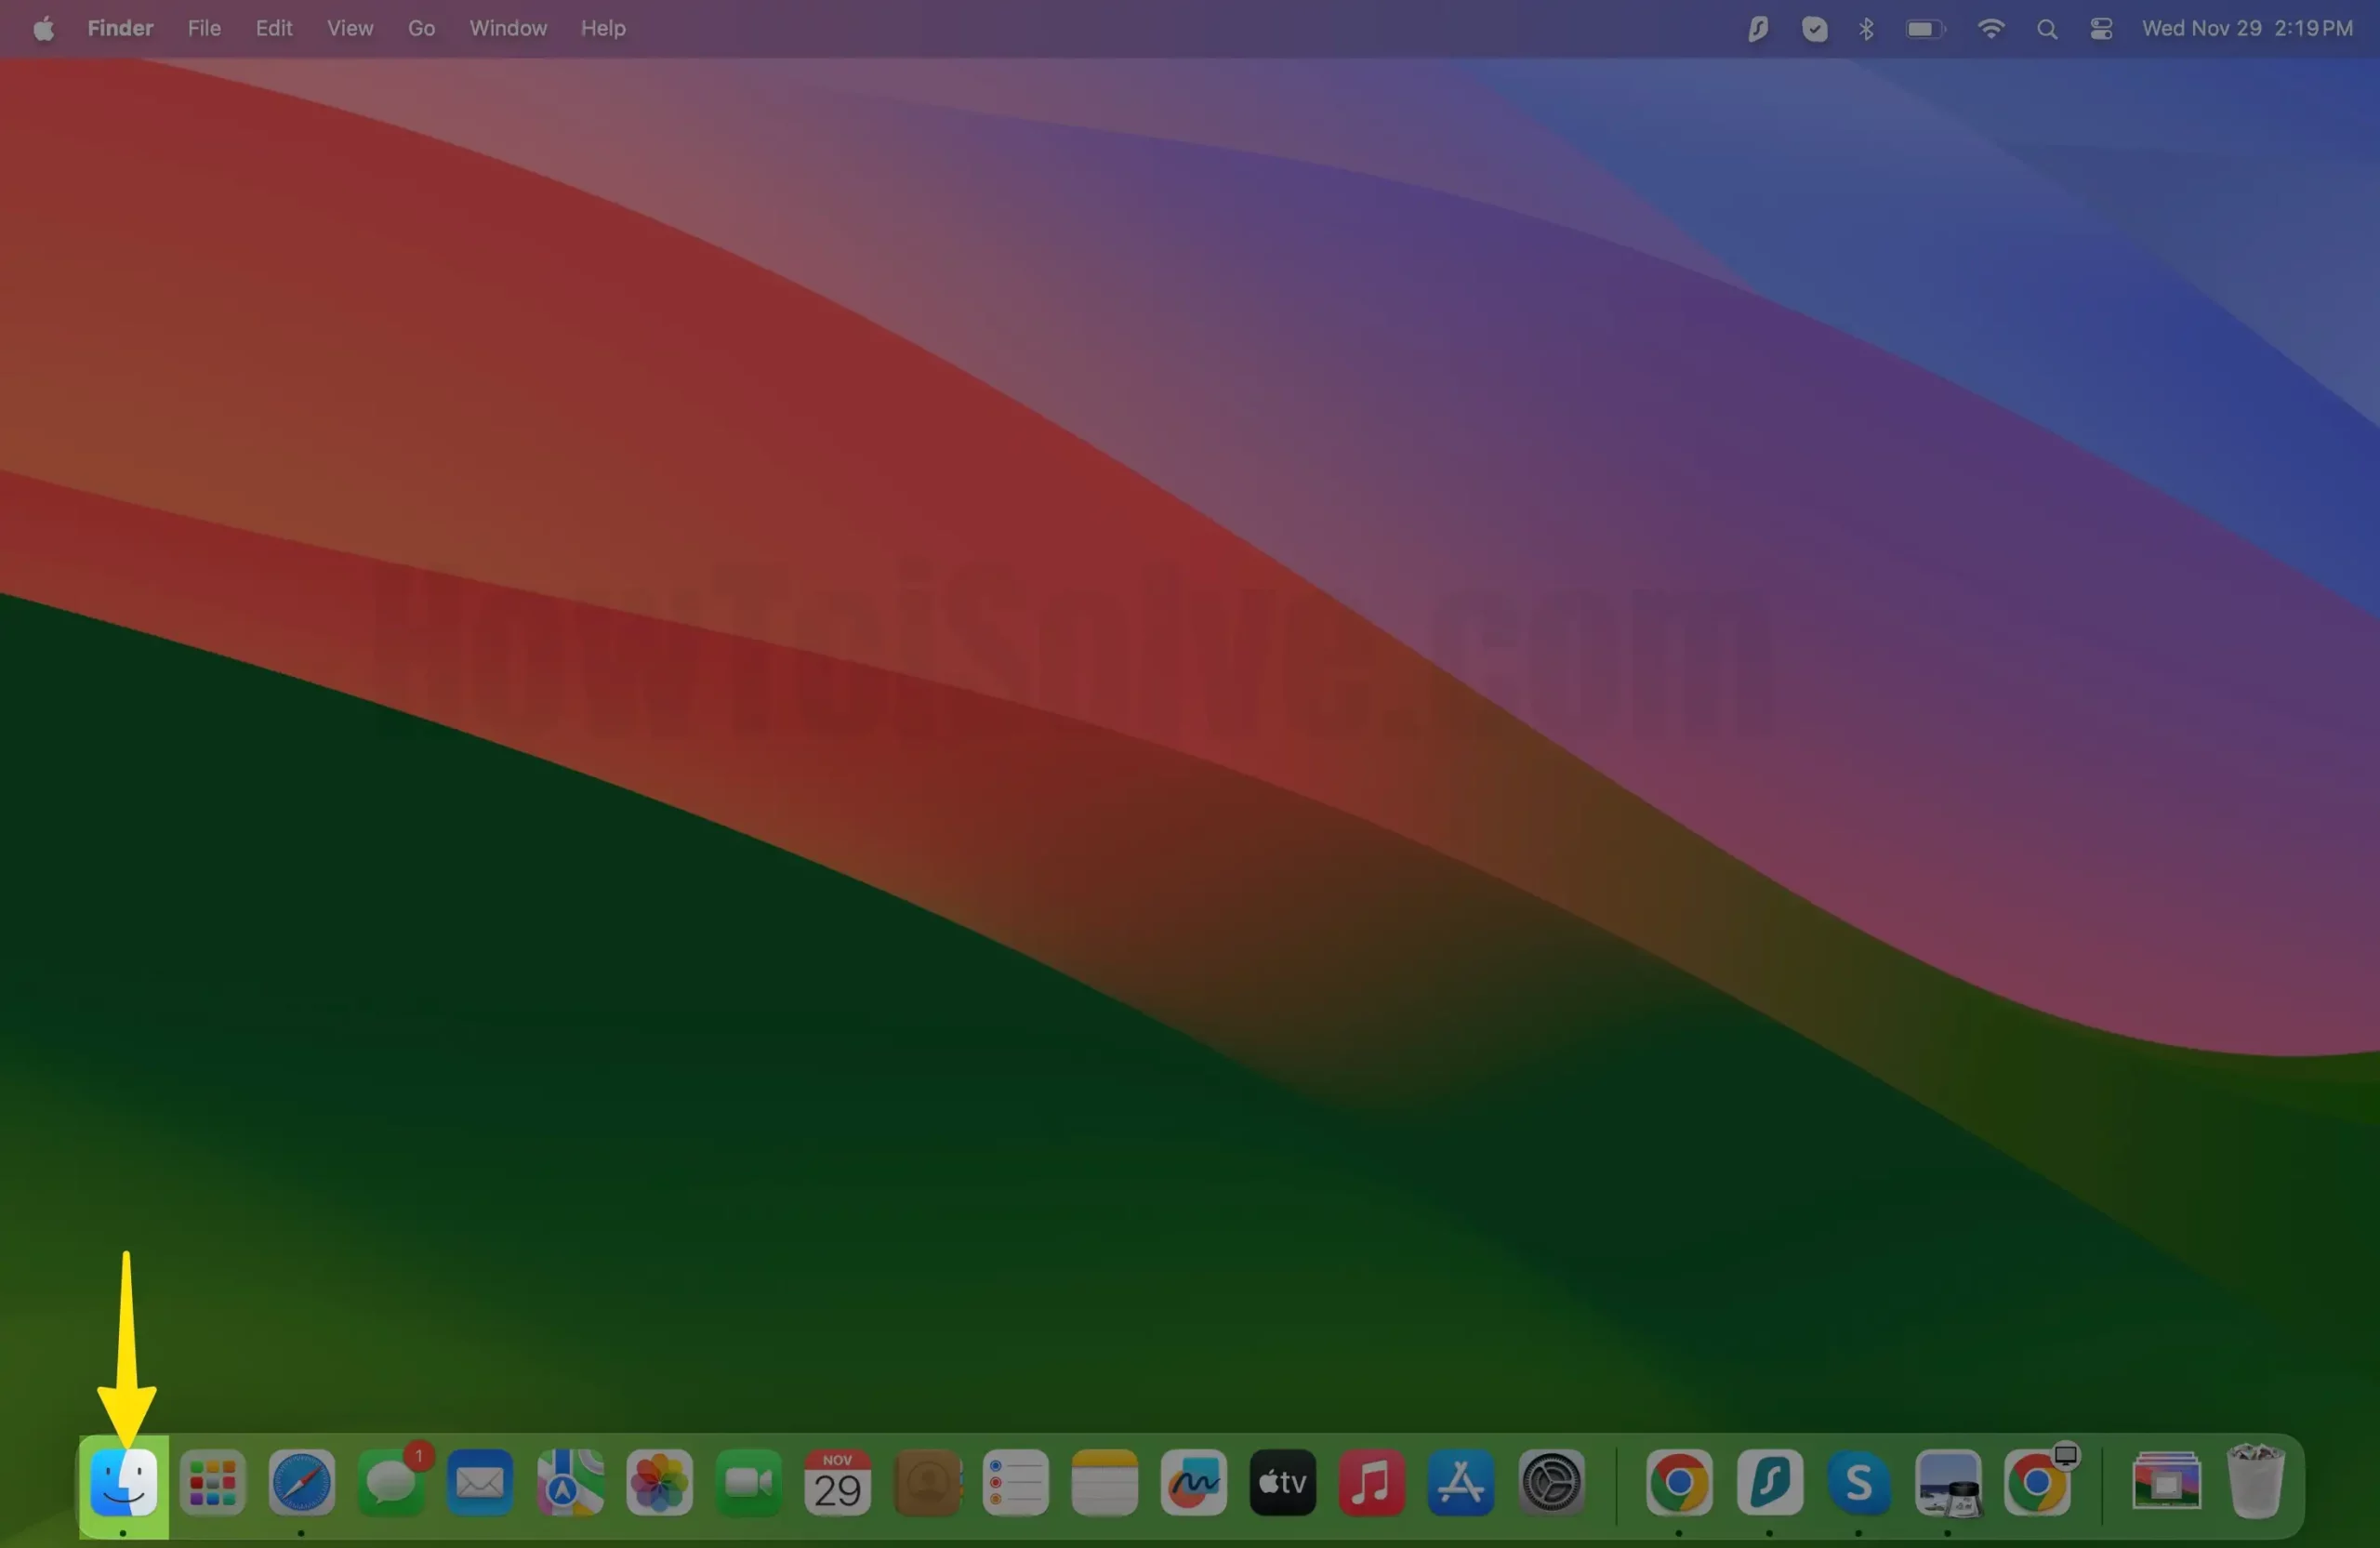
- Select Finder from the menu bar.
- Choose Settings…

- Click the Sidebar Tab.
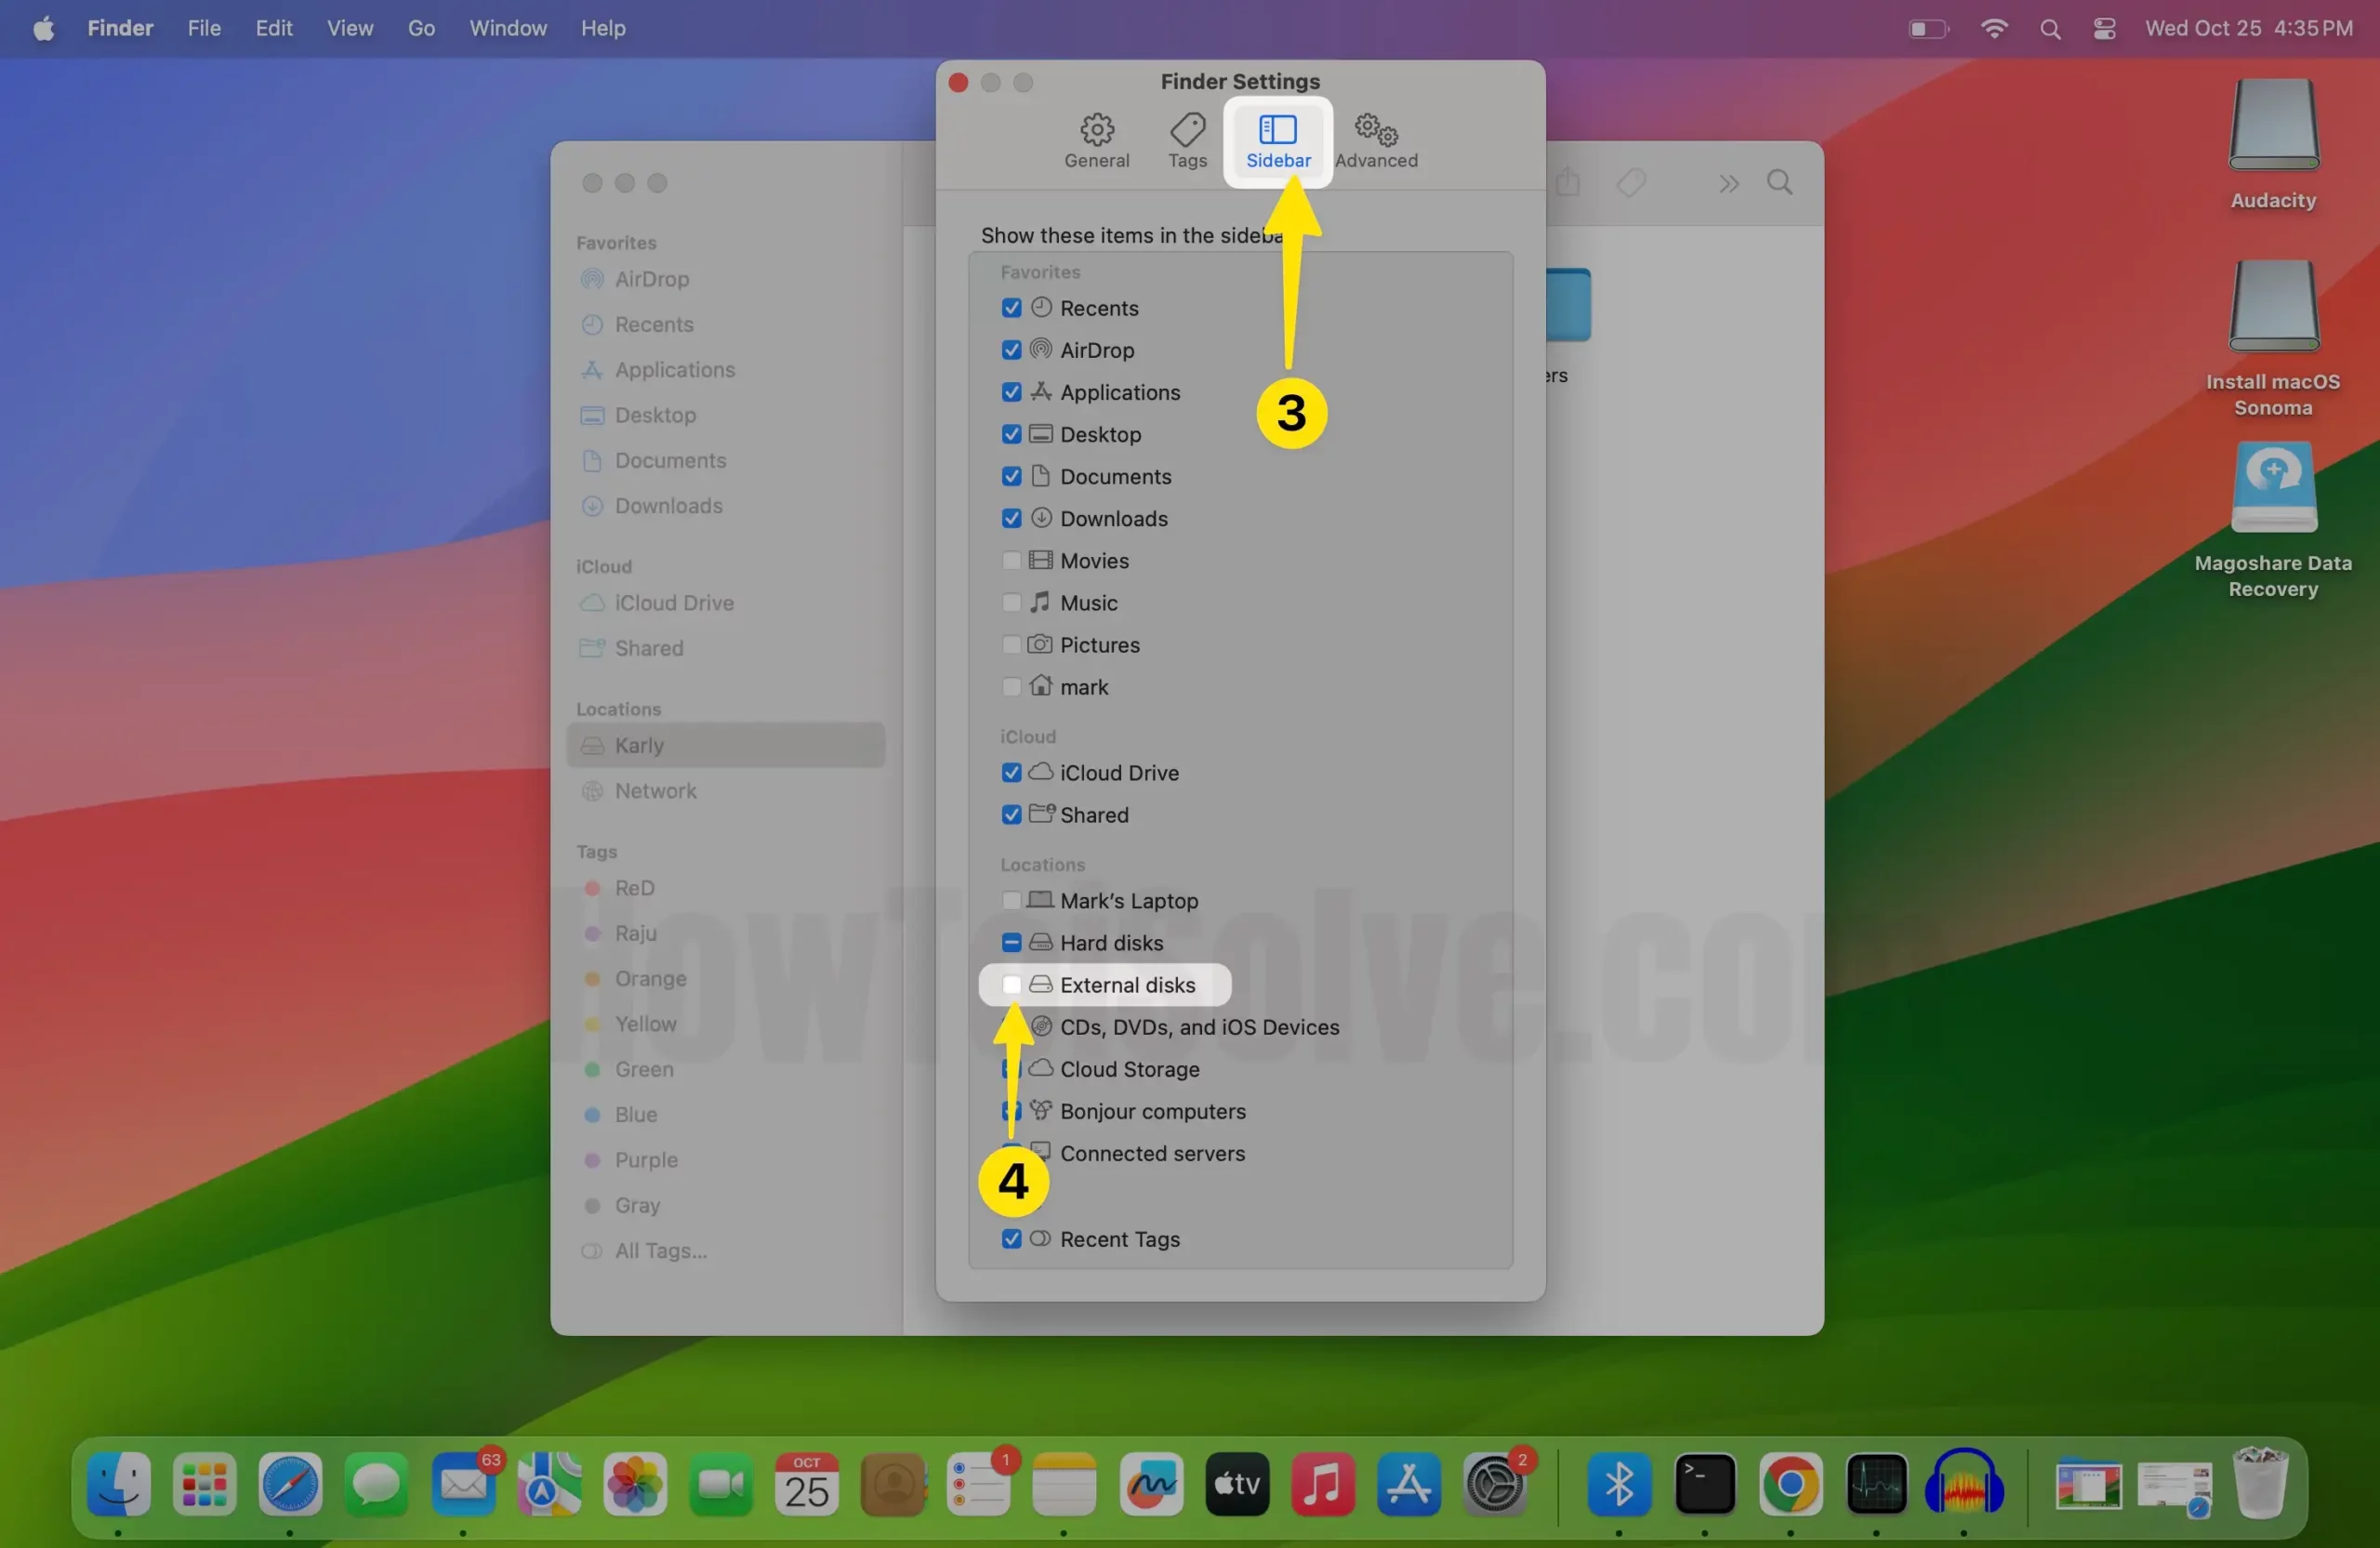
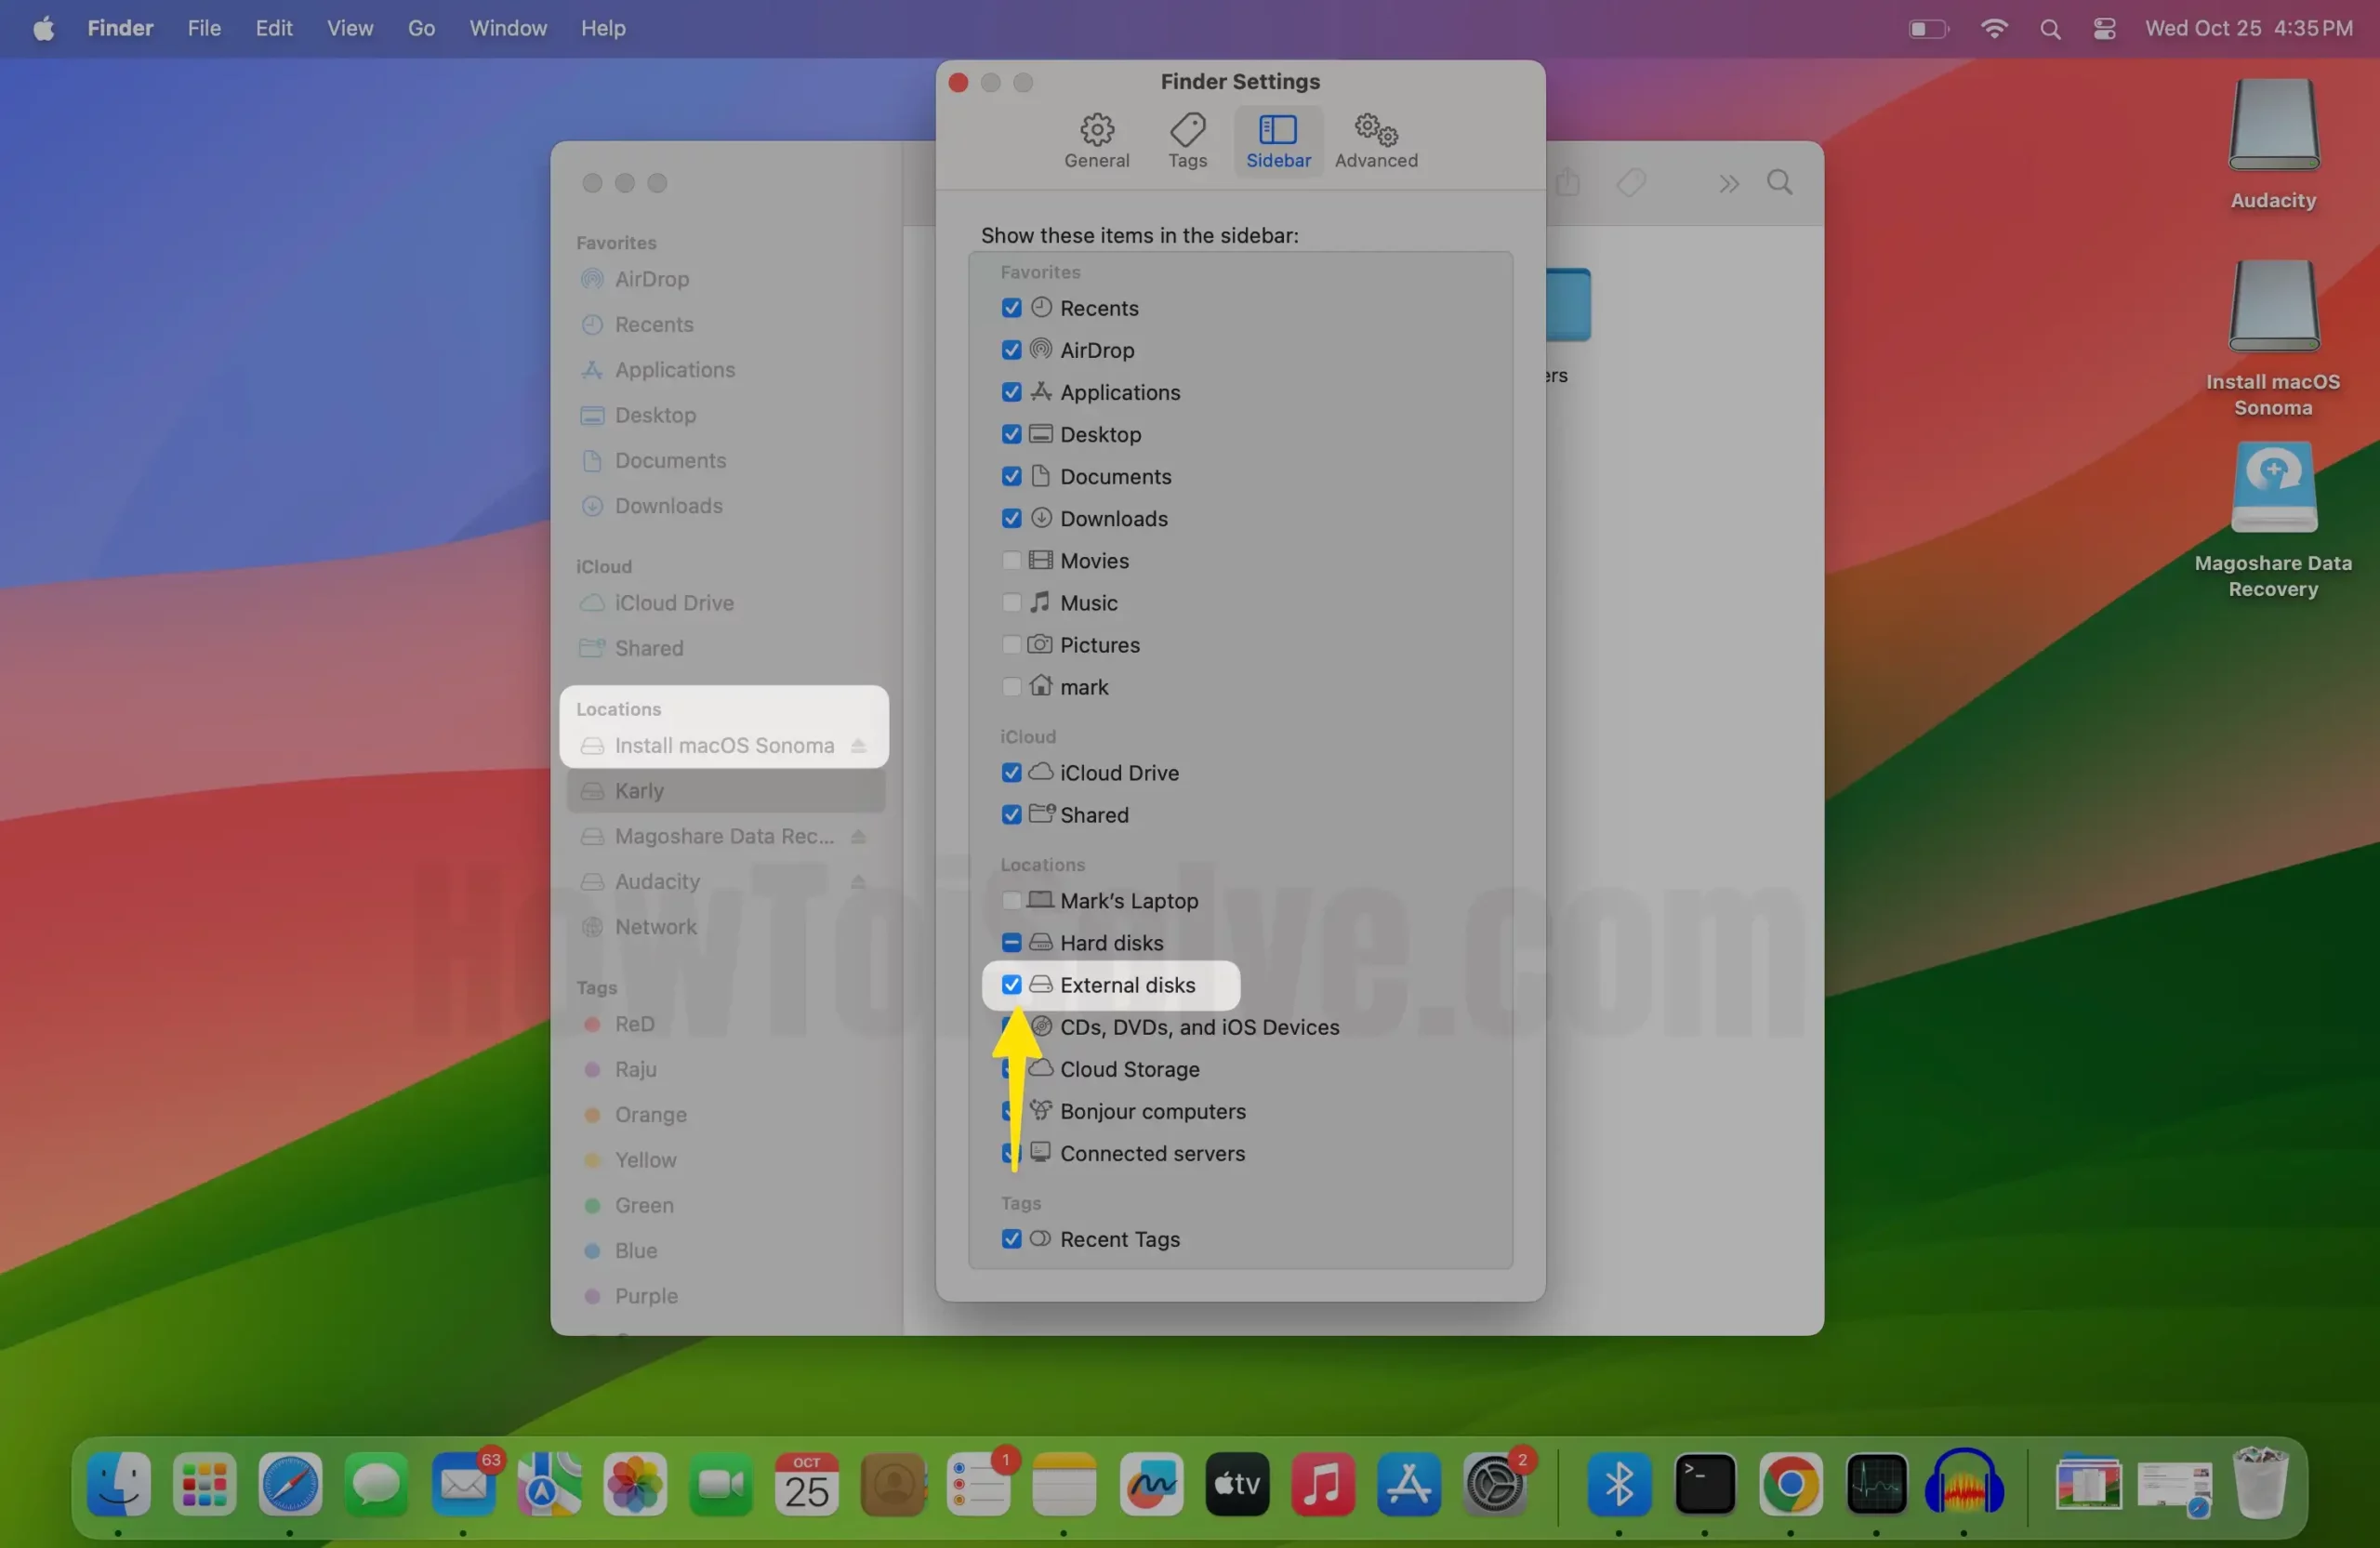
- Under the location menu, check the box next to the External Device you want to show in the Sidebar.
- Once you have enabled this setting, you’ll see an external drive in the location on your Mac.
You can also rearrange external files in the Sidebar. All you need to do is drag and drop them to a new spot.
To save viewing space in your Sidebar, remember that you can hide the group of items at any time. Hover the mouse to various group titles, such as favorite, locations, or iCloud. Similarly, click the arrow icon or show to see them again.
Final thought!
That’s It! This is how you can add an external drive to the location on a Mac. If you have any relevant queries, feel free to post them in the comment box below.


