
Would you like to manually adjust the screen resolution on Mac? or Mac display settings for an external monitor? Sometimes users can’t satisfy with their Mac’s display resolution because toolbar items are too small. It may happen because those users want larger text sizes or big objects on the Mac display. Default resolution has already been set to show the sharpest text and most detailed images, which Apple has given in its Mac models like MacBook, MacBook Pro or iMac, iMac Pro, Mac Mini, etc.
Get here about manually adjusting resolution if necessary through this tip; you can change primary and connected display resolution in the same Display pane of system preferences of Mac. To learn here, adjust the resolution for the Primary and connected displays. After increasing your screen’s resolution, you’ll get better image resolution, and large text compared to the previous one, which impacts graphics performance depending on which application you are using. Follow the given step to adjust the screen resolution on Mac.
Related: How to Share Screen on Mac to other Mac
Step on Vary/Adjust Screen Resolution on Mac
On MacOS Sonoma, Ventura
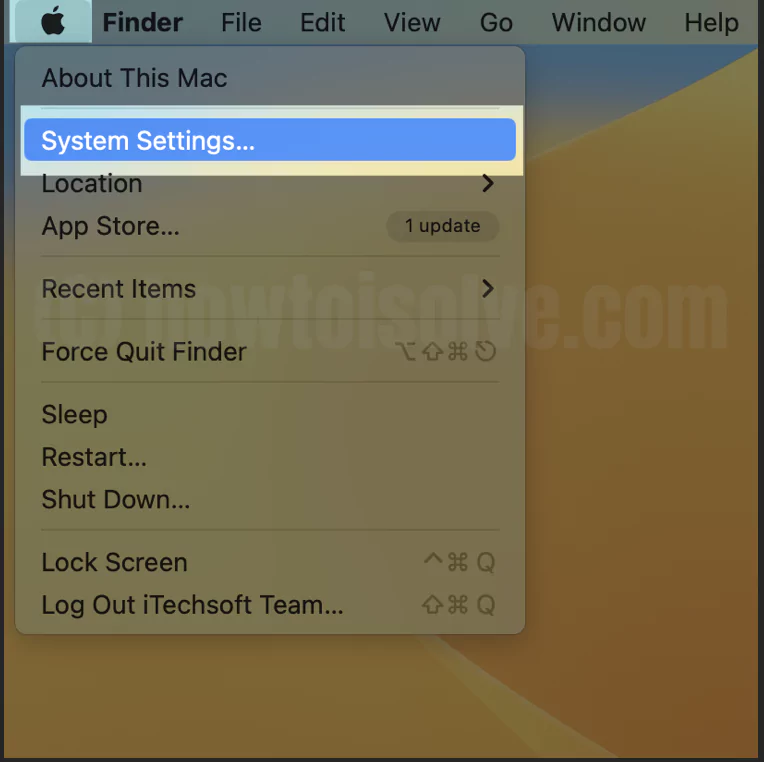
1→ Go to the Apple Logo from the top menu > System Settings.
2→ Next, Click on Displays > See the “Larger Text”, “Default” and “More Space”.
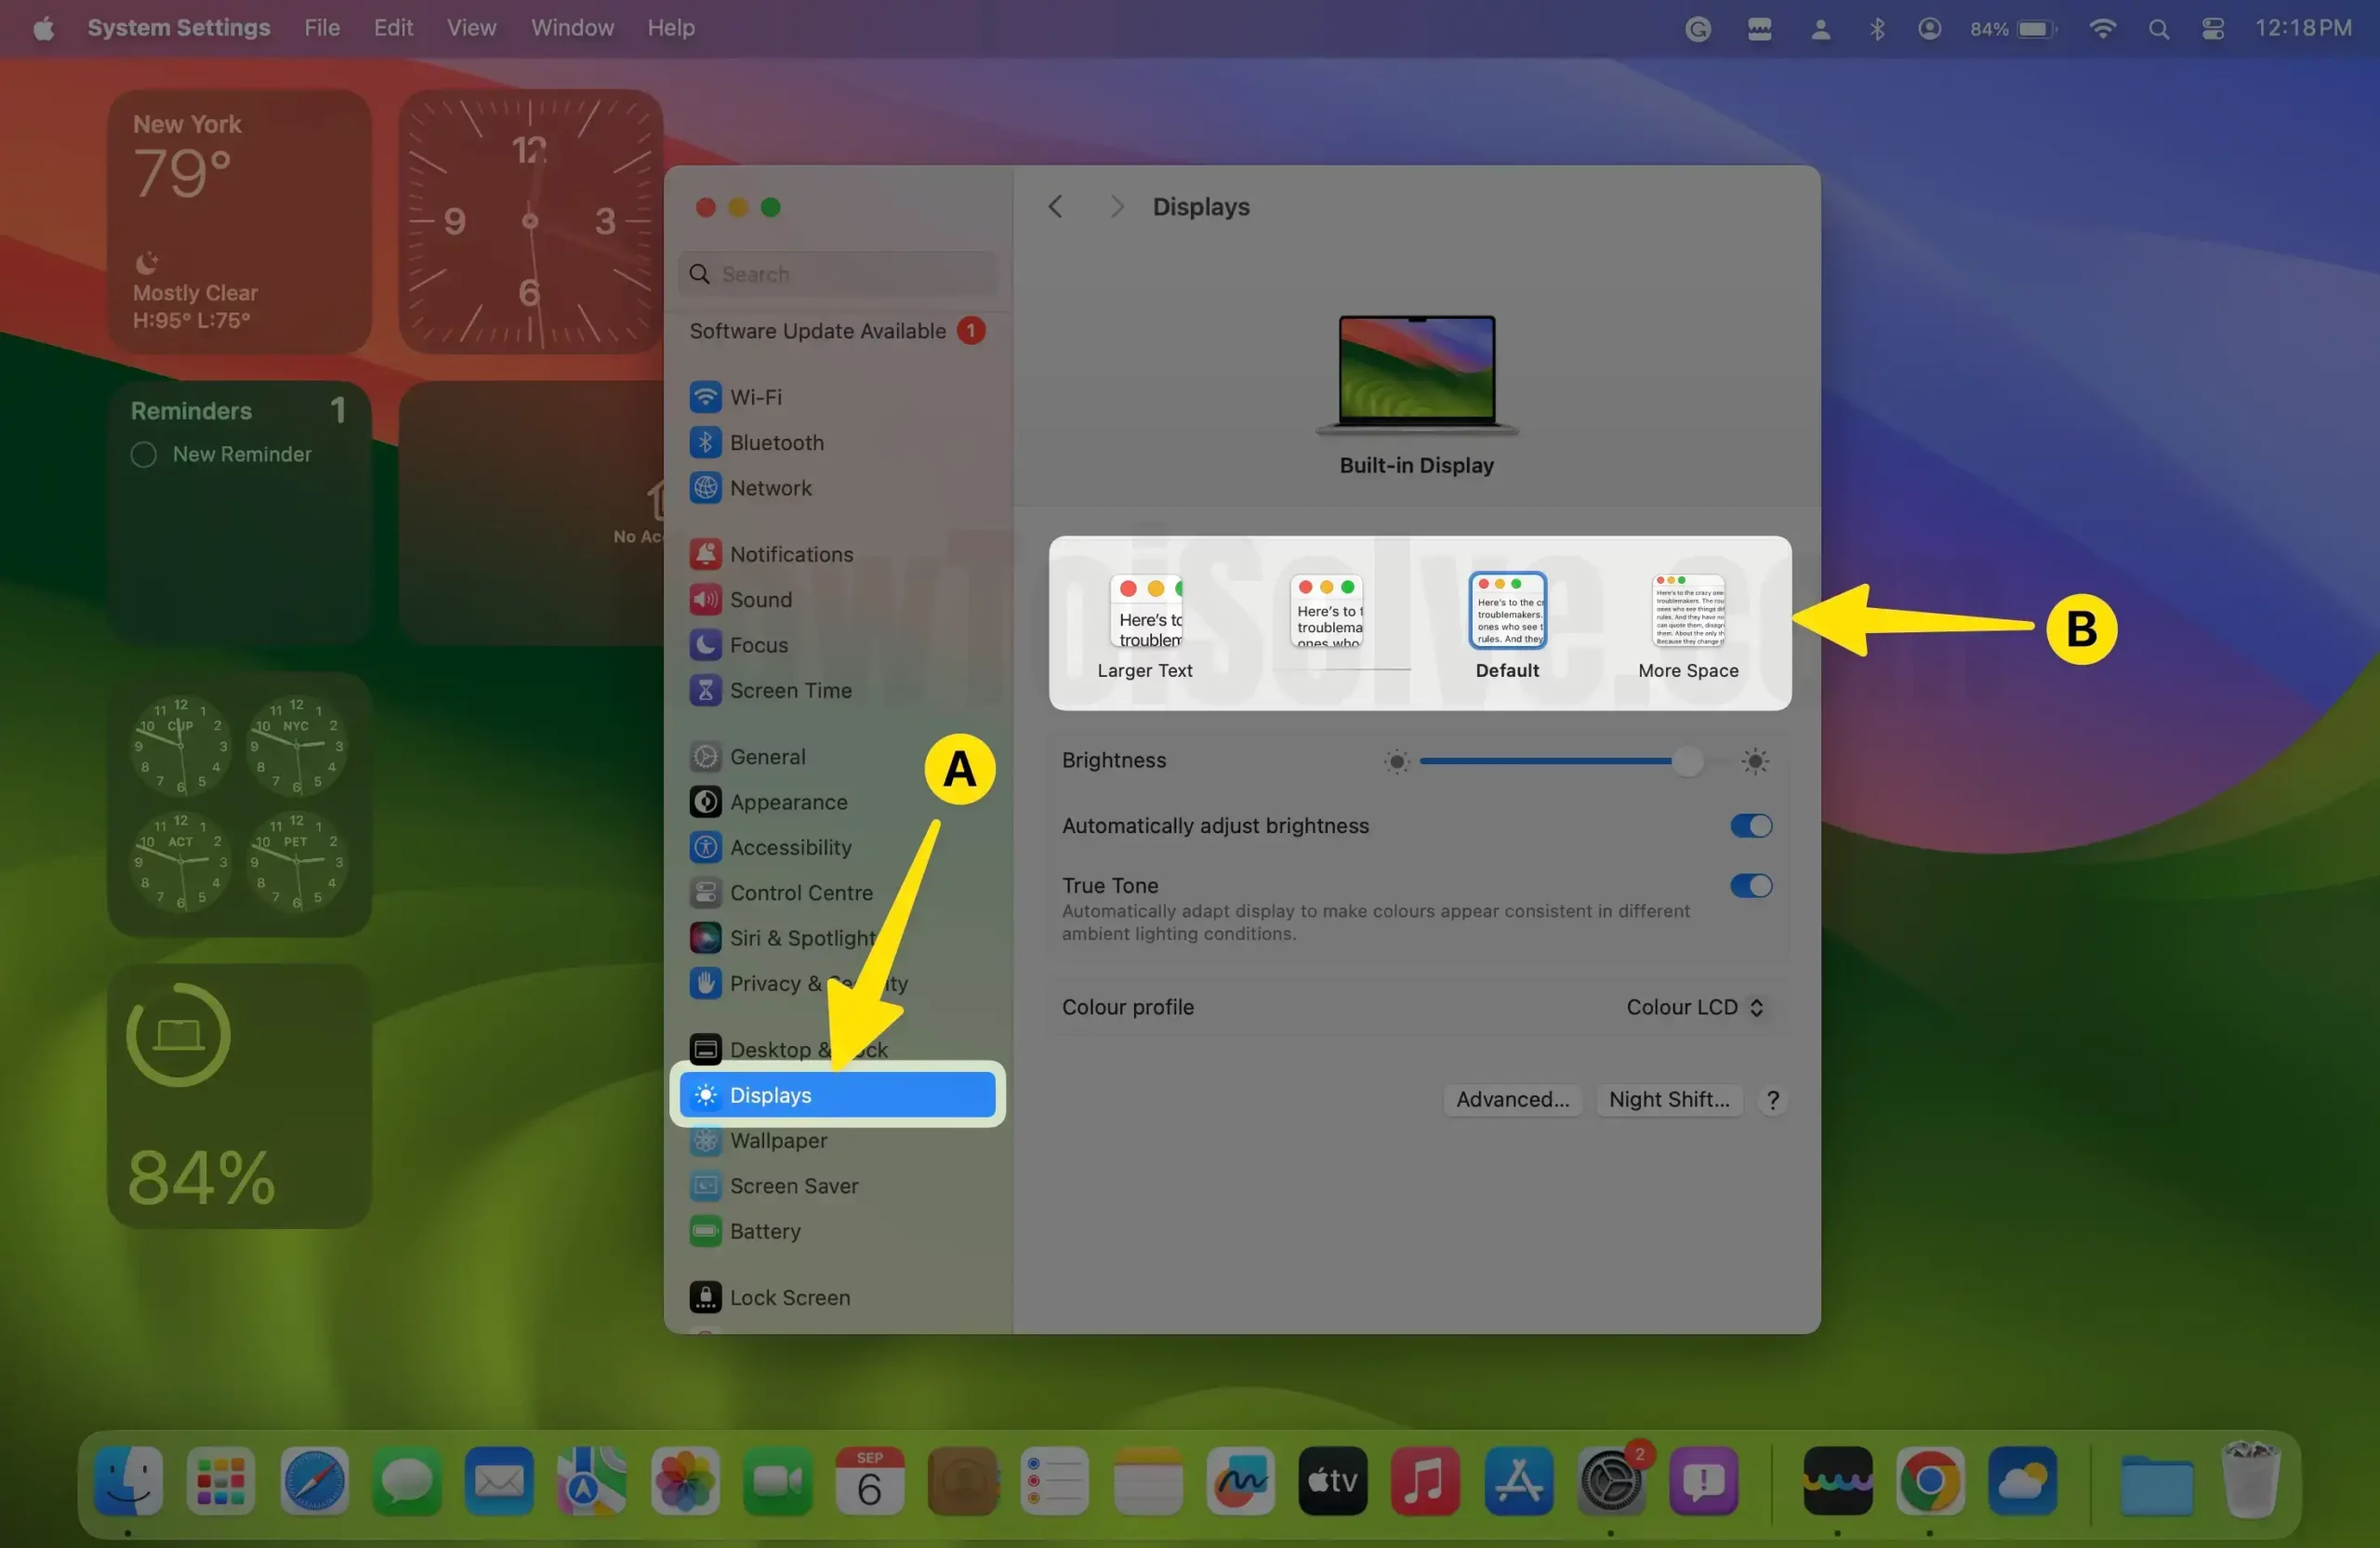
3→ To See Resolutions as a List, Click on Advanced… (Under the Display Settings, the last option is)
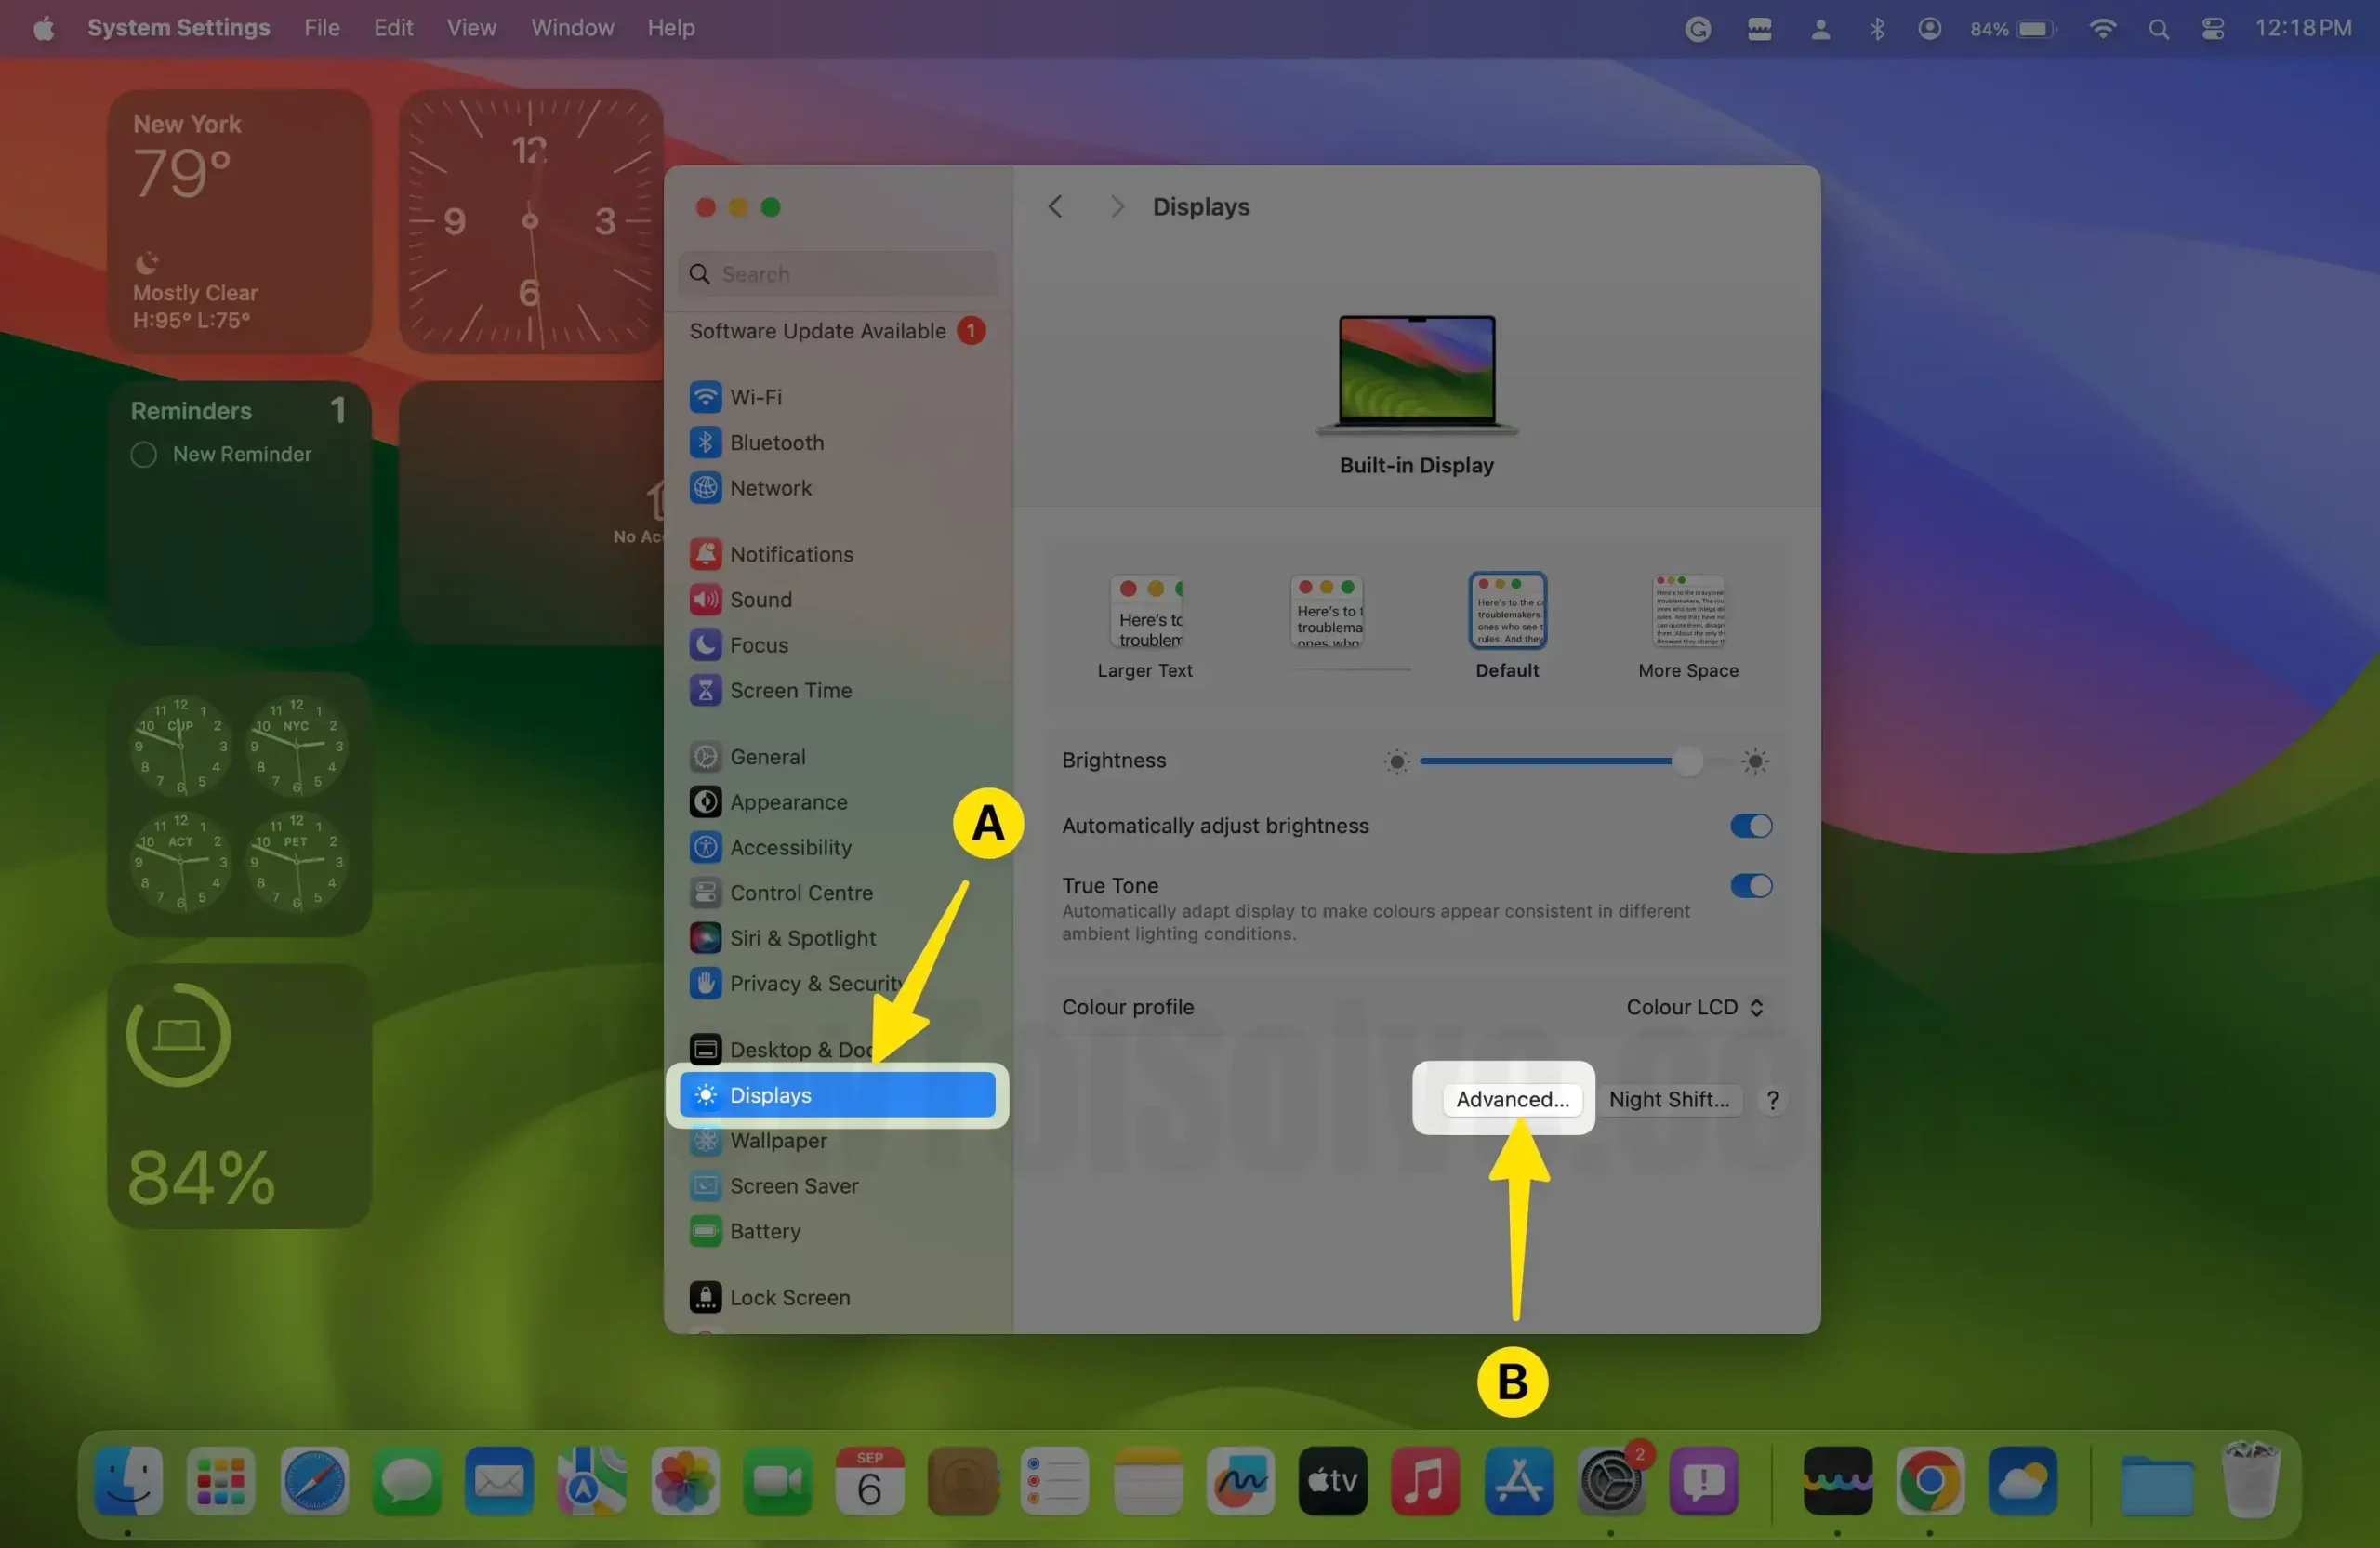
4→ Enable Toggle Show Resolutions as List. > Done.
Now, Using a scaled resolution may affect performance. So, Apple is not recommended. For the Big screen display or External display, this setting is helpful for the battery viewing experience from a distance.
5→ Click on the Show All Resolutions toggle to list out on your screen, Select the Resolution, and Apply it to your Mac.
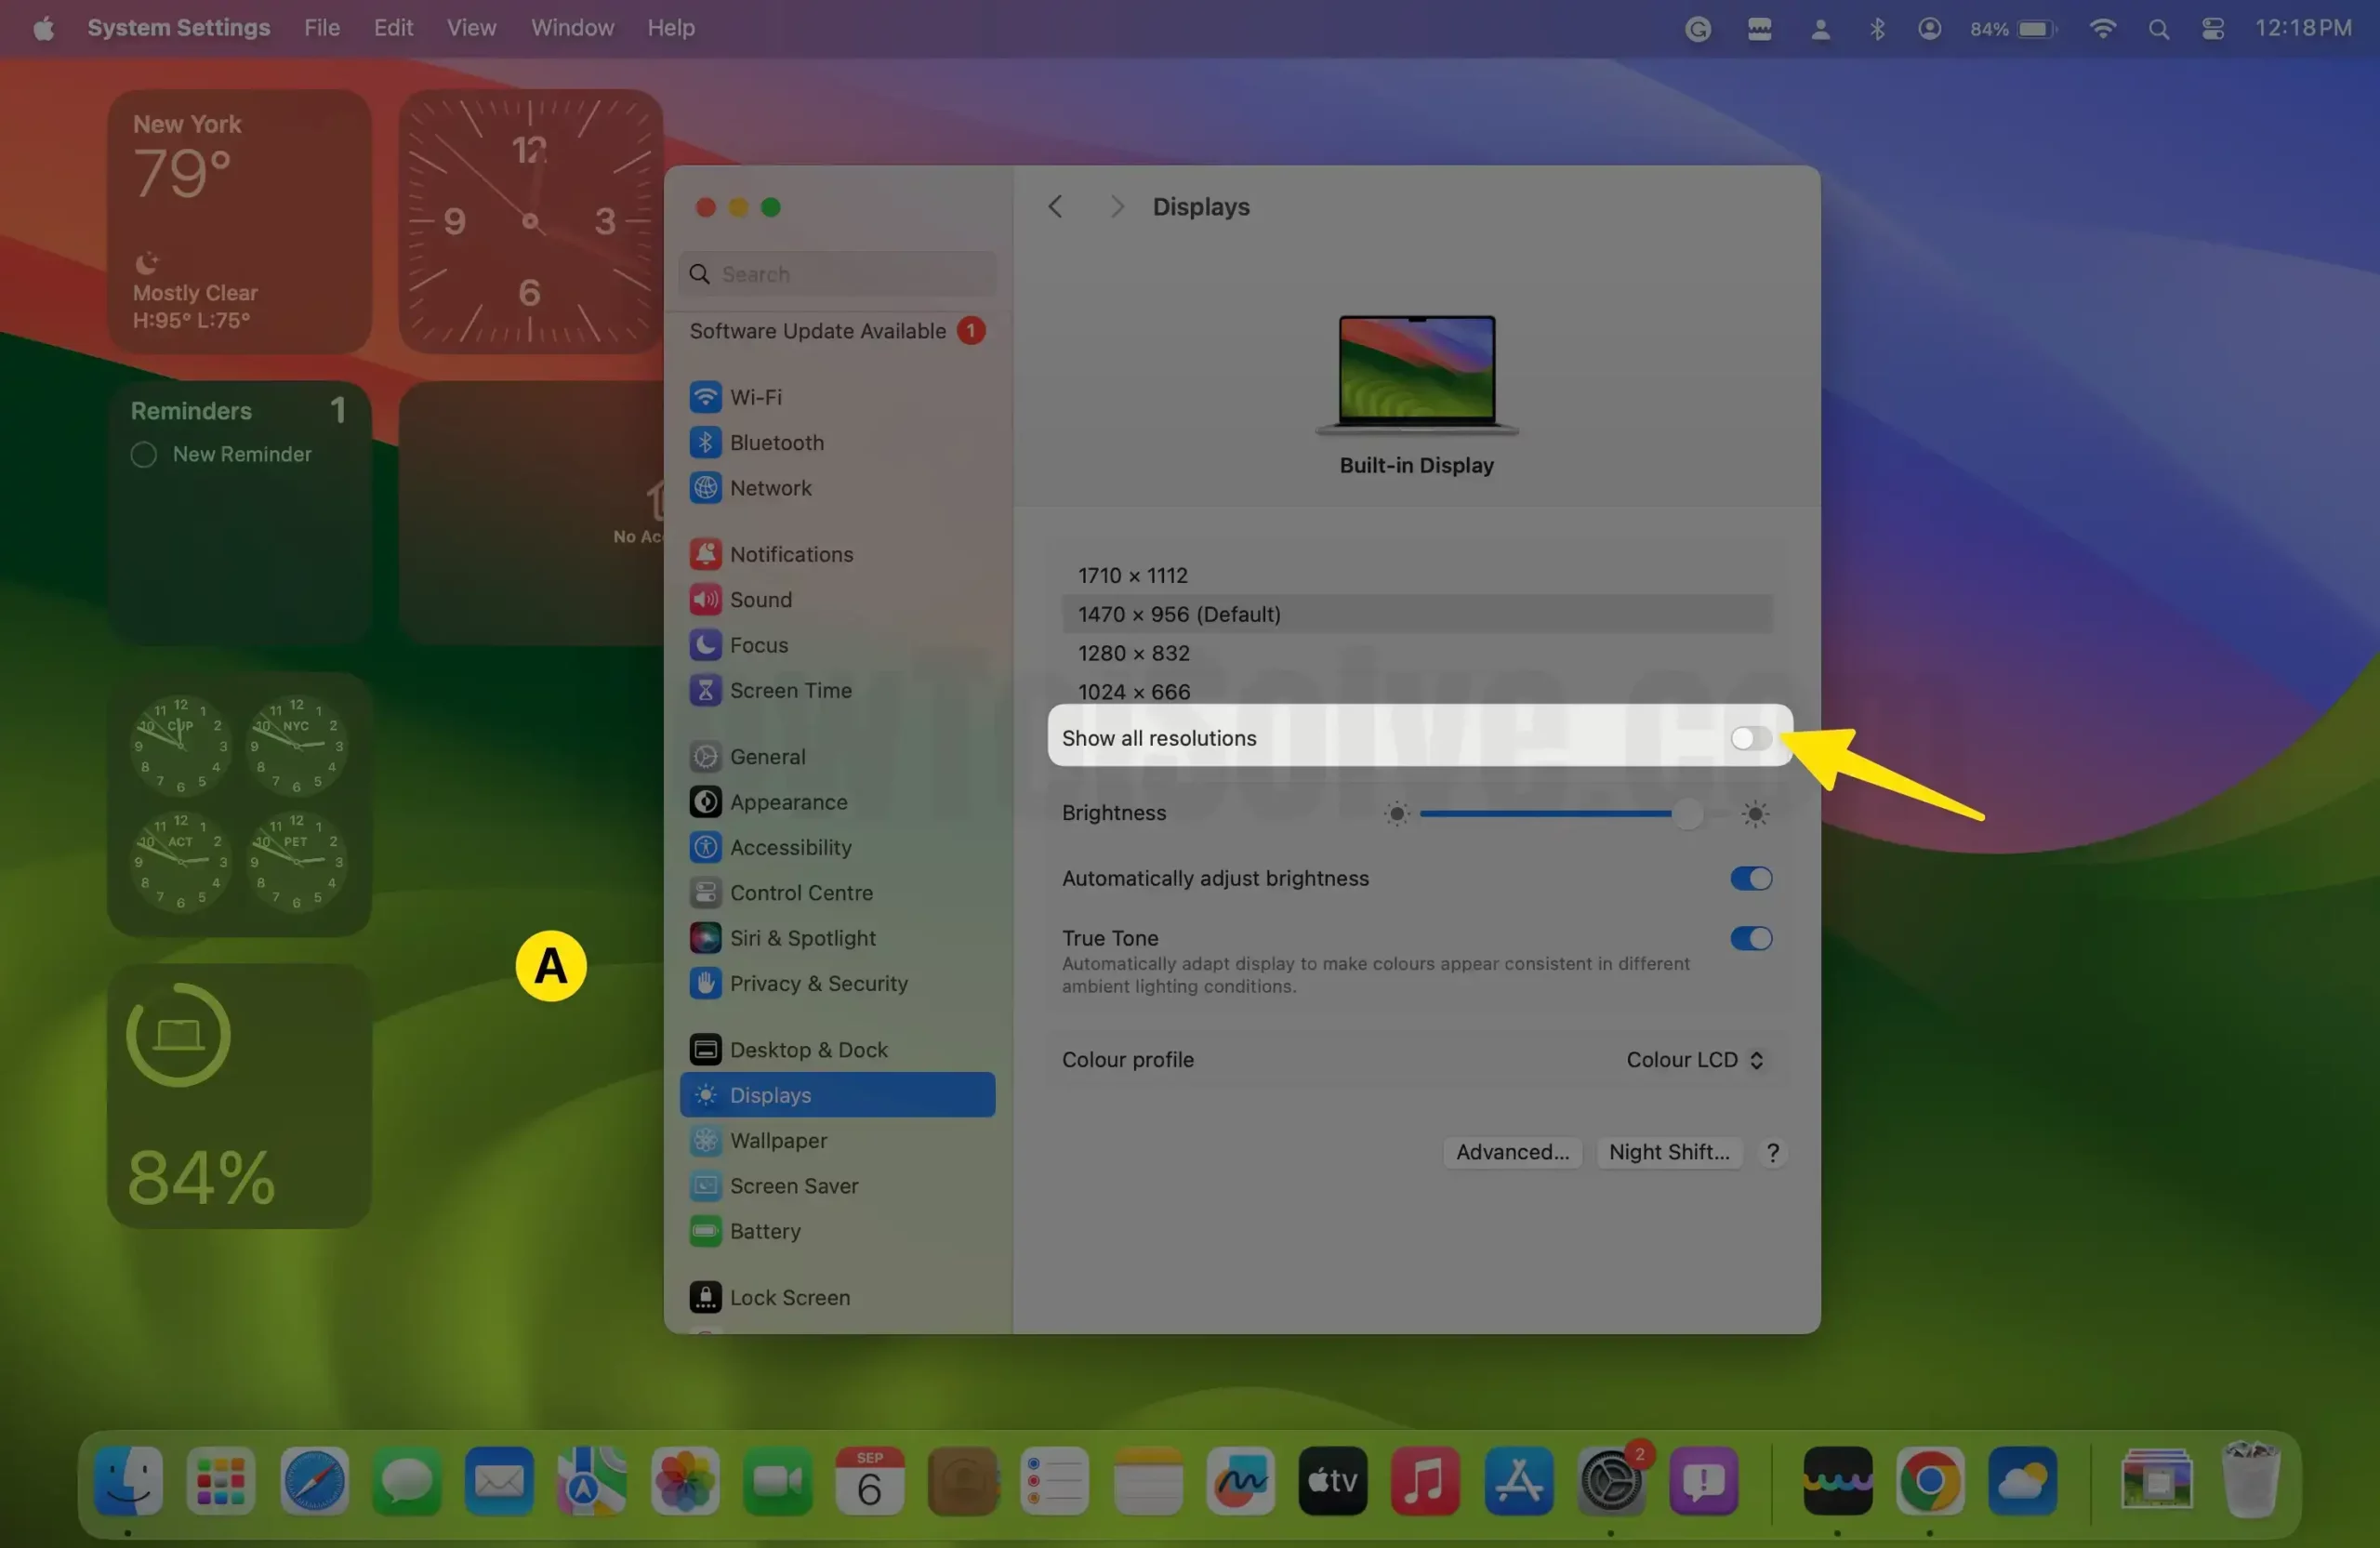
6→ Select the Resolutions you want to use,

Manny Redditor says,
“macOS Ventura 13.0.1 wrong standard display Resolution”

On macOS Monterey & Earlier
1→ Click on the ‘’Apple logo’’ icon from the top side Menu of your Mac
2→ Select ‘’System Preferences …’’

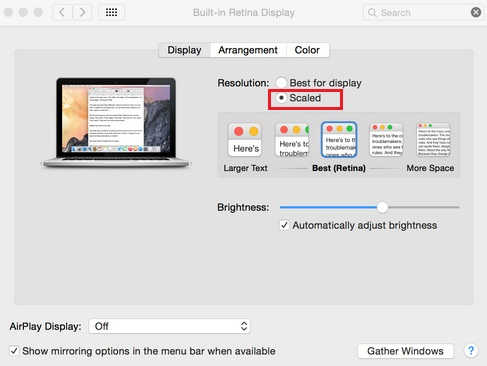
3→ Click on ‘’Display’’ Presences.

That’s it. In this Display pane of system preference, you can increase/ decrease or adjust Primary and Connected display resolution. Below you can learn both kinds of options, you can follow anyone you need.
Here’s the Best 4K Monitors for MacBook Pro, Air, Mac Mini
- The most common Display Resolutions for External displays are, 1920×1080, 1600×900, 1080p, 720p, and more.
For Primary Display- adjust screen Resolution on Mac, in the open Display Pane,
- Select Scaled, then next select your desired resolution options.
This is the way for Secondary Display; if you’ve more than one display and want to change in connecting display resolution, additional options are also available. A way for Connected Display to adjust Resolution
- In the same Display pane
- Press the options key while you click on a scaled option to see the additional resolution for the second display. Now, you can adjust the scale for a secondary display.
- iMac (Retina 5k, 27-inch display, Late 2014) Scaled resolution choice

- Mac Book Pro with 15-inch display Scaled resolution choice

- Mac Book Pro with 13-inch display Scaled resolution choice


Change Menu Bar Size & toolbar items on Mac
Mac users can change the Top Mac Bar icon size and Menu Text items size from Mac settings. Here are the steps for changing the menu bar size on Mac. The change is not too big, but you can get the advantage of the Limited fixed options from Two different sizes, One is Default, and the Second is Larger.
On macOS Ventura
1→ Go to the Apple Logo from top menu > System Settings.
2→ Select Accessibility > Display.
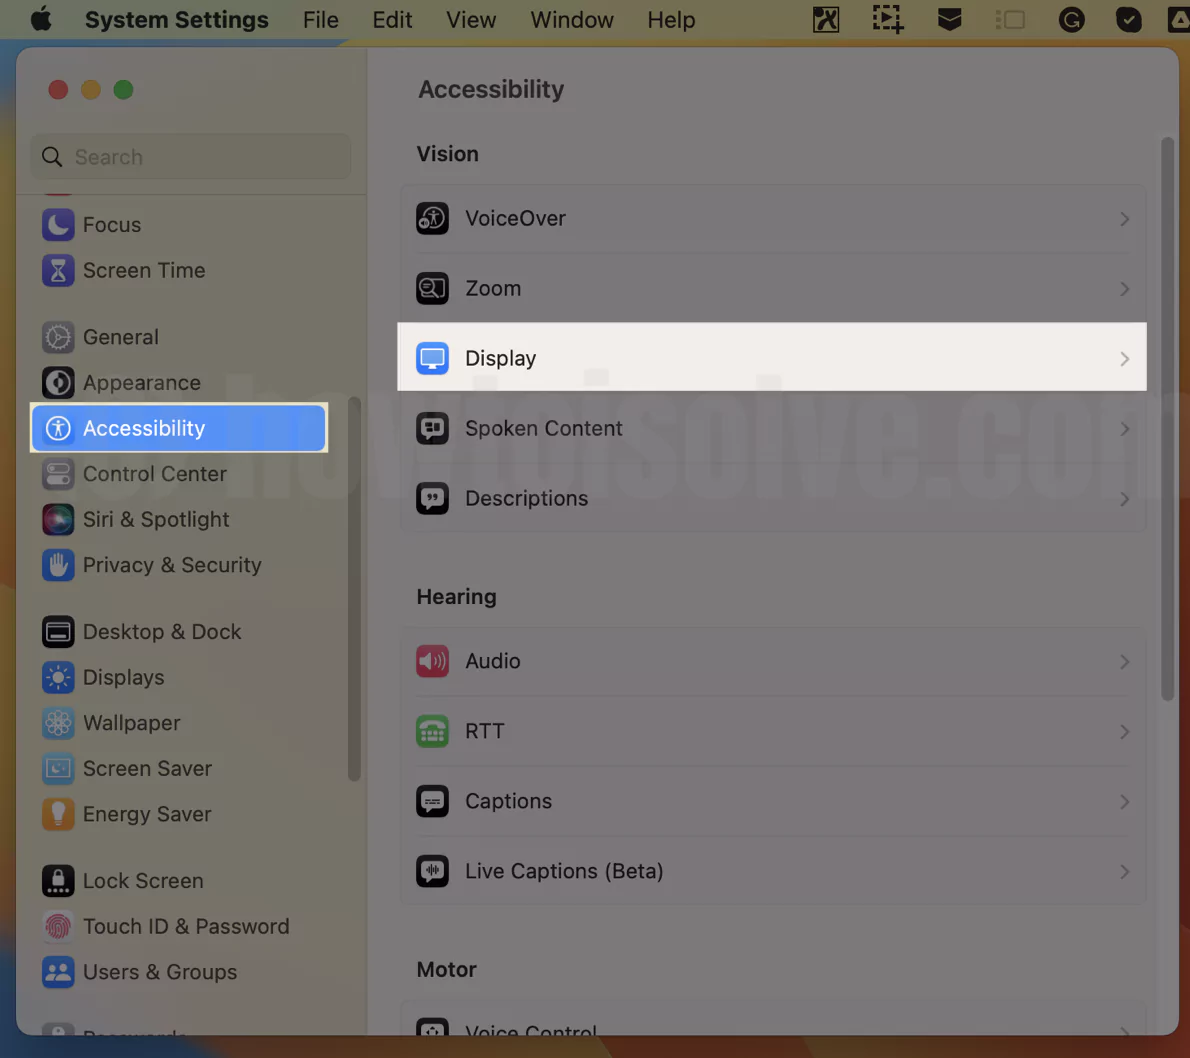
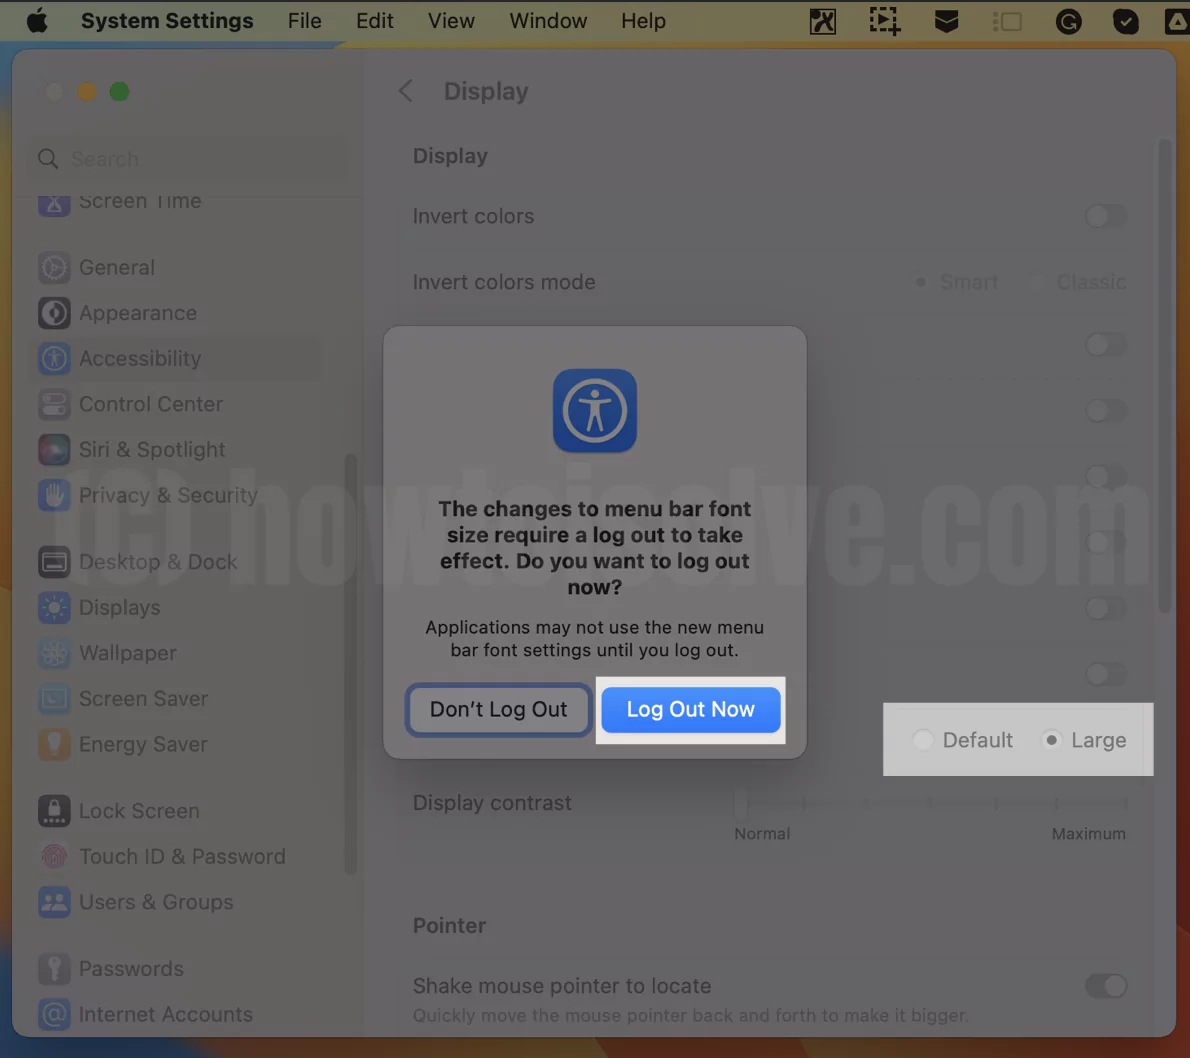
3→ Choose Menu Bar Size (Default or Large). To Apply the changes
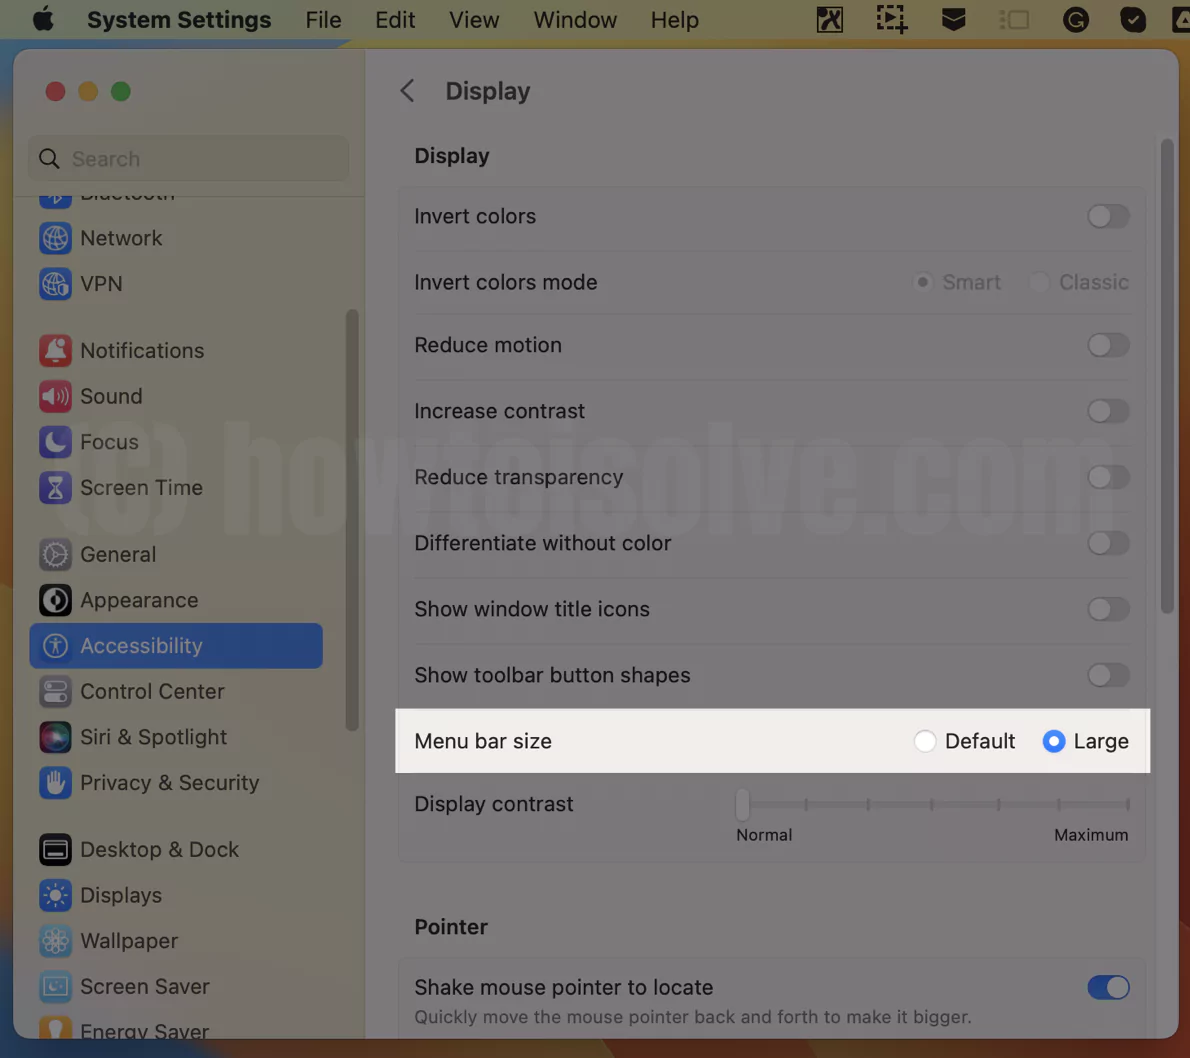
The menu bar font size changes require a log-out to take effect. Do you want to log out now? Log Out Now and Apply the changes.
On MacOS Monterey & Earlier
1→ Go to the Apple Logo from the top Mac menu > System Preferences.
2→ Select Accessilibity Option.

3→ Select from option box, Menu Bar size “Large” and “Default“.

That’s it.
After changing resolution, if the image can’t appear, you can go for the no pictures after changed resolution. Would you like the default resolution that Apple gives? If not, then write us why the resolution you want to change for. You can also get up to after setting manual resolution in your Mac and then leave your reply on how to see this tip on adjusting screen resolution on Mac OS X.


