As you connect the external hard drive to your Mac via cable, your Mac will not opt for any popup on the screen. Still, we can see the connected external drive on the desktop and the Finder sidebar (left-hand collum of the finder window under the locations). Due to many reasons, external hard drives not showing up on Mac. Are there connectivity issues? Is the hardware corrupted? System malfunctioning? For no reason, if the hard drive is not showing up, then follow our guide to fixing My Passport for Mac not showing up on Mac.
Primarily we have mentioned the steps you need to go through so that if you lack one, your hard drive will not be visible on your Mac. Moreover, if you are correctly doing as mentioned in the basic steps (Fix 1), follow the next fix to get success.
In Priority Checks
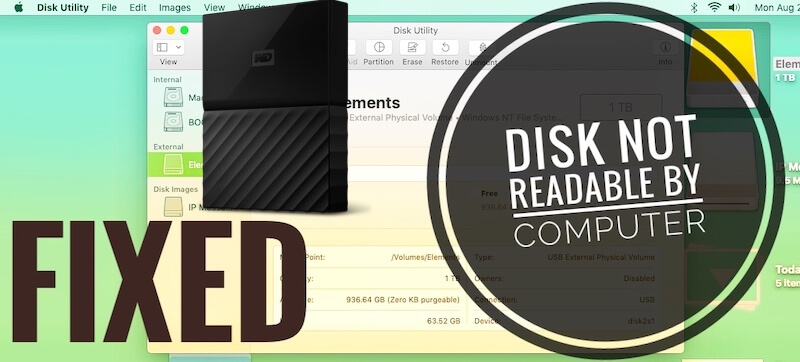
- The drive is not readable on macOS
- USB Port not working, Try to check another USB drive or Flash Drive
- USB access blocked or Disabled
- Hard Drive Cable is damaged or Shorted.
- Driver is incompatible
- Mac is affected by Viruses: try the Best Antivirus software for Mac.
External Hard Drive Not Showing Up on Mac macOS
Solution #1. Check the Basics
- Connect the hard drive to the Mac properly. Also, check the cable of the drive and the USB port of the Mac.
- Connect the hard drive to another computer and then check whether it is responding.
- Restart the Mac and then try to connect Drive to the Mac.
Is the problem My passport is not showing up on desktop or finder? Then try the below fix.
Solution #2. Show my passport for Mac or on desktop
You may also haven’t enabled Show external drive on desktop or Finder. In this case, first of all, check that option and enable it.
Step #1: Launch “Finder.” on your Mac.
Step #2: Click on “Settings.”

Step #3: Select the “General” tab.
Step #4: Now, click on the “External Disks” beneath “Devices” or else click on “Show these items on the desktop.”

Step #5: From now onwards, you can see the external drive on the desktop.
Solution #3. Show External Drive on Finder Sidebar on Mac
Show External Drive on Finder Sidebar on Mac Finder sidebar is customizable, Mac users can simply by the sidebar to hide some items like External Hard Drives, iPhone/iPad, CD/DVD, Bootable Drive, Time Machine Backup Drive, Cloud Storage Drive and Connect Servicer and Computer in your local network.
Step 1: First, Open Finder on Mac. From Top Mac menu > Finder > Settings.
Step 2: Go to the Sidebar Tab > and checkmark the options Hard Disk or External Disk.

Step 3: That’s it.
Now Finder can view the Connected drives and iPhone/iPad.
Solution #4. Check My Passport in Disk Utility
My Passport Not Showing Up in Disk Utility
Disk Utility helps to manage all Internal drives and External drives. In this case, some users can’t see Sidebar from the Disk Utility window. Follow the below steps to Show the hidden External sidebar panel on Mac.
Step 1: Open Disk Utility on Mac. Click on View from the top of the disk utility window.
Step 2: Select Show Sidebar, and Select “Show Only Volumes” to Repair or Erase action easily on it.

Step 3: That’s it.
Still, if you cannot find the My Passport on the Finder or desktop, we will look for the external drive from the Disk Utility.
Step #1: Go to “Disk Utility” from the Spotlight.
Step #2: Click on the “Mount” button by right-clicking on the My Passport external hard drive on the left side of the screen.

Solution #5. Repair the My Passport
Fortunately, we have First Aid in Mac to repair external drives such as My Passport.
Step #1: From the “Disk Utility” click on the connected external drive.
Step #2: Now click on “First Aid” from the top of the screen.
Step #3: Select “Run” and start the diagnosis.

That’s it.
Solution #6. Change the format of your Hard Drive
Previously your Drive was formatted with Different file systems (On Windows PC) that is not compatible with macOS. Prepare your Drive for the supported file system. We recommend erasing your Hard Drive with ‘exFAT’ and ‘FAT32’ file formats. Or Use APFS – Apple’s standard file format.
Step 1: Open Disk Utility on Mac. Select Hard Drive from the Left-hand column in the disk utility.
Step 2: Click on Erase and Select “APFS” in the Compatible File format > Erase.

That’s it.
Solution #7. Hardware issues
Contact the support help desk to get free solutions for official warranty service. Have to visit the company website and find the service center near to you in your country. As an alternate options, do call or email your problems.
We are happy to assist you with any kind of Mac problem, like My Passport for Mac not showing up on Mac. Just send me the text via the Comment box. Also, Enjoy our next tips and tutorials by Joining us on Facebook, Twitter.


