
Here, the time comes to get total control over your Mac or MacBook Pro’s Automatic Software Update or any macOS device. Apple’s MacOS allows you to disable Automatic Software and prevents space. Some macOS user finds Automatic Software Update convenient, and they probably authorize the MacBook to download and install when any new update arrives.
But if you are not excited about all new features and updates, and want to use the older version of macOS, then you can now.
Disable Automatic Software Update on your Apple’s Mac, MacBook
Head over and check How to disable Automatic Software Update on macOS.
On MacOS Ventura & later operating system: Turn on and Turn off Automatic Software Update
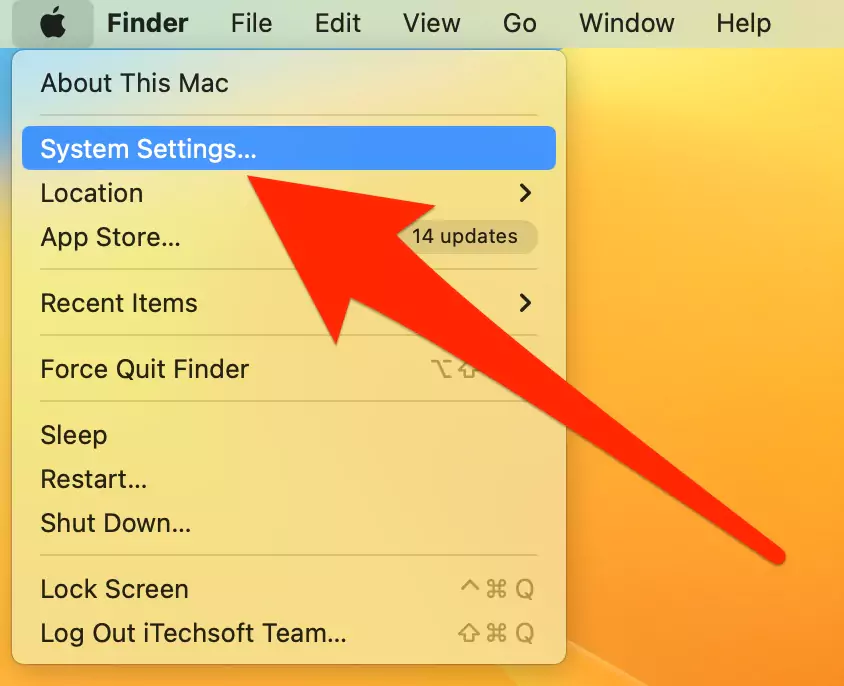
Step 1→ Go to the Apple Logo on the top menu bar > Select System Settings…
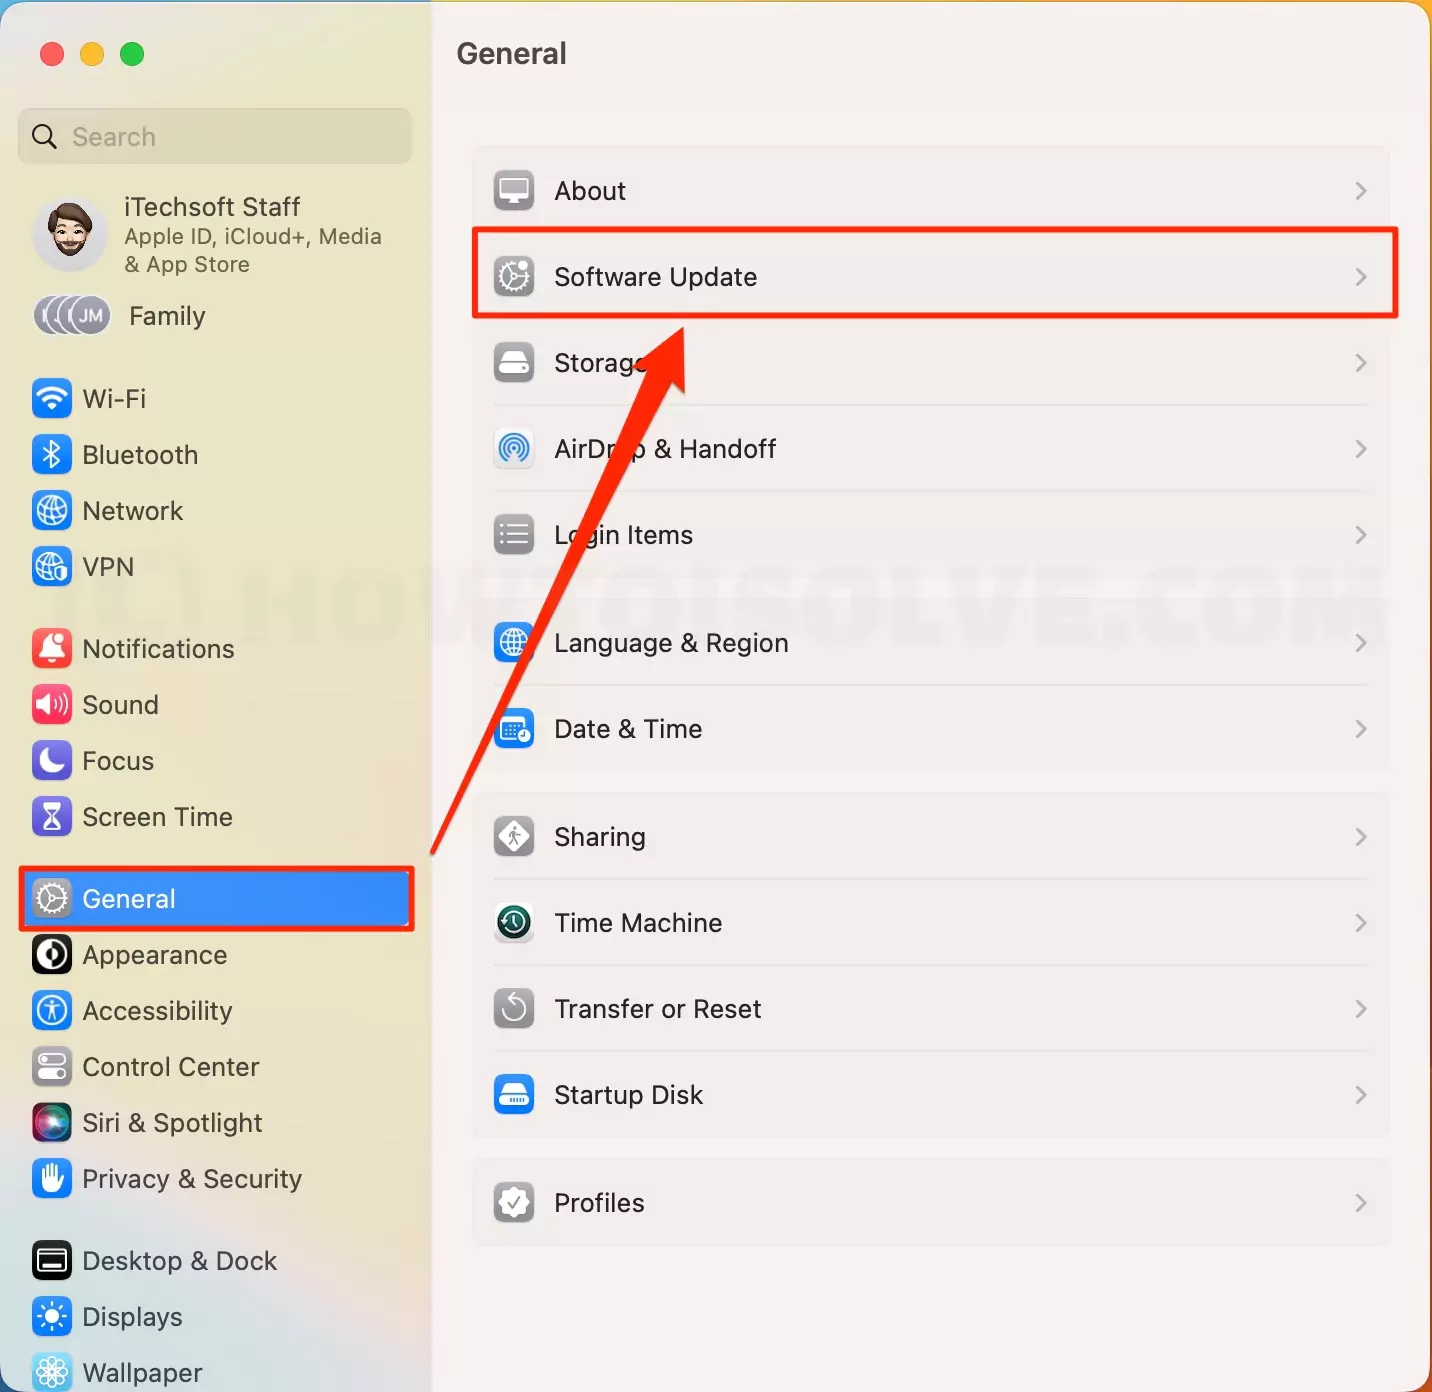
Step 2→ Click General Option > Now click on Software Update
Step 3→ On this screen, please click on the (i) Button next to the Automatic Updates tab.

Step 4→ There is an option for “Check for updates“, “Download new updates when available“, “Install macOS updates” and “Install app updates from the App Store“.
See the Option below and Enable toggle what you do for Auto Up-to-date your System.
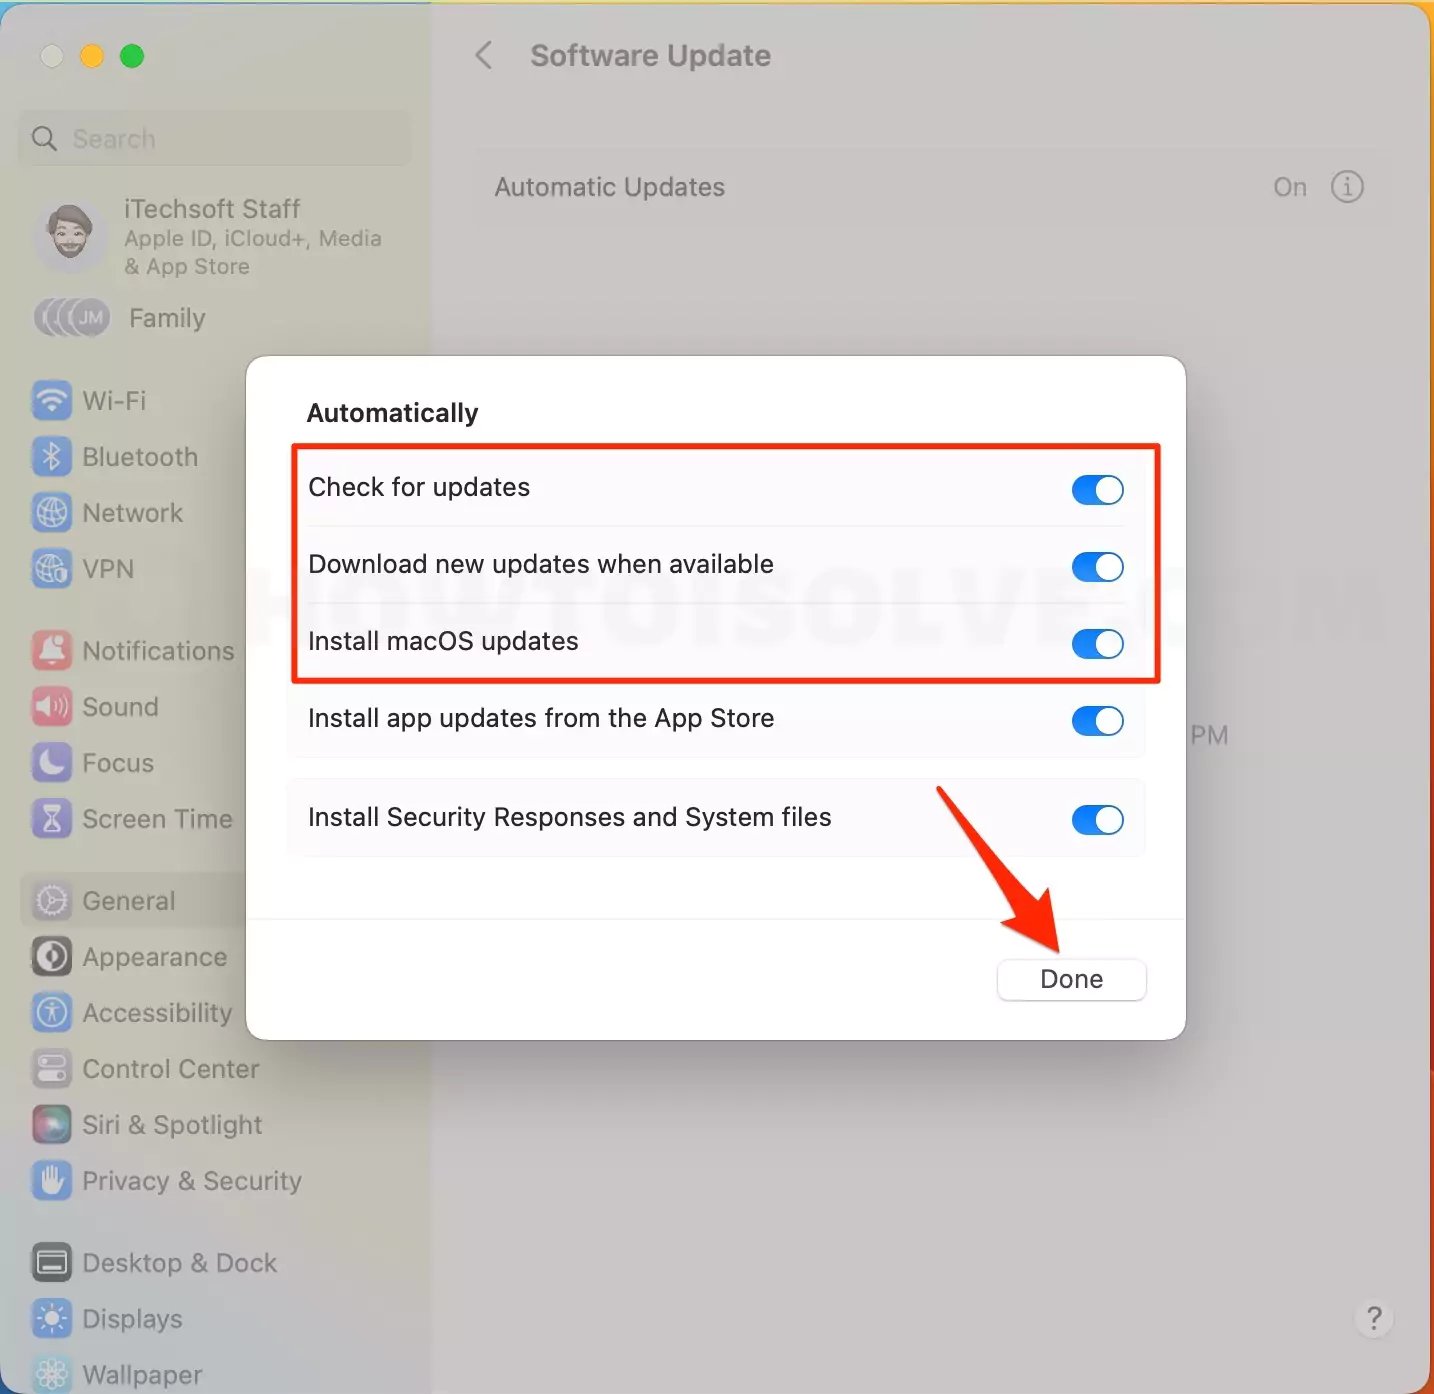
If you want to Keep it installed, all apps are updated automatically in the backgroud, then Enable the Toggle ‘Install app updates from the App Store’.
Step 5→ In the end, Click on Done button to save changes and go back to the desktop so you can access other settings.
That’s it.
On MacOS Monterey & Earlier: Turn off & Turn on Automatic Software Update
Step #1: Click on the “Apple logo” from the top left corner of the screen which is located on top of the screen.
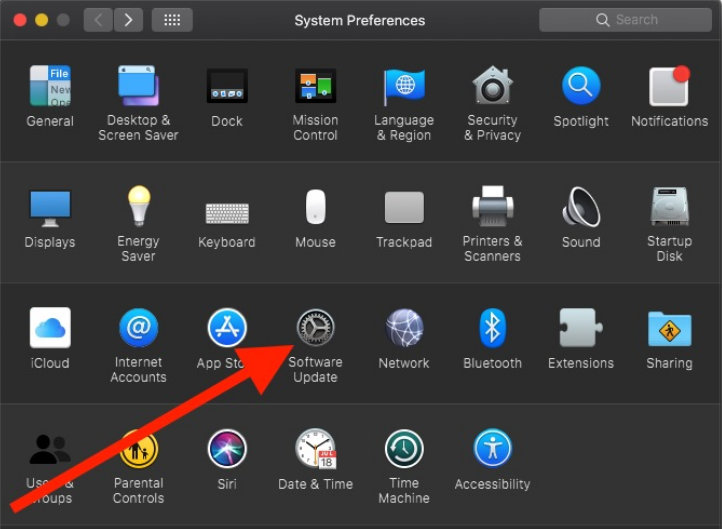
Step #2: Open “System Preferences”.
Step #3: Next, click on “Software Update”.
Now if your macOS is up to date, then it will be mentioned on the screen “Your Mac is up to date (macOS version)”.
Another thing is on the bottom, you can see there is an option“Automatically keep my Mac up to date,” so you know what to do.
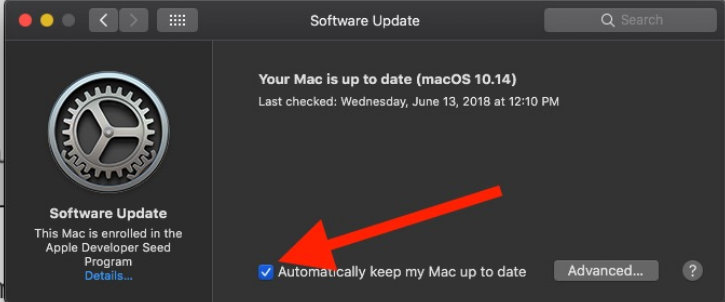
If you choose “Advanced” and open that box, then you will get multiple choices like,
- →Check for updates
- →Download new updates when available
- →Install app updates from the App Store
- →Install macOS update
- →Install system data files and security updates.

In short, Mac gives you few choices if you turn on automatic software updates and don’t want to update anything else other than macOS updates.
So, if you only want to update macOS, don’t turn off Automatic Software Update. Instead, go for advanced options and disable options that you don’t want.
Stop Auto Updating macOS on Mac using Terminal command
if the above method for stopping auto-update macOS won’t work then use alternate ways, Terminal command. Open the terminal on your Mac and Run the below command.
- Open Terminal on your Mac using Spotlight search [Command + Space] or Open Launchpad and search Terminal.
- Copy the below command and Paste in Terminal to run.. Change [name of Update] with macOS name, for ex: sudo /usr/sbin/softwareupdate –ignore“macOS Big Sur”
sudo /usr/sbin/softwareupdate --ignore“macOS [name of update]”Or
softwareupdate --ignore “macOS Big Sur”Hit the Return to Run command, and Enter the mac login password for validation.
This is the alternate method to Stop auto macOS update on your Mac or MacBook.
Enable or Stop Automatically Updating the App From App Store
Alternatively, you can also check Auto App updates settings on Mac from App Store Preferences,
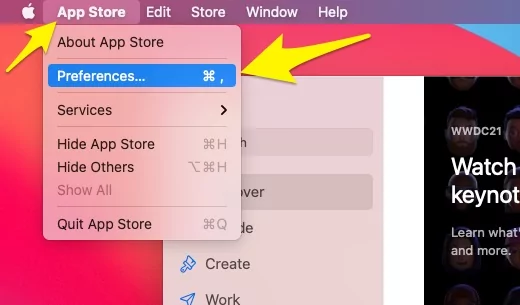
Step 1: Open the app store on your Mac from Launchpad or Click on the Apple logo from the top Mac menu > App Store.
Step 2: Click on “App Store” to appear on the top Menu bar. Then, click the “Preferences”.
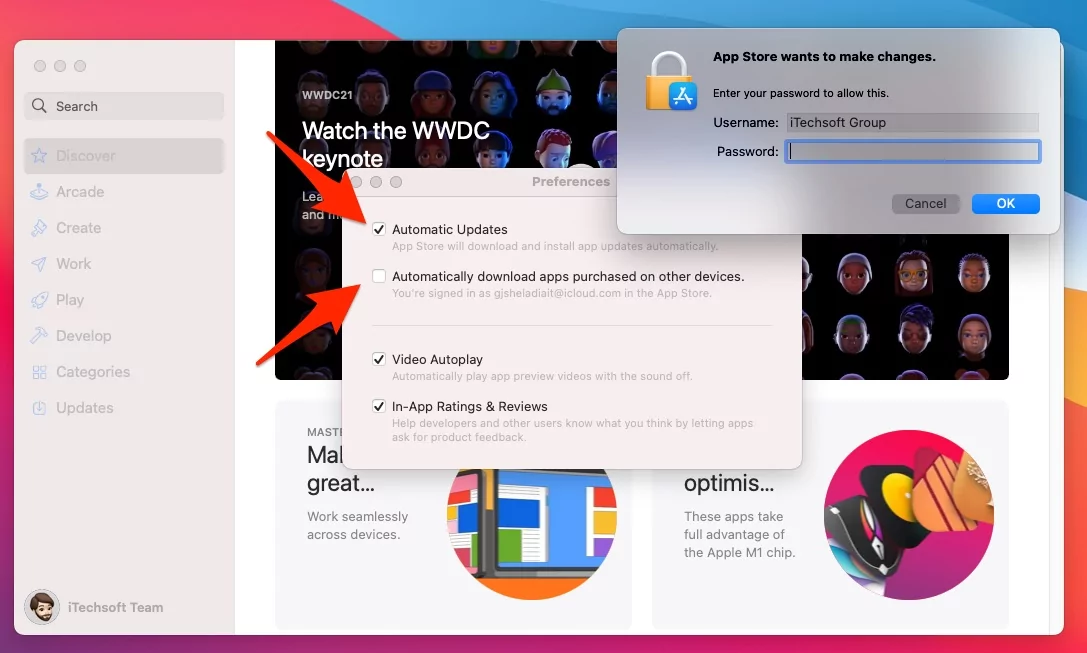
Step 3: See the different update settings for the App installed on your Mac.
It will directly open the App Store, and from there, you can check updates of macOS and applications, too.

If you reporting your Mac running slow during the update, then please follow this source to Speed up Mac After Update macOS!


