If you’ve recently upgraded to macOS Tahoe 26 and are trying to access your Mac’s shared folders or printers from a Windows 11 PC, you might notice new SMB connection prompts, login errors, or even missing devices on the network.
That’s because Apple tightened SMB protocol security in macOS Tahoe, improving authentication and encryption — but it also changed how Windows connects to your Mac.
This guide walks you through setting up SMB sharing on macOS, connecting from Windows, and fixing common “Access Denied” or “Cannot Connect” issues.
✅ Related: learn how to set up printers using SMB protocol on macOS Tahoe 26.
Access Shared Files & Printers on macOS Tahoe 26
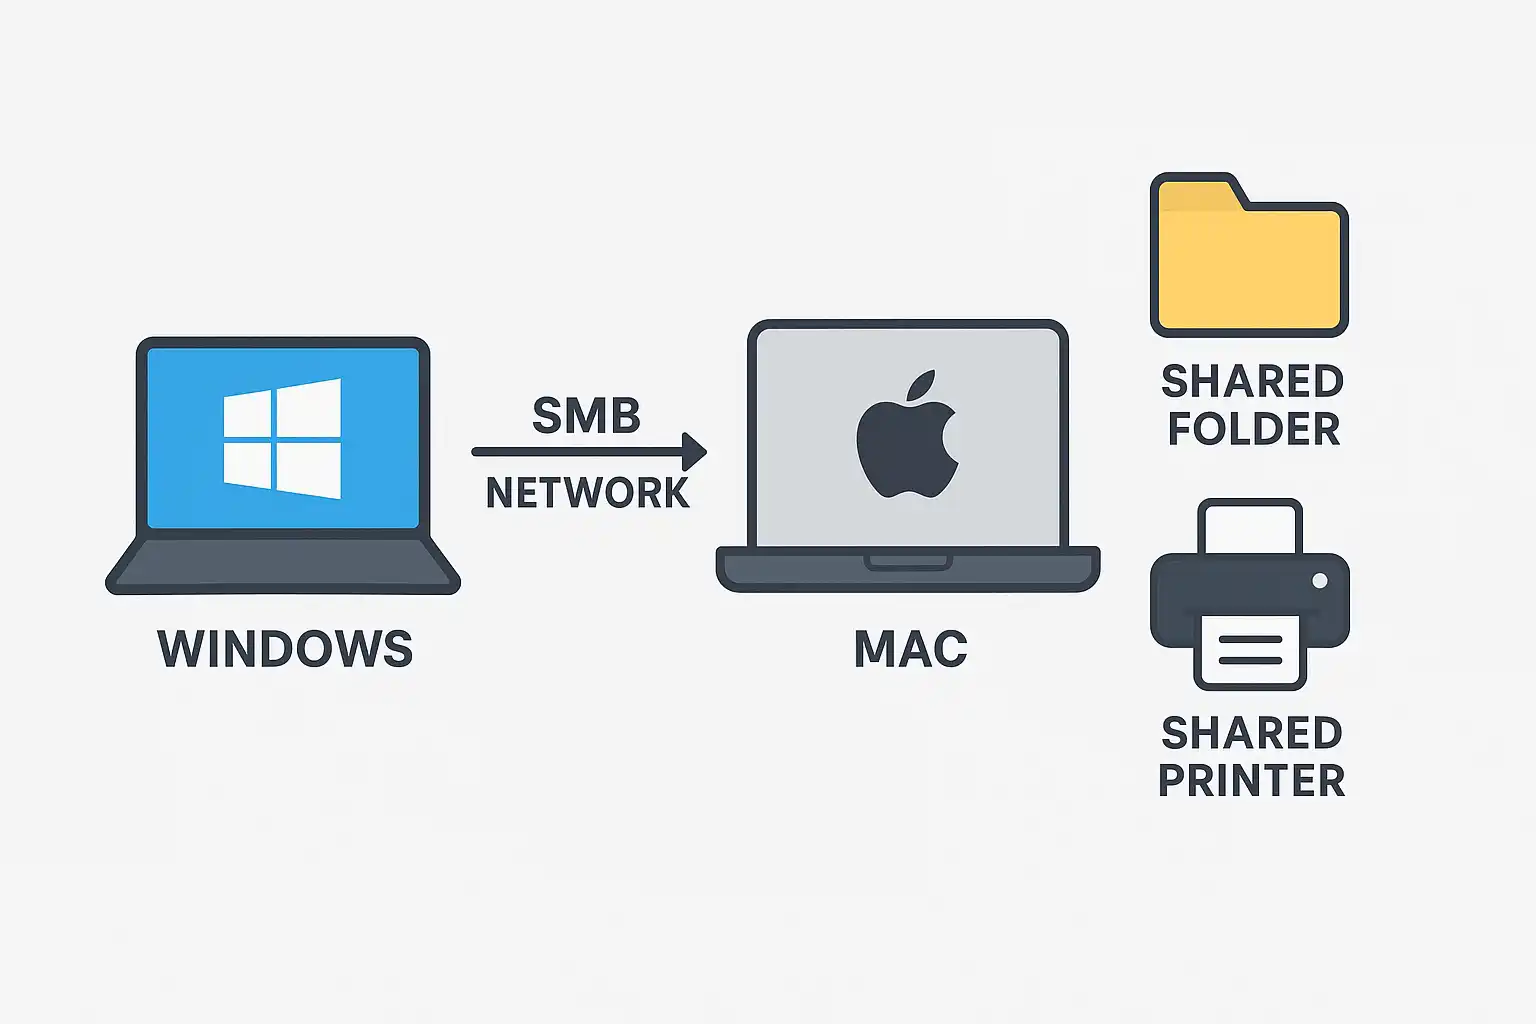
1. What Is SMB and Why It Matters
SMB (Server Message Block) is the standard protocol used for file and printer sharing between macOS and Windows systems.
In short:
- macOS uses SMB to share folders and printers across your local network.
- Windows uses the same protocol to connect and browse shared resources.
- macOS Tahoe 26 now defaults to SMB 3.x, removing older SMB 1.0 support for better security.
✅ If you’re having printer access issues, see [Fix SMB Printing Issues on macOS Tahoe 26].
2. Step 1 — Enable File Sharing on Your Mac
Before connecting from Windows, first ensure that SMB file sharing is enabled on your Mac.
- Open System Settings on your Mac.
- Go to General > Sharing.
- Turn on File Sharing.
- Click the i (Info) button next to File Sharing.
- Under “Options,” enable:
- ✅ Share files and folders using SMB
- ✅ Select the user accounts that can share files.
Optional:
You can also enable Printer Sharing if you plan to print from Windows.
3. Step 2 — Add Shared Folders
- Under File Sharing, click the + button.
- Choose the folders you want to share (e.g., Documents, Downloads, or a custom folder).
- In the “Users” column, assign permissions:
- Read & Write for your account.
- Read Only for other users.
Take note of your Mac’s Network Name or IP address, shown below the Sharing settings — you’ll need this for Windows.
4. Step 3 — Connect to Mac SMB from Windows 11
Now switch to your Windows 11 PC:
- Press Windows + R to open Run.
- Type the following command and hit Enter:
\\MacName.localor\\192.168.x.x(Replace with your Mac’s IP or network name.) - When prompted for credentials:
- Username: Use your macOS account username (not email).
- Password: Use your macOS login password.
- Check “Remember my credentials” for convenience.
✅ If your Mac’s hostname isn’t resolving, try using the Fully Qualified Domain Name (FQDN) format, such as:
\\macbookpro.office.local
You should now see your shared folders and printers right inside File Explorer under Network.
5. Step 4 — Map the Mac Share as a Network Drive
To make access faster, you can map your Mac share as a permanent drive in Windows:
- Open File Explorer > This PC.
- Click Map Network Drive from the toolbar.
- Choose a letter (e.g., “M:”).
- In the Folder field, enter:
\\MacName.local\SharedFolder - Check “Reconnect at sign-in.”
Click Finish, and you’ll now have your Mac folder mounted as a drive under “This PC.”
6. Step 5 — Access macOS Printers from Windows
If you’ve also enabled Printer Sharing on your Mac:
- Go to Control Panel > Devices and Printers > Add a Printer.
- Choose The printer I want isn’t listed.
- Select Add a printer using a TCP/IP address or hostname.
- Type your Mac’s SMB printer address, for example:
\\MacName.local\HP_OfficeJet
7. Common Connection Errors and Fixes
| Error Message | Likely Cause | Fix |
|---|---|---|
| “Access Denied” | Wrong credentials | Use your macOS username and password (case-sensitive). |
| “Network Path Not Found” | Mac hostname not resolving | Use IP address or edit Windows hosts file. |
| “Cannot Connect to SMB Share” | Use the IP address or edit the Windows hosts file. | Go to System Settings > Network > Firewall > Allow SMB sharing. |
| “Credentials Incorrect” | Saved login cache mismatch | Open Windows Credential Manager, remove old entries, reconnect. |
8. Optional: Add Mac to Windows Hosts File (For Stability)
If Windows fails to locate your Mac by name, you can manually create a local mapping:
- Open Notepad as Administrator.
- Open the file:
C:\Windows\System32\drivers\etc\hosts - Add this line:
192.168.1.5 MacName.local - Save and close the file.
Now, reconnect using the name \\MacName.local — No DNS issues.
9. Extra Tips for Enterprise & IT Users
- macOS Tahoe uses SMB 3 encryption and signing by default. Ensure that Windows group policies or the registry settings allow SMB3 connections.
- Disable SMB1 protocol on Windows — it’s outdated and insecure.
- If your Mac shares don’t appear automatically, type the path directly in File Explorer’s address bar.
- Keep your macOS and Windows updates current to maintain SMB compatibility.
Wrap-Up
That’s it! You’ve successfully learned how to connect to a Mac SMB share from Windows 11 and access files or printers hosted on macOS Tahoe 26.
Once properly configured, SMB connections work seamlessly between Mac and Windows — just remember to use FQDN instead of IP, and always log in with your macOS credentials.
Share Your Feedback
Did this guide help you access your Mac from Windows? Drop your reaction or comment below — your feedback helps the macOS Tahoe community fix SMB connection problems faster.


