Want to unlock advanced features on your Chromebook? Enabling Developer Mode gives you deeper system access — allowing you to install custom operating systems, sideload Android APK files, and modify system settings beyond the standard ChromeOS limits.
But before you start, there’s something very important you need to know.
⚠️ IMPORTANT WARNING
Enabling Developer Mode will permanently delete all local data on your Chromebook.
This process performs a full Powerwash reset.
📌 Make sure you:
- Back up files to Google Drive
- Save data to an external USB drive
- Sync important Chrome data
Once Developer Mode is enabled, all local files will be erased.
How To Enable Developer Mode On Chromebook Laptop
This method applies to most Chromebook laptops with a keyboard.
Step 1: Enter Recovery Mode
- Turn off your Chromebook completely.
- Press and hold the Esc + Refresh key.
- The Refresh key looks like a circular arrow.
- While holding both keys, tap the Power button.
Your device will boot into Recovery Mode.
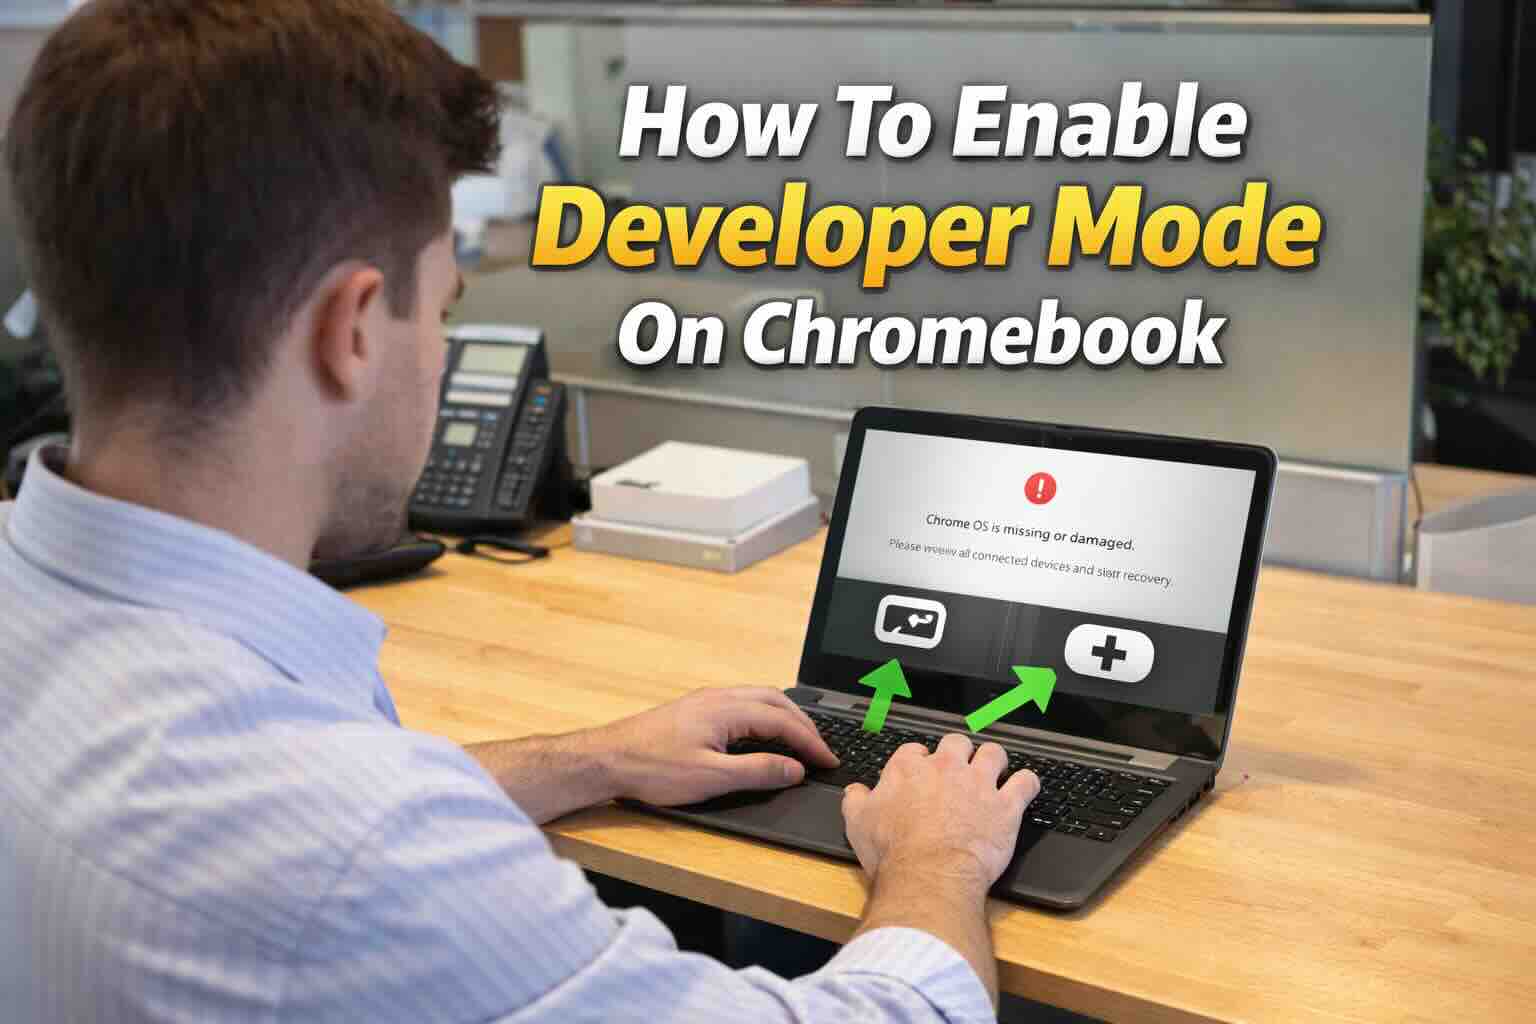
Step 2: Bypass ChromeOS Verification
When you see the message:
“ChromeOS is missing or damaged”
👉 Press Ctrl + D
This tells the system you want to disable OS verification.
✅ Step 3: Confirm Developer Mode
Press Enter to confirm.
Your Chromebook will now begin preparing Developer Mode.
⏳ This process can take several minutes.
Do not turn off the device during this time.
Step 4: Final Boot
After setup finishes, you will see:
“OS verification is OFF”
👉 Press Ctrl + D to boot into ChromeOS.
⚠️ Note:
You will see this warning screen every time you power on your Chromebook while Developer Mode is enabled.
How To Enable Developer Mode On Chromebook Tablet (No Keyboard)
If you are using a Chromebook tablet without a keyboard, follow these steps.
Step 1: Enter Recovery Mode
- Turn off the device.
- Press and hold:
- Volume Up
- Volume Down
- Power button
- Hold for about 10 seconds.
The Recovery screen will appear.
- Use the Volume buttons to navigate.
- Select “Confirm Enabling Developer Mode.”
- Press the Power button to confirm.
Step 3: Boot the System
Select:
- Developer Options
- Boot from Internal Disk
Your Chromebook will now start in Developer Mode.
Example: When Would You Use Developer Mode?
Let’s say you want to:
- Install Linux manually
- Sideload Android APK files outside the Play Store
- Install a custom ChromeOS build
Developer Mode allows these advanced actions.
For example, if you’re a developer testing Android apps outside the Play Store, this mode gives you that flexibility.
⚠️ Common Restrictions & Important Notes
🏫 Managed Chromebooks
If your Chromebook is managed by:
- A school
- An employer
- An organization
Developer Mode is usually blocked by system policy.
You cannot bypass this restriction without administrative control.
🔐 Security Risks
Enabling Developer Mode disables Verified Boot.
This means:
- Your Chromebook becomes less secure
- Malware protection is reduced
- Warranty may be affected
Only enable Developer Mode if you understand the risks.
🔄 How To Disable Developer Mode
If you want to revert back:
- Restart your Chromebook.
- When you see “OS verification is OFF,”
- Press the Spacebar.
- Confirm to re-enable OS verification.
⚠️ This will again wipe all local data.
⭐ Highlight Summary
✔ Developer Mode unlocks advanced system access
✔ It permanently deletes local files during activation
✔ You must bypass OS verification
✔ Managed devices usually block this feature
✔ You can disable it anytime by pressing Spacebar at startup
Final Thoughts
Developer Mode is powerful but not for casual users. If you need advanced customization, Linux installation, or system access, it’s extremely useful.
If you only use your Chromebook for browsing, schoolwork, or streaming, you probably do not need it.