Manage photos as an album on iPhone or iPad from hundreds of mixed-up photos taken at parties, functions, meetings, and with friends and childhood memories; the photos might be creating confusion to see any of the photos. At that time photo management was a proficient way to face this problem. This problem can be handled by creating or managing photos as an album on iPhone or iPad.
Photos in the album are very easy to share on social media; you can also make photo groups as album names like “Selfies,” “Group Photos,” or “Family Photos.” These types of categories in photo albums make it very handy to manage and transfer in an instantaneous way without perplexity. In this iOS tutorial, you can learn how to create and manage photos as an album or folder stack.
Here’s How to create and manage photos as an album on iPhone and iPad
In iOS 26,
Step 1: open Photos app on iPhone > Tap on Library, then select More, and choose Collapse All to easily find items within categories.

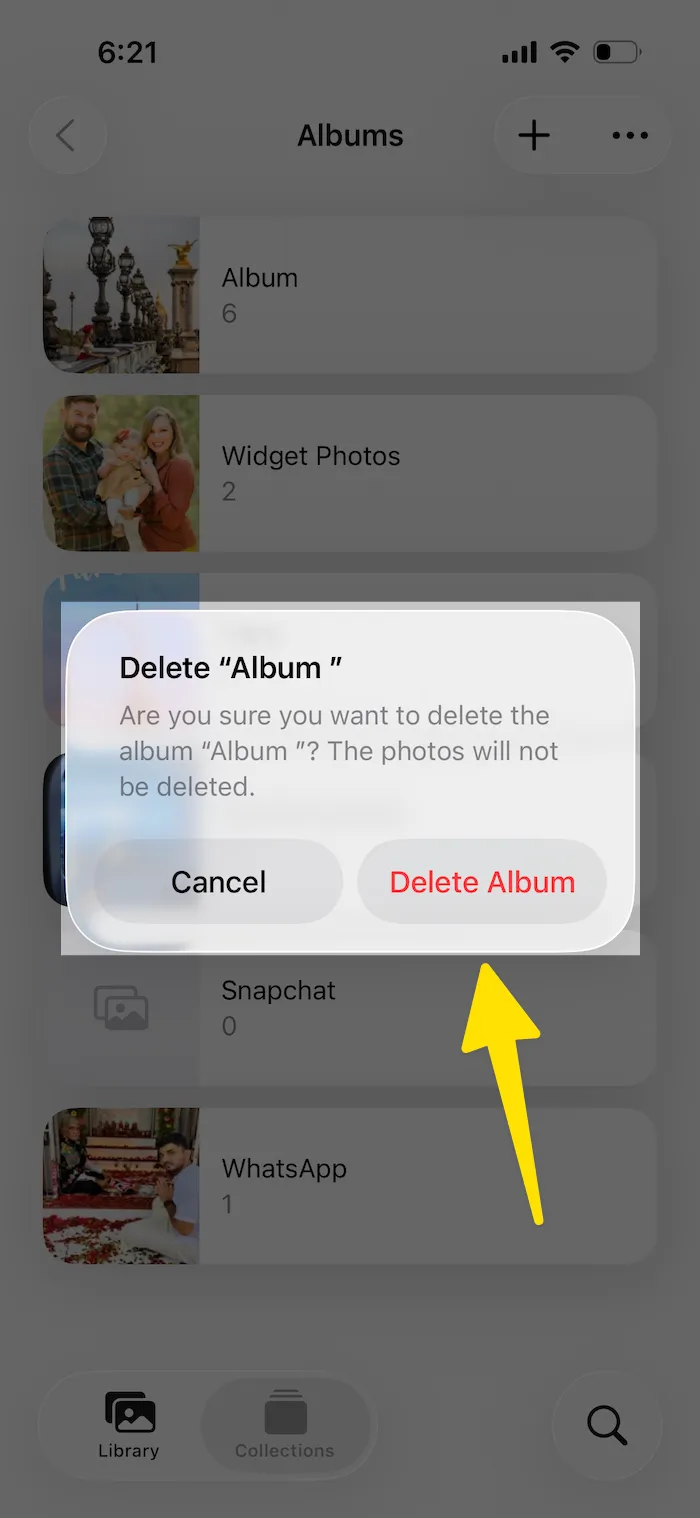
Step 2: Tap on Albums > Touch and Hold on Album Name > Delete Album.

Step 3: Confirm with the Delete Album option. To create a new album, tap on the “+” icon located at the top right corner.
in iOS 18,
iOS 17 & Earlier,
- Step 1: Open the Photos app on your iPhone.
- Step 2: From this screen (the Home screen of the app), you can see the Album Tab option at the bottom.
- Step 3: Then you can also see different folder names in a stack, like Videos, Camera Roll, and Panoramas, by photo app. You don’t have to go inside these folders.
- Step 4: Just tap on the “+” icon labeled “New Album” located at the top right-hand corner of the screen.

- Step 5: After pressing it, you can see one popup window. Place the name of your album, for which you want to create a separate bunch of photos. Tap on the Save option.


- Step 6: After tapping on Save, you will see other windows containing all photos from your iPhone and iPad memory. Just select more than one at a time as a group or the same categories.
- Step 7: After selecting all photos, which might be 10, 20, 30…50, or more, press “Done.”
- Step 8: Now you are done. You created photo categories as an album on your iPhone or iPad.
How to Delete Photo Albums on iPhone
If you want to delete an accidentally created or temporary album from the iPhone Photos app, then here are the steps to delete photo albums on iPhone without deleting your photos from the Photos app. Also, we can create a new album, add a new photo to an album, or remove/delete photos from an album. Here are steps to delete photo albums on iPhone.
Step 1: Open the Photos app on iPhone > Tap on the Albums tab from the bottom of the screen.
Step 2: Now, tap on the See All Album option, and next, tap on Edit at the top right corner of the screen.

Step 3: See the Remove red button icon on each album. Tap on it to delete it from the Photos app album.
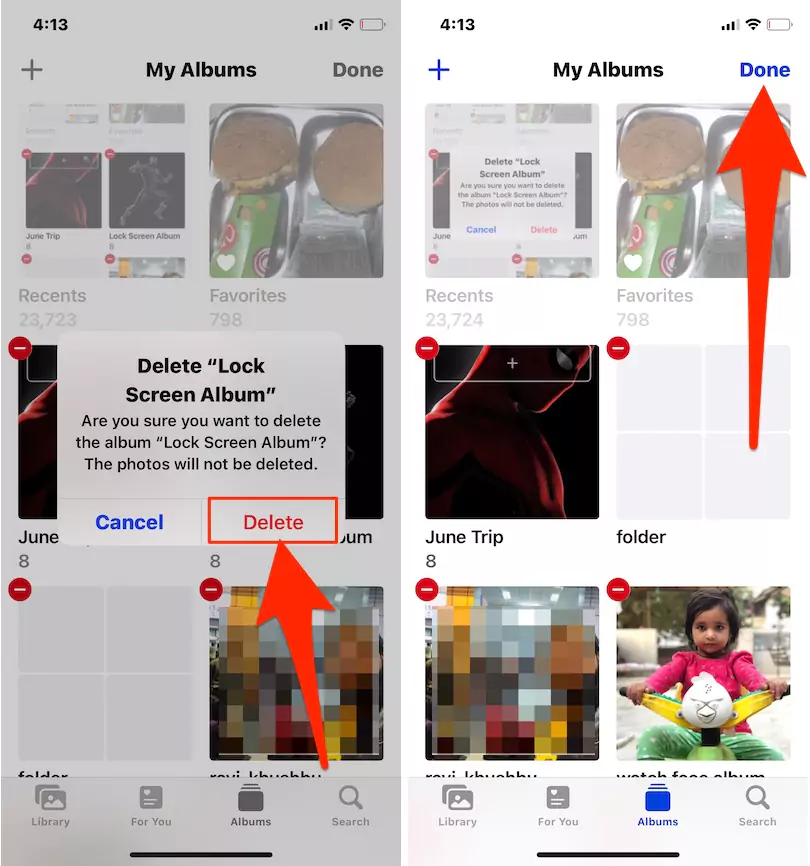
Step 4: Now, you are done. Save the changes. and the album is removed from your iPhone, but the photosstay in your iPhone Photos app.
We ardor that you enjoyed easy-to-share photos in Manage Photos as an album on iPhone and iPad, an undemanding and direct technique. Have you any queries on how to create or manage photos as an album on iPhone or iPad? Then comment below.