Estimated reading time: 6 minutes
Key Takeaways
- To open the Clipboard in Windows 11, use the Windows key + V shortcut for quick access.
- Alternatively, you can enable Clipboard history through Settings by toggling it on under System > Clipboard.
- You can pin important clipboard items to prevent them from being deleted during a cleanup.
- Sync Clipboard across devices by turning on the sync option in Clipboard settings for multi-device access.
- Additionally, you can clear your clipboard history through the Clipboard panel or via Settings.
In Windows 11, the Clipboard feature allows you to view and manage the text, images, and HTML you’ve recently copied. Whether you’re copying and pasting for work or personal projects, using Clipboard history can save you time by letting you quickly access items you’ve copied earlier. Here’s a comprehensive guide on how to open and manage Clipboard history on Windows 11.
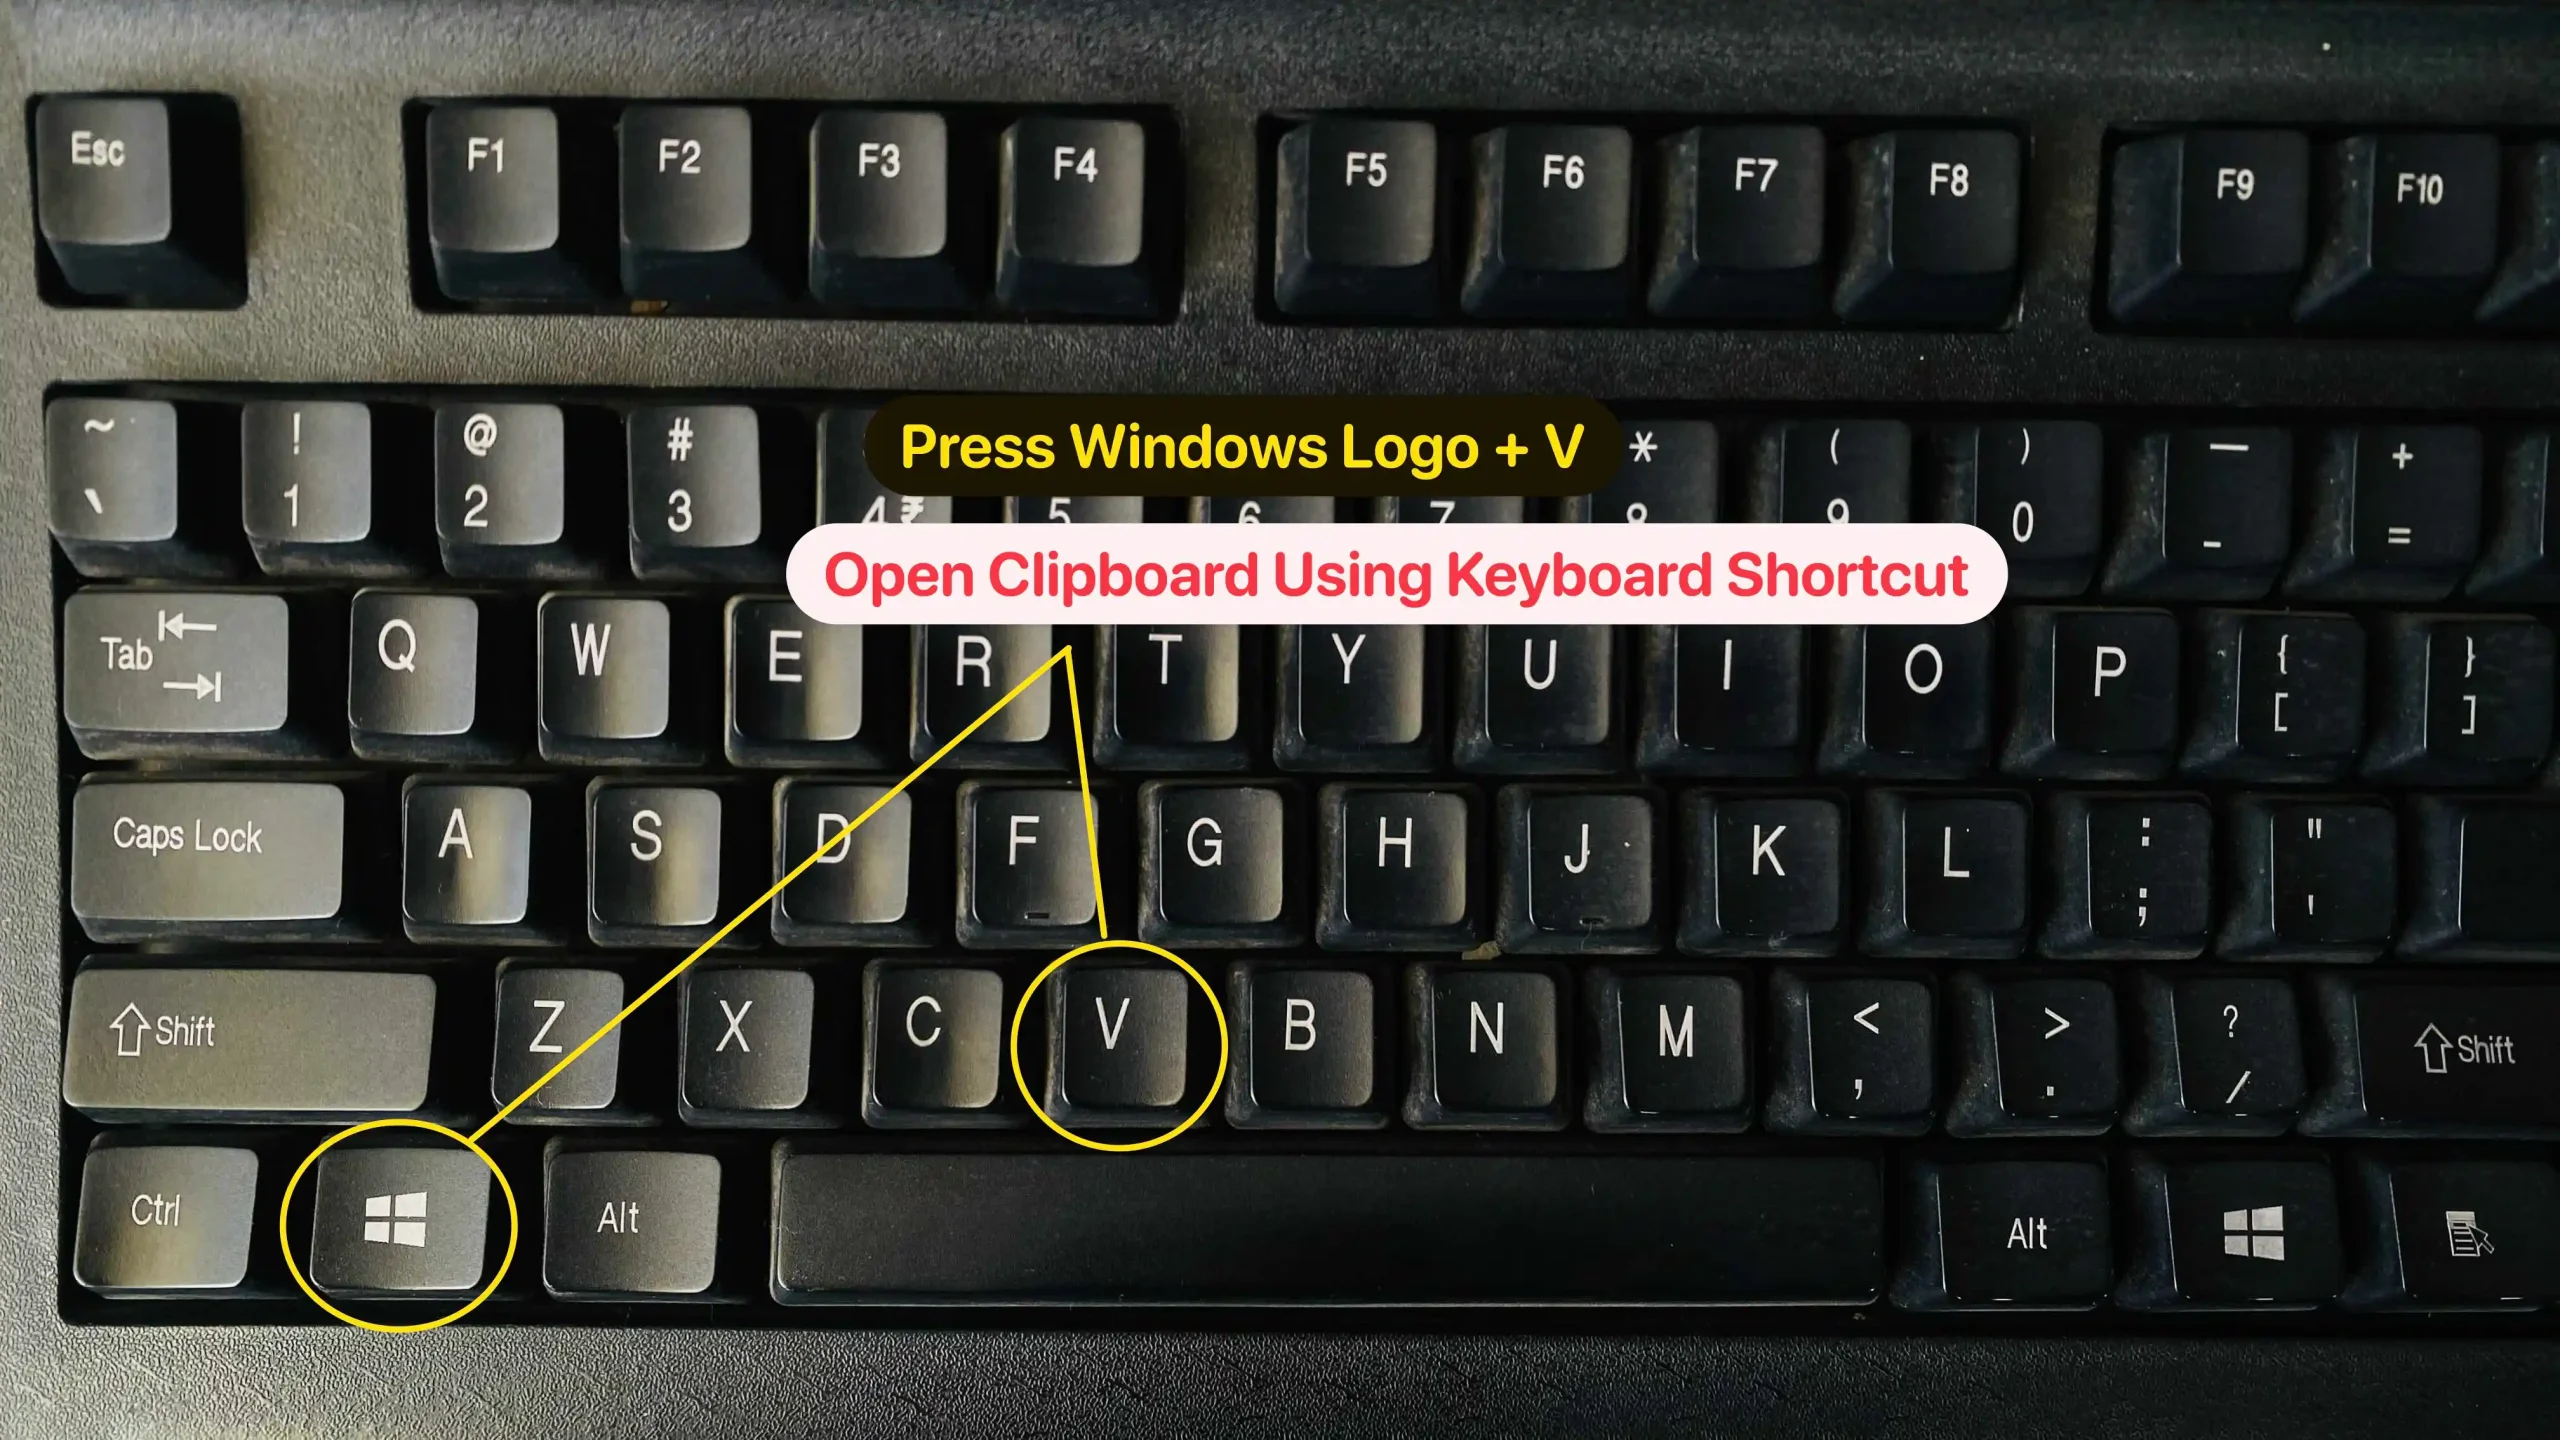
Method 1: Open Clipboard Using Keyboard Shortcut (Fastest Way)
The fastest way to open the Clipboard in Windows 11 is by using the Windows key + V keyboard shortcut.
Steps:
- Press the Windows logo key + V on your keyboard.
- If this is your first time using Clipboard history, a window will pop up with a Turn on button.
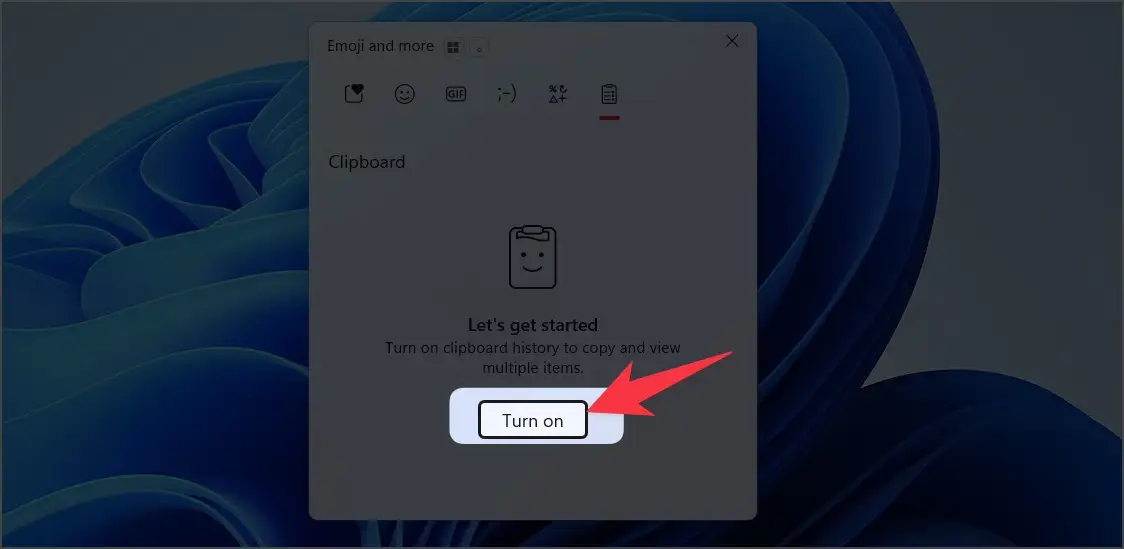
- Click the Turn on button to enable Clipboard history.
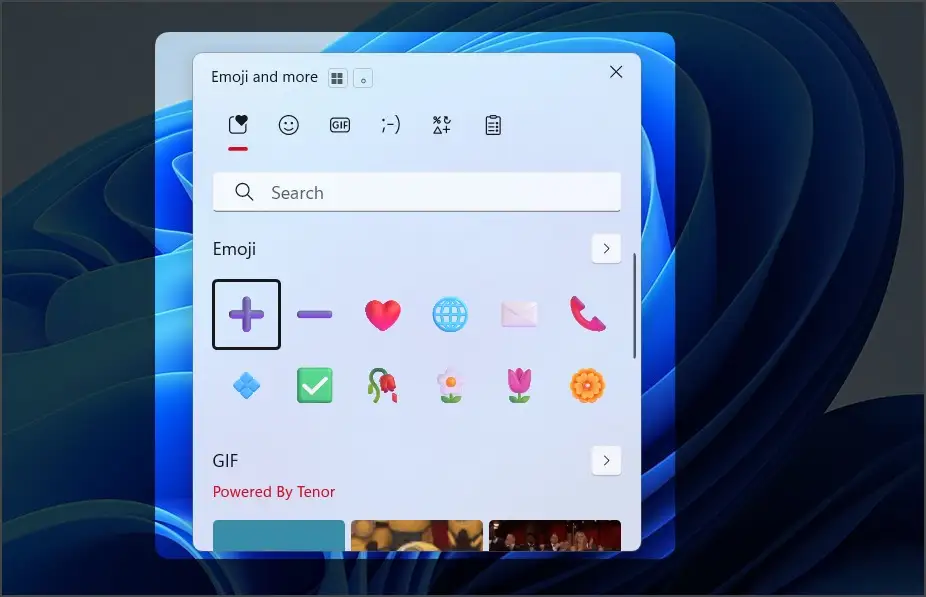
Once enabled, pressing Windows + V will show you a list of the text, images, and HTML you’ve recently copied.

Pro tip: After enabling Clipboard history, the shortcut will always show your clipboard items, making it easy to access them anytime.
Method 2: How to open clipboard in windows 11 without shortcut
If you prefer using the Settings menu to manage Clipboard, follow these steps: First, enable Clipboard History by going to Settings > System > Clipboard.
Once it’s turned on, you can access your clipboard history anytime by pressing Windows + V.
Alternatively, you can open the On-Screen Keyboard from search and use it to access the same shortcut, or explore third-party tools for additional features.
Steps:
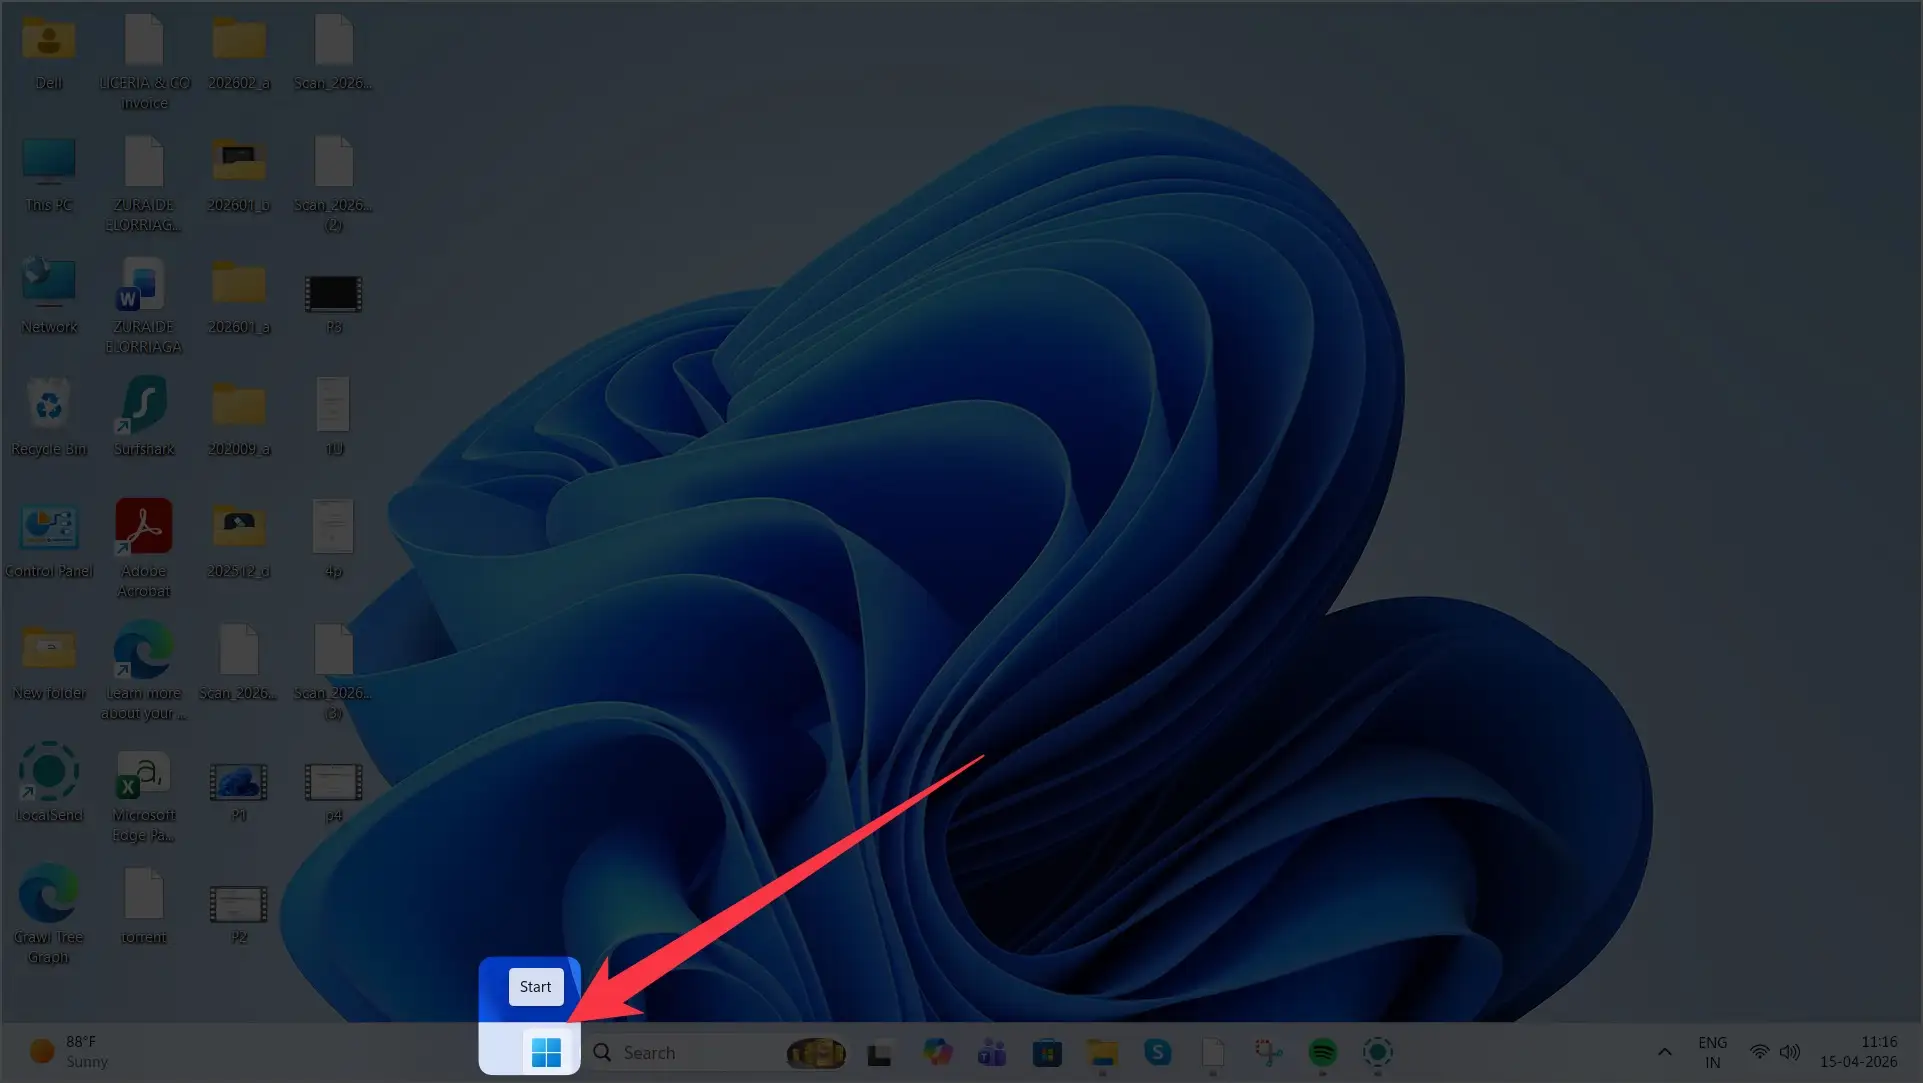
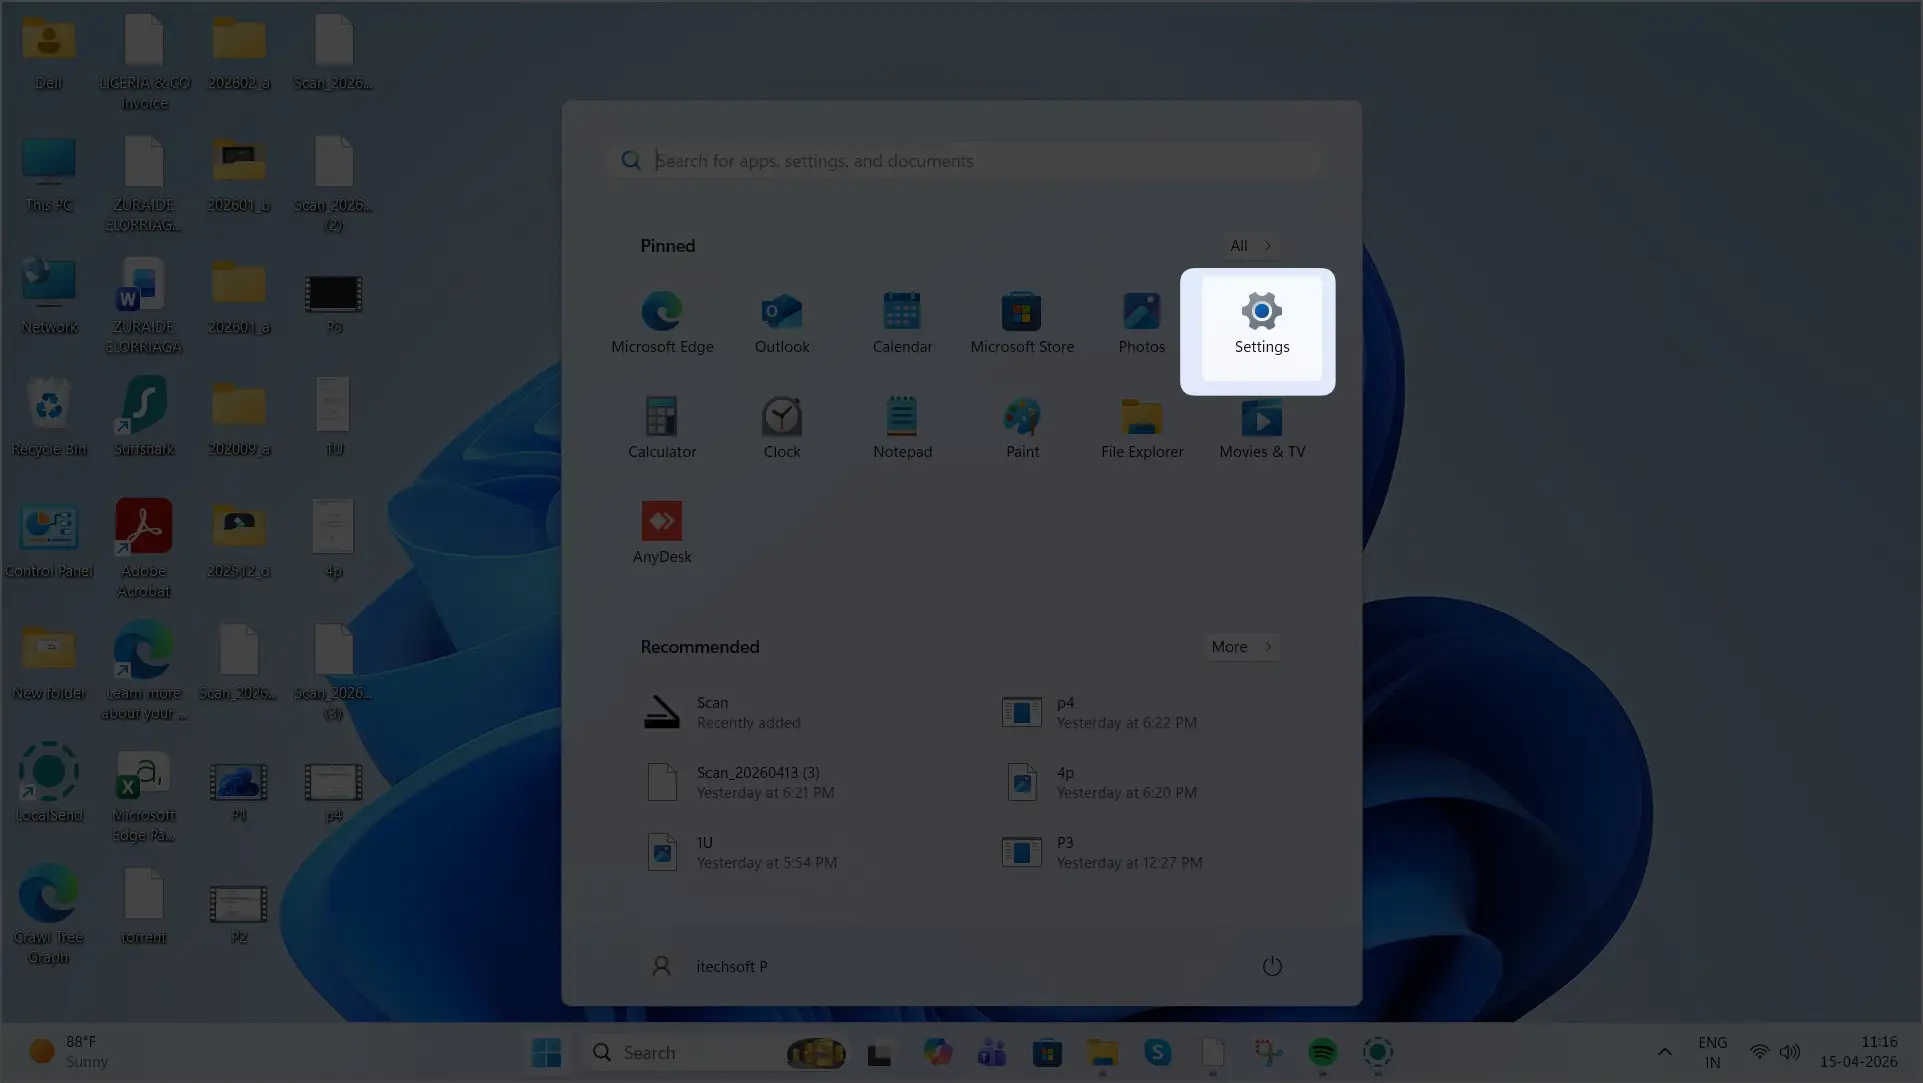
- Open Settings by pressing Windows + I or click Start > Settings.
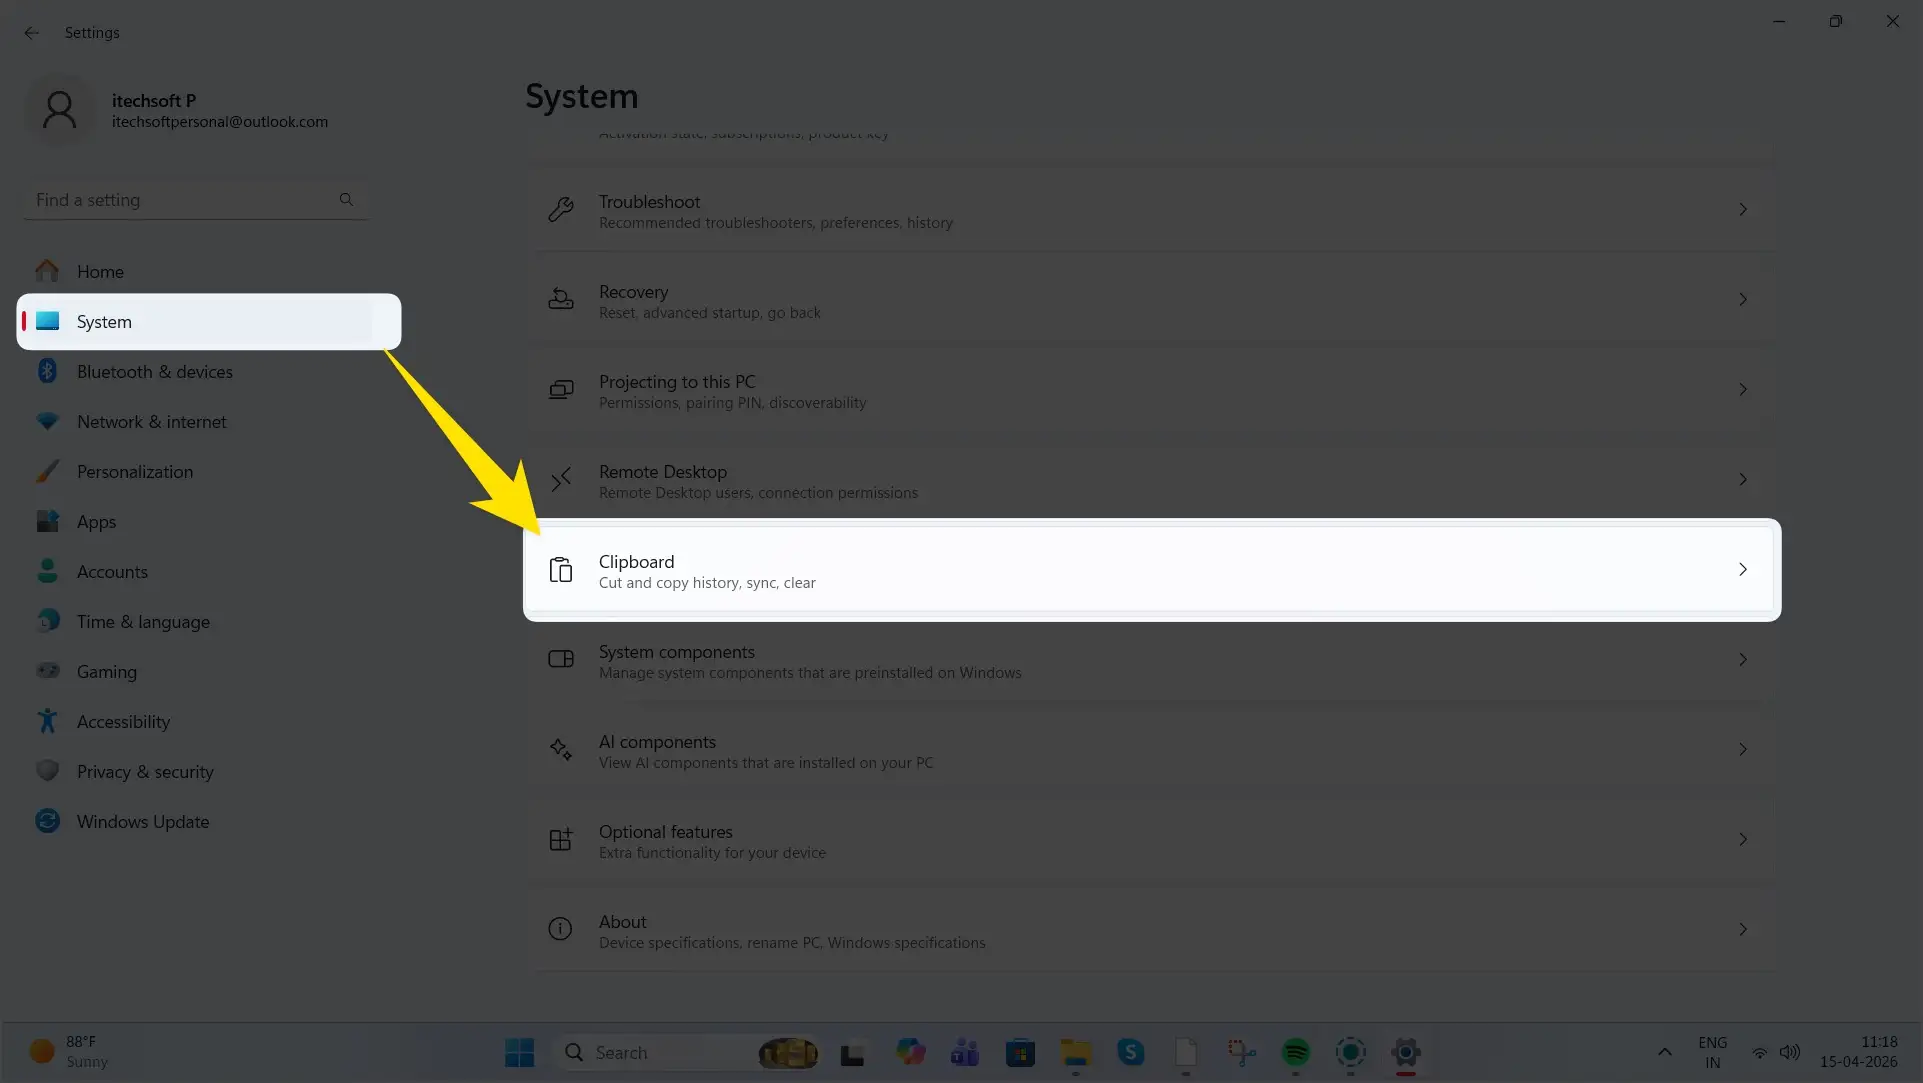
- In the Settings menu, select System from the left-hand menu.
- Scroll down and click on Clipboard under the System section.
- Toggle the Clipboard history switch to On.
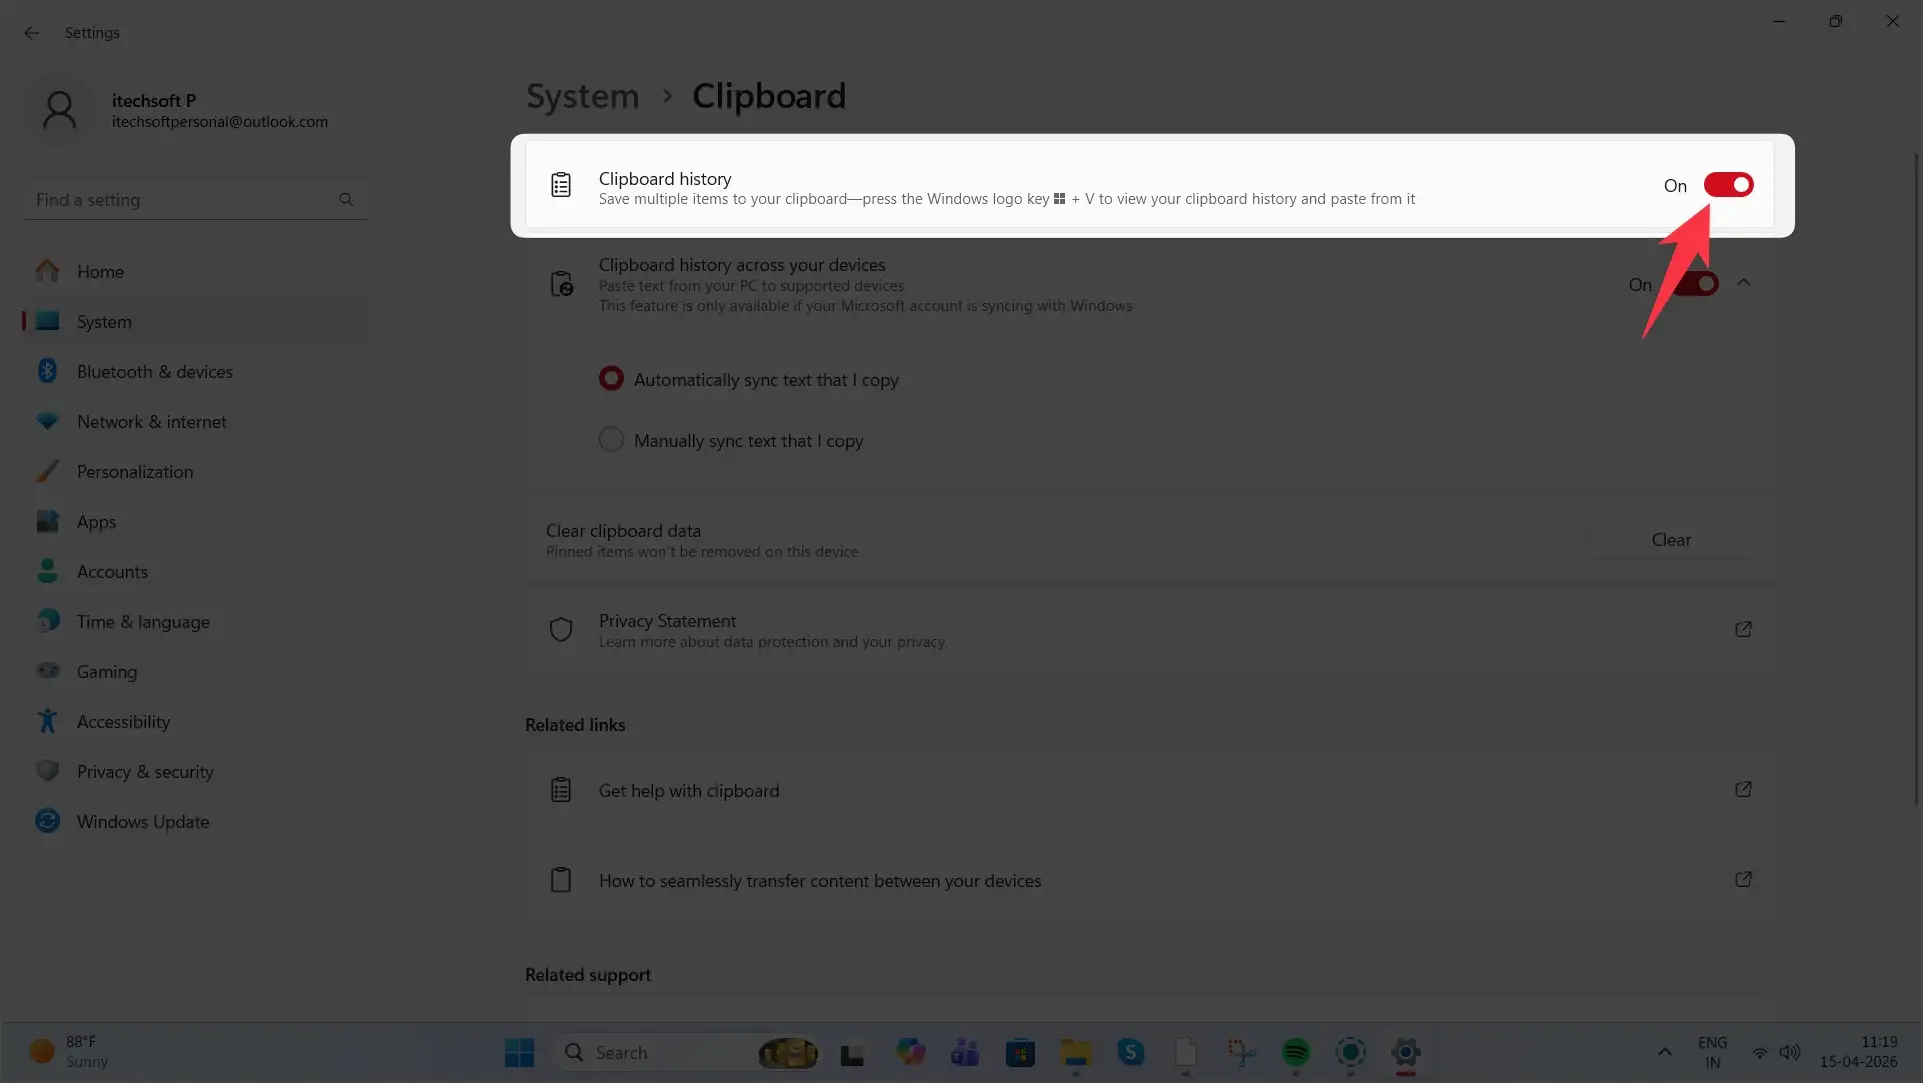
This will allow you to manage your clipboard history, including enabling/disabling history and syncing across devices.
Quick Tips for Windows 11 Clipboard
Once you’ve enabled Clipboard history, here are some quick tips to enhance your experience:
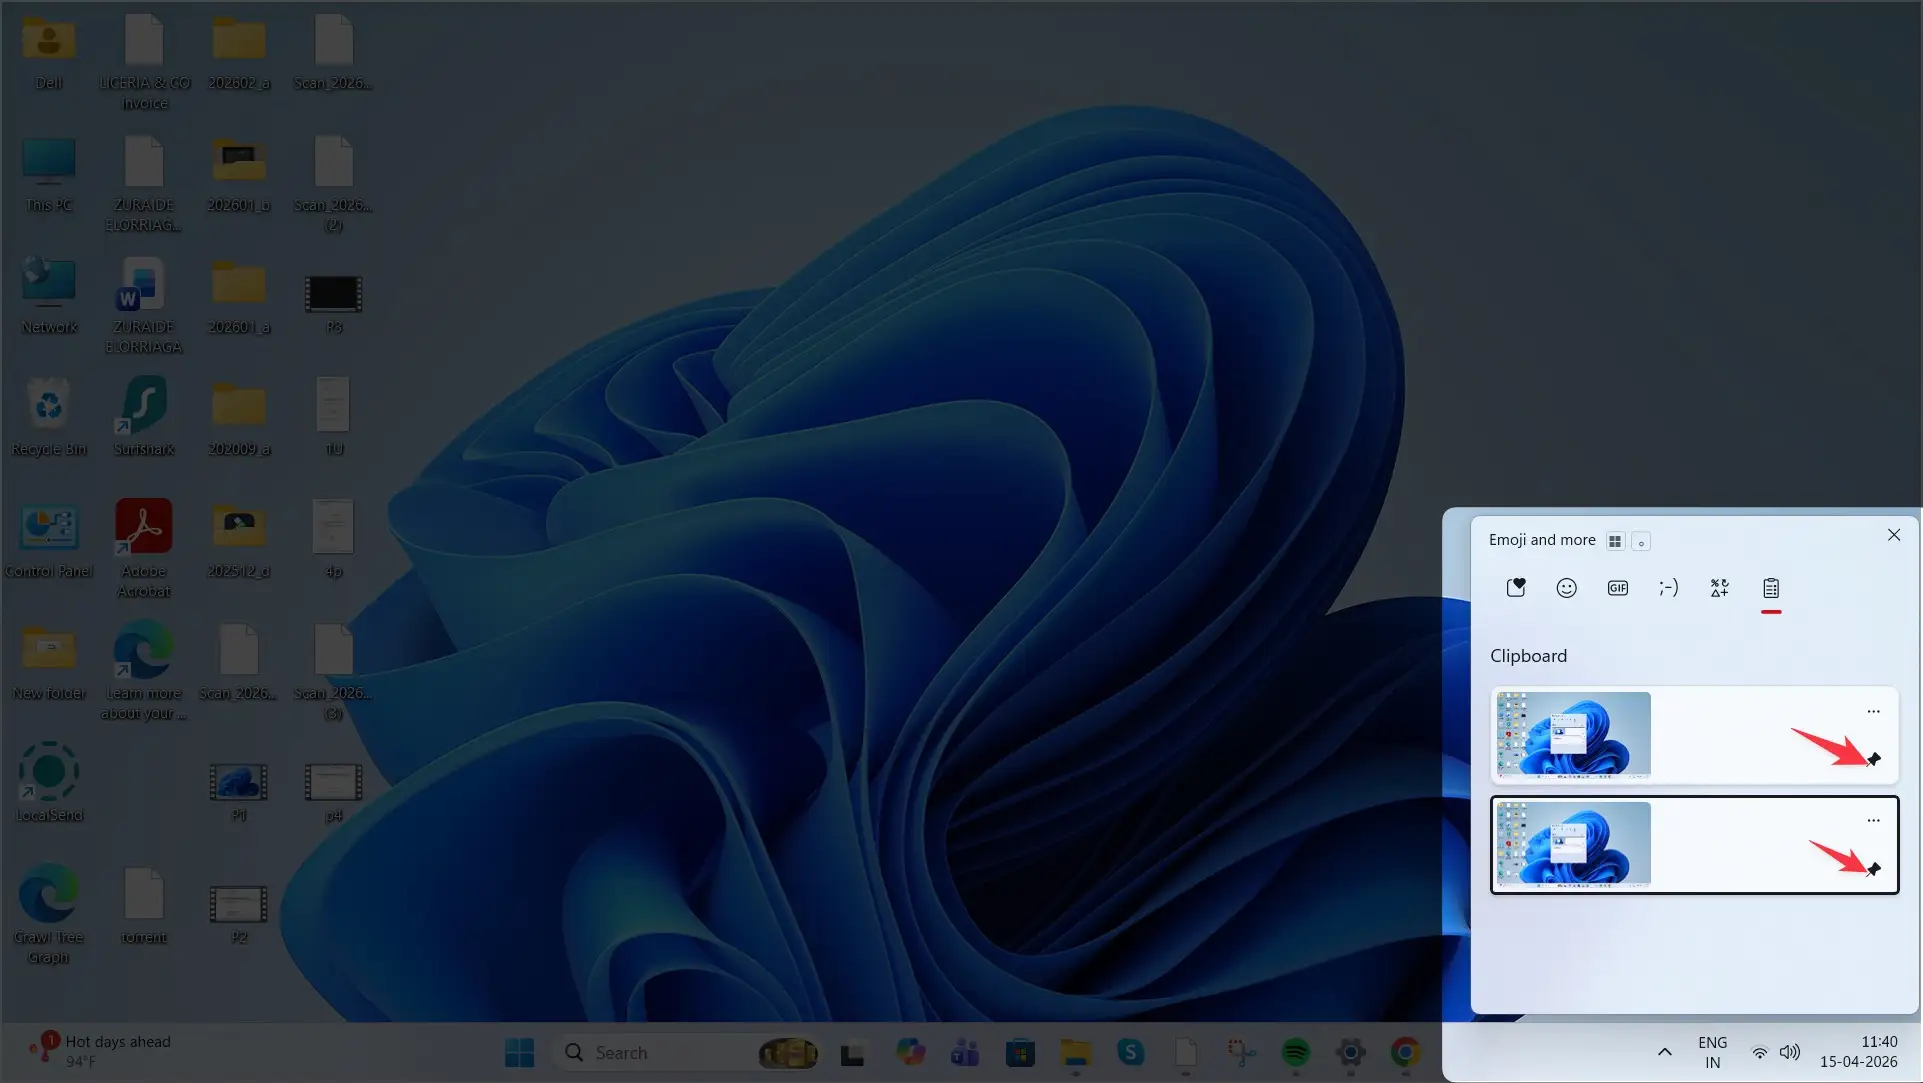
1. Pin Items
To keep specific items from being deleted when you clear your history or restart your PC, you can pin them to your clipboard.
- To pin an item, click the Pin icon next to the item in the clipboard history.
- Pinned items stay in your clipboard even after a restart or when you clear your clipboard history.
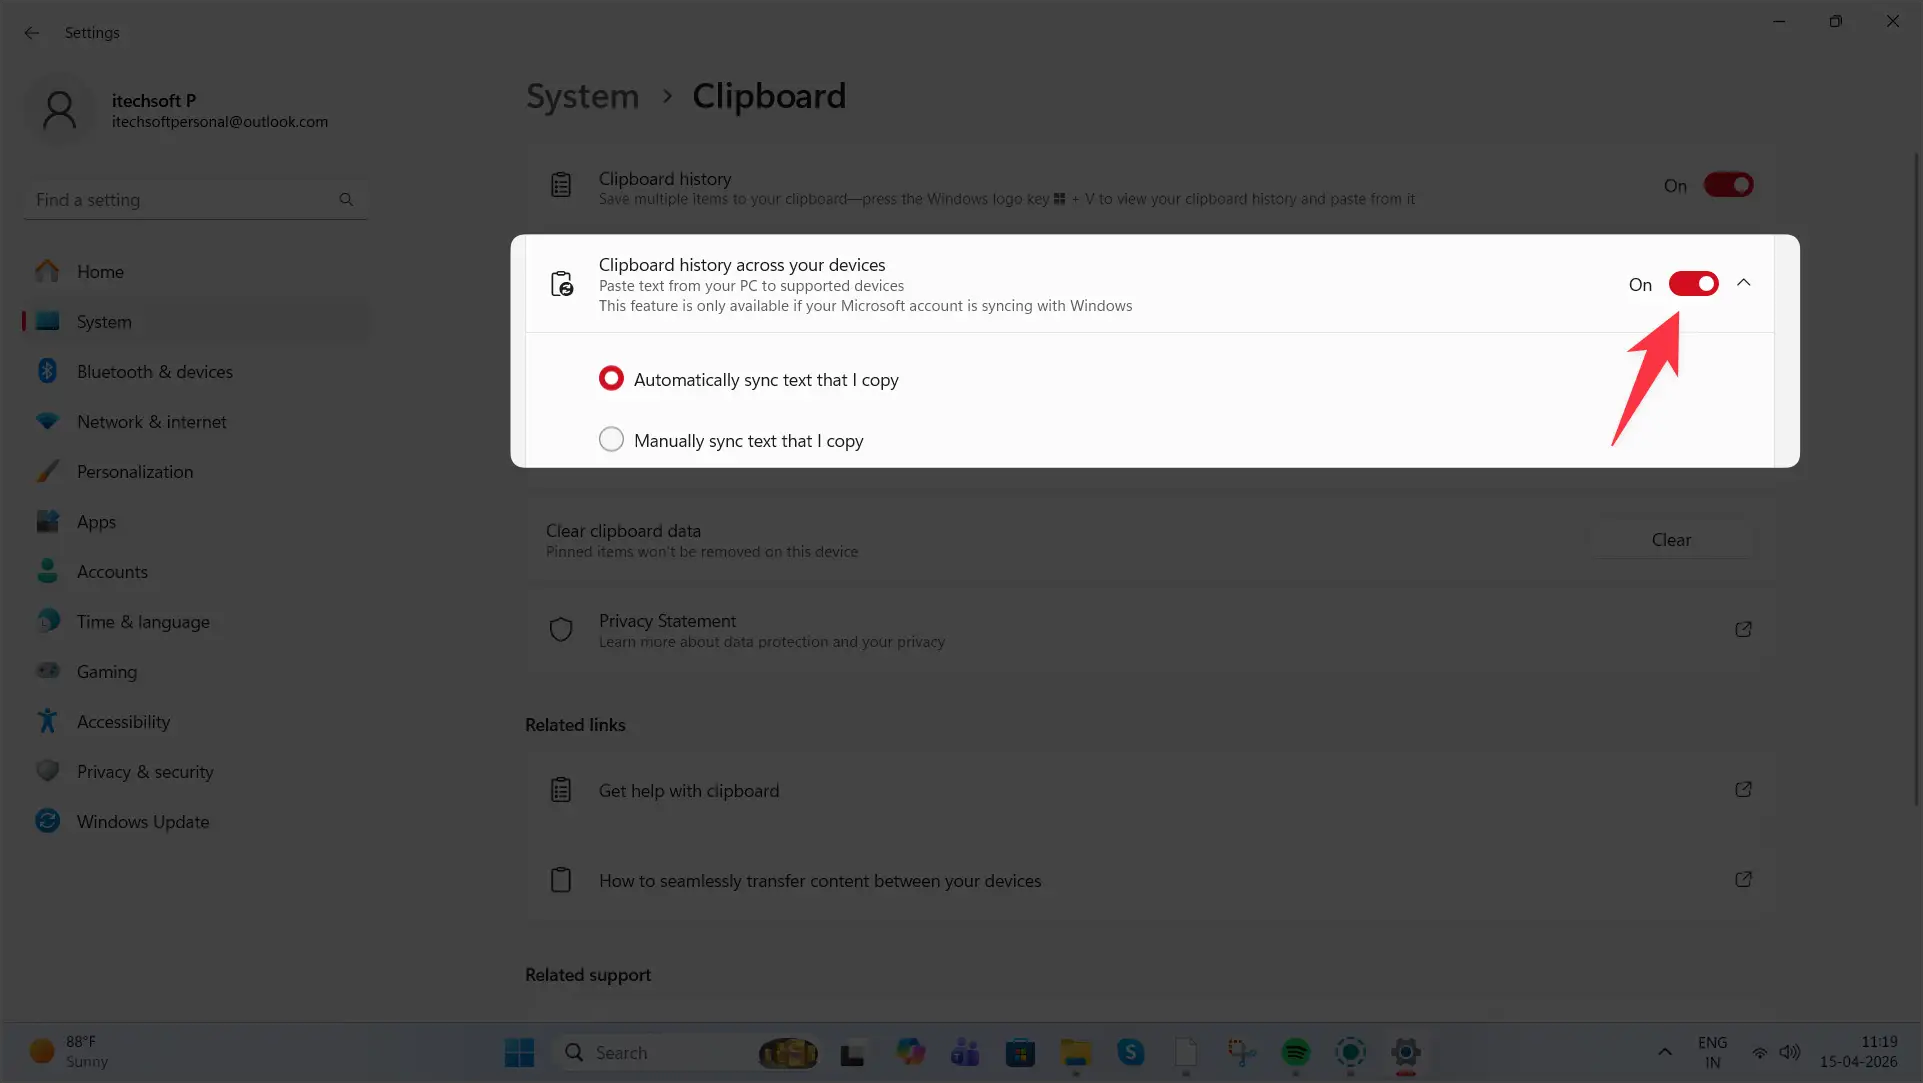
2. Sync Clipboard Across Devices
With Clipboard syncing, you can access copied content on other PCs signed into your Microsoft account.
- Go to the Clipboard settings page and toggle Sync across devices to On.
- This feature is helpful if you work across multiple devices.
3. Paste as Plain Text
If you want to paste copied text without its original formatting (like font style, color, or hyperlinks), Windows 11 offers an option to paste as plain text.
- In the Windows + V clipboard panel, there is a specific button to Paste as plain text. This helps keep things simple and clean when copying and pasting between documents.
4. Clear Clipboard History
If you want to clear your clipboard history, you can do this quickly:
- Click Clear all at the top of the clipboard panel.
- Alternatively, go to Settings > System > Clipboard and click Clear clipboard data to delete everything at once.
Conclusion
The Clipboard in Windows 11 is a powerful tool that enhances your productivity by allowing you to store and access multiple items you’ve copied. Whether you use the Windows + V keyboard shortcut or enable it through Settings, you now know how to open and manage Clipboard history effectively.
If you haven’t used this feature before, I highly recommend enabling it for a more seamless copy-paste experience. Let me know if you need further help with any of these steps!


