In Short
- You can set any song as ringtone on your iPhone in two ways.
- The first Easy Method uses the GarageBand app (Apple native app).
- The second method is using your Mac.
Get here to Set a Custom Ringtone on iPhone: Free Ways to Do! iPhone has its benefits but also many more limitations that make users frustrated sometimes, like the one we have discussed in this article, that you cannot set any song as a ringtone without following a lengthy procedure. We include other tricks that help break 30-second audio file limitations without pay or Purchase from the iTunes store. But still, if you have decided to create a custom ringtone for iPhone, then read on the page and learn how to create and set a custom ringtone for iPhone.
Method 1: Using GarageBand App
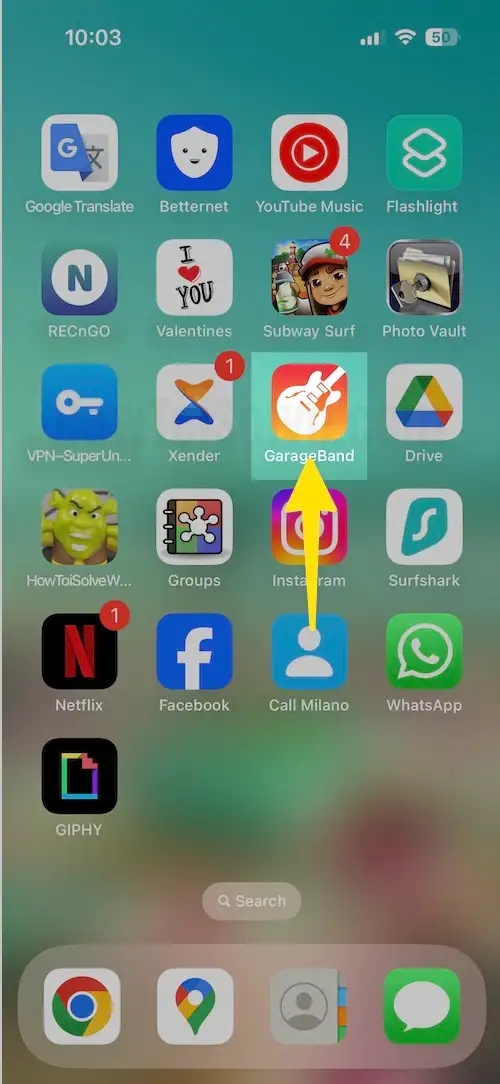
- Launch the GarageBand App on your iPhone.
- It will be opened in landscape mode, so arrange your device first. Tap on the Plus Button at the top right corner.
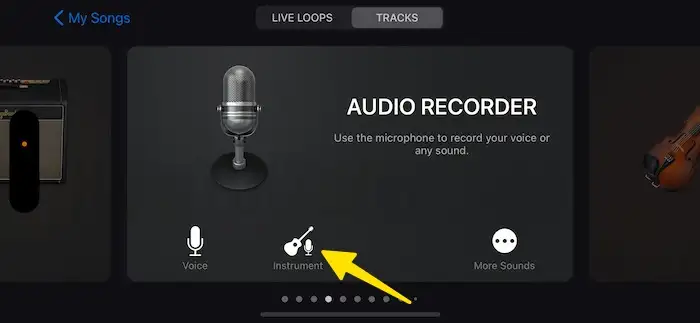
- Tap on Audio Recorder.
- Before proceeding to work with ringtones, you must first configure the duration for creating the ringtone on an iPhone. For this, Tap on the Plus Icon located at the top right side.
- See time duration as 8 bars by default, Hit on the Arrow to Change the length incrementally.
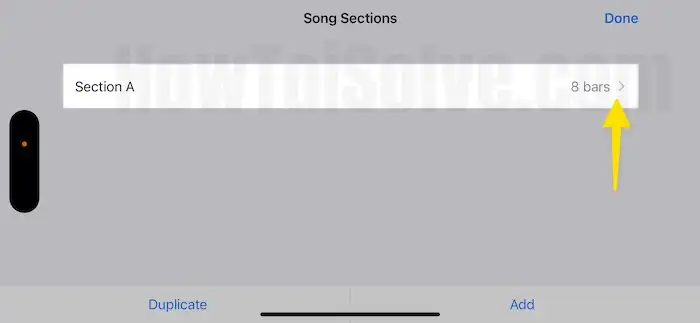
- Customize it from 8 to 30 seconds, let the automatic toggle be turned off, and hit on the Done option.
- Next, Hit on the Third icon from the left upper side, and it will flip to the audio icon.
- Start working with the song. Ensure you downloaded the music from Safari or its alternative browser. If not, Launch the Safari browser on your iPhone.
- Search to Download the Ringtone and Select third-party website showing on the screen.
- Select Ringtone.

- Tap on the Download.
- Select Download for the Confirmation.
- Tap on AA icon at the Bottom of the Screen.
- From the Prompted Menu, Select Downloads.
- Downloaded song will be saved in the Safari downloads folders.

- After this, Switch to the Garage Band app screen and hit on the Second last icon from the upper right corner.
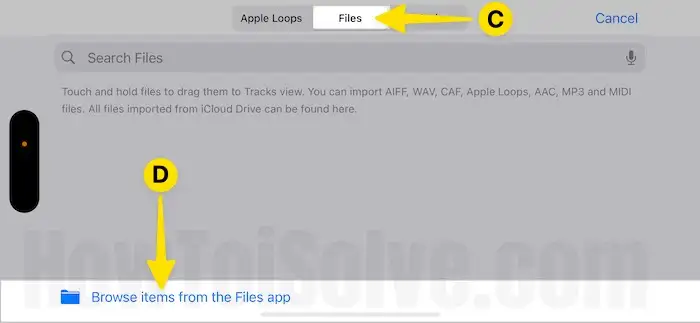
- Select Files and Tap on the option Browse items from the files app.
- Ringtone Appear on Recents Folder.
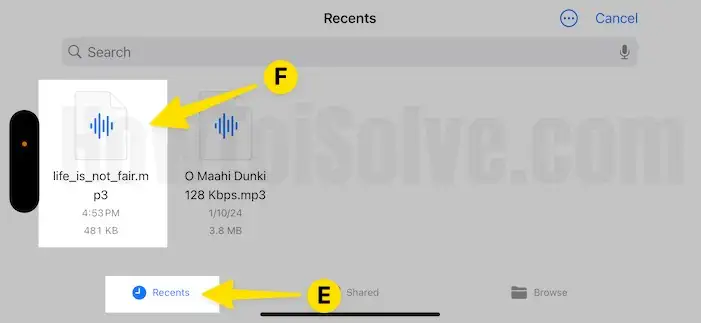
- Select the Ringtone.

- Select and Drag the Ringtone to place it at the top of the beginning of the Timeline.

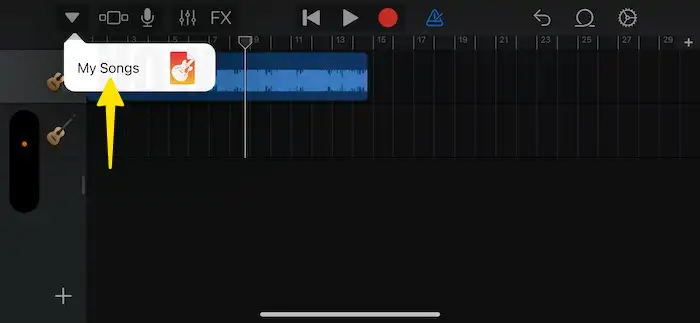
- After this, Select the Down Arrow Icon at the top left of the screen.
- Choose My Songs.
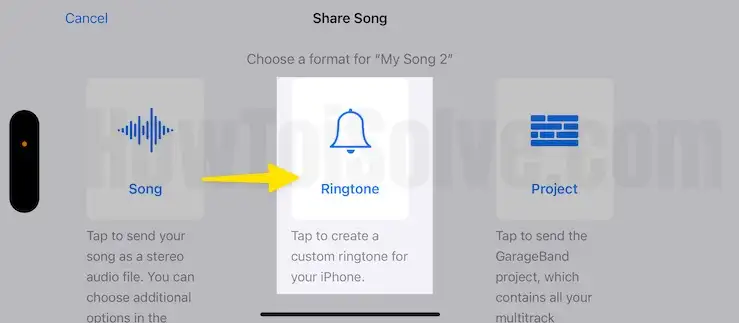
- The song you’ve created will appear in GarageBand’s recent list. Touch and Hold on it to prompt more options. Then, Select the Share Button.

- Choose Ringtone to export the ringtone.
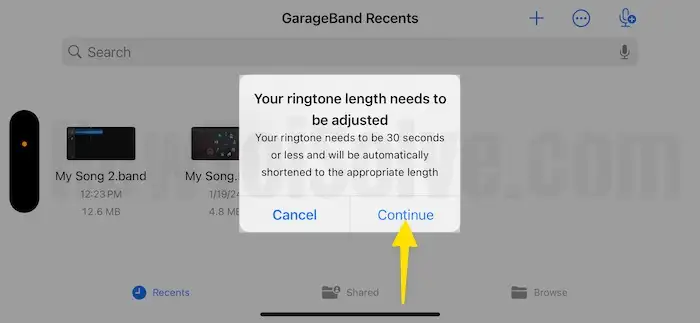
- From the Prompted Menu, Select Continue for the Confirmation.
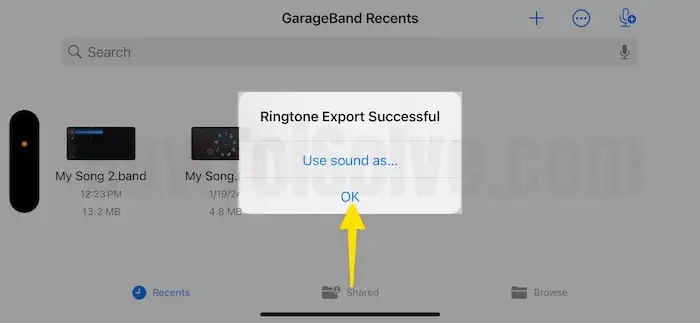
- Tap on Export at the Top Right Corner of the Screen.

- Hit the OK button.
- Launch the Settings App on your iPhone.
- Select Sounds & Haptics.

- Tap on Ringtone.
- You’ll see to Created ringtone over there. Pick up the ringtone play and configure it as your iPhone’s ringtone.

There are two different to add ringtones in iPhone and iPad, one is without iTunes, and another is with iTunes. Without iTunes, you have to take the help of third-party software, and yes it is a straightforward process when we compare with iTunes.
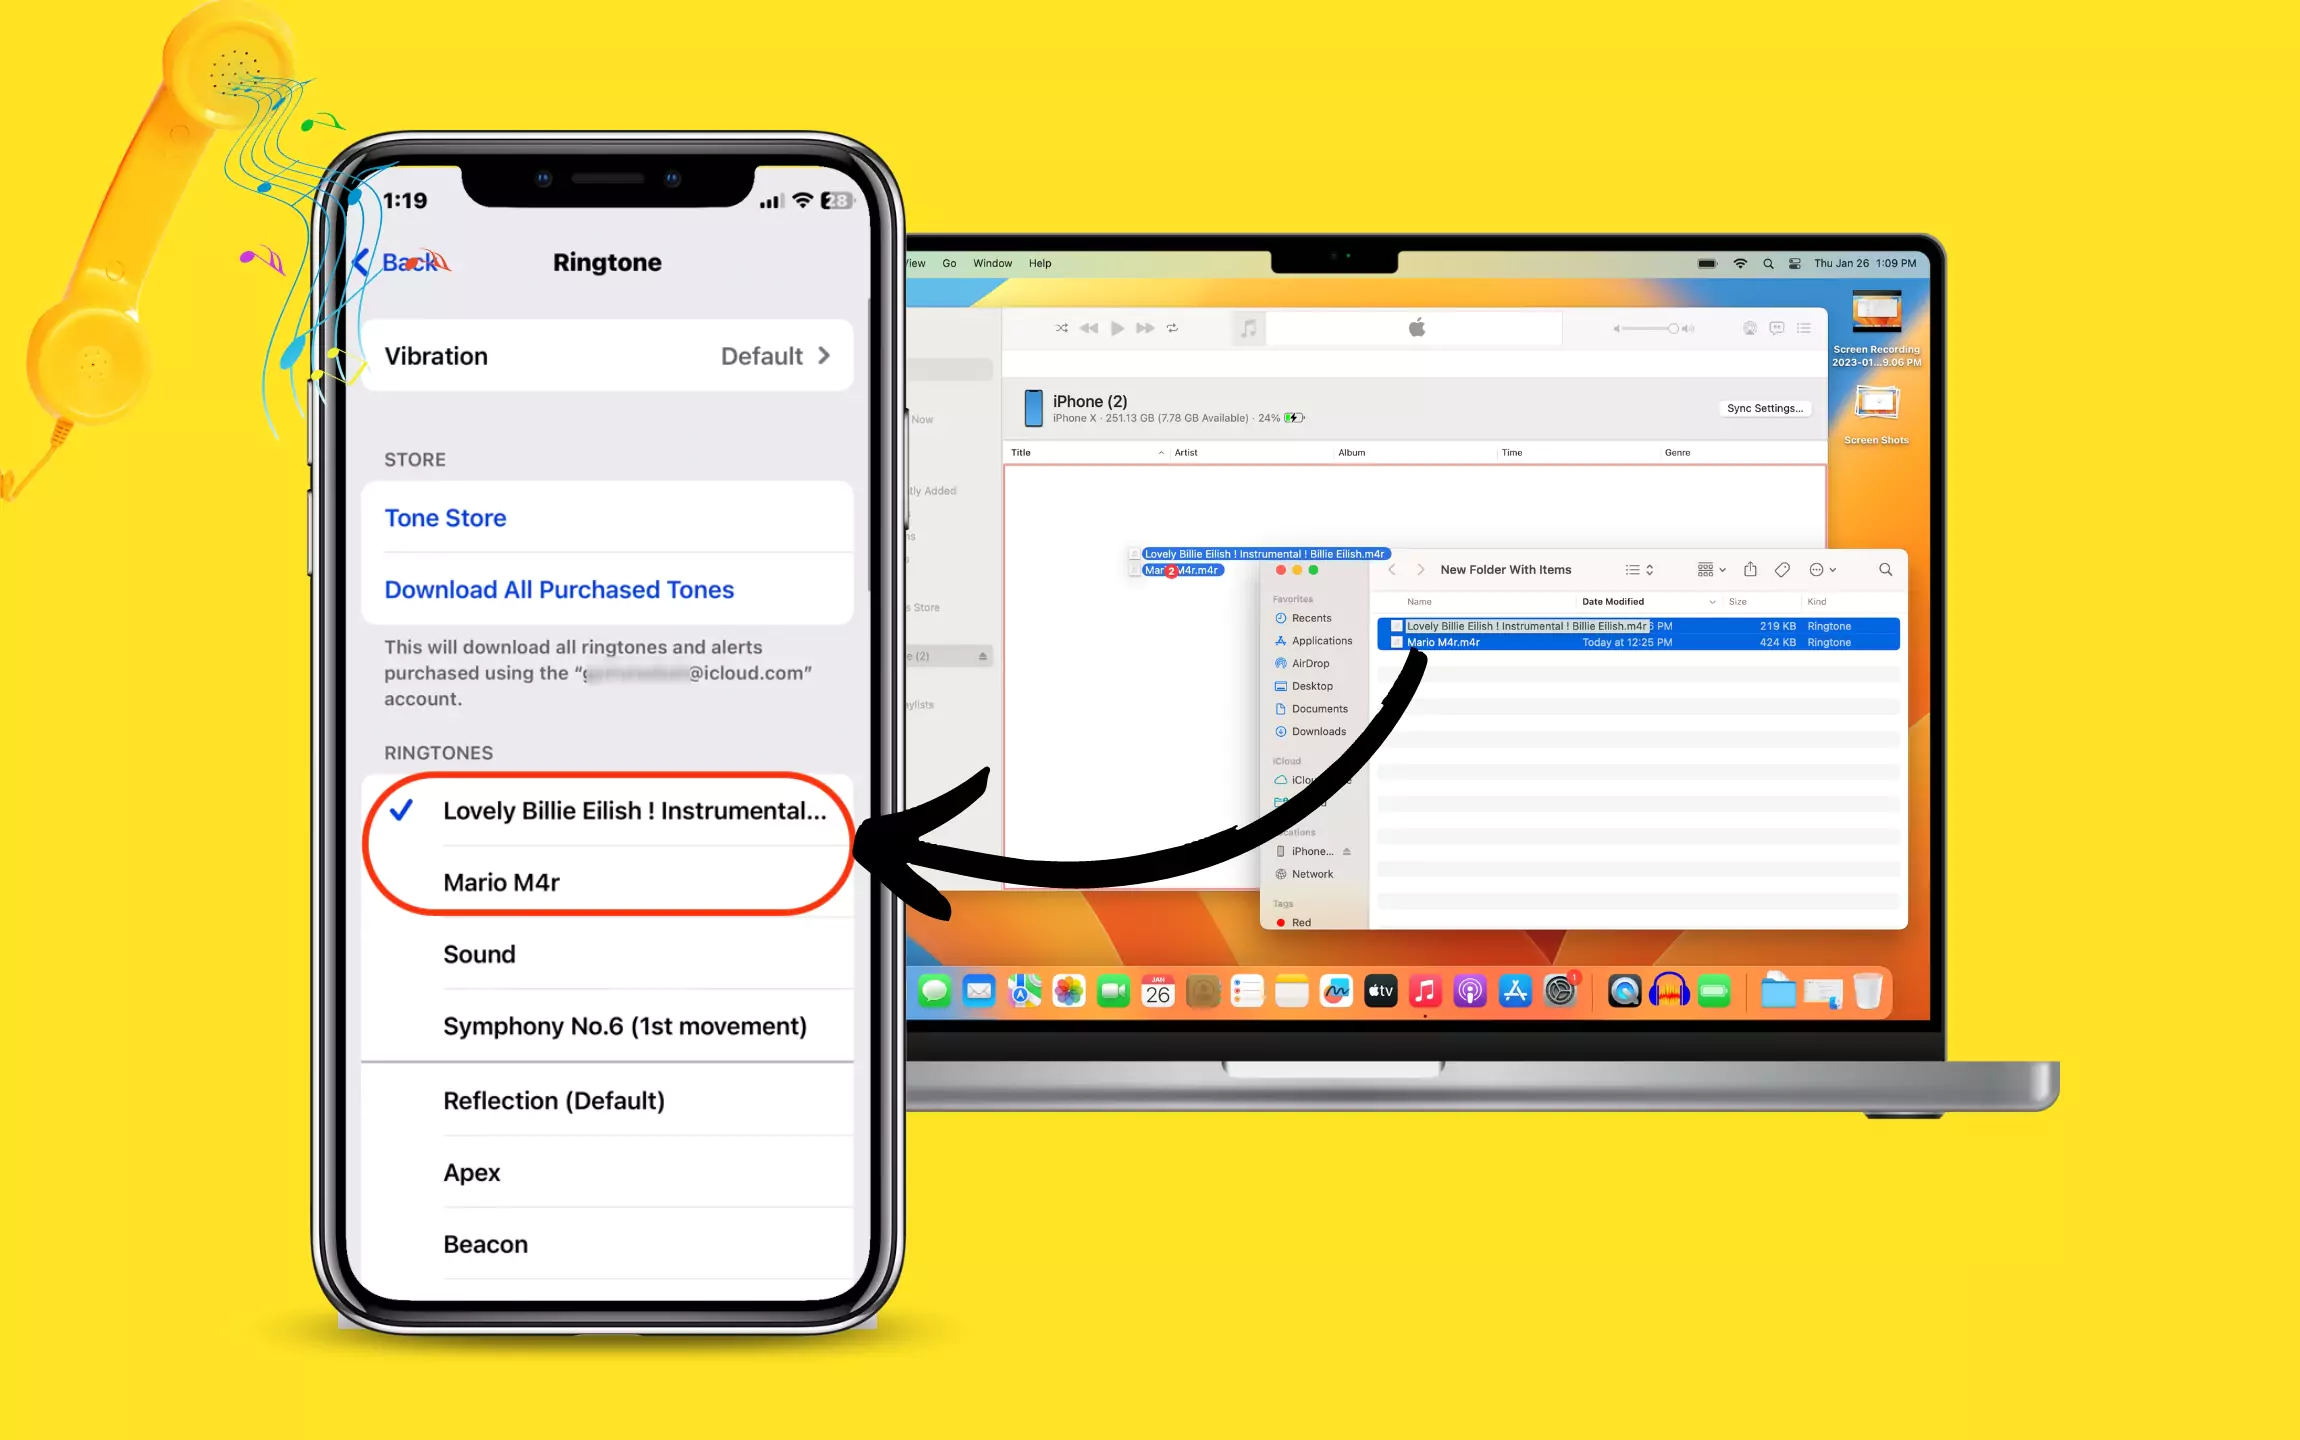
Method 2: Using Mac
In Just Less or Equal 3 Minutes, – It’s Amazing, Don’t miss to share.
- Download Song on your Mac/PC Or Laptop. – 30 Seconds
- Convert into mp3 to m4r online. – 30 Seconds
- Copy m4r file to iTunes/Finder and Sync iPhone to iTunes/Finder. – 1 Minute
No iTunes for macOS Catalina, Now Mac users can use Music App instead of iTunes. Also, macOS Mojave & Earlier macOS and Windows PC users can use iTunes [Explained in 2nd Method of this article].
Follow the below steps to sync any song as a ringtone on iPhone or iPad. Follow the below steps for syncing any song on Finder Mac as a ringtone on iPhone or iPad. We can manage songs on Mac’s Music app after not using iTunes.
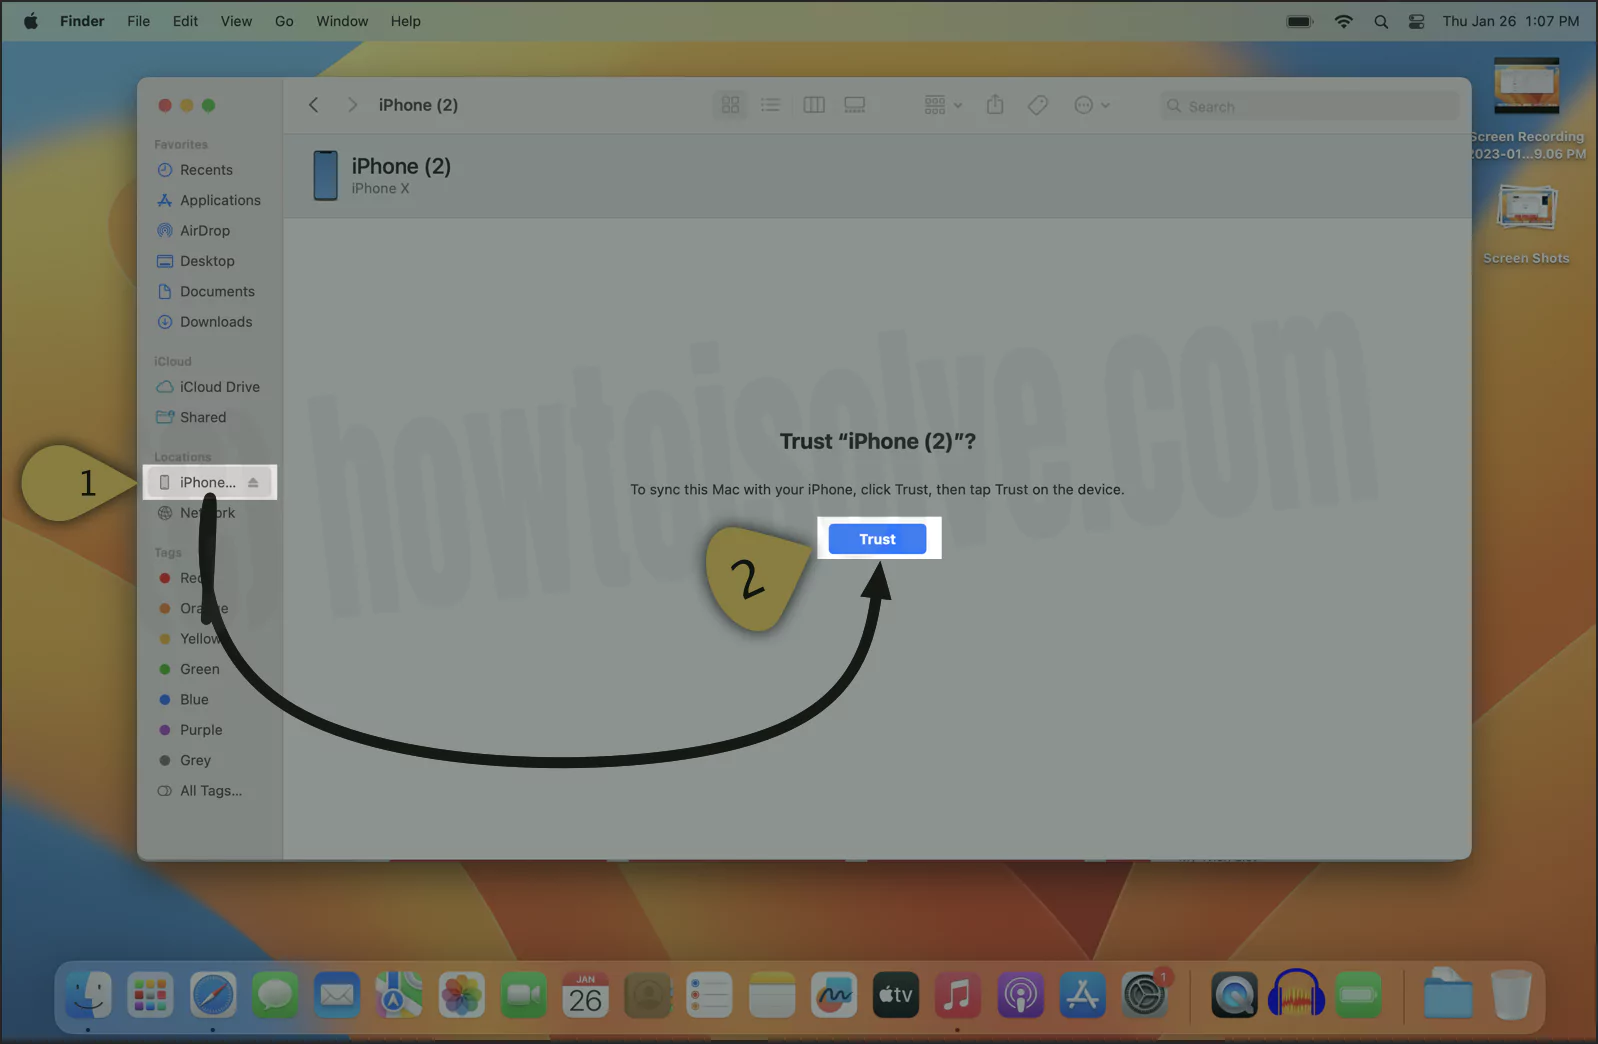
1→ First, connect your iPhone/iPad to Mac using the original lightning cable. And unlock your iPhone to show on Mac [Finder or iTunes]. also, Wait for a few seconds. [macOS Catalina or Later macOS users can see iPhone on finder sidebar, After that you can see on mac Music music app sidebar] – Watch Video tutorial in last of the step.
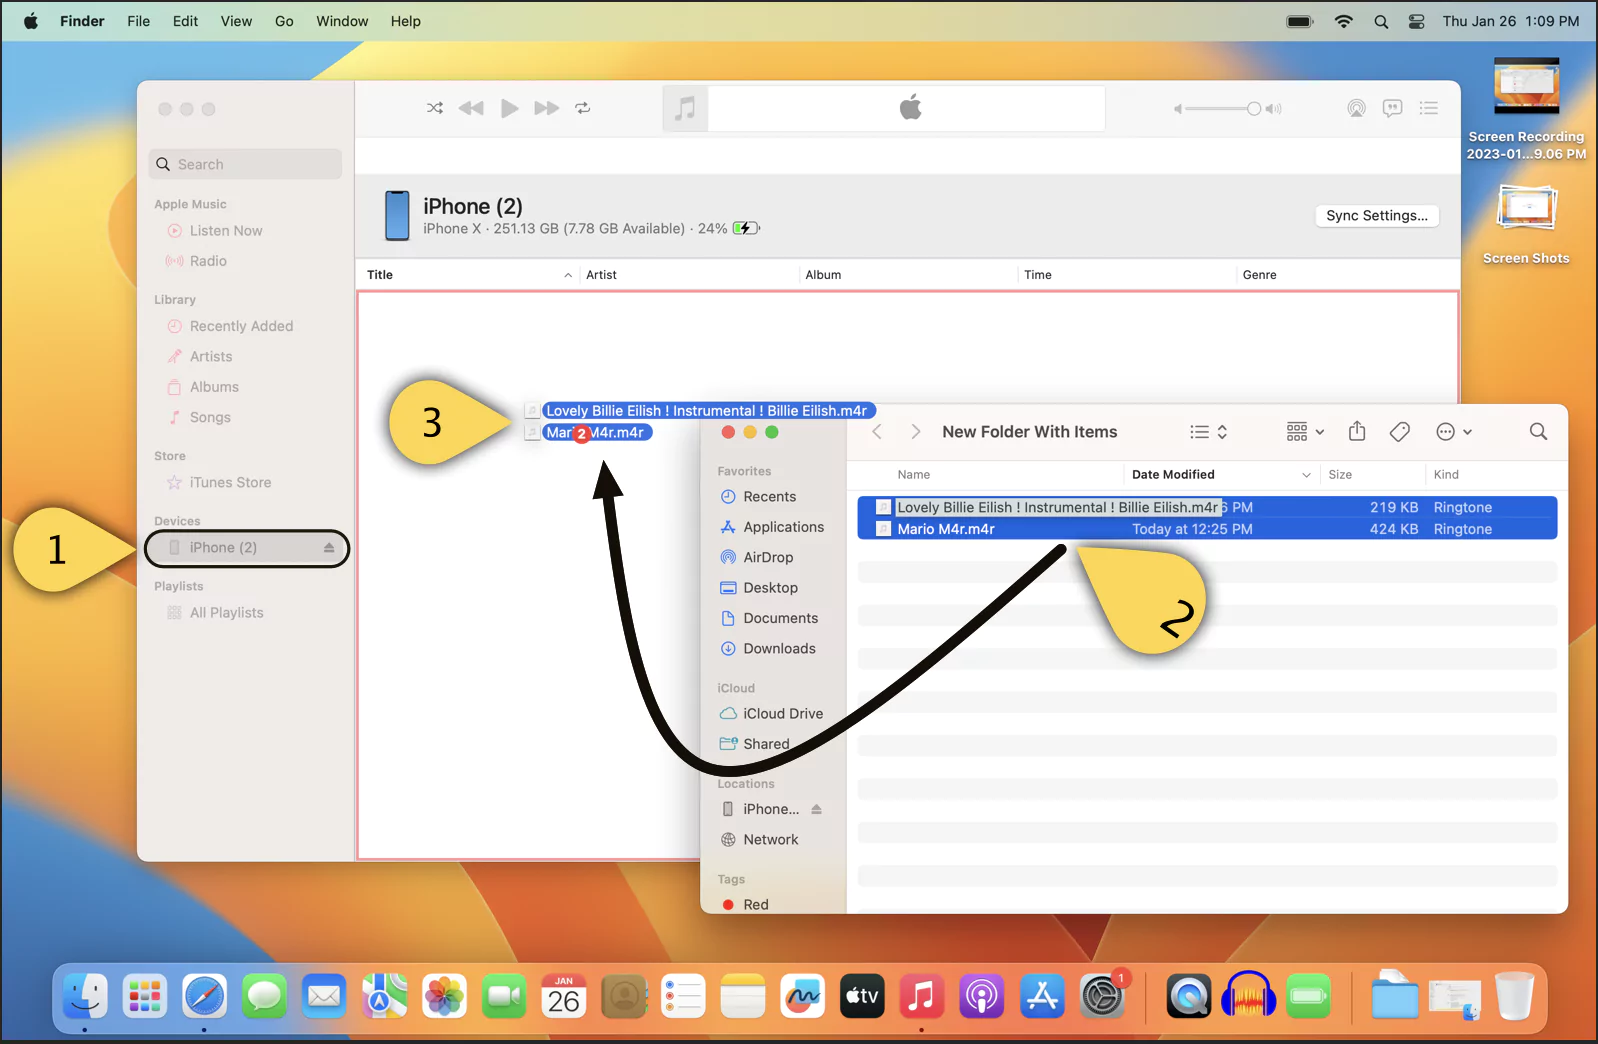
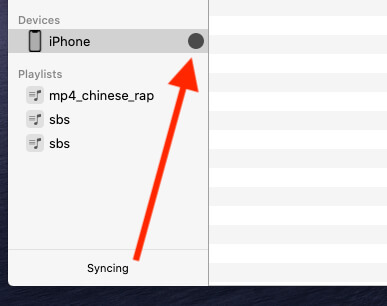
2→ After that, Launch Music app from the spotlight search (Command + Space). On the Music, app sidebar clicks on your iPhone name under devices.
3→ All the music from your iPhone will see here. Now Drag your Ringtone to this window and wait for sync automatically. The ringtone must be 30 seconds or lower. Ringtone music file format must be m4r. (Convert your mp3 file to m4r online) or Download m4r ringtone here.
Wait for a few seconds until your iPhone/iPad Sync with a Music app on Mac.
- 4. Now Ringtone moved to iPhone, Set newly added custom ringtone on iPhone under the settings app.
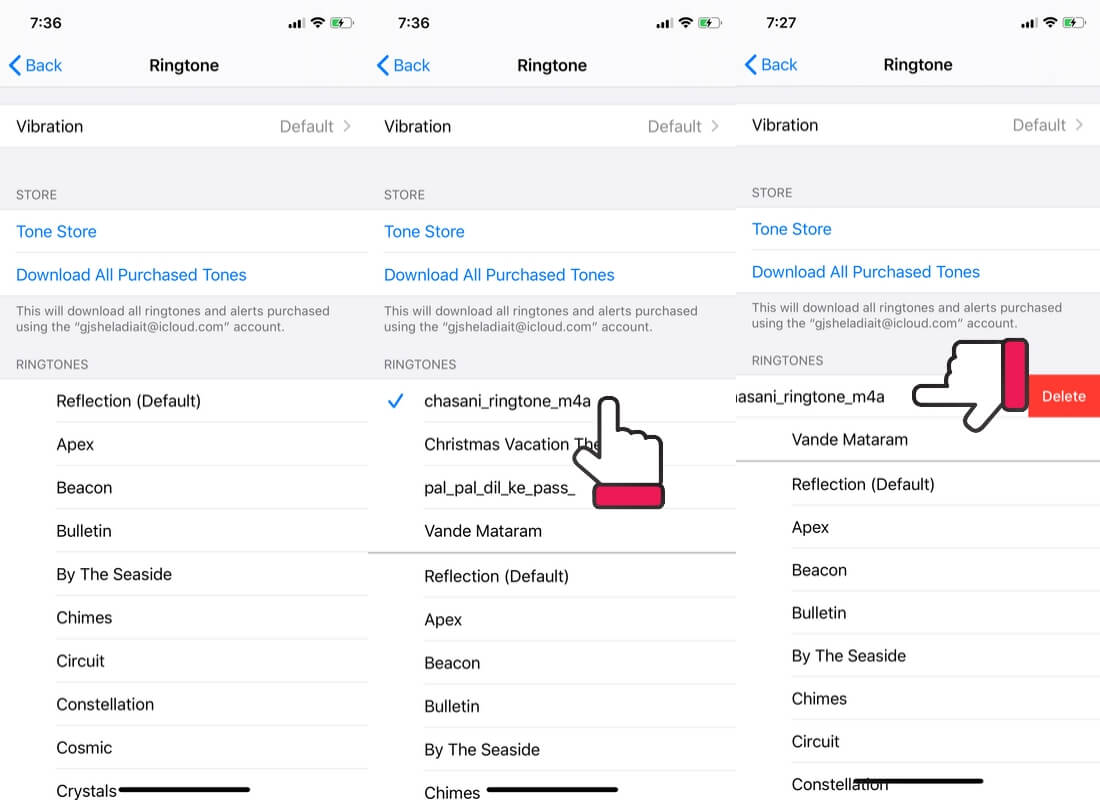
- 5: Settings > Sound & Haptics > Ringtone (Under the Reingones), The first section is only for Custom ringtone

iOS 13/iPadOS: To Delete Custom Ringtone from iPhone, Swip to lift to find delete option, and delete ringtone completely from iPhone/iPad. Now check or Set the recently added ringtone from the iPhone settings app, Settings > Sound & Haptics > Ringtone > Select Recently added ringtones always at the top.
I hope you get a helpful tutorial on how to set a custom ringtone on an iPhone. Follow us on social media to get more updates on when you were notified first.


