Apple AirPods are an excellent selection for people who want better voice-canceling headphones. They are perfect for noise cancellation and sound quality because it’s much more improved in AirPods Pro 2. You need a good-quality microphone if you need a new pair of AirPods to make calls, listen to music, use Siri, etc.
Let’s Talk about Apple AirPods Pro 2, which are 2nd generation AirPods with a MagSafe charging case. There is an H2 chip with Bluetooth 5.3 connectivity. It comes with a guiding pamphlet, AirPods, Ear tips, and a USB-C lightning cable. The”Find My” option helps to track AirPods (New Built-in Speaker on AirPods Pro 2 Charging case too). It is comfortable and easy to use!
SPECIFICATIONS
| Model | AirPods Pro 2 |
| Compatibility | iOS 15.1 or later, iPad 15.1 or later, macOS Monterey 12.0 or later, and watchOS 8.1 or later |
| System on a chip | Apple H2 chip connectivity |
| Connectivity Type | Bluetooth 5.3 wireless connectivity |
| Battery life | 6 hours and 30 hours with the AirPods case |
| Ear tips | Silicone ear tips (Four sizes: XS, S, M, L) |
| Charging combability | MagSafe and Apple Watch |
Where is the microphone on AirPods Pro 2?
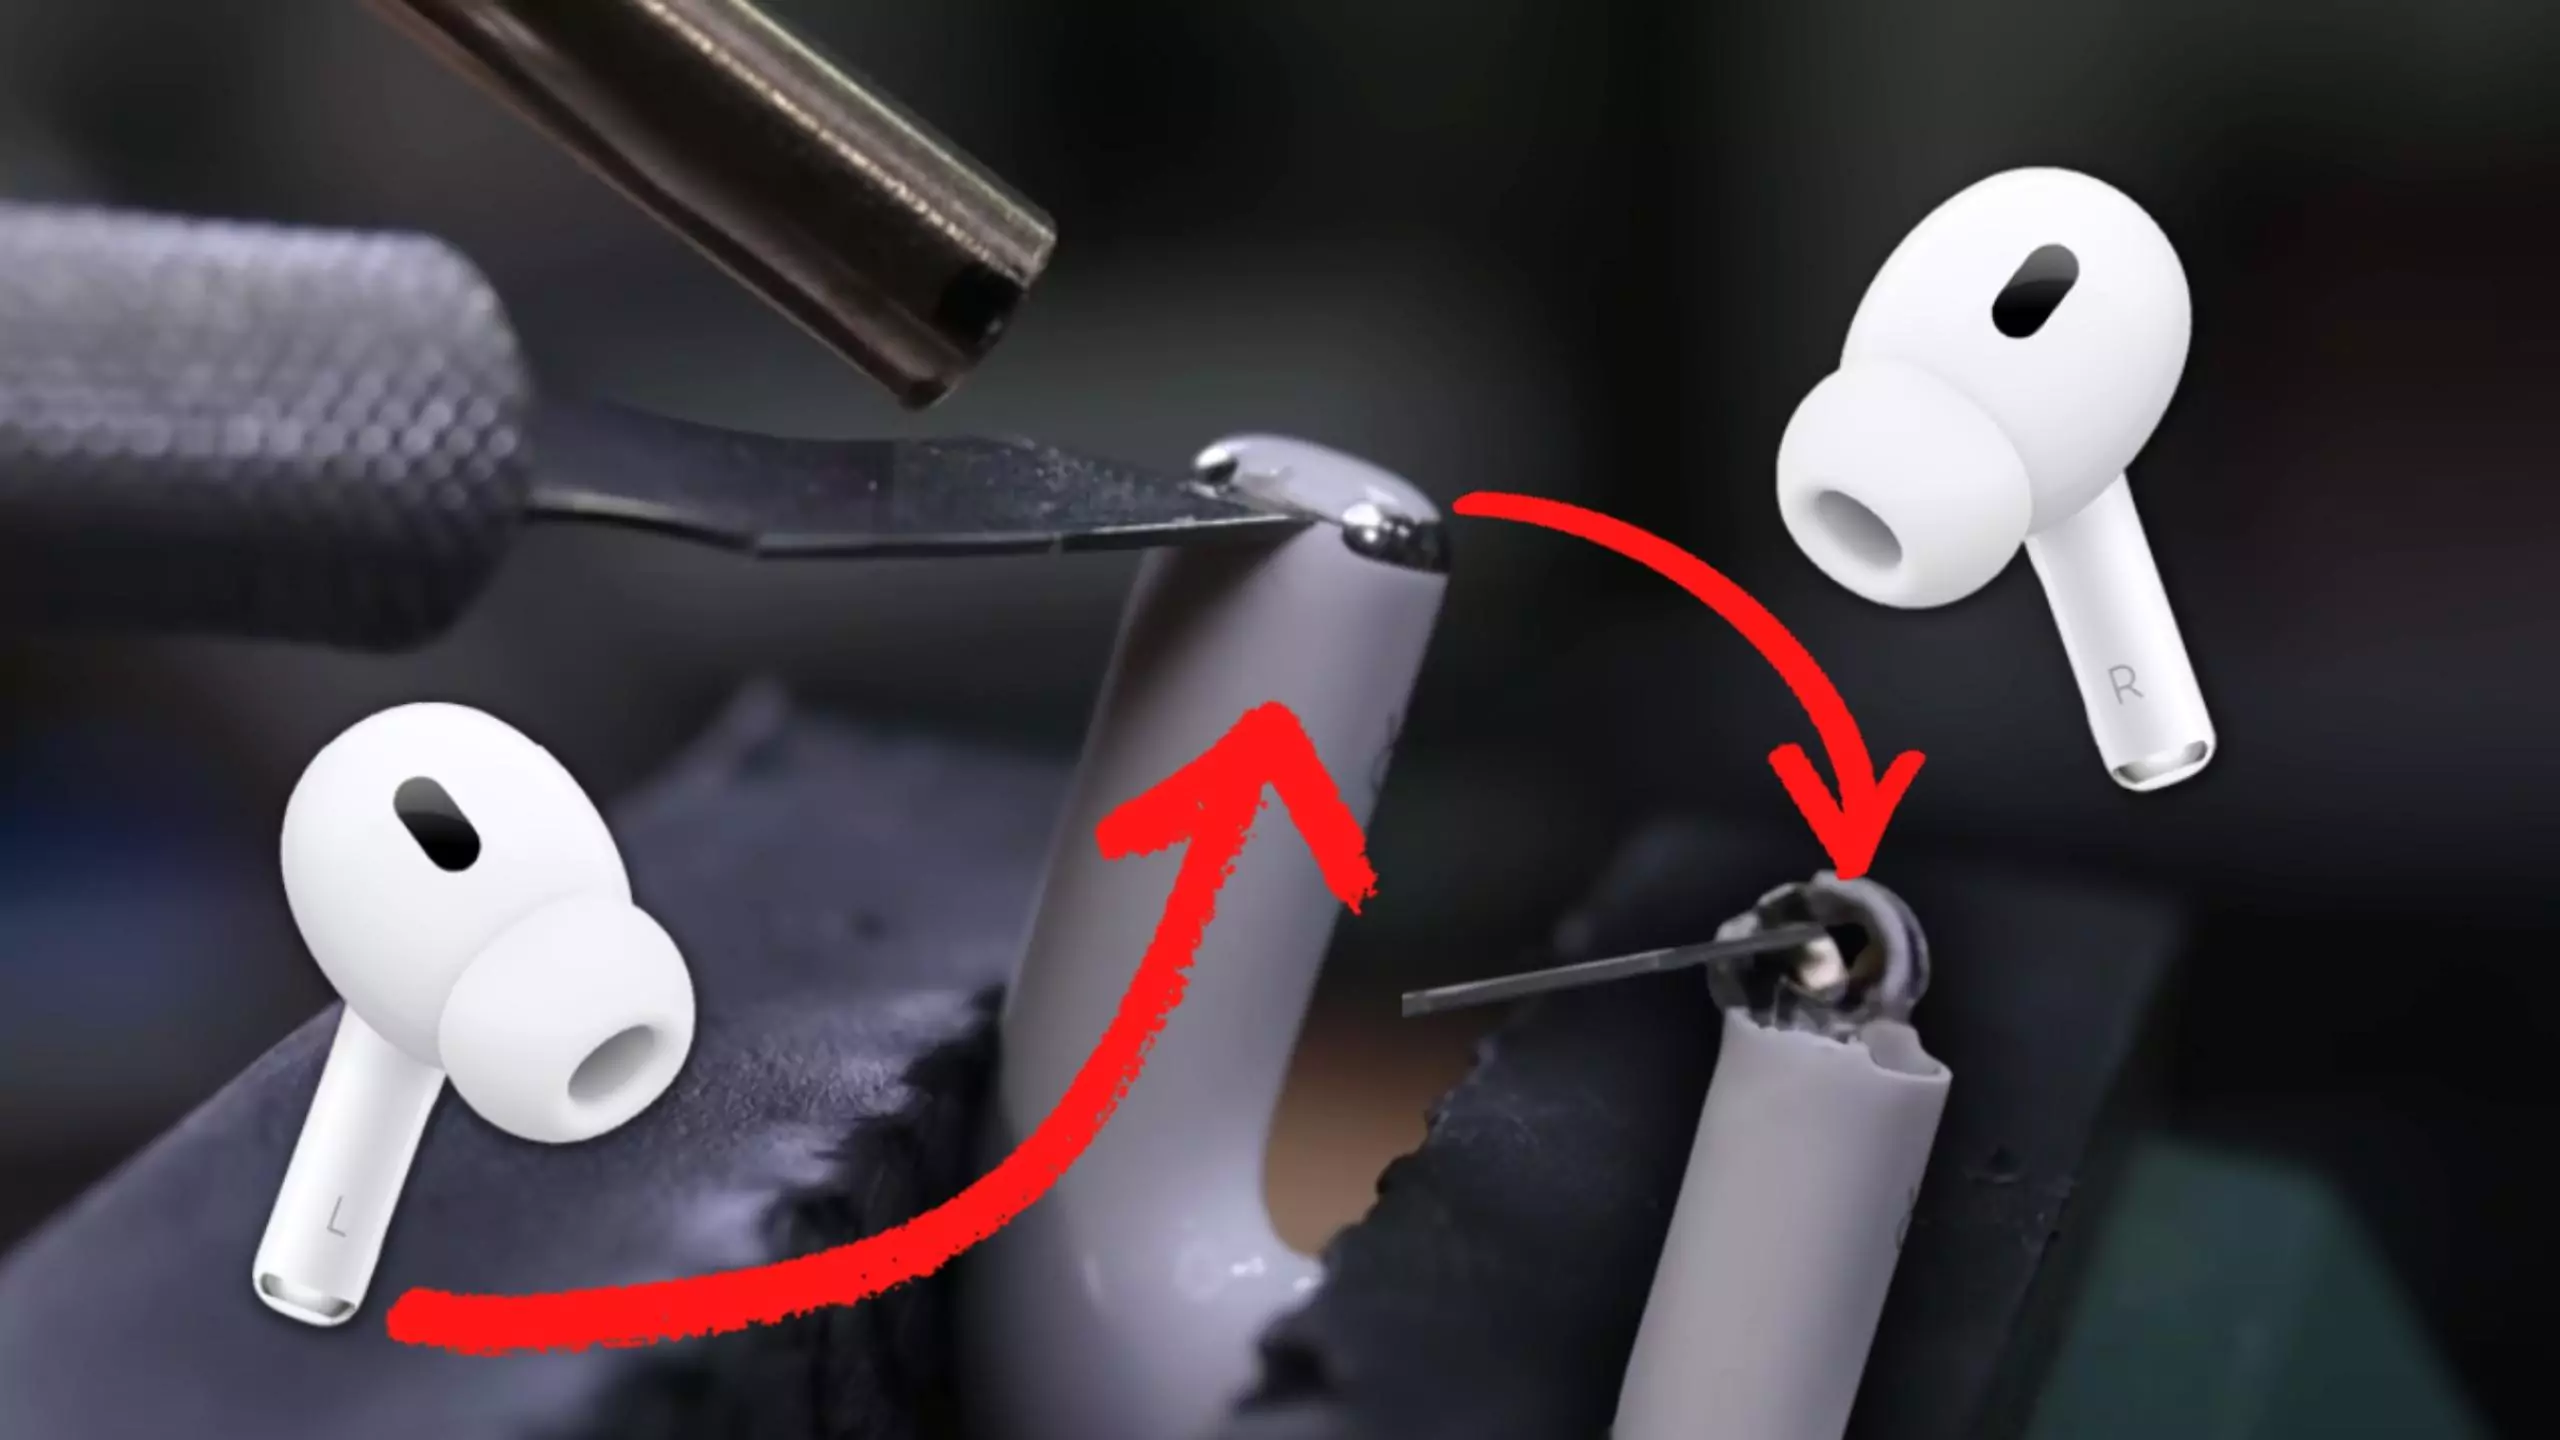
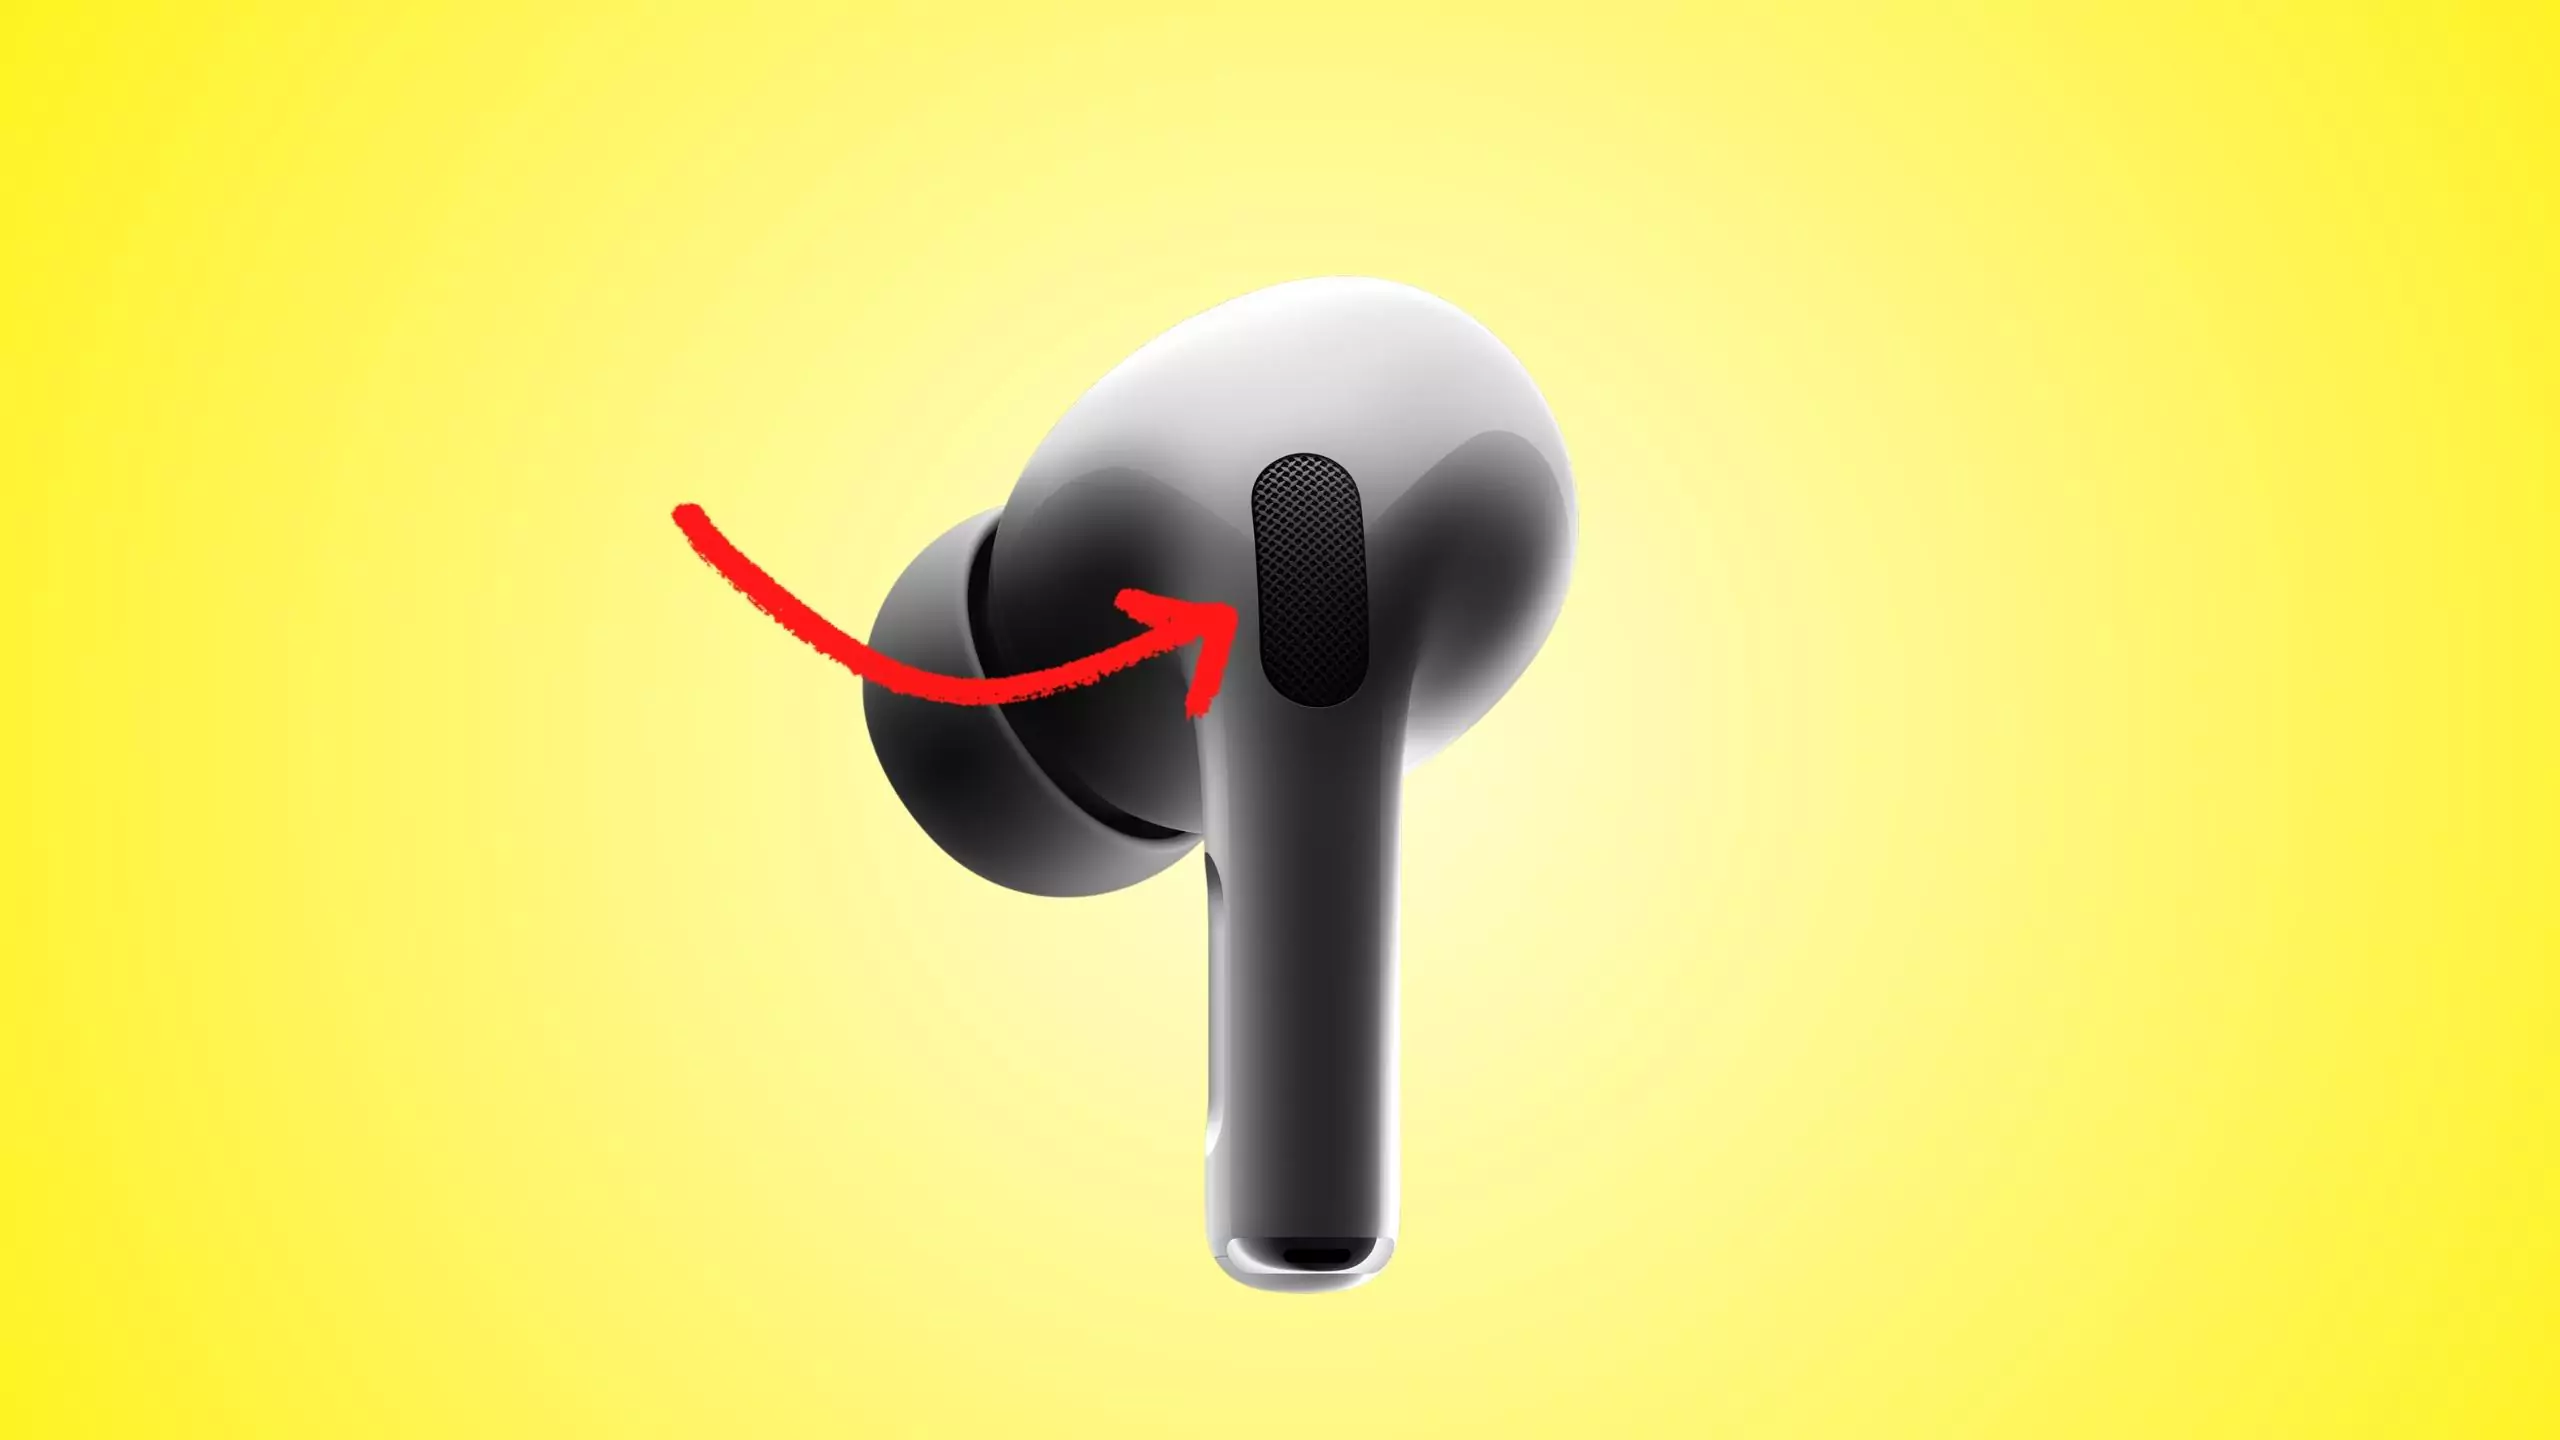
If you have purchased an AirPods Pro 2, You may see the microphone at the end of the stem. It listens to your voice for making calls and giving commands to Siri through a speech-recognizing accelerometer.

The second microphone is inside the earpiece. It offers auto-noise cancellation. Most importantly, a rear vent helps detect incoming voices and counters noise to stop reaching the user’s ear.

Microphone Settings on iPhone
The microphone setting on iPhone in AirPods Pro 2 is quite simple. Follow the given steps to connect. You can follow the same steps to connect iPad or iPod devices.
Step→1) Pair your AirPods with your iPhone.
Step→2) Go to settings >Bluetooth > Tap the More Info (i) button next to the Airpods name.
Step→3) Scroll and find Microphone options.

It may default settle to “automatic” and automatically switch to AirPods. You can select an option from the left or right AirPod only.
Microphone Settings on Mac
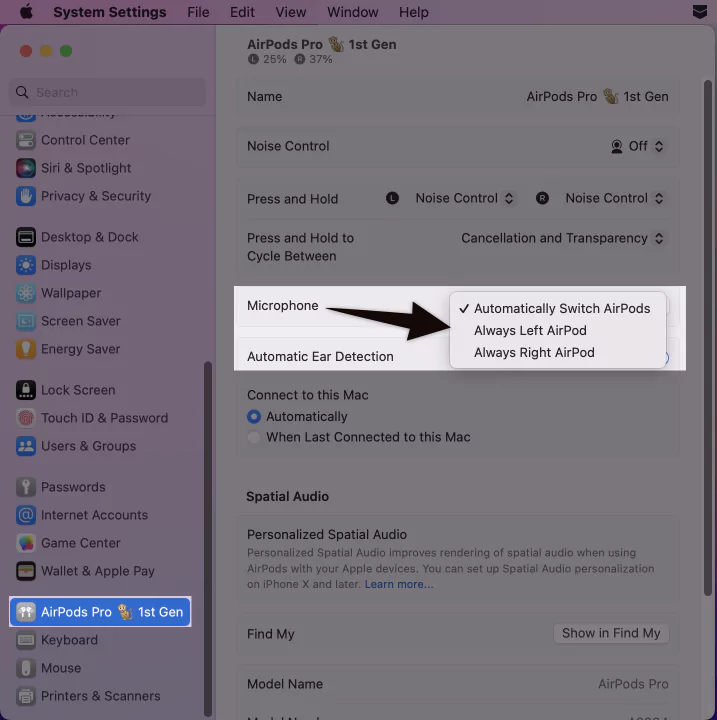
The microphone setting on Mac can capture or record audio. To set the AirPods microphone on Mac, follow the given steps.
Step→1) Pair your AirPods with your Mac
Step→2) Go to System Preferences > scroll to AirPods name.
Step→3) Set the microphone option.
Like the iPhone AirPods microphone setting, there are three options Automatic, Left, and Right. See the detailed AirPods Settings on Mac.
how to turn off microphone on AirPods?
There is no Microphone customization for disabling or Turning off completely from the AirPods settings. but we can block the microphone from the app settings that we are using.
Solution: The microphone not Working
Sometimes, you may face a problem with the Microphone not working. There may be different reasons why the Microphone is not working on your AirPods. (Make sure that your AirPods are charged enough to use.) Here, nine solutions are discussed with steps to solve this problem.
Let’s discuss how to eliminate the “Microphone not Working” problem here. Follow the given solutions.
SOLUTIONS:
1) Clean the AirPods.

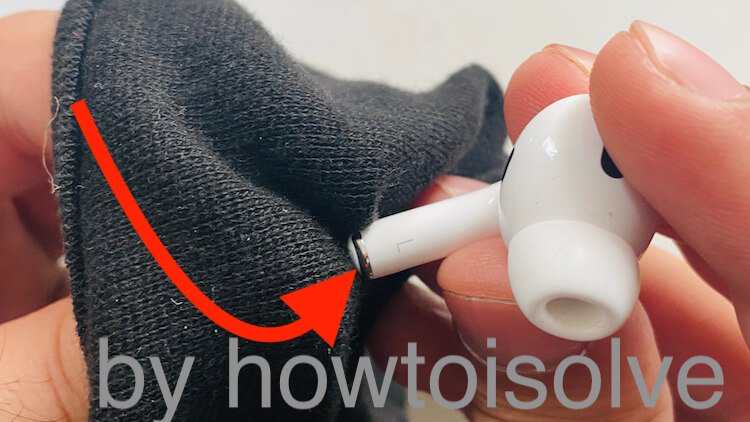
Dust can make the AirPods sound muffled. Take AirPods out of the case and check for dust that may stick inside the microphone. Wipe the dust using Q-tips cotton swabs with alcohol, as recommended, apple, or use a soft toothpick to pluck out the dust. Remove the tips if they’re dirty, and clean them with water and soap. Also, you can use sticky tack for cleaning ear wax from Airpods. In short, keep clean your AirPods and charging case.
2) Enable Automatic Microphone Switching.
Go to settings >Bluetooth > Tap the More Info (i) button next to the Airpods name. Scroll down and enable the “Automatically Switch AirPods” option.
3) Disconnect other Bluetooth Devices
Multiple audio/Bluetooth devices paired with your AirPods, iPhone, or computer. It may cause a problem with the microphone working. Disable Bluetooth on other phones, tablets, or computers to solve this problem.
4) Check the device’s Microphone setting
Check your device’s microphone settings and adjust mic & sound preferences. In the case of Mac, check the permissions of the computer’s system preferences.
5) Reset or Reconnect AirPods
Open up the charging case, press and hold the backside setup button. The pop-up notification will display on your iPhone. Tap on Connect > Done.
6) Check App Microphone Access
Open your iPhone, go to Settings > Privacy > Microphone, and check app access with a microphone.
7) Turn off and on Bluetooth
You can go to Settings > Bluetooth, turn off the toggle button for 5-10 seconds, and turn it on. By doing this, your AirPods and Bluetooth connect manually.
8) Update the AirPods Firmware
AirPods Microphone does not work with outdated firmware versions. To solve this, go through the given solution.
To check the latest firmware version update,
- in iOS 16: Go to Settings > Tap on AirPods name just below the Apple ID account name > Scroll to About section > See the AirPods Version.
- in iOS 15 & Earlier: go to Settings > General > About > AirPods and check the firmware version.
If the AirPods firmware version needs to be updated, ensure your iPhone connection with your AirPods.
9) Update your Phone or Computer
Sometimes, the device’s automatic update option may need to turn on. Follow the given steps:
For iPhone:
- Go to Settings > General > Software Update > Turn on Automatic Updates.
- Download & Install iOS updates.
For Mac:
- Select the Apple menu > System Preferences > Click on Software Update.
- Enable macOS updates by selecting “Automatically keep my MAC up to date.”
- Set the advanced update options by enabling the “Check for updates” & click “Ok” to auto-check for updates on your Mac.
How to Test AirPods Pro Microphone
All Airpods have integrated microphones. You may only enjoy watching videos, making calls, and listening to music with better microphone audio output. Meanwhile, check the audio results first. Follow the given steps:
Step→1) Connect AirPods to your iPhone.
If you are connecting AirPods with your iPhone for the first time, Open up the charging case and press and hold the backside setup button. The pop-up notification will display on your iPhone. Tap on Connect > Done.
Step→2) Open the Sound Recording App.
Use the iPhone’s built-in “Voice Memos” app for recording audio.
Step→3) Tap the “red” button and Start Recording.
Record your sound in different circumstances to test the microphone. In other words, you can also record your voice memos inside and outside the area.
Step→4) Listen to the recorded audio.
After recording a voice memo, listen to the audio recording and analyze the audio outputs. It is pretty simple to test the AirPods Pro Microphone. (Note: Do not record high-volume-level voice memos.)
In conclusion, microphones are essential for recording voice memos, calls, Siri and Dictation, and Voice Over! Feel free to ask any questions or queries in the comments about microphones or AirPods. Thanks!
Check out more about iPhone accessories by visiting the following Articles!

