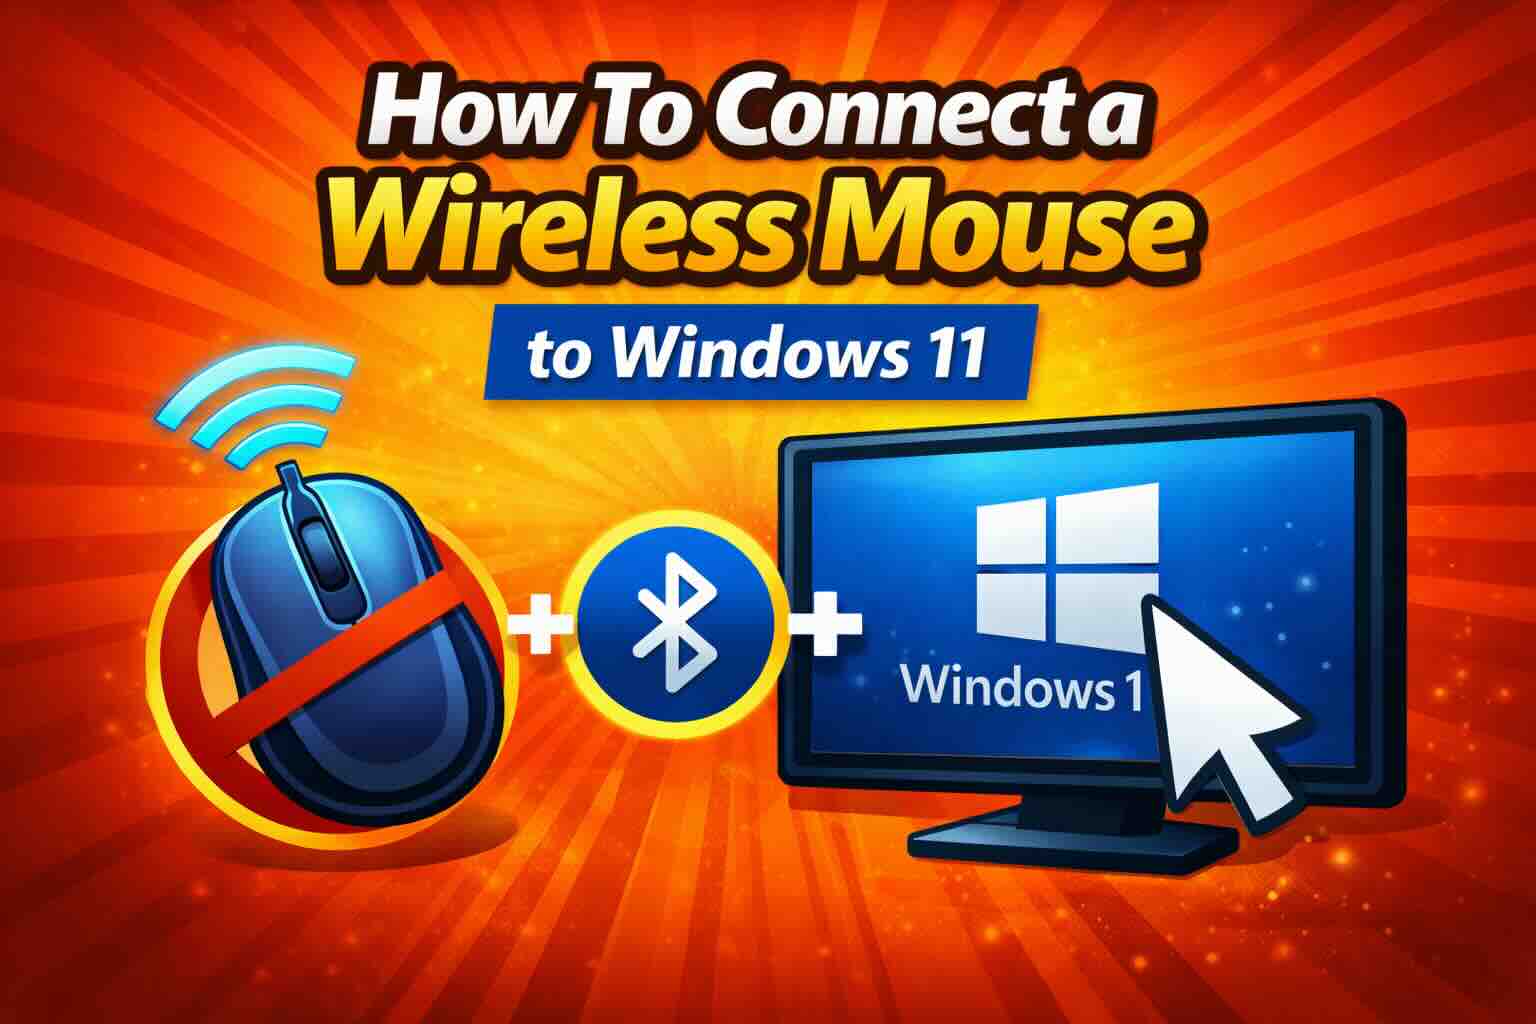
Connecting a wireless mouse to Windows 11 is quick and simple—once you know which type of mouse you’re using. Some wireless mice use a USB receiver (dongle), while others connect using Bluetooth.
In this guide, you’ll learn both methods, plus quick fixes if your mouse doesn’t connect on the first try.
Before You Start (Quick Check)
Make sure:
- Your mouse has fresh batteries or is fully charged
- The mouse power switch is ON (usually on the bottom)
- Your Windows 11 PC or laptop is powered on
Windows 11 handles most mice automatically—no manual driver download needed.
Option 1: Connect a Wireless Mouse Using a USB Receiver (Plug & Play)
This is the most common and easiest method. Most non-Bluetooth wireless mice come with a small USB dongle, often stored inside the mouse battery compartment.
Step-by-Step Instructions
- Prepare the mouse
Insert the required batteries (AA or AAA). - Plug in the USB receiver
Insert the dongle into an available USB-A port on your PC or laptop. - Turn the mouse ON
Flip the power switch on the bottom of the mouse. - Automatic setup
Windows 11 will instantly detect the mouse and install drivers automatically.
Within a few seconds, your mouse should start working.
Example
Plug in the dongle → switch the mouse ON → cursor starts moving.
No settings, no pairing, no extra steps.
Option 2: Connect a Wireless Mouse Using Bluetooth (No Dongle)
Bluetooth mice don’t use a USB receiver but require Bluetooth to be enabled on your PC.
Step 1: Turn On Bluetooth in Windows 11
- Click the Network / Volume / Battery icon in the taskbar corner
- Make sure the Bluetooth tile is ON
- If it’s off, click to enable it
Step 2: Put the Mouse in Pairing Mode
- Turn on the mouse
- Press and hold the Pair / Connect button (usually on the bottom)
- Hold for 3–5 seconds until the LED light starts flashing
This means the mouse is ready to pair.
Step 3: Pair the Mouse in Settings
- Open Start > Settings
- Go to Bluetooth & devices
- Click Add device
- Select Bluetooth
- Choose your mouse from the list
- Click Connect
Once paired, the mouse will connect automatically in the future.
Swift Pair (Fastest Bluetooth Method)
Some modern mice support Swift Pair in Microsoft Windows 11.
If supported:
- A “New device found” pop-up appears automatically
- Just click Connect
- No need to open Settings
Quick Fixes If the Mouse Won’t Connect
If your wireless mouse doesn’t connect right away, try these fixes:
Check Batteries
- Replace old batteries
- Make sure they’re inserted correctly
Try Another USB Port (Dongle Mice)
- Unplug the receiver
- Plug it into a different USB port
- Avoid USB hubs if possible
Move Closer (Bluetooth Mice)
- Keep the mouse within 1–2 feet of the PC
- Remove interference from routers or metal objects
Run the Bluetooth Troubleshooter
- Open Settings
- Go to System > Troubleshoot
- Select Other troubleshooters
- Run the Bluetooth troubleshooter
Windows will automatically detect and fix common pairing issues.
Which Method Should You Use?
| Mouse Type | Best Method |
|---|---|
| USB receiver mouse | Plug & Play |
| Bluetooth mouse | Bluetooth pairing |
| Laptop with limited USB ports | Bluetooth |
| Office / work PC | USB receiver |
Final Thoughts
Connecting a wireless mouse to Windows 11 is usually effortless. If your mouse uses a USB dongle, it’s plug-and-play. If it’s Bluetooth, pairing takes less than a minute.
Once connected, Windows 11 remembers your mouse—so future connections are automatic.