Estimated reading time: 4 minutes
Key Takeaways
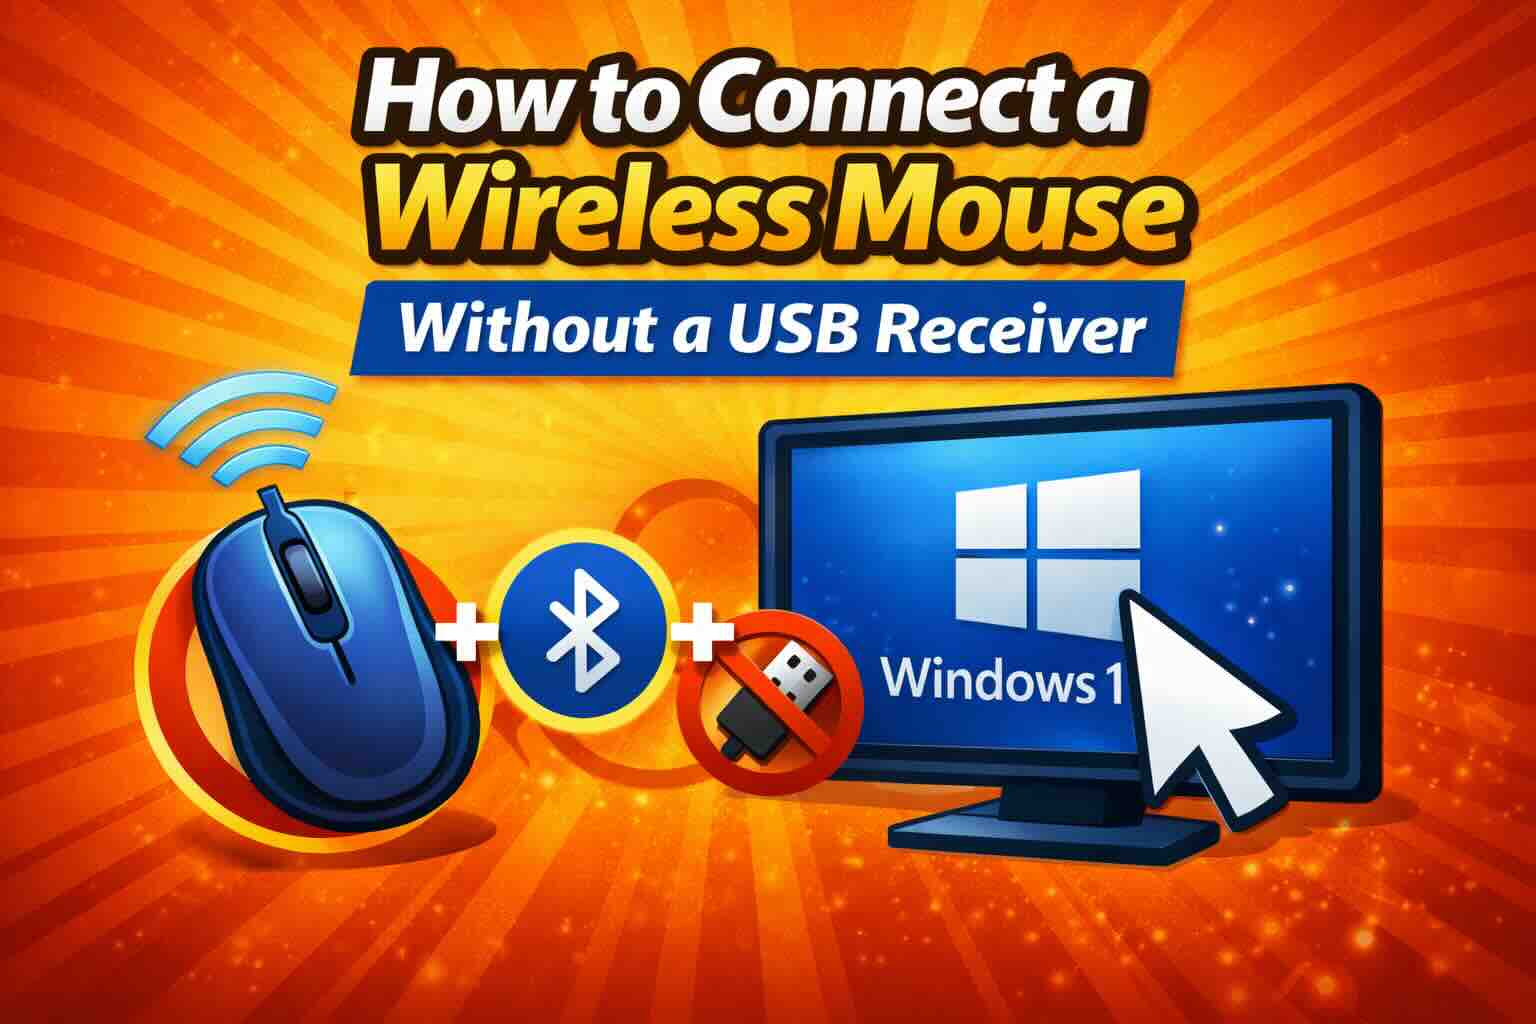
- You can connect a wireless mouse without a USB receiver if it supports Bluetooth.
- Ensure Bluetooth is enabled on your Windows 11 device before pairing the mouse.
- Put the mouse in pairing mode and add it through Windows settings to connect.
- If the mouse doesn’t connect, check for Bluetooth support and troubleshoot common issues like battery or distance.
- A USB dongle is required for 2.4GHz-only mice or those without Bluetooth capability.
Ever opened a new wireless mouse box while traveling—only to realize the USB receiver is missing?
Don’t panic.
Many modern wireless mice work without a USB dongle because they connect using Bluetooth, which is already built into most Windows 11 laptops. If your mouse supports Bluetooth, you can pair it directly in settings—no extra hardware required.
This guide shows you exactly how to do it, plus how to tell when it won’t work.
Why a Mouse Can Work Without a USB Receiver
A wireless mouse can connect without a USB receiver only if it supports Bluetooth.
There are two types of wireless mice:
- USB receiver (2.4GHz) mice → Require a dongle
- Bluetooth mice → Connect directly to your PC
If your mouse is Bluetooth-enabled and your Windows 11 device has Bluetooth, you’re good to go.
Important: Bluetooth Is Required (When It Won’t Work)
Your mouse will NOT connect without a receiver if:
- It is a 2.4GHz-only mouse
- It came with a USB dongle and has no Bluetooth mode
- There is no pairing button on the mouse
- Bluetooth is missing or disabled on your PC
Most laptops sold with Microsoft Windows 11 already have Bluetooth built in.
How to Connect a Bluetooth Mouse Without USB Receiver (Windows 11)
Step 1: Turn On Bluetooth in Windows 11
- Click Start
- Open Settings
- Go to Bluetooth & devices
- Turn Bluetooth ON
Step 2: Put the Mouse in Pairing Mode
- Turn the mouse ON
- Press and hold the Pair / Connect button
- Usually on the bottom
- Hold for 3–5 seconds
- Release when the LED starts blinking
Blinking light = ready to pair
Step 3: Add the Mouse in Windows Settings
- In Bluetooth & devices
- Click Add device
- Select Bluetooth
- Choose your mouse from the list
- Click Connect
That’s it. The mouse should work immediately.
Real-Life Example (Travel Scenario)
Imagine this: You’re traveling with a Windows 11 laptop. You packed your Bluetooth mouse—but the USB receiver is at home.
Instead of buying a new mouse:
- You turn on Bluetooth
- Put the mouse in pairing mode
- Connect it in Settings
Total time: under 60 seconds
No dongle needed.
Quick Note: Why Some Mice Cannot Work Without a Dongle
⚠️ Important to know
Some wireless mice:
- Are not Bluetooth
- Only work through their USB receiver
- Cannot be paired directly to Windows
If your mouse:
- Has no Bluetooth logo
- Has no pairing button
- Was marketed as “USB wireless only”
Then a dongle is mandatory.
Fast Troubleshooting If the Mouse Doesn’t Appear
Try these quick fixes:
- 🔋 Check batteries or charge the mouse
- 📏 Move the mouse closer to the laptop
- 🔁 Turn Bluetooth OFF → ON again
- 🔄 Restart the mouse and PC
- 🔧 Go to Settings > System > Troubleshoot > Other troubleshooters
Run the Bluetooth troubleshooter
If the mouse still doesn’t show up, it likely requires a USB receiver.
Frequently Asked Questions
Yes—but only if the mouse supports Bluetooth.
Check for:
Bluetooth logo
Pairing button
Product description mentioning Bluetooth
Yes. Windows 11 fully supports Bluetooth mice out of the box.
No. USB-only mice cannot be converted.
Final Thoughts
Connecting a wireless mouse without a USB receiver is easy—if Bluetooth is supported. Windows 11 makes the process simple, fast, and beginner-friendly.
If your mouse doesn’t support Bluetooth, a USB dongle is unavoidable. Knowing the difference saves time, money, and frustration.


