You want to move or copy your old backup data saved by iTunes to another location or External drive. So, here is the guide on how to transfer iPhone Backup to External Drive from Mac. It also works on Mac OS X. It’s an official way to find the hidden backup folder from Mac without any third-party software or bypass in Storage drive.
Due to the security cause your Backup file does not show up/ Viewable to anyone or you. That prevents accidental delete or changes.
Step by Step guide on iPhone Backup to External Drive from Mac: macOS
Get More: Top Portable Drive to Buy: Best External Drives for Mac
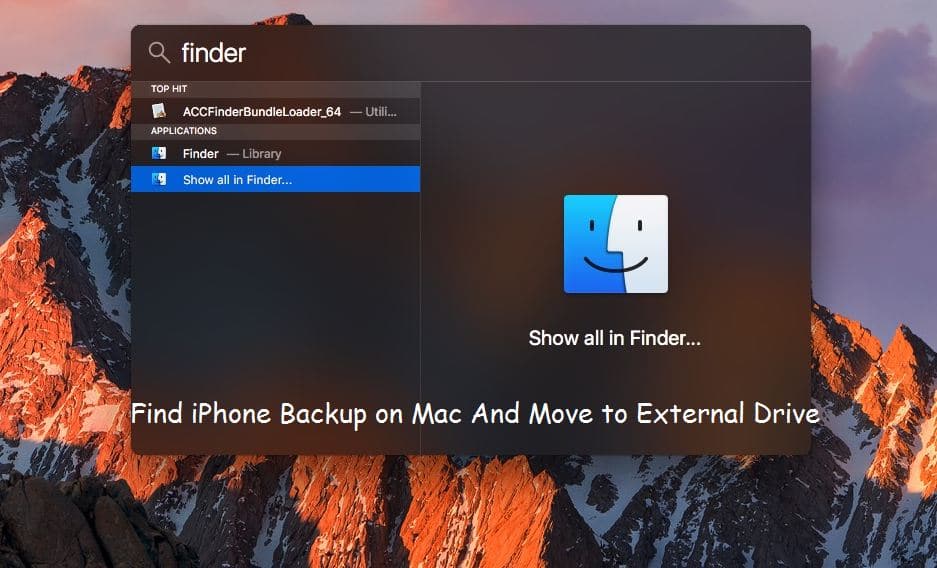
1: Open Finder on Mac screen (Macbook, iMac, Mac mini).
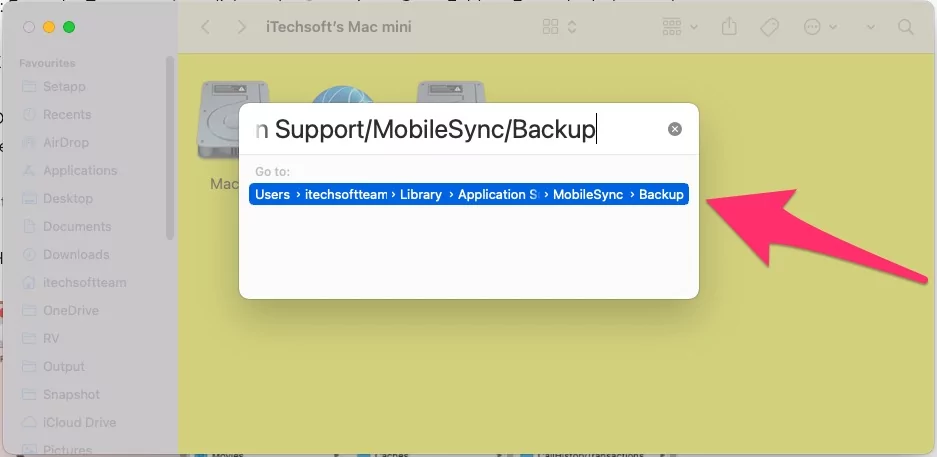
2: From the Top menu bar, click on the Go option > Go to Folder… Enter the below path,
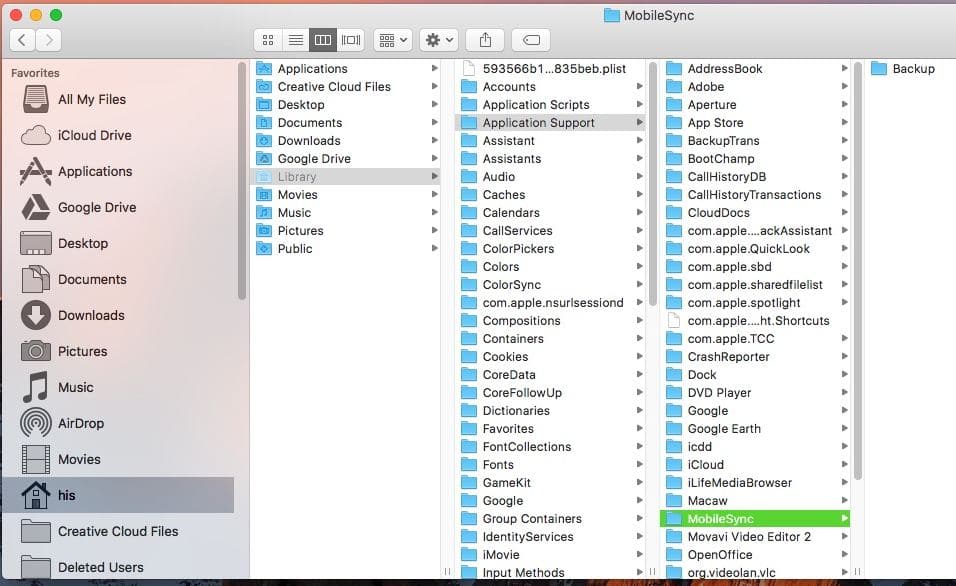
Enter this path and Click on Go: ~/Library/Application Support/MobileSync/Backup
Or Manually find the Backup folder from this path: – Click on “Library” [Press “Option Key” to see] Next Under Library folder > Application Support > Mobile Sync > Backup
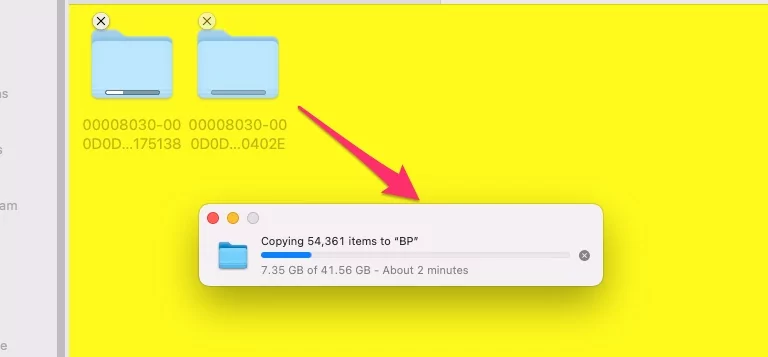
Here are all the Backups under Backup.
Copy this folder and move it into other Places or External devices. Now, You can delete the Backups from the Backup folder. or Use when you want to restore to your iPhone.
Note Mobile sync folder not renamed or created by the third-party application. It’s a macOS system name. Most people feel and confusing about the unrevealed folder names.
Manage Backup on Finder/iTunes on Mac/PC
macOS Catalina or later macOS users have not iTunes, Becuase iTunes is shutdown officially of the latest macOS. So Follow the below steps for manage Old backup from the Finder window on Mac. You didn’t like every time auto-backup start when connecting to Mac/ PC via iTunes/Finder for copy music or video to iPhone/ iPad. Yes, That we can manage it from setting.
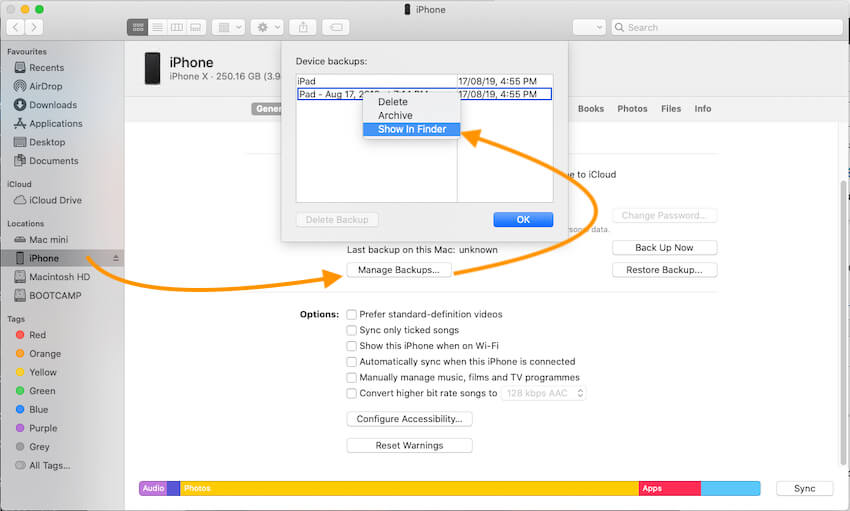
Use Finder for mange Backup on macOS Catalina or later
- Open Finder on Mac computer.
- Next, Connect your iPhone to Mac, Unlock your iPhone and Enter passcode it asked for Trust this mac.
- Now, Wait for few seconds, Your iOS device name will appear on the Finder sidebar.
- Go to the Backup section, From there we can manage old backups under Manage Backup option and Take a new backup using the Backup Now option.
Use iTunes on macOS High Sierra & Earlier, Windows PC
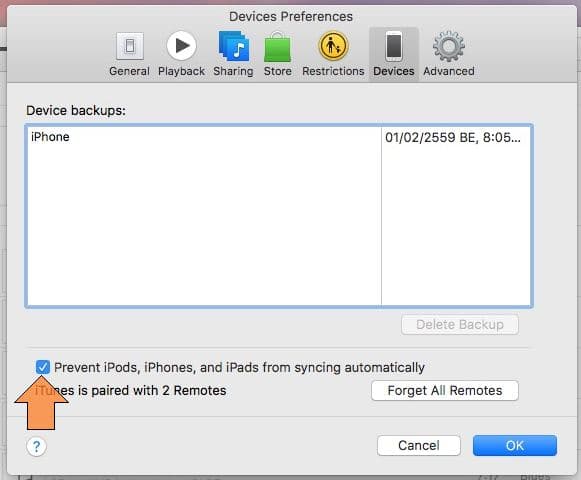
To Stop automatically back up Follow the below steps
- Open iTunes on Mac/ PC.
- From Top Menu under iTunes, Click on System Preferences.
- And on Horizontal Tabs, Under the Devices > Enable Checkbox to Prevent iPods, iPhone, and iPad from syncing automatically.
Some third-party software or extractor works to extract different types of iOS data (Contacts, Messages, Photos and more) from old Back up.
More fix and Troubleshooting guide share your speech on the comment box. It also gives a rating about how useful the way to find iPhone Backup to External Drive from Mac with macOS Monterey/ macOS Catalina, macOS Mojave, macOS Sierra, EI Capitan, or Other Operating System.
