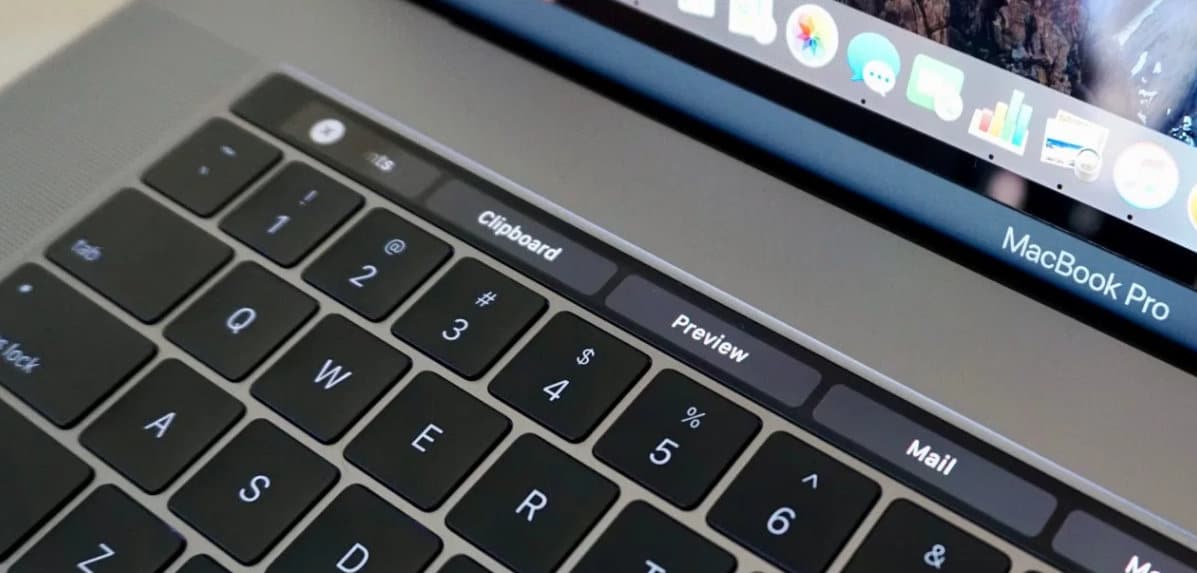
Apple’s brand new MacBook Pro shipping with an integrated touch bar instead of Functions Keys. The MacBook Pro with Touch bar gives a wonderful experience than ever before mean you can handle apps directly using the Control strip that appears on the touch bar for supported apps. Above the physical keyboard, the multi-touch Touch bar is located. Do you know how to screenprint of Touch bar? I think you don’t know because so far you have taken a screen print of the MacBook’s entire screen and selected area screenshot. But now, you can take the touch bar screenshot by using the new system command. To take a screenshot of the touch bar you need to know the new command.
To wrap up this process successfully, you must have the latest macOS or above running MacBook Pro with Touch Bar. to check out the latest macOS update Catalina, open up App Store (using Spotlight search or Applications folder) and then click on Updates – on the screen you can appear a list of the available update Apps and System software. Also Get: Take a Screenshot on iPhone.
Command to Screen Print or take a screenshot of the Touch Bar on MacBook Pro
To do Screenprint Touch bar – Press Shift-Command-6 keys on the physical touchpad.
How to Add Screenshot Button to the Touch Bar
In the following steps, I’ll show you how to create a Touch Bar Screenshot on MacBook Pro, here you go. After adding the Screenshot button on Touch Bar, it would be really easy to capture screenshots in a single tap.
- Click on the Apple logo and select System Preferences.
- Choose Keyboard.
- Locate and click on Customize Control Strip.
- Drag the Screenshot icon on to the Touch Bar.
- If the Touch Bar is occupied then extend the area and place the Screenshot button.
How to Screenshot Bootcamp Windows 10 MacBook Pro Touch Bar
The simplest way to screenshot on Windows 10 installed on MacBook Pro, MacBook, is by using the Snipping Tool of the Windows 10. Assuming you’re logged in to Windows 10 on MacBook Pro, search the Snipping Tool from the search bar.
Click on the Mode and select from different Snipping Modes like Free-form, Rectangular, Windows, and Full-Snip modes and start taking snips of the screen.
That’s it.
Where to find the touch bar screenshot? Yes, it’s a fantastic question, anyone else having in mind after taking up the screenshot. You find .png file on your MacBook Pro with Touch Bar. you can get the touch bar screenshot image. By default, the screenshot saved as named ‘Screenshot date at time.png’ on the desktop screen.
If you would like to change the screenshot save location in Clipboard instead of the desktop then you need to press Control-shift-command-6. Just add the control key in the above-given command.
luckily wonder tip when you’re using XCode or other third-party utility tools, simulator, and for whatever your purpose. You know to do Customize Touch bar is also useful to add a screenshot button on the Touch Bar. Therefore you can quickly screen print through the touch bar without command.
Apple’s latest Mac operating system is macOS, So you should upgrade if your Mac is supported with macOS Catalina and get an awesome new feature which is ready to make your Mac much better than evet before.
Don’t miss this trick to add a tool on the control strip to Switch between Apps with Touch Bar on MacBook Pro.
Do you find any problems to take a screenshot of the Touch Bar MacBook Pro? let us know that in the comment. We’ll reply to you quickly Asap. Please Like us on Facebook, and follow us on Twitter to get the latest news.
