Let’s be honest; we all have certain confidential folders, whether it could be personal photos, sensitive documents, or legal papers, that we don’t want to be accessible to others. Luckily, Apple is concerned about its users’ privacy & security and hence has added ways to hide folders on Mac. So, without further delay, let’s explore different ways to hide your folder on Mac running the latest macOS.
4 Easy Ways to Hide Folders on Mac (Unhide)
Want to keep your files inaccessible to others on your Mac? Here are five different ways.
Method 1: Make File invisible using Dot
The easiest way to hide files on your Mac is by adding the Dot before the file name. Yes, if you save the File by adding a period before its name, the macOS will automatically treat it as hidden. So follow the steps below.
For this, select the File and Control-Click on it.

Add Dot before the file and press the Return Button. As soon as you do so, you will receive the prompt to confirm that you want the macOS system to see those files as hidden.

Then you can use Keyboard Shortcut Shift + Command + period(.), and the files will disappear from your Mac.

To reveal the files, press the same keyboard shortcut Shift + Command + period(.). Then rename the files by removing the Dot before the file name.


That’s It!
Method 2: Using Terminal
The Terminal is a command line interface on your Mac that keeps your files hidden and protected. And the best part is it’s preinstalled on your Mac. So let’s see how you can hide folders on your Mac using the Terminal command.
1. Press Command + Space to access Spotlight. Enter Terminal and open it.

2. Now enter the command: chflags hidden and leave the space, and drag and drop the File you want to hide.
chflags hidden [Type your File or Folder path - By Drag and Drop]Note: Copy & save this hidden folder path for future use (Recover using terminal, explained in next step)

3. Tap on Return, and your File disappears.

If it’s not hidden yet, you may need to relaunch the Finder to make the File disappear.
To reveal and unhide files using Terminal
1. Press Command + Space to access Spotlight. Enter Terminal and open it.

2. Now enter the command: defaults write com.apple.finder AppleShowAllFiles -boolean true; killall Finder
defaults write com.apple.finder AppleShowAllFiles -boolean true; killall Finder3. Hit Return, and icons of hidden files reappear. Although they are greyed out, you can see them on your Finder.
4. To unhide the File, enter the command: chflags nohidden and leave the space, and drag and drop the files you want to unhide.
chflags nohidden [Type your File or Folder path]
5. Tap on Return, and your File will reappear at the location you lastly saved on your Mac.

That’s It!
Method 3: Hide Files With a Different User Account
This isn’t a way to completely disappear your files on Mac. Instead, you have to create a separate user account where you save all your sensitive data—creating a different user account is one of the most secure ways to hide your files on a Mac.
Latest macOS
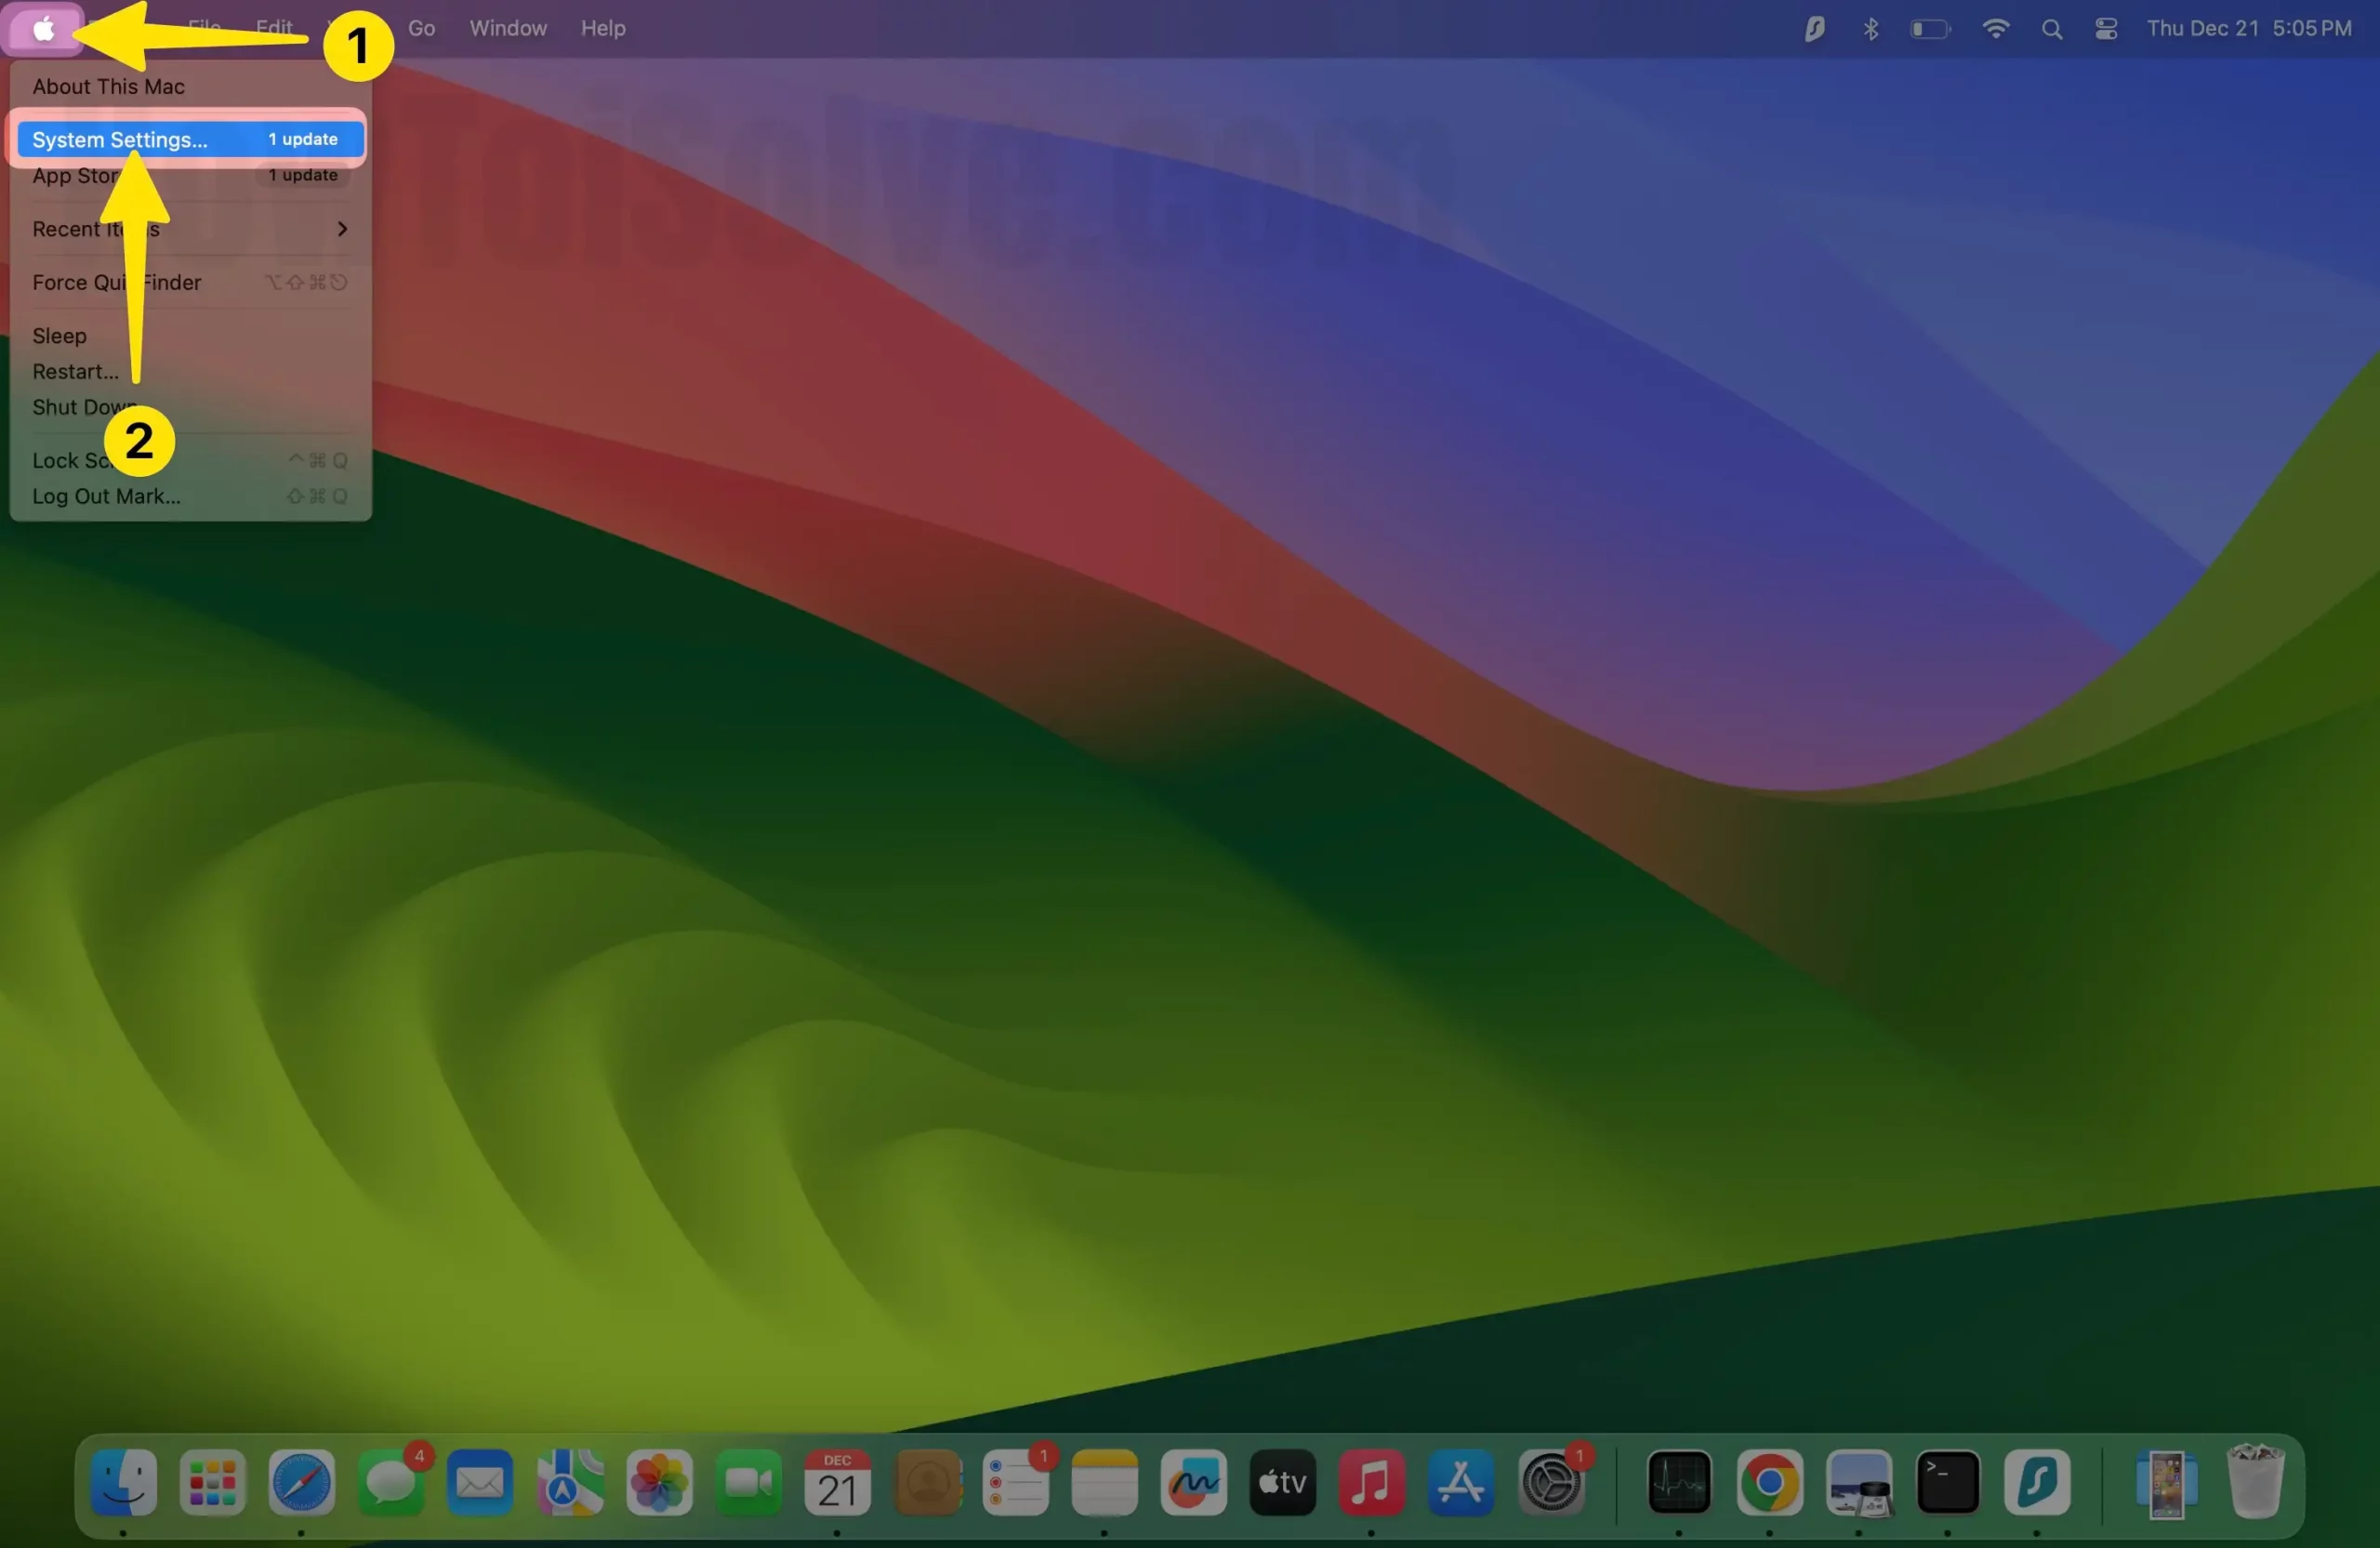
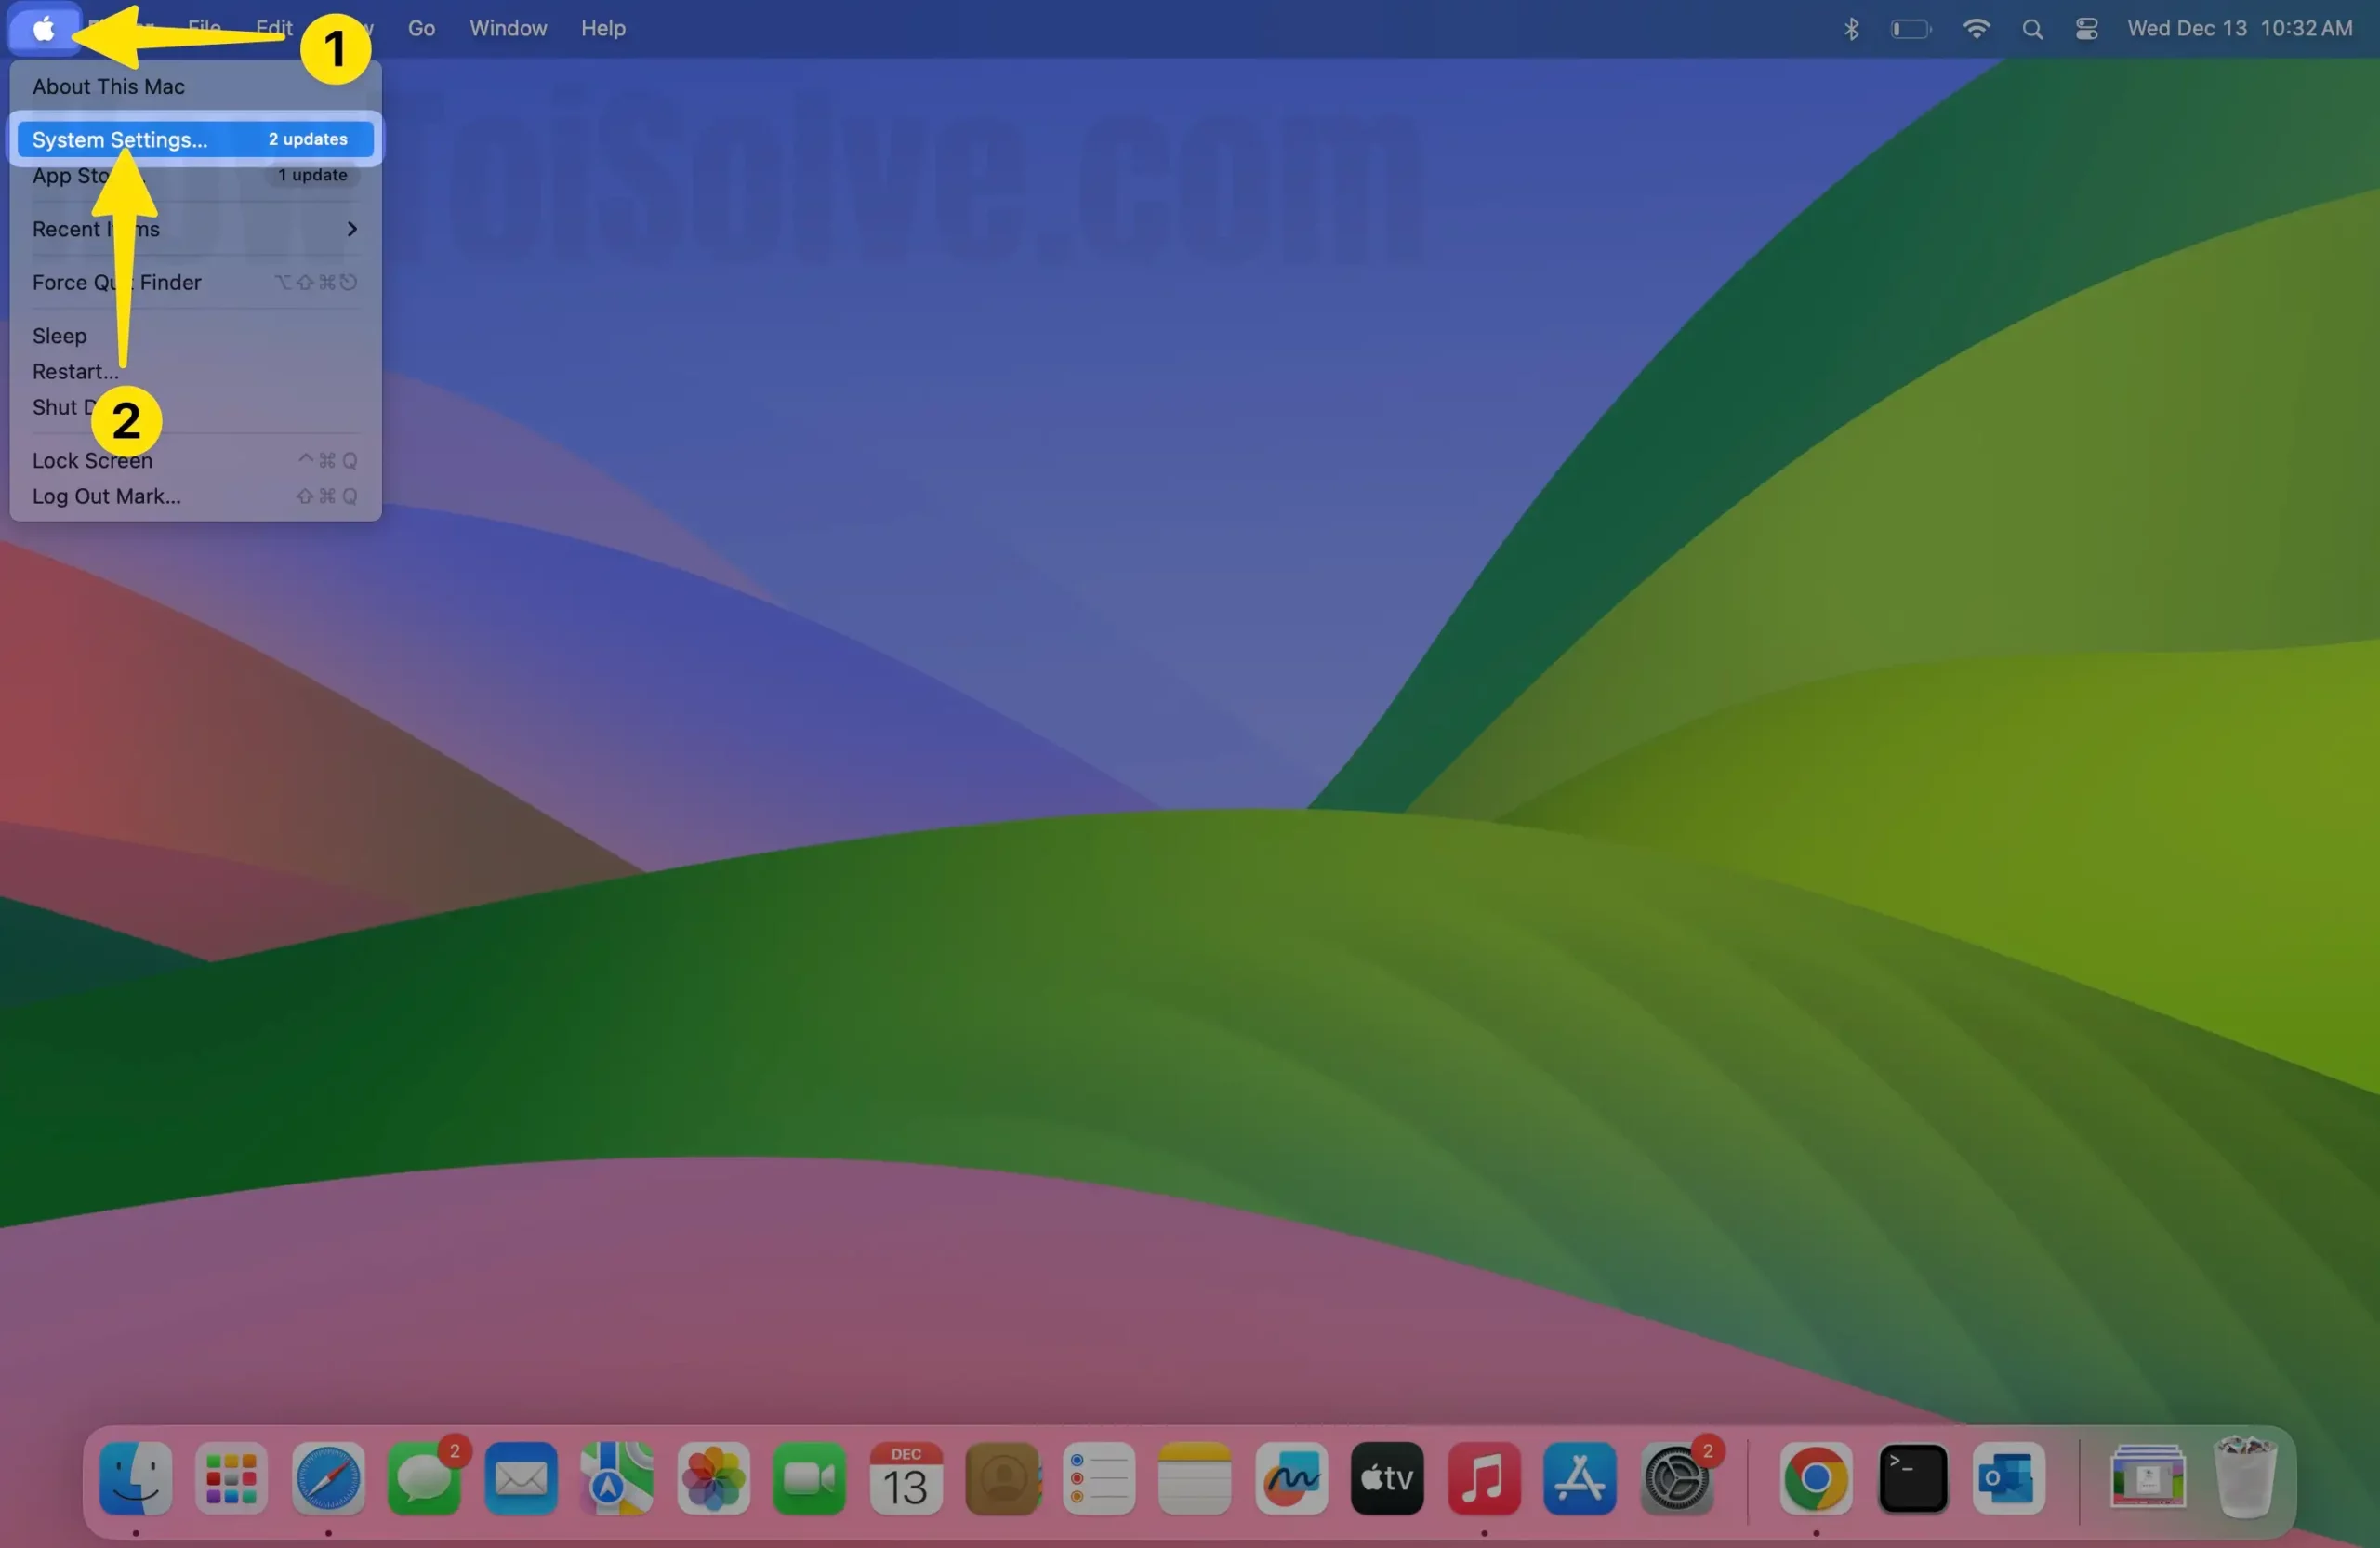
1. Select Apple Logo. Go to System Settings…

2. Choose Users & Groups. Click Add Account…

3. Enter your Mac Administrator name and password.

4. Select Standard User & Enter Full Name, Account Name.
5. Create a Strong Password and verify it.
6. Enter Password Hint.
7. Finally, select Create User.

macOS Monterey and earlier
- Navigate to Apple Menu.
- Select System Preferences…
- Go to Users & Groups.
- Click on Lock Icon at the right-bottom corner of the window. Enter the Administrator’s name and password.
- Select Plus Icon to add a new account.
- Register Full Name, Account Name.
- Create a Strong Password and verify it.
- Enter Password Hint.
- Finally, select Create User.
Now you can switch between the users from your Mac lock screen.
Method 4: Encrypt and Password Protect Files on Mac (Using FileVault)
Another way to hide files on your Mac is by using the built-in security feature, FileVault. It’s priority encryption software that encodes the information stored on your Mac, so accessing files without jotting the right credentials is impossible. However, some users suspect that using FileVault can eat lots of CPU when Mac is running on older macOS, but you can prevent such instances by updating macOS before using FileVault.
macOS Ventura And Later
1. Go to Apple Menu. Select System Settings…

2. Click on Privacy & Security on the left sidebar. Swipe down to FileVault.

3. Click turn on and enter a password.

4. Select your recovery method, and choose Continue.

macOS Monterey And Earlier
- Go to Apple Logo.
- Select System Preferences… > FileVault Tab.
- Click on the Lock Icon at the bottom and enter the password.
- Select Turn On FileVault.
- Select your recovery method, and save changes.
If you select Allow My iCloud to unlock my disk, the encryption process will begin automatically. If you choose to Create a recovery key and do not use an iCloud account, the system generates the recovery key, which you must save anywhere. You can’t access your files on your disk without using the recovery key.
Final Thought!
For most, we recommend using the FileVault Method to hide files on your Mac. Alternatively, you can create password-protect folders to prevent anyone from accessing your confidential folders and thus ensure all folders on your Mac stay protected. Willing to invest in the paid app? Use Hider 2: Hide folder on Mac App for just $19.99
