Just think how beautiful it is to use the new macOS on our Mac without deleting the old High Sierra. It is very simple to install both versions on your Mac; only you have to create a disk partition to take advantage of the latest Mac operating System. Thanks to the inbuilt disk utility program which helps and enables us to partition the disk.
Complete Process to install MacOS
What is a disk partition?
Disk partitioning involves dividing a hard disk into two separate sections. This allows you to run two operating systems on one Mac, such as macOS and Windows, or even different versions of macOS. Essentially, it splits the total storage of the hard drive into two parts and allocates the space accordingly. However, if you’re low on storage, I recommend against installing two different operating systems or programs. Instead, consider using an external hard drive for additional storage.
Before You Start
Before you partition hard drive equally, take a backup and prevent data loss. The simple and quick way to back up mac is Time Machine. Check you should have at least 30GB of free storage to run the second OS, and if you can free up to 50GB, then it is best.
How To Create a Partition on Your MacOS?
Step 1: Launch “Finder” on Mac.
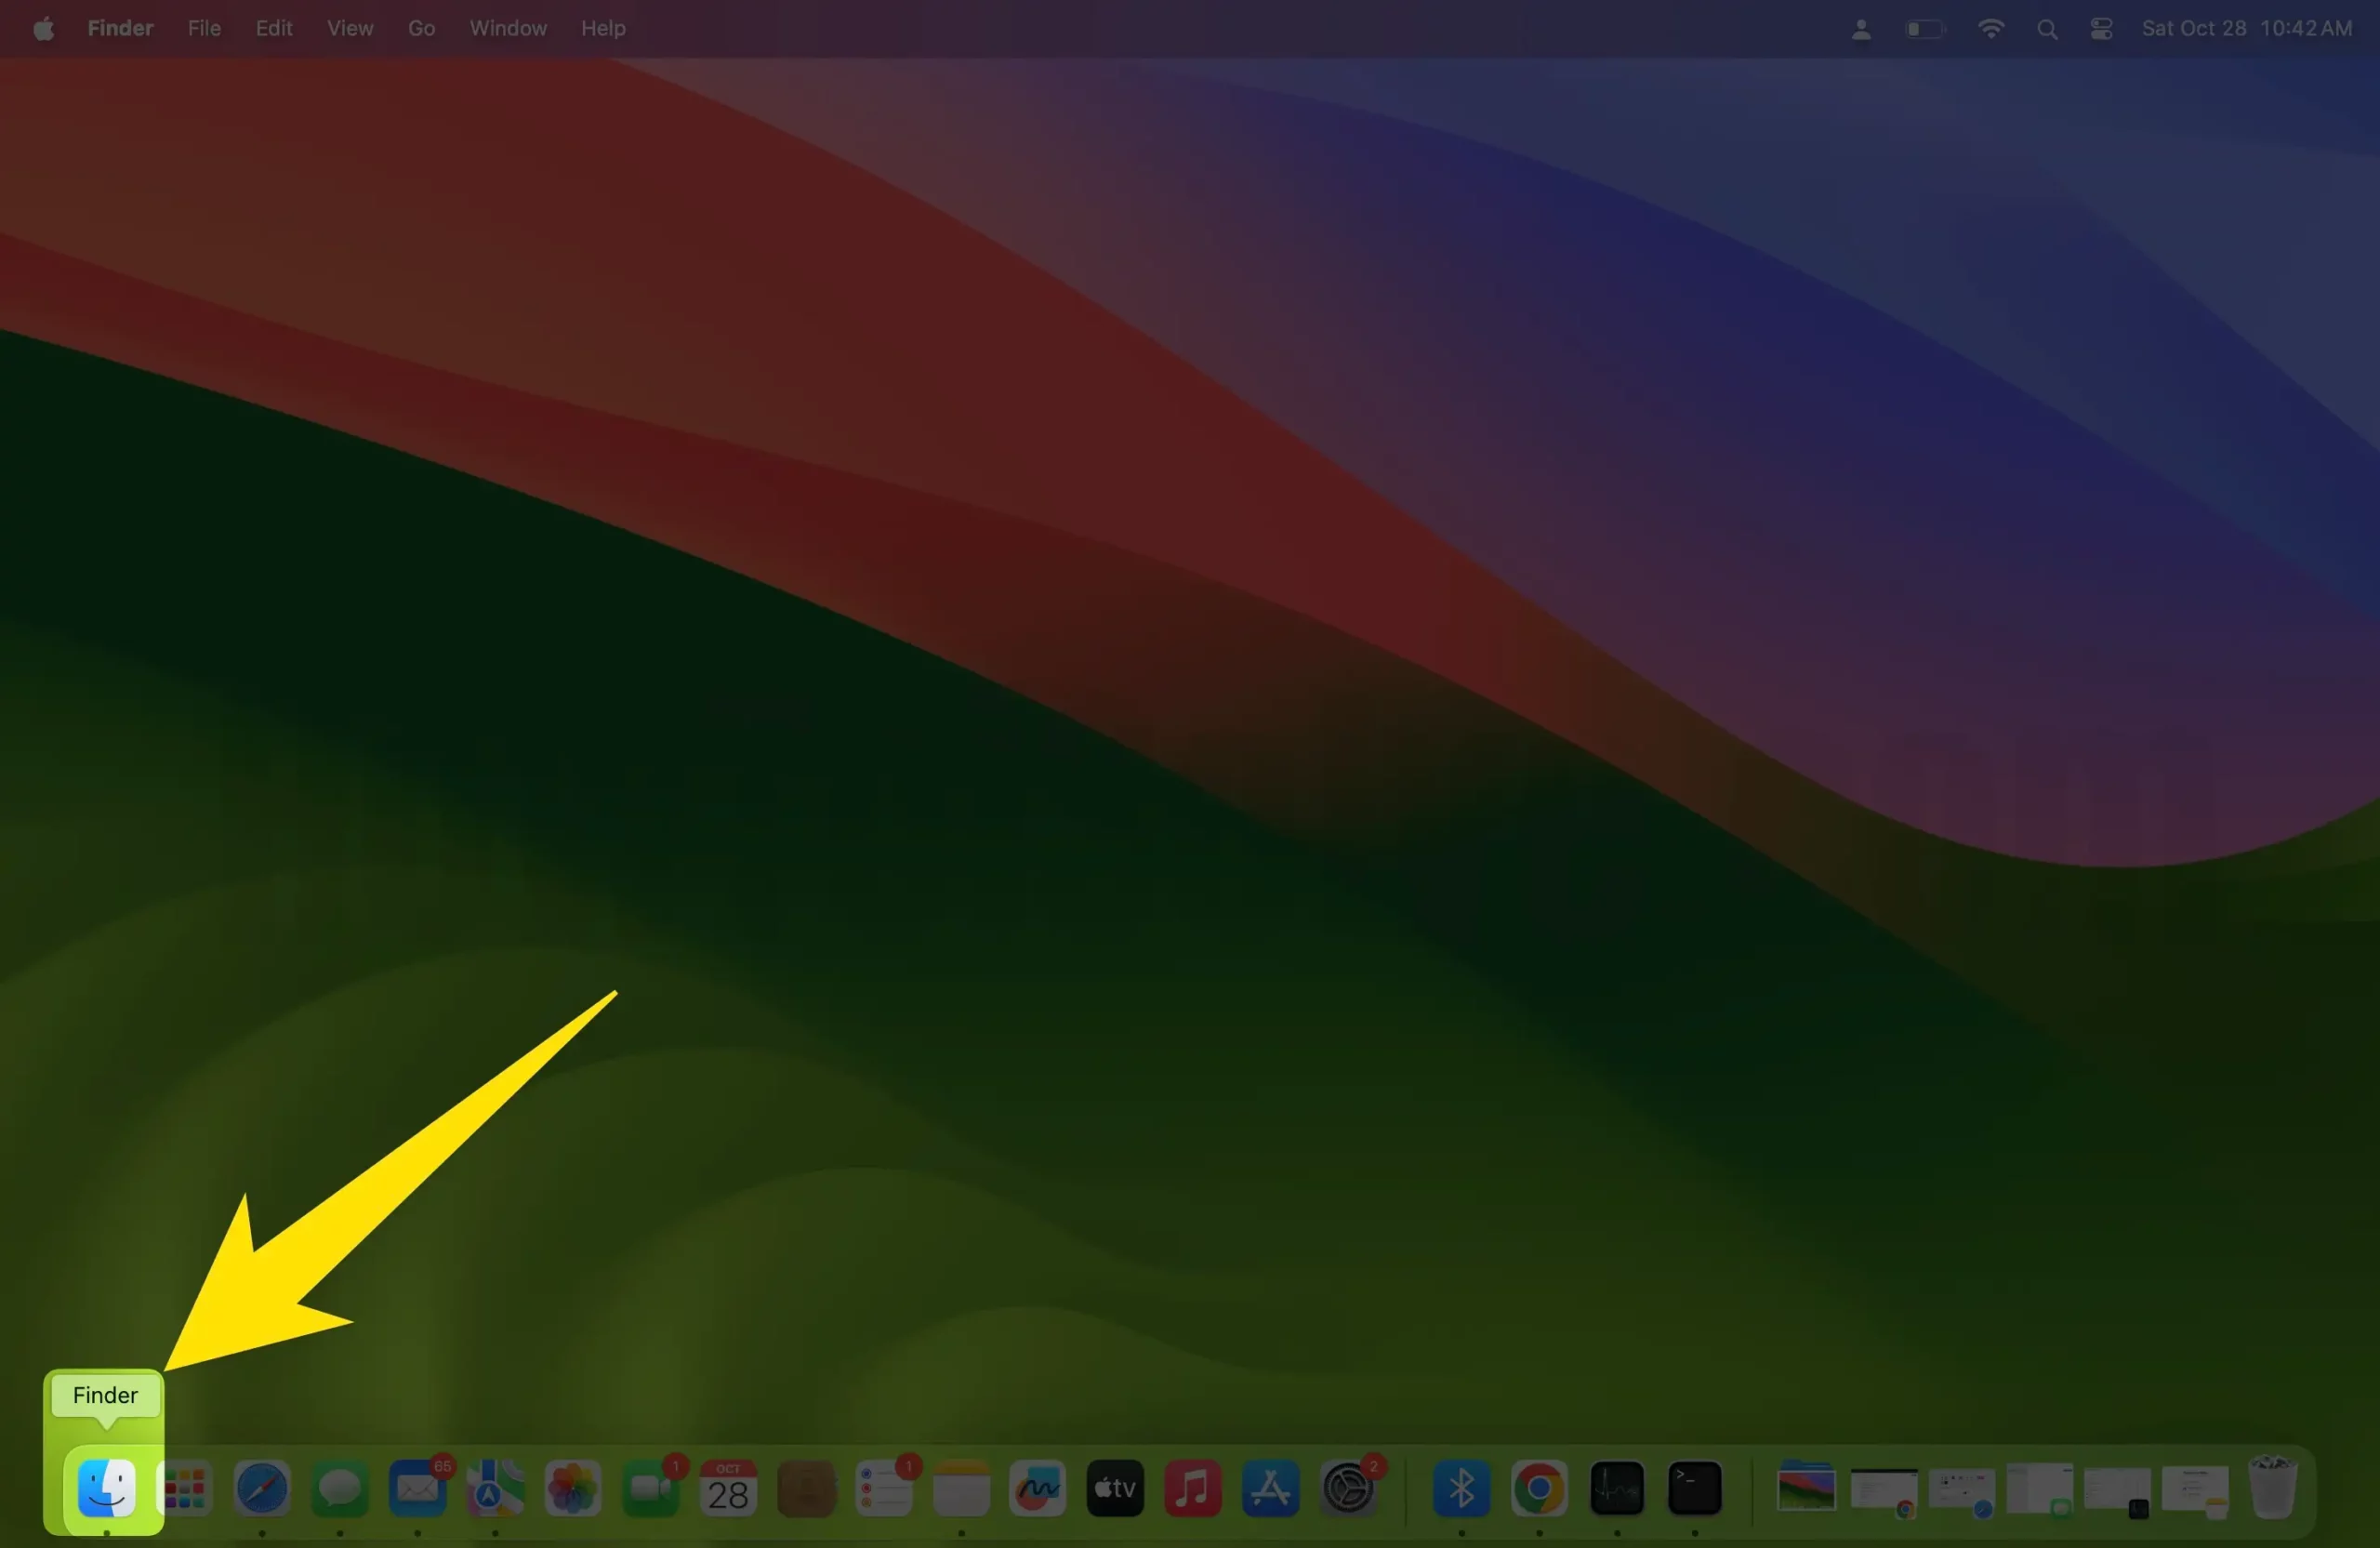
Step 2: Select “Applications”.
Step 3: Choose the “Utilities” folder.
Step 4: Now open “Disk Utility”.
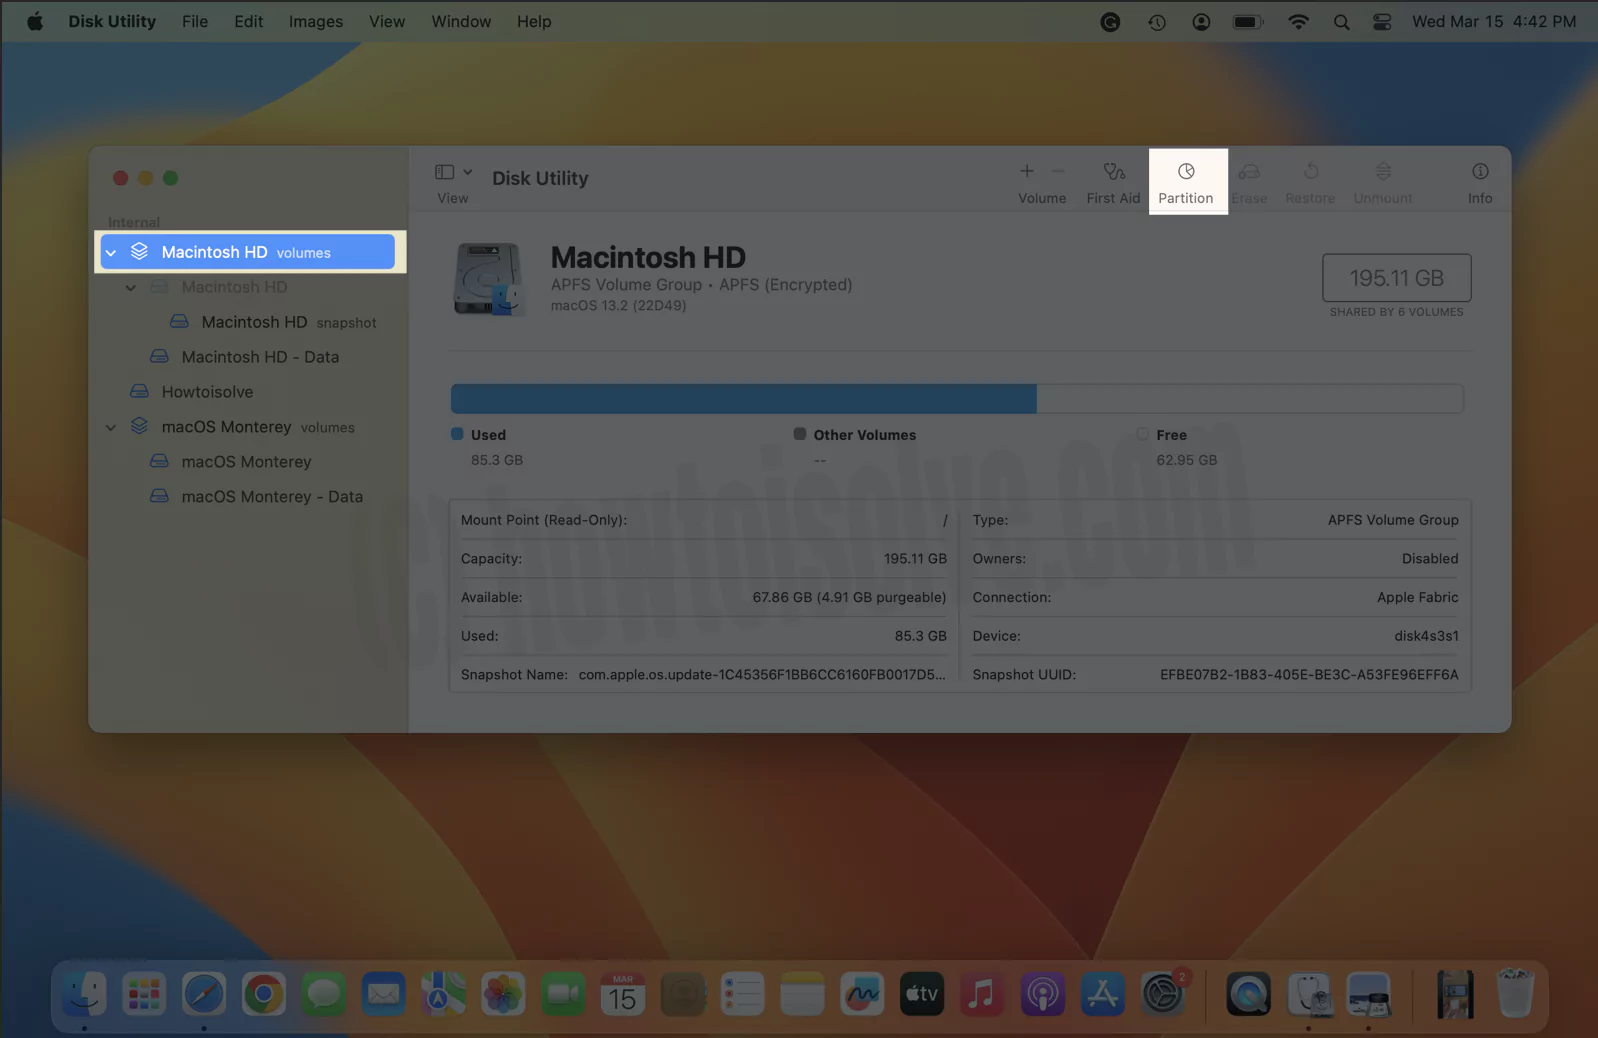
Step 5: Choose “Hard Drive”.
Step 6: It may be named “Fusion” or “Macintosh HD” (the first Hard drive in the list).
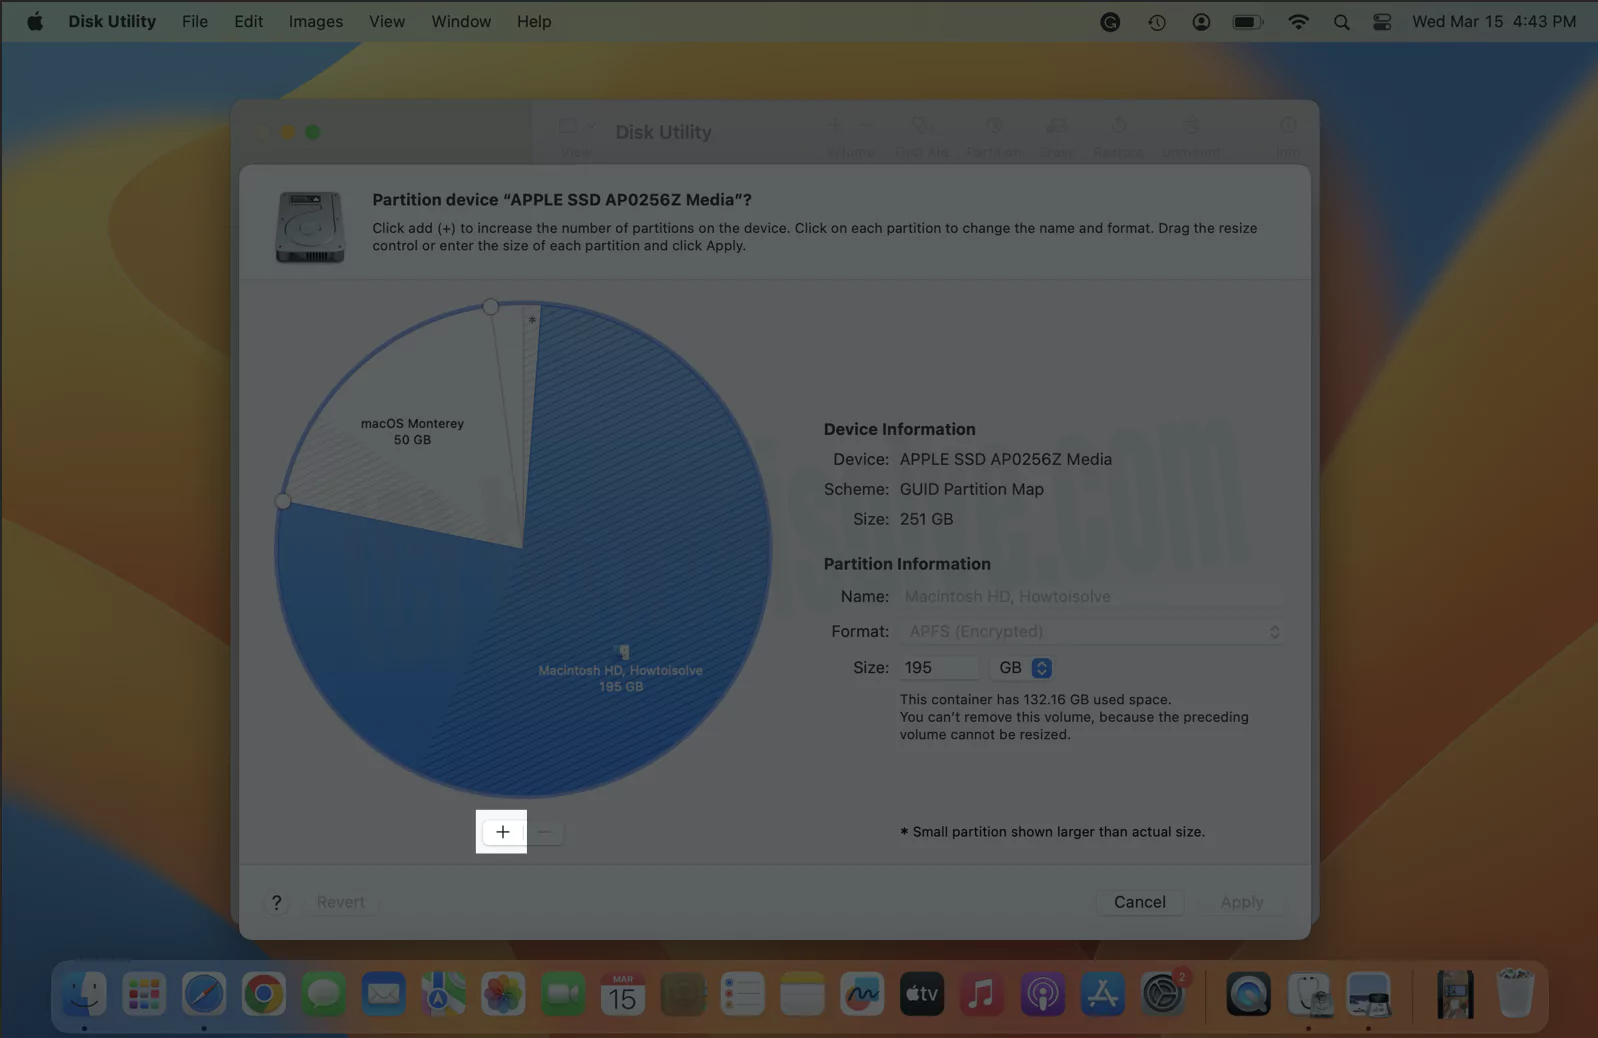
Step 7: Now, click on the “Partition” tab.
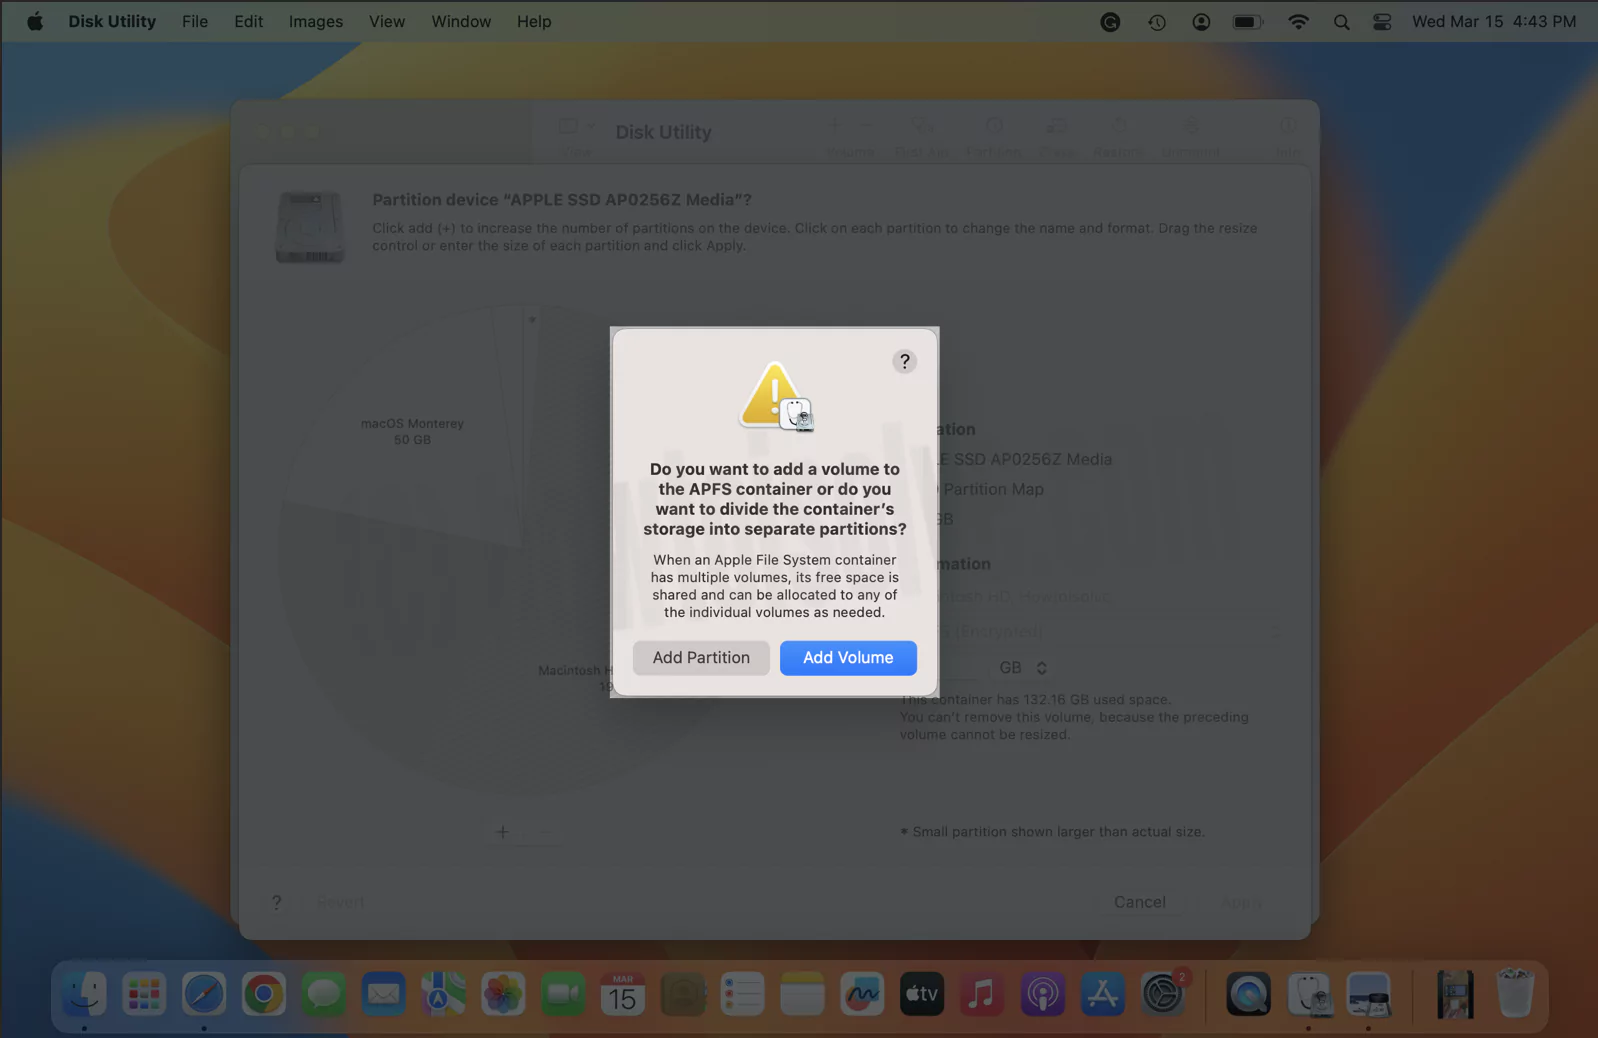
Step 8: Click on the “(+) plus” button.
Step 9: Now you can resize the partition by dragging the controls. The blue color indicates the used-up space.
Step 10: Name the new part of the disk.
Step 11: Clicking Apply button.
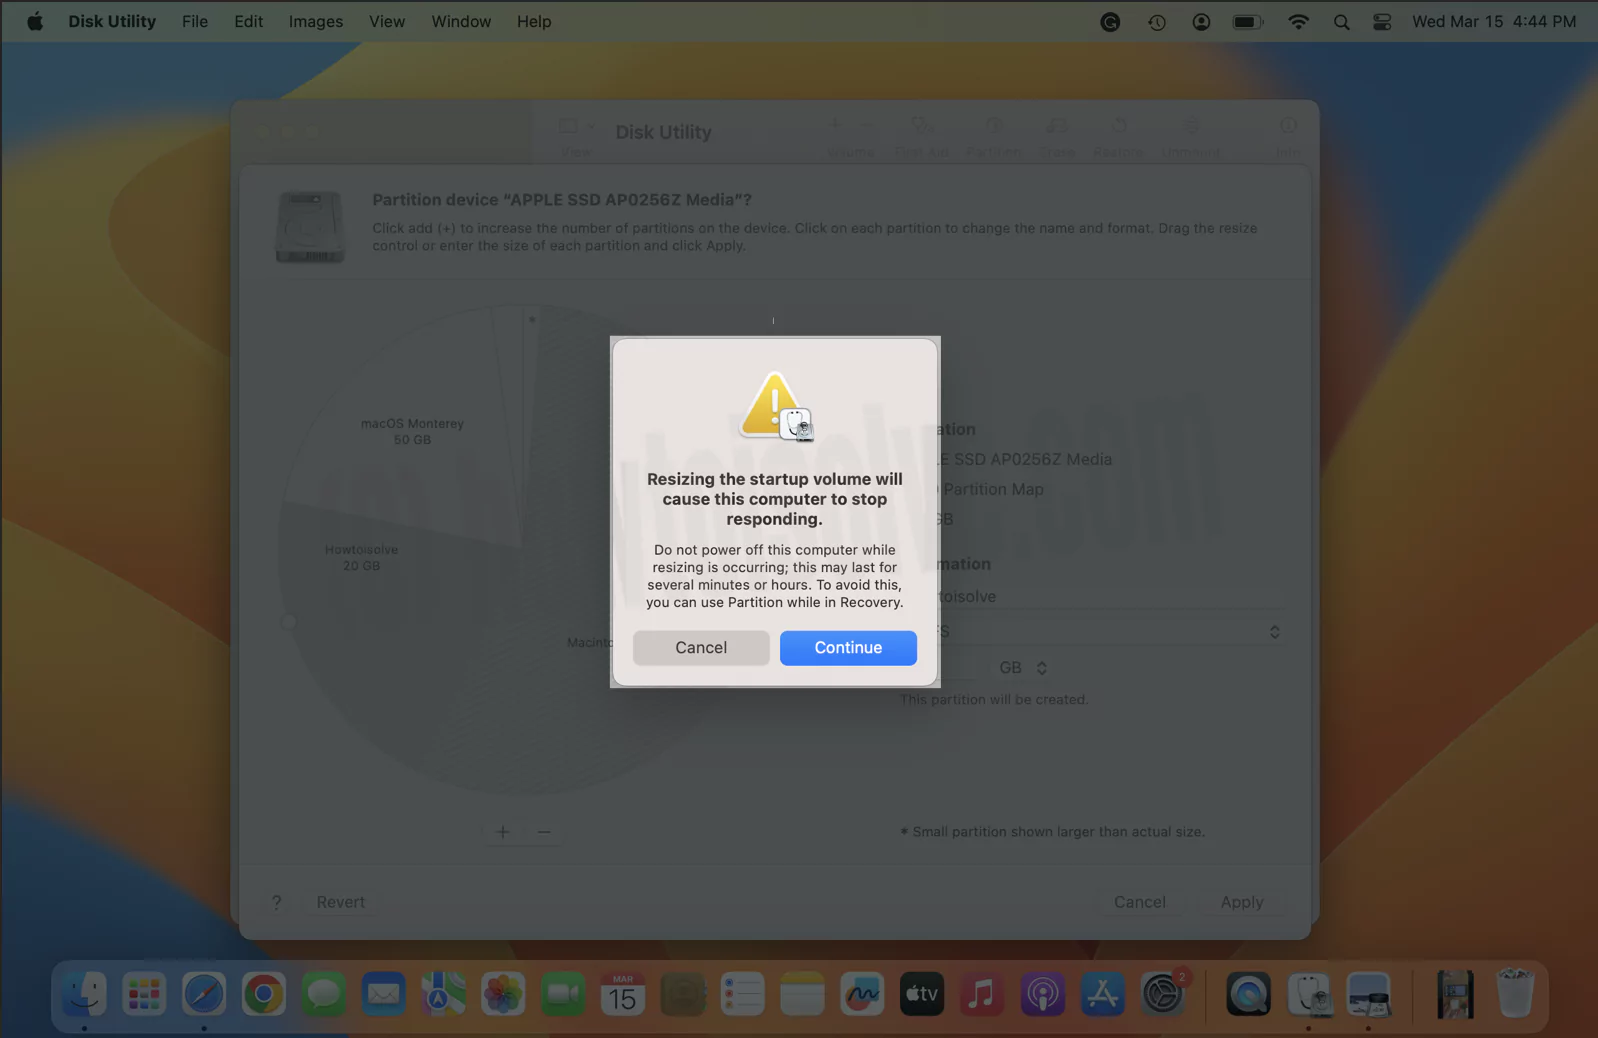
After this step, it will take a few minutes to complete the process and make changes.
Now, Dual Boot macOS, After installing another macOS in a separate partition.
Useful: Install Windows on Mac [Using Bootcamp].
How To Switch Partitions?
You can change to a new partition and download and install the beta from there.
Step 1: On the upper-left corner, click “Apple Logo” icon. Tap “System Settings”.
Step 3: Choose “General” from the left side panel > Startup Disk.

Step 4: Select the New default startup disk for your Mac.

Step 5: Enter your Mac Login password (Admin Password) to Verify and Save the settings.

Step 6: Finally, click on Restart to switch to the selected partition. Otherwise, skip to open your Mac in the Selected partition on the next startup.

That’s it.
Note: You can even restart the Mac by pressing Option Key when startup makes a sound. This action will redirect you to the Startup Manager, where you can then select the drive.


