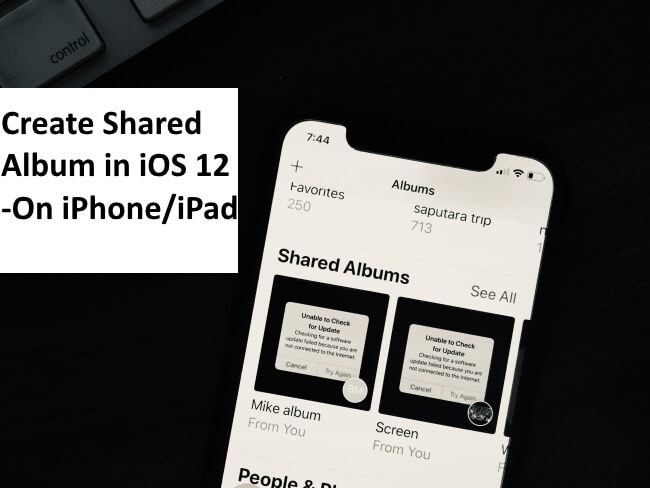
Photos app in iOS 12 has been refurbished with awesome features, which include creating an iCloud photo album After that, Adding Photos and Videos to the shared Albums. So if you have visited any place and want to create a shared album of that trip, then you can add all the photos and videos and create an album in iCloud.
It is great that we can access all the memorable pictures and videos anytime securely across all iOS devices. With the Shared Album facility, you can stay in touch with your family and friends happy.
After creating a Shared Album, we can generate the public link for sharing and Viewing none- icloud.com friends (Android and Windows): Share the iCloud Album with anyone.
Trick on How to make a shared album on iPhone, iPad
Note: If you have only the “New Album” and “New Folder” when you press the + sign to create a shared album, then follow the bottom steps to enable a shared album.
- Launch “Settings” App.
- Scroll down the screen to tap on “Photos”
- Turn the toggle to the right side next to “Shared Albums.” which appears under the ALBUMS section.
After turning on Shared Albums, go back to the home screen and follow the steps below to create shared albums in the Photos App.
Steps to Create a Shared Album
Open the “Photos” app from the home screen on your iPhone or iPad.
Tap on the Albums tab and click on the + sign located on the left-upper side corner.
Tap New Shared Album.
Here, give the name of the Album (For example, trip, wedding, etc). You can also use Emoji and click on Next.
Now enter the contact name, or Email associated with the Apple ID, or Phone number to anyone that you want to share it with. (You can invite up to 100 people to a shared album.) When you are ready to share, tap on Create.
Now, the created shared album will appear in your Albums tab of the Photos App.
Note:- Remember that shared albums reduce picture and video size and quality. Users cannot share an album keeping full-size photos and videos (using our iCloud storage).
Add Photos in Shated Album
Open Photos App.
Tap on Shared Album.
Now select Photos and videos that you want to share. Note: You add to a shared album are copies, and the originals stay in your library unless you delete them.
Now, to a shared album are copies to add your photos and videos. One more thing is that you can also include a comment for others to read. Then tap Post when you’re ready, and the content will appear in your shared album.
Note: – These Shared Albums use the iCloud storage of the person who created it, so if you don’t have enough iCloud storage space, then make free up space or upgrade your iCloud storage plan to solve Shared Albums not Showing Up or Shared Albums not working on iPhone.
How to accept a shared album on iPhone
When someone receives an invitation to see a shared album, they’ll get a notification. Follow the steps below to accept shared album invite.
- Open Photos App.
- Go to the For You tab in the Photos App.
- In the Shared Album Activity section, tap on Accept on the invitation. So you can enjoy all the pictures and videos that are shared by Shared Album makers.
- Now, All Shared album list we can see in Photos app > Albums Tab.
- All Albums we can manage [Delete or Remove] using Edit button at top.
- To Add new Photos and Videos, Tap on Shared Album Name > Tap on “+” > Add new photos and Video, wait for upload and your Partner will receive
- Same way you can share Photo album from your Mac’s Photo app (MacOS Mojave).
You can send iCloud Photo Sharing using a Mobile number or Apple ID saved in your Contacts app. Use “Invitation Not Delivered” The Phone number invited to “Screen” cannot receive shared album invitations.
From now on, you can manage the albums stored in iCloud as you like it. Besides, you can also invite more people, to share their pictures with you in Shared Album of iCloud. Even they can also delete the photos from that album once you allow them to join the group.
How to Delete Shared Albums
If you no longer want to share shared albums with someone or need iCloud storage space, you have the best option to delete shared albums. Read the steps below to delete the shared album completely.
- Open Photos App
- Tap Albums tab
- Now scroll the screen and look at the Shared Albums section; if you have created more than one album, tap on See All to view it.
- Now tap on an album. (alternatively, long press on an Album to get the Delete Album option)
- Tap the More (…) button, and click on Delete Album.
- So a pop-up will ask you Delete “Album”
- “Wedding” will be deleted from all your devices and the devices of subscribers.
- Click Delete.
That’s it.
If you have any questions or concerns, please share them in the comment section below.


How to rename iPhone photo albums in iOS 12 because there are no “edit” on the screen.
Right now it’s bug in iOS 12.1