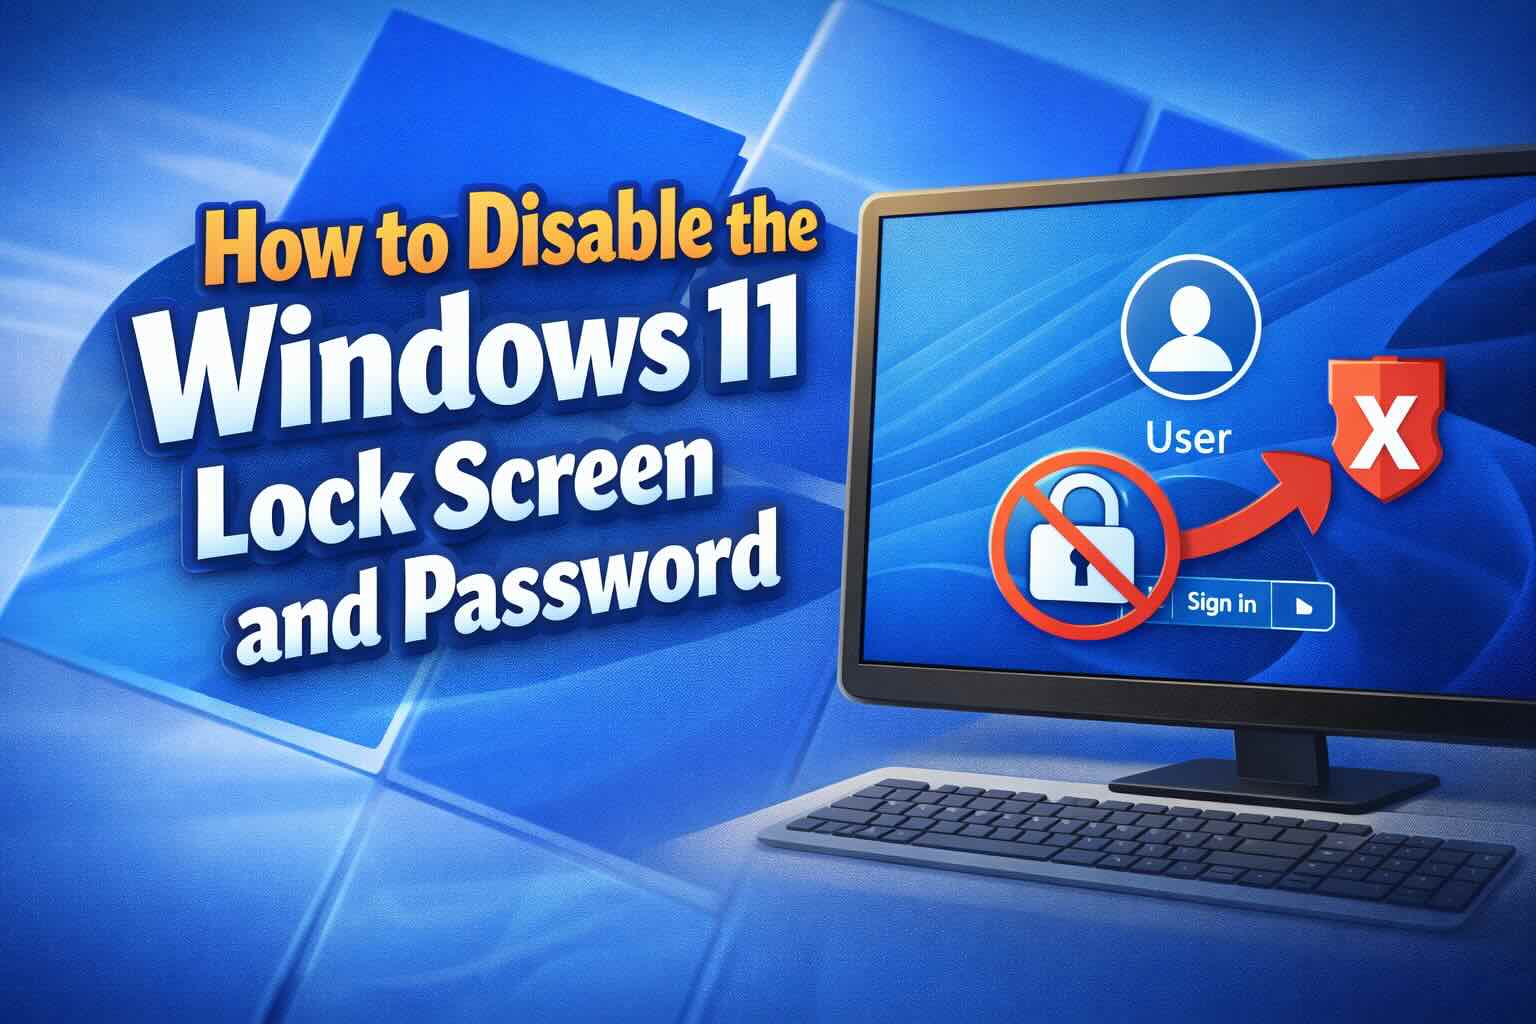
If you’re using a personal Windows 11 PC at home and you’re tired of entering a password every time your computer starts, wakes up, or shows the lock screen, this guide is for you.
Windows 11 doesn’t offer a single switch to turn everything off. Instead, you must adjust three separate areas:
- Password at startup (auto-login)
- The lock screen itself
- Password request after sleep
Below is a clear, step-by-step guide, written in simple terms, using only safe and commonly used Windows settings.
⚠️ Security reminder (important)
These steps are recommended only for private, trusted devices. If your PC is shared, used at work, or contains sensitive data, keeping a password is strongly advised.
Part 1: Disable Password at Startup (Auto-Login)
This allows Windows 11 to boot directly to the desktop without asking for a password.
Step A: Turn Off Windows Hello Requirement
Windows hides auto-login unless this setting is disabled.
- Open Settings
- Go to Accounts
- Select Sign-in options
- Scroll to Additional settings
- Turn OFF
“For improved security, only allow Windows Hello sign-in for Microsoft accounts on this device.”
Step B: Open the Auto-Login Tool
- Press Win + R
- Type
netplwiz - Press Enter
Step C: Remove Password Requirement
- Select your user account
- Uncheck
“Users must enter a user name and password to use this computer.” - Click Apply
If you don’t see this checkbox, go back and confirm Step A is completed.
Step D: Confirm Your Password
- Enter your current Windows password
- Re-enter it to confirm
- Click OK
Your PC will now sign in automatically after startup.
Part 2: Disable the Windows 11 Lock Screen Completely
The lock screen is the extra screen you see before the login prompt. Removing it speeds up access to your desktop.
Option A: Windows 11 Pro or Enterprise (Group Policy Editor)
- Press Win + R
- Type
gpedit.msc - Press Enter
- Navigate to:
Computer Configuration
Administrative Templates
Control Panel
Personalization - Double-click Do not display the lock screen
- Set it to Enabled
- Click Apply, then OK
Restart your PC to apply changes.
Option B: Windows 11 Home (Registry Editor)
Windows 11 Home doesn’t include the Group Policy Editor, so you must use the Registry.
- Press Win + R
- Type
regedit - Press Enter
- Navigate to:
HKEY_LOCAL_MACHINE\SOFTWARE\Policies\Microsoft\Windows - Right-click Windows
- Select New > Key
- Name it:
Personalization - Inside that key:
- Right-click → New > DWORD (32-bit) Value
- Name it:
NoLockScreen - Double-click it and set the value to 1
- Click OK
- Restart your PC
The lock screen will now be disabled.
Part 3: Disable Password After Sleep or Wake
This prevents Windows from asking for a password when your PC wakes from sleep.
- Open Settings
- Go to Accounts
- Click Sign-in options
- Scroll to Additional settings
- Find:
“If you’ve been away, when should Windows require you to sign in again?” - Select Never
Now your PC will wake instantly without a password.
Common Issues & Fixes
Auto-Login Not Working
- Make sure Windows Hello is disabled
- Restart after completing all steps
- Check that your account isn’t managed by work or school
Lock Screen Still Appears
- Confirm you’re using the correct method for Home vs Pro
- Restart after registry or policy changes
Is Disabling the Lock Screen Safe?
Safe for:
- Home desktops
- Personal laptops
- Single-user PCs
Not recommended for:
- Work or school computers
- Shared devices
- Laptops used in public places
Final Thoughts
Disabling the Windows 11 lock screen and password can make your PC faster and more convenient, especially for home users in the U.S. who value quick access over extra security steps.
If you want, I can also help you:
- Re-enable the lock screen later
- Switch to PIN instead of a password
- Speed up Windows 11 startup even more
- Fix “netplwiz option missing” errors


