
Are you affected by the Latest software issue? On your iPhone or Pad. Here are the correct ways to install lower or downgraded signed versions of iOS software updates on your iPhone or iPad. With some data safety and Other things. Is you are switching because of incompatibility with app issues or Other issues like Slow Down iPhone after the update, Lagging or Freezing iPhone or iPad. Hope you will get important tricks that prevent and help to go with Downgrading your latest Software version on your iPhone or iPad.
We can’t downgrade iOS/iPadOS On iPhone/iPad using Mac or PC only. We can’t install Via WiFi or Mobile data directly [Over the Air update]. Check out the below prerequisite conditions and follow the process,
Prerequisite & Conditions:-
- You have Mac or PC. For Mac: Update macOS to the latest version, and For PC: Update iTunes to the latest version.
- USB lightning cable to connect your iPhone to your Mac.
- Good Internet connection
- Take Backup your iPhone on Mac or PC using Finder/iTunes.
- iPhone/iPad users can install the Signed iOS firmware Version by Apple. So, we can’t install too old iOS and iPadOS versions that are unsigned by Apple.
- In Download Using Restore Method 2, You must Turn off Find My From iPhone settings before you Start the Downgrade process. Settings app > iPhone Name > iCloud > Find My iPhone > Turn off Find My iPhone > Enter your Apple ID password to turn off Find My iPhone > Click on Turn off from the top Right corner of the screen. Did you forgot Apple ID Password, Tap on Forgot password? Wait for the next screen will ask to enter your iPhone lock screen passcode. “The passcode you use to unlock this iPhone can also be used to reset your apple id password”. Enter new apple ID password and into verify Retype password. Click on Next, that’s it.
- Restoring process will take up to 30 Minutes. so Try it in your spare time.
- Download the Latest final public iOS Version – .ipsw file.
Here’s How to downgrade from iOS 17 to iOS 16 Final on iPhone/iPad
Note: macOS Catalina or later user can use Finder on Mac, macOS Mojave and Earlier user can use iTunes on Mac, All Windows User can use Updated Version of iTunes on Windows PC/Laptop.
downgrade ios with ipsw file
Method 1: Downgrade iOS Without Losing Data
if you don’t need to Affect data, installed apps, and Accounts that are signed in for Mail and app. then you have to choose this, Downgrade with Update option. Follow the below steps,
Step 1: Download the iPSW file for your iPhone & iPad, and Open Finder/iTunes on Mac/PC and connect your iPhone to Finder/iTunes using the original Apple Lightning cable.
Step 2: Connect your iPhone to Mac using the lightning cable, Unlock your iPhone and Allow to Access your Mac. Select Trust on the iPhone screen.
Step 3: Wait, your iPhone name will show on the Finder Sidebar/Top of the iTunes window. Click on iPhone/iPad. And Select Pair if your Mac will see a screen.
Step 4: Find the Device on the Finder Sidebar/Top of the iTunes windows. Click on Device to open the Device Summary page,
Two options are, [Click on “Update” + Option key on Mac] and [Update + Shift key on windows] from the keyboard at the same time. Now the Browse file window will see on screen.

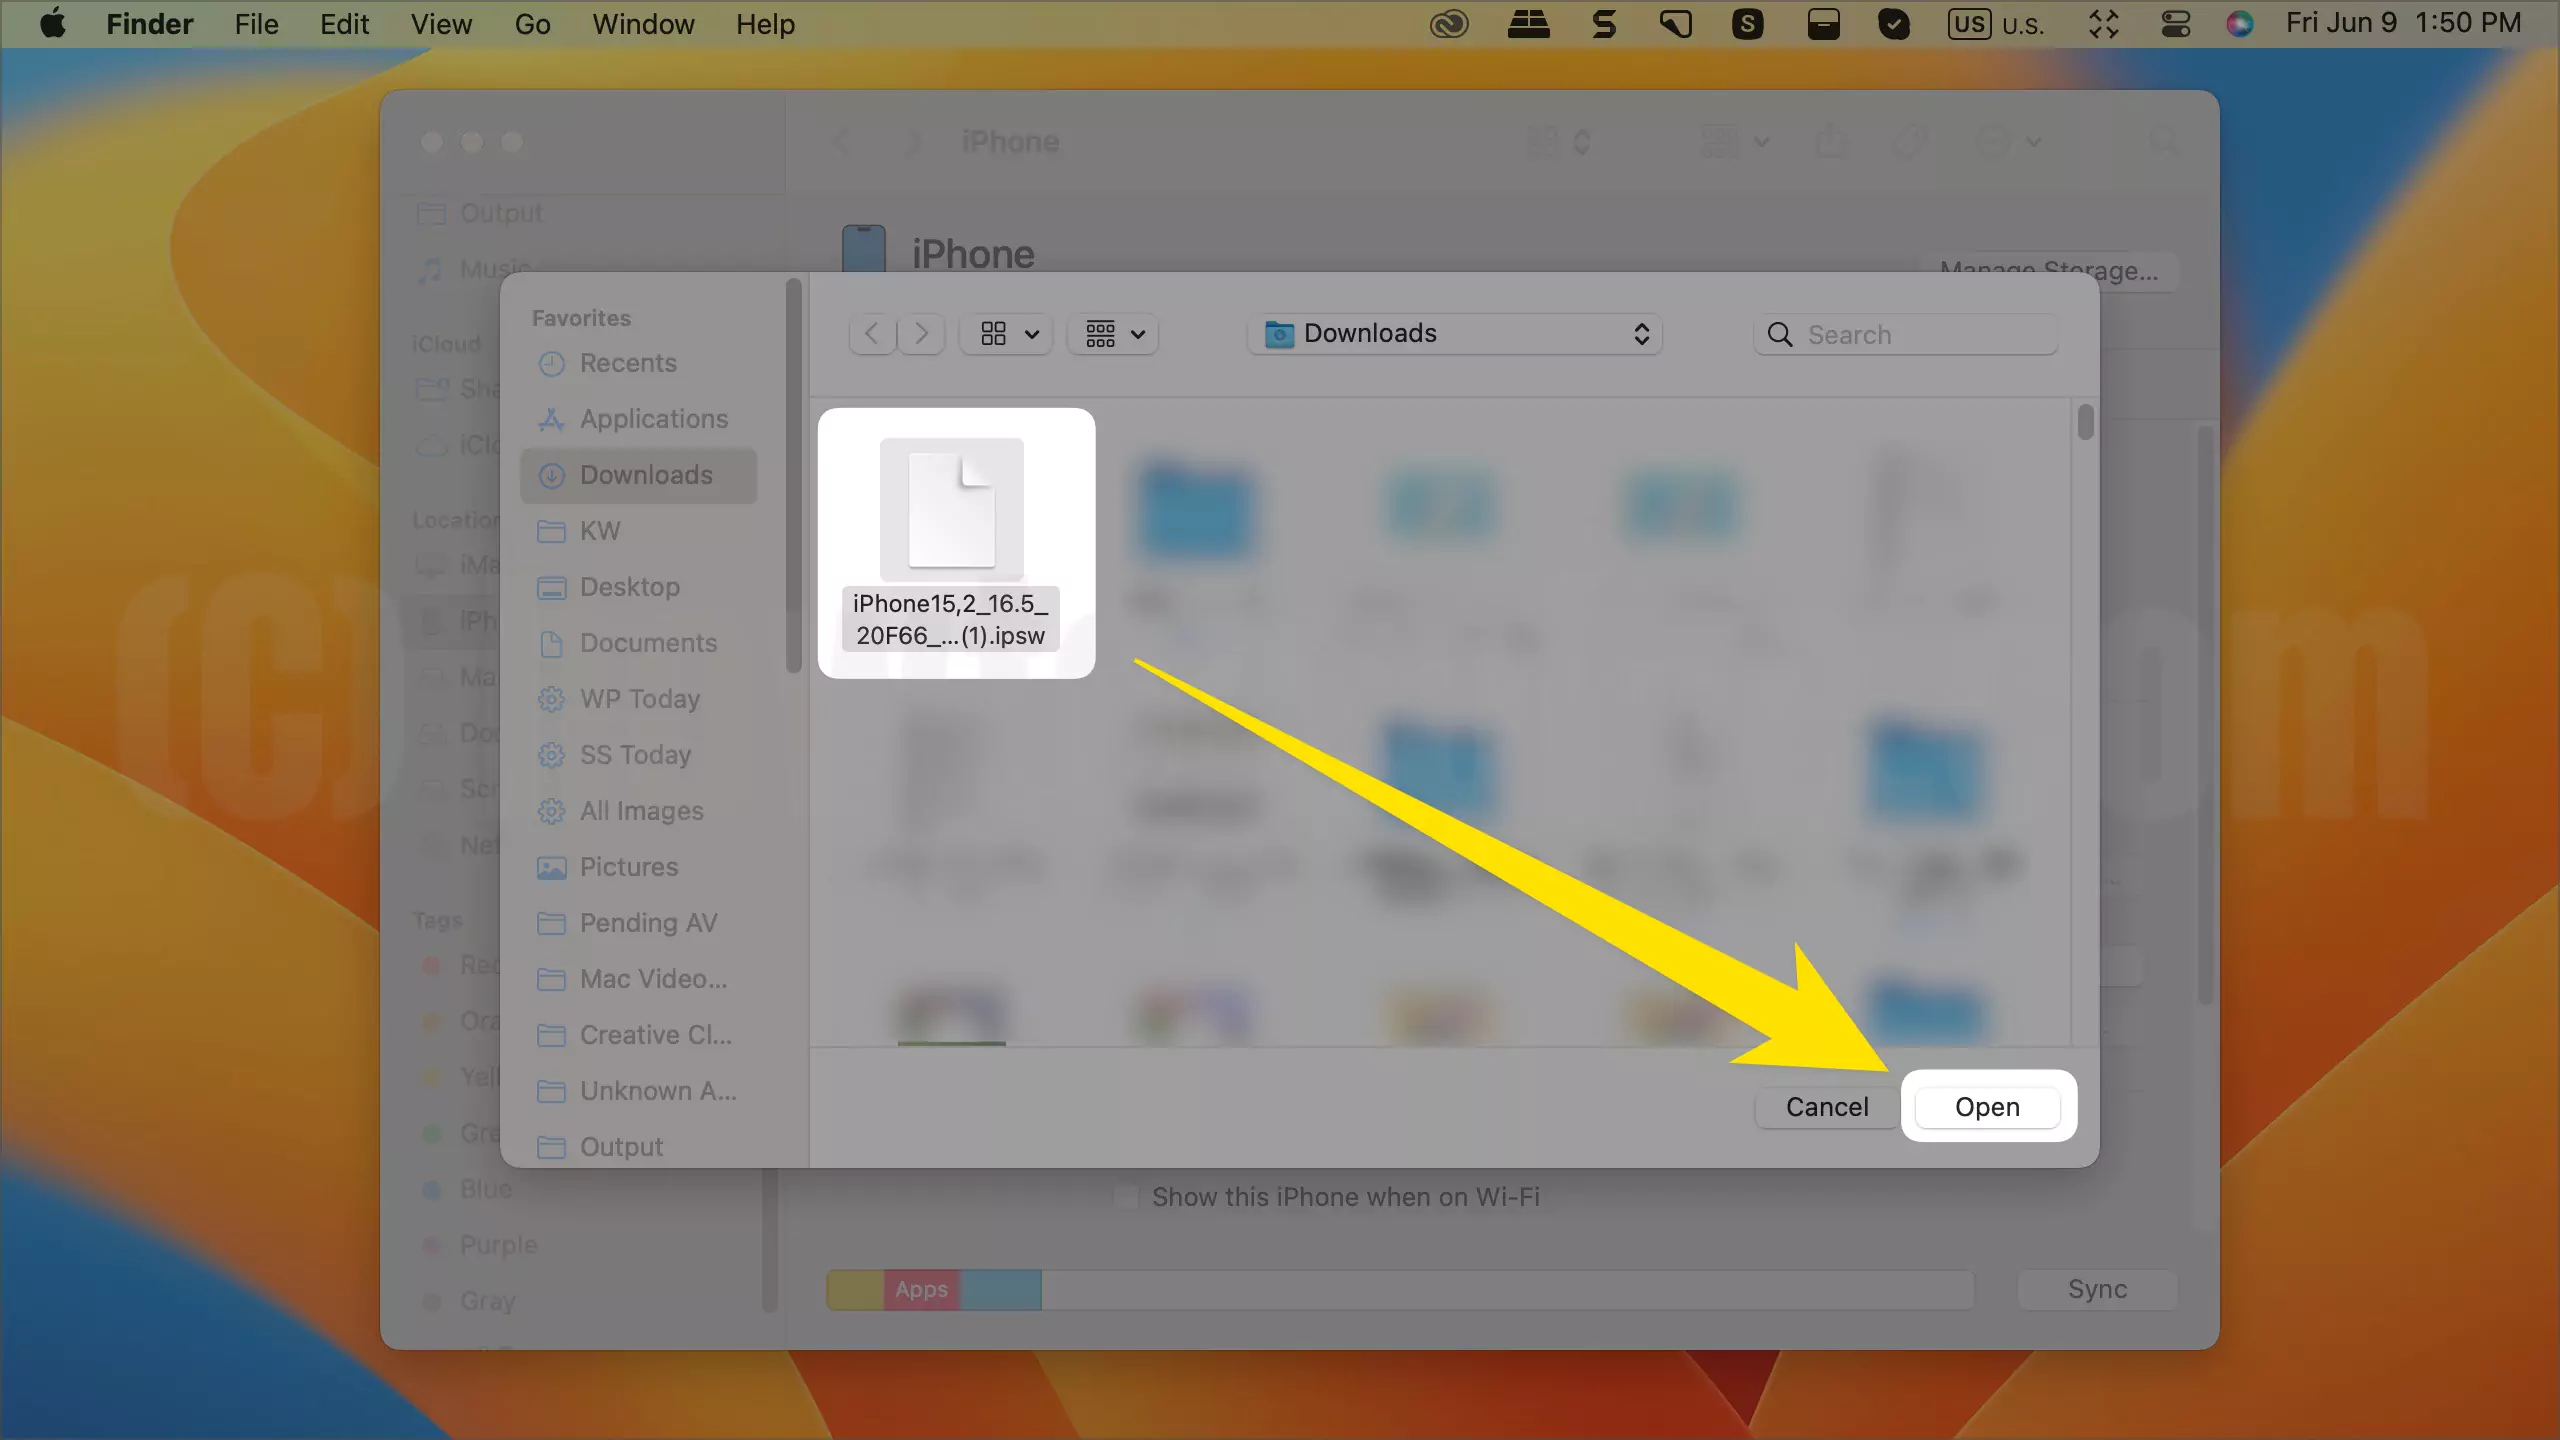
Select the earlier downloaded iOS final .ipsw files from Windows and click on open.
Step 5: Wait for a long process, don’t remove the iPhone from a Lightning cable. Wait for the iPhone lock screen. You can install the old previous version of the IPSW file using this way without Data being lost.
Wait for your iPhone screen to show the lock screen and Updated. Check the installed earlier version, Settings > About > Version.
Hands-on Video Tutorial for downgrade from ios 17 to ios 16
Method 2: Downgrade from ios 17 to ios 16 Using Restore Option [All Data Will Erase]
Step 1: Download the iPSW file for your iPhone iPad, and Open Finder/iTunes on Mac/PC and connect your iPhone to Finder/iTunes using the original Apple Lightning cable.
Step 2: Connect your iPhone to Mac using the lightning cable, Unlock your iPhone and Allow to Access Mac. Select Trust on the iPhone screen.
Step 3: Wait, your iPhone name will show on the Finder Sidebar/Top of the iTunes window. Click on iPhone/iPad. And Select Pair if your Mac will see a screen.
Note:- Find My must be turned off From iPhone settings before you Start the Downgrade process. Settings app > iPhone Name > iCloud > Find My iPhone > Turn off Find My iPhone > Enter your Apple ID password to turn off Find My iPhone > Click on Turn off from the top Right corner of the screen. Did you forget your Apple Password, Tap on Forgot password? Wait for the next screen will ask to enter your iPhone lock screen passcode. “The passcode you use to unlock this iPhone can also be used to reset your apple id password”. Enter a new Apple ID password and into verifying Retype password. Click on Next, that’s it.


Step 4: Find the Device on the Finder Sidebar/Top of the iTunes windows. Click on Device to open the Device Summary page,
Backup Now or Don’t Backup, here’s another reminder for your iPhone erase all the data. So if you take a backup of your iPhone before erasing, select Backup now.

Two options are, [Click on “Restore iPhone” + Option key on Mac] and [Restore + Shift key on windows] from the keyboard at the same time. Now the Browse file window will see on screen.

Select the earlier downloaded iOS final .ipsw files from Windows and click on open.
Step 5: Wait for a long process, don’t remove the iPhone from a Lightning cable. Wait for the iPhone lock screen. You can install the old previous version of the IPSW file using the below ways with clean install. [Check Video Tutorial Below]


