How to Downgrade macOS Big Sur, Catalina to macOS Mojave on Mac: Move to Earlier MacOS

Downgrade Mac from macOS Catalina to macOS Mojave or High Sierra. Apple doesn’t allow us to downgrade the macOS officially from the Mac App Store directly but we can do it. There is a quite long procedure you have to follow if you want to downgrade macOS Catalina to macOS Mojave. Whatever the reason is, you can downgrade macOS to macOS Mojave/High Sierra right from this article. If you have searched for macOS Mojave in the Mac App Store, unfortunately, the macOS Mojave installer is nowhere.
Need macOS Mojave installer but running macOS Catalina? Don’t worry, from here you can get all the information on how to downgrade macOS Catalina to macOS Mojave and High Sierra. Besides, there is one more way through which you can use it, simply install macOS Mojave by creating another partition on Mac and use it along with macOS Catalina. The choice is yours!
Steps for Downgrade macOS Catalina to macOS Mojave: Without Data lost
before starting the downgrade keeps latest Time Machine Backup on Mac, So we can retrieve or Recover after data loss in some rare cases.
Step #1: Download the macOS Mojave & macOS High Sierra to downgrade the Mac. Open this link on the Safari Mac web browser, so You will find the View on a Mac App Store button, click on it and Safari will open Mac App Store and Show the options for downloading the Setup file on newer macOS.
Step #2: Click on “Get” button, when it takes to Mac App Store.
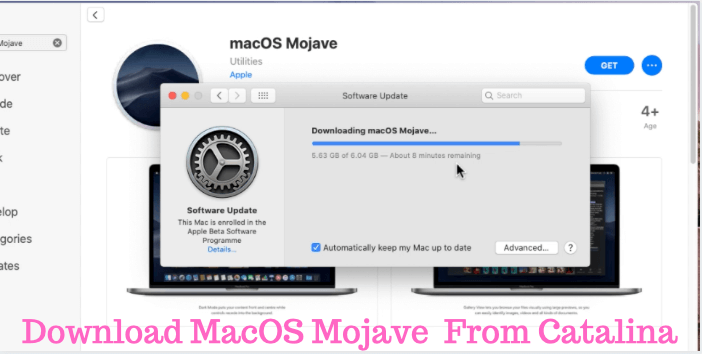
Step #3: “Confirm” downloading macOS Mojave on Mac.
Step #4: Once the download completes, look for the Install macOS Mojave file in the “Applications” folder of Mac.

Step #5: Now, you need to create Bootable Drive to install macOS Mojave.
Step #6: Plug the USB Drive into Mac.
Step #7: Go to “Disk Utility”.
Step #8: “Erase” the USB Drive. Now Make a Bootable Drive on Mac,
Step #9: Launch “Terminal” on your Mac. Using Spotlight Search [Command + Space and type Terminal] or From Launchpad on Mac’s dock.
Step #10: Type in the following code,
sudo /Applications/Install\ macOS\ Mojave.app/Contents/Resources/createinstallmedia --volume /Volumes/[Your USB Drive Name]
Note: Don’t miss Change Your USB Drive name in the above command line. USB Drive name will show on Finder sidebar,
Note: Replace the USB Drive Name with the real drive name.

Step #11: once command successfully executed, Enter Mac login password and hit the Return Keyboard key [Password will not show as you type] and next accessory confirmation by Type “Y”.
Step #12: Shut down the Mac, go to the “Apple” menu > “Shut Down”.
Step #13: Turn on the Mac, by pressing and holding the “Option” key just after the startup sound play.
Step #14: Now, among other options, select “Install macOS Mojave” bootable drive.
Step #15: Click “Install macOS”, from the macOS Utilities panel.
Step #16: Click “Continue” to downgrade the macOS Catalina.
Step #17: “Agree” the Terms & Conditions.
Step #18: Next, select the Drive on which macOS Catalina is already installed. It would be your Primary Drive.
Step #19: Click “Continue”.
Step #20: As soon as you click continue the downgrading process begins. Wait a while, it could take several minutes to finish the setup.
Step #21: Lastly, you have to follow the on-screen instructions.
Video Guide: Downgrade macOS Catalina to macOS Mojave in Free
Follow the above steps in a sequence that helps to downgrade macOS to the Earlier version. The same steps are also helpful to Downgrade macOS Catalina Beta or Old MacOS. Having any issues submit the Problems Support page and share your problem without login or registration in 1 minute. also, check out video tutorials that I performed on My Mac.


