Apple Music’s ever-growing library makes it the perfect tool for aspiring DJs to use at an event, and crossfade tool is a bonus to it. Whether a user is playing the playlist-making chop at a private party or is tasked with providing background at a public party, Apple Music is equipped with an array of features that make every soundtrack mix seamless. Apple Music lets users crossfade track and eliminate the silence between the music that never delays. Here is how to turn on Apple Music crossfade on iPhone and Mac.
Turn On Apple Music Crossfade on iPhone and Mac
Here are steps to turn on Apple Music crossfade on iPhone & Mac. However, if you have an iPhone, remember to update iOS 17 & later versions. For this, refer to our article on how to update the iPhone to the latest iOS. Besides, if you have a Mac computer, you can move forward to the guide below.
Steps to enable Apple Music crossfade on iPhone
- Navigate to the Settings App on your iPhone.
- Scroll down the screen to Music.
- Enable the toggle next to the Crossfade.
- Use the slider to adjust the length of crossfade between songs. You can hinder from 1 to 12 seconds.

Steps to enable Apple Music crossfade on Mac
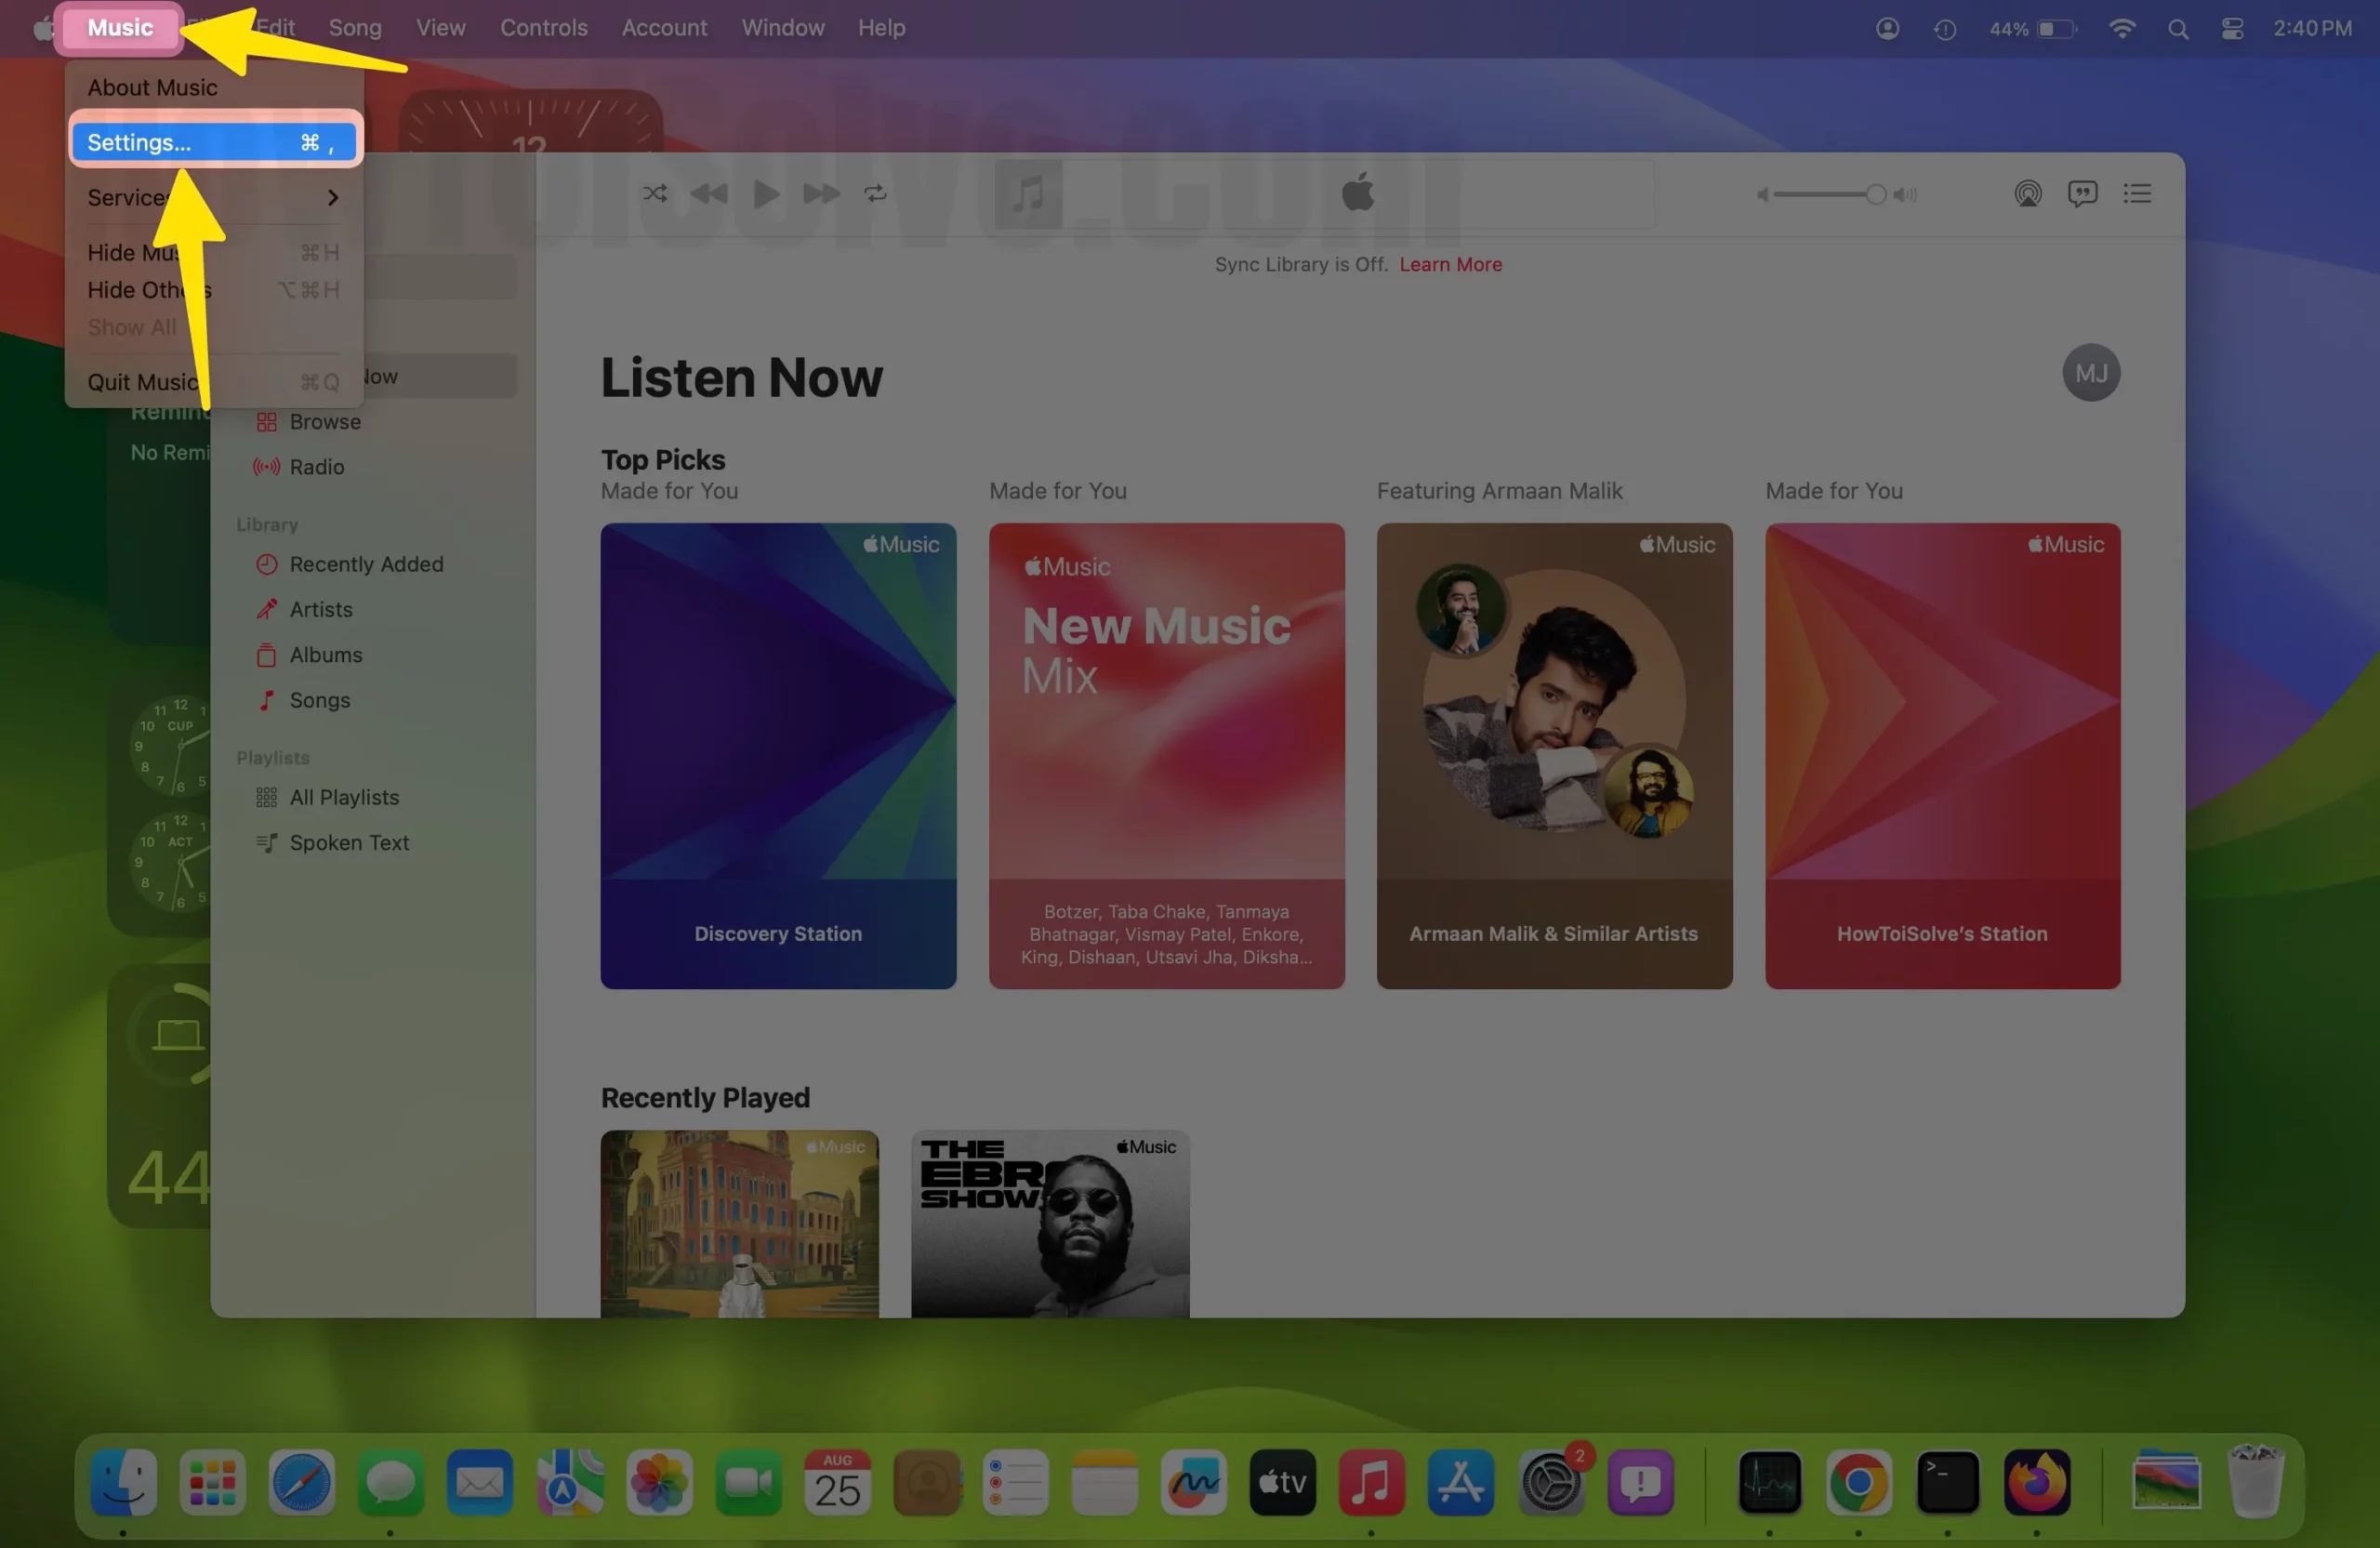
Step #1. Access the Apple Music on your Mac.

Step #2. Select Music from the menu bar.
Step #3. Choose Settings… or Press (Command +,) keys.
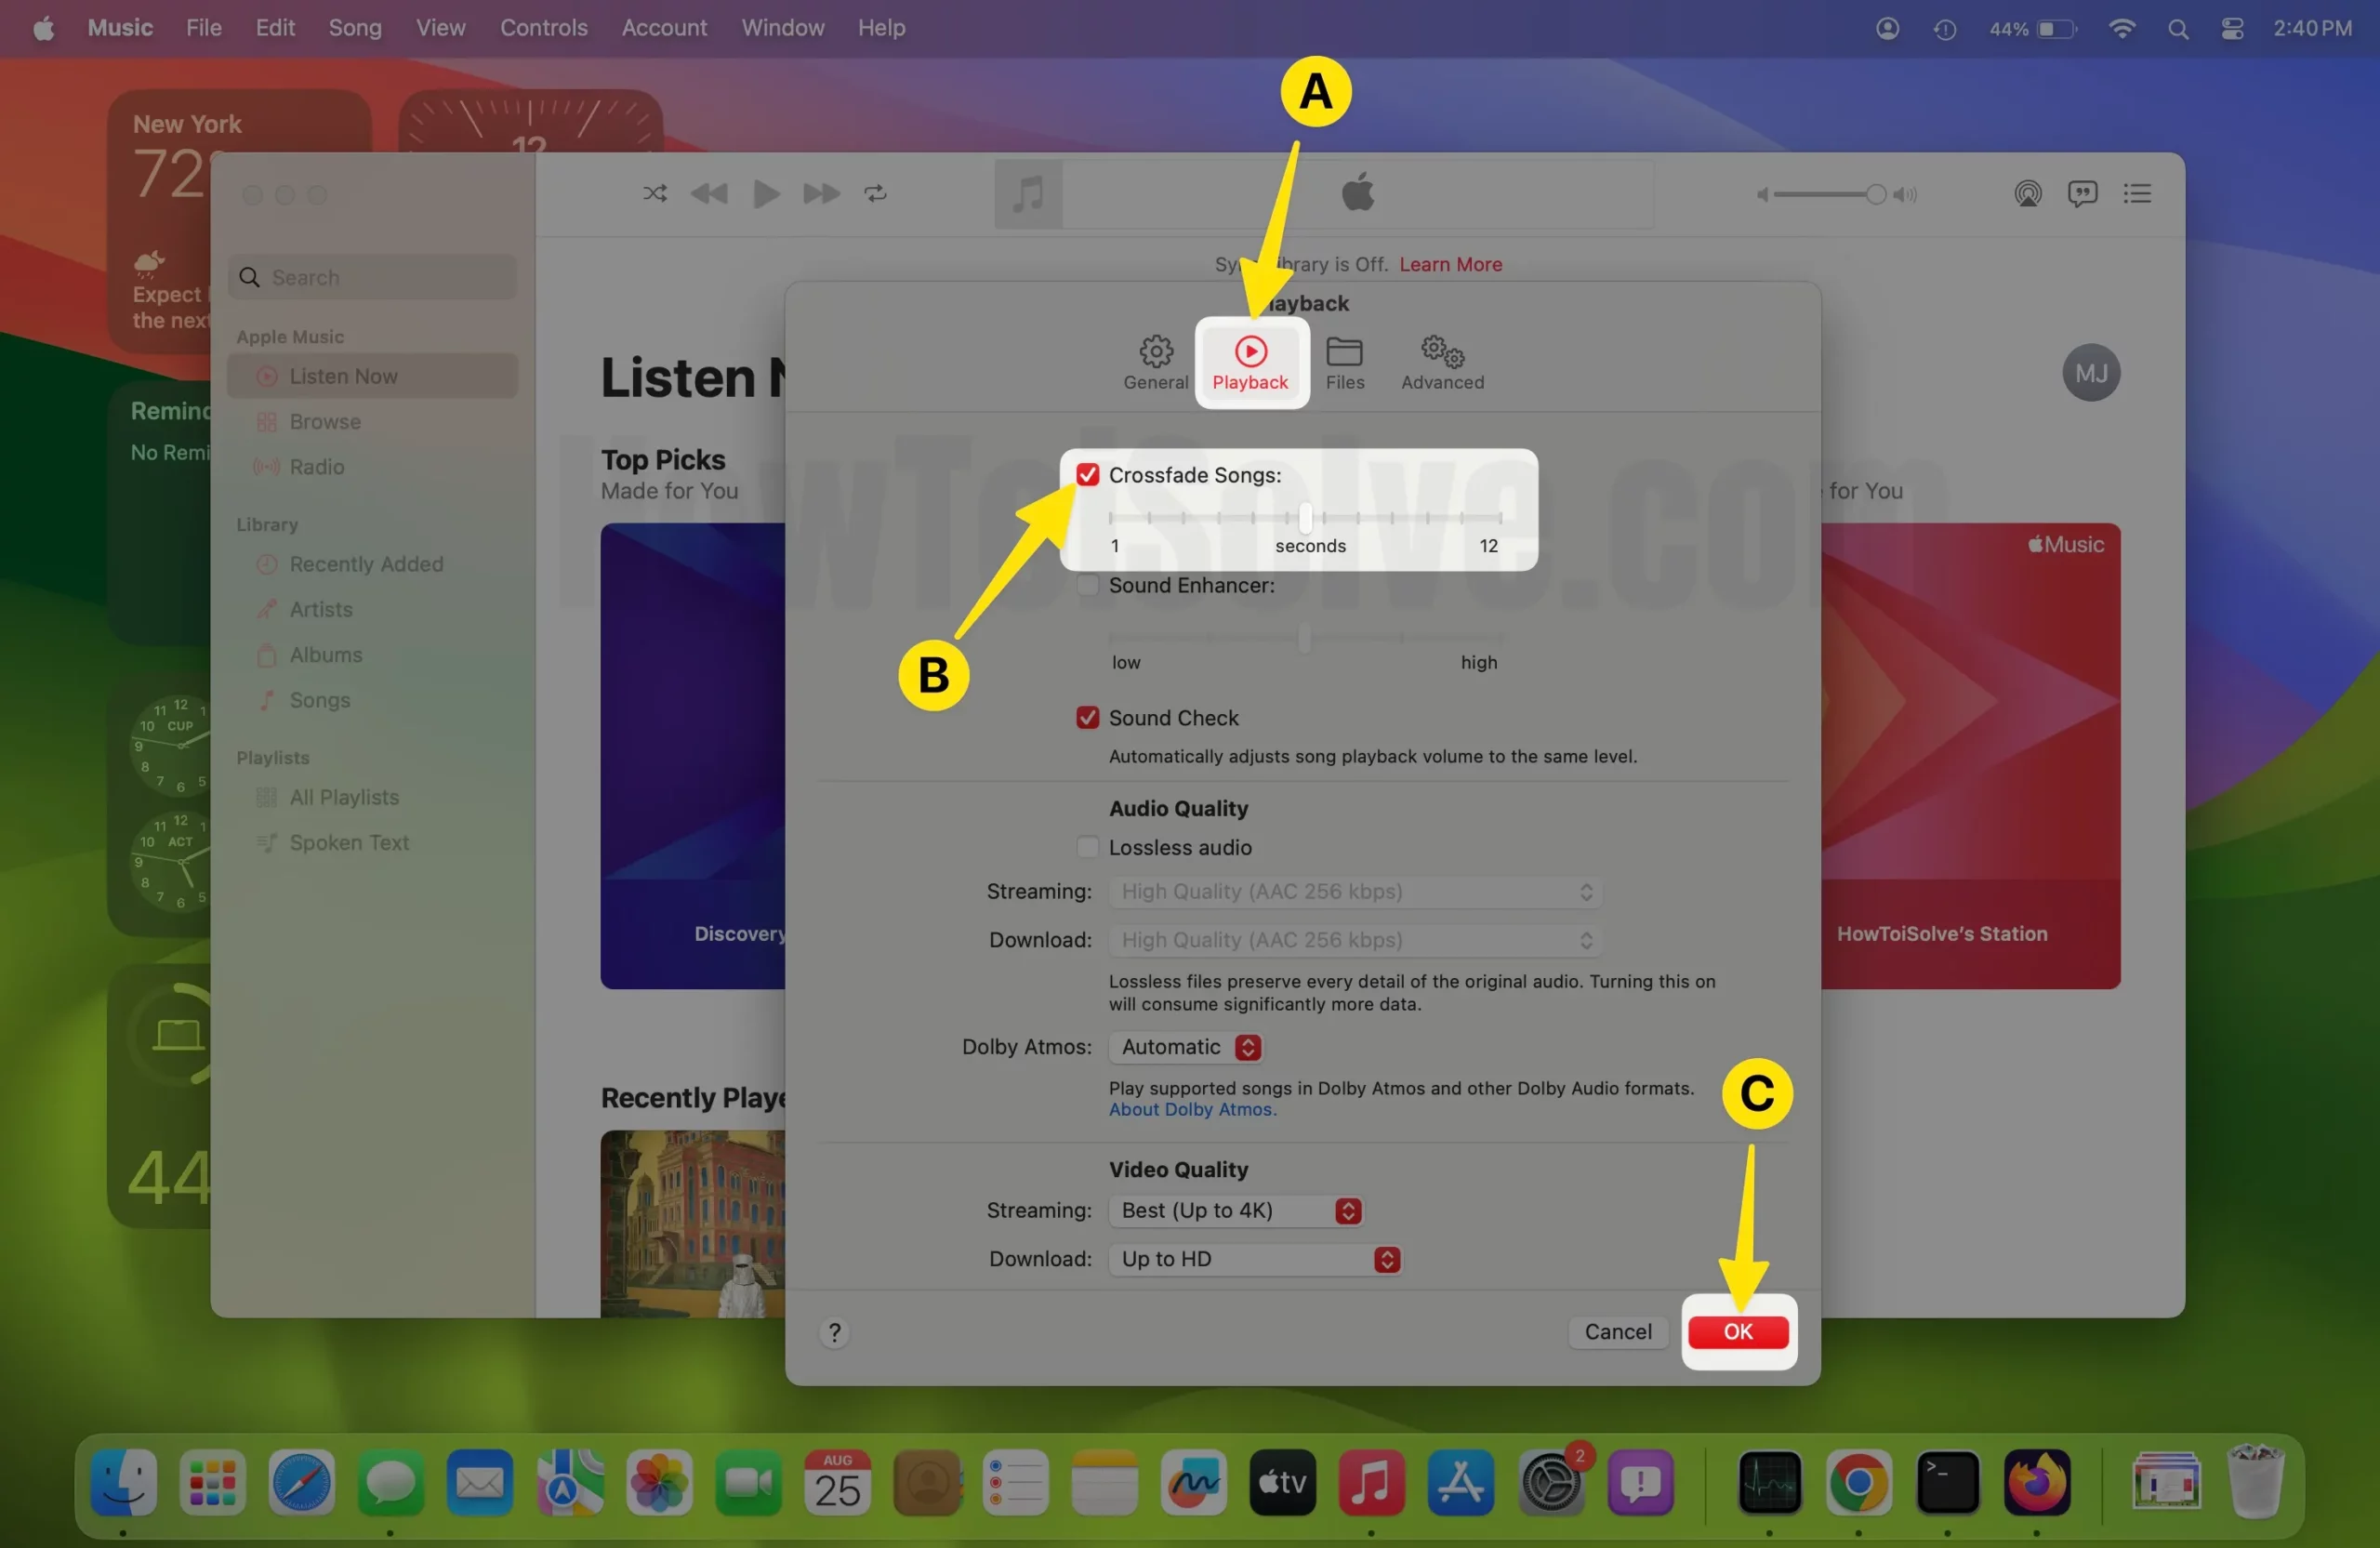
Step #4. Click on the Playback Tab.
Step #5. Now tick mark the box next to the Crossfade Songs:
Furthermore, you can smartly drag the slider next to the Crossfade Songs.
Step #6. Click on OK to save changes.
Hereafter, when you play the songs in the music app on your Apple Mac computer, you’ll listen songs fade in and out rather than just silence between music.
Final Thought!
As always, Apple has often focused on quality-life improvement that offers a better listening experience for users. So this is how you can turn on Apple Music crossfade on iPhone and Mac. If you find this article helpful, make sure to share as much as you can.


