
Voicemails/ Voice messages should always be substantial compared to calls and Messages for you personally or in your business, which might be helpful for later use. Typically, Voicemail messages allot more space; you have the best option for the move or save iPhone voicemails to another iPhone or on a Mac/ PC. For security reasons, you can take the backup of voicemails to your Mac or PC. Here, we can Save visual voicemail to Note or Voiceememos, Then Easy to Share on Other iPhones, and MacBook Macs using Message, Mail Attachment, and AirDrop.
Before transferring the number to another carrier, you must take a backup of your voicemails to iCloud or a Mac/ PC. There is no guarantee that all voicemails will be transferred to another carrier (Verizon, AT&T, and Sprint).
If you lost or deleted voicemails and want them back on your iPhone, you can restore them from the old iCloud backup.
Alternate Ways to Move or Save iPhone Voicemails to Another New iPhone, Mac/ PC
- Open the Phone App on your iPhone
- Tap on the Voicemail Tab and Find All the Voicemails you received.

- Next, Tap on Voicemail that you want to Save on Notes or Voicememos app, Tap on the Share button [Square box with upper arrow icon]
- Select Notes or Voicememos to Save there [Also, We can Save to a Cloud Server like Dropbox, Google Drive, Outlook, and More and Access on Cross-platform devices].
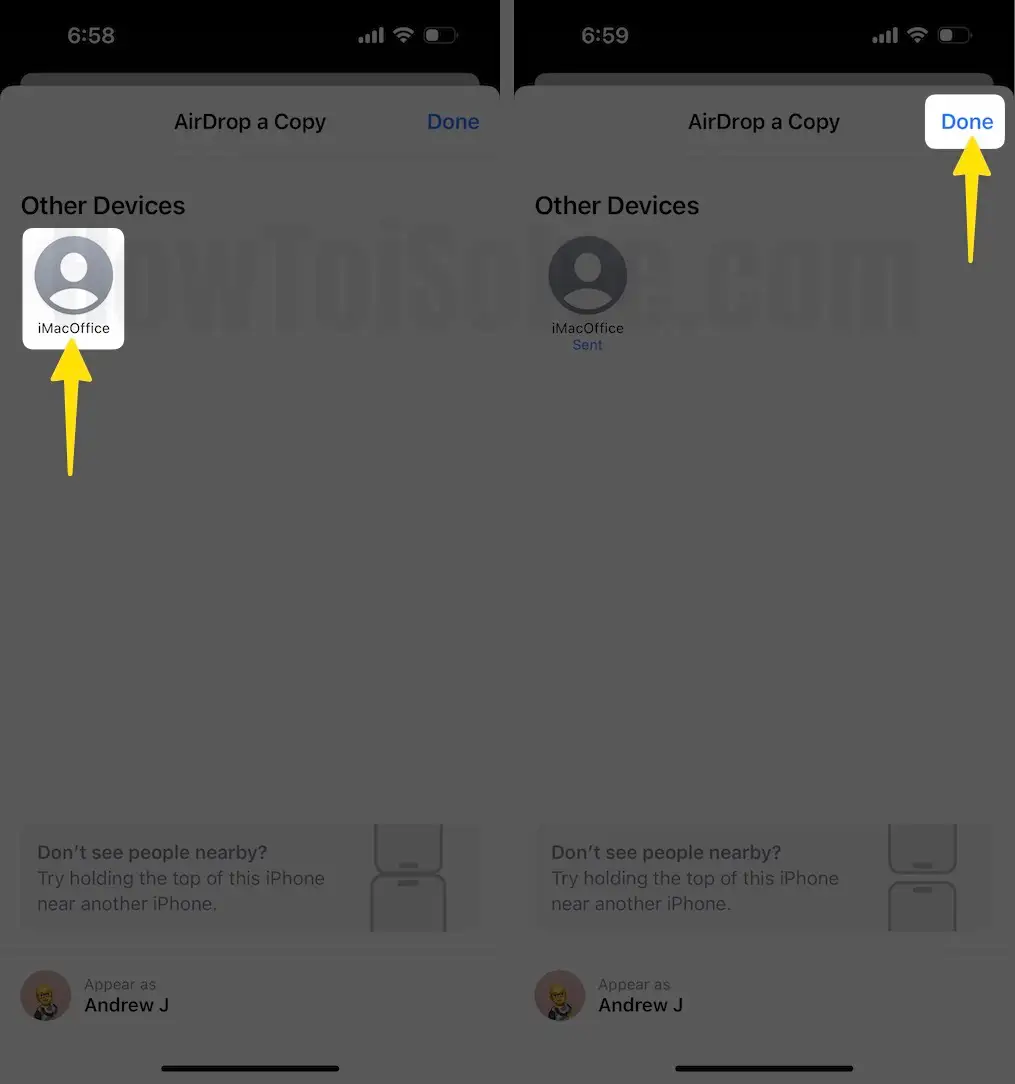
Now, it’s straightforward to transfer or move Voicemail from iPhone to iPhone or MacBook Mac, Tap on the Share button > Select Messages Contact, Mail, or Airdrop to share with another iPhone or MacBook directly.


That’s it.
All Voicemails Transferred to the New iPhone or Voicemails Restore From Old Backup
Transferring voice mail to another iPhone is relatively easy and very useful. You can do that securely.
Step 1: First, take a backup of your iPhone from settings. Settings App Next, tap on Apple ID Profile Name Enable the iCloud Backup toggle.

2. Scroll the DEVICE BACKUPS below on iCloud Backup and turn on Back Up This iPhone, then select Back Up Now, then Automatically Process on iPhone.

iCloud backup is stored in your iCloud account and accessible with the same Apple ID activated on your iPhone.
Now your next step should be to restore back up on the new device
When setting up a new device, you need to choose the last backup from the list of all backups. All data is automatically transferred to the new iPhone (All contacts, Calendars, Voicemails).
Transfer or Move/ Copy all Voicemails to Mac/ PC
To move or save iPhone voicemails to a Desktop or Mac OS X, You have a 3.5 mm male-to-male audio pin cable.
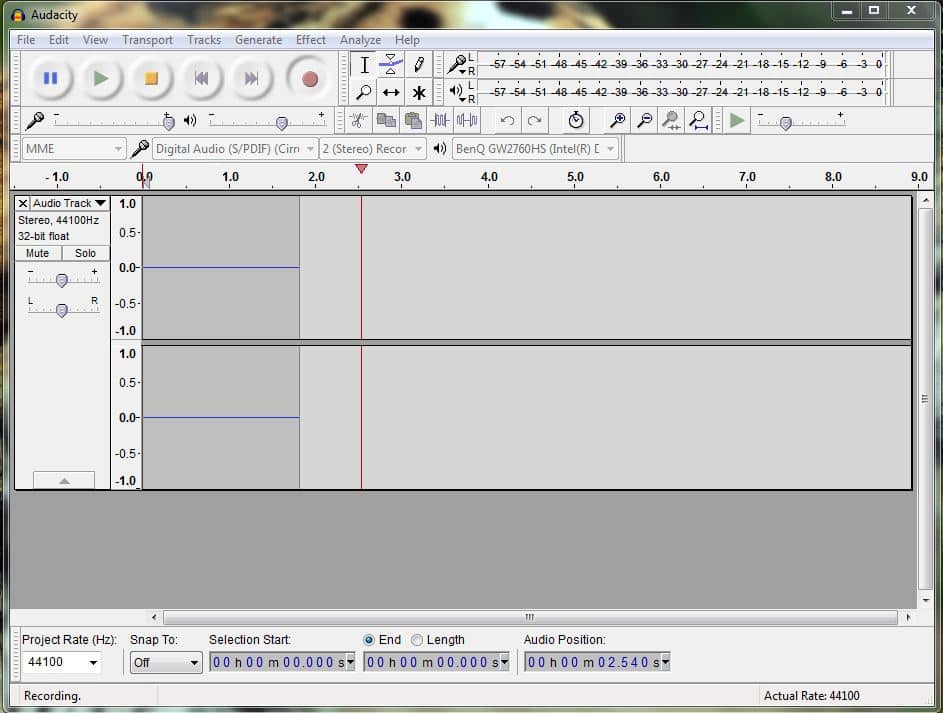
Audacity is a great free program for recording Voicemails to Mac or Windows. Download and install on your PC (Windows 8, Windows 7)/ Mac.
Go to the Preferences > Recording > software playthrough.
Connect male to male 3.5mm jack | UGREEN male 3.5mm Jack cable on iPhone and Mac/PC’s microphone port.
Start recording on Audacity software from Mac and iOS devices directly. Give us feedback on which way you prefer to move or save iPhone voicemails.


