
At WWDC in June, for iPadOS 16 and macOS Ventura Apple announced Stage manager. The iPadOS 16 has many features, of which stage manager is one. With the Stage manager feature working on iPad will be more like working on mac.
So let’s discuss What is Apple Stage Manager? and How to Enable/Disable Apple Stage Manager on iPad and Mac OS.
What is Apple Stage Manager?
Apple’s stage manager is a new “Multitasking feature” for Mac and iPad. Furthermore, with a stage manager, you will have a better overview and easy access to open apps if you are simultaneously working on many applications. Therefore, when you need to go back and forth between the application, where the stage manager will be of great help.
In Other words, Stage Manager will declutter a bunch of windows apps and make it convenient to switch between different apps. A New window management tool for Mac and iPad users.
Next, we will discuss how to use stage manager on iPad and Mac computer.
Way to Configure Apple Stage Manager on Mac
The stage manager displays the window of the app you are currently working on in the center. At the same time, all other recently used open applications are arranged on the left side. Therefore, you can quickly flip between multiple apps frequently. In addition, it allows you to group windows for a different task or project requiring a different application.
The Stage Manager will pile up Multiple windows for the single app in a single pile on the left. Therefore, when you click on the pile, it will open the top tab.
Enable or Disable Stage Manager on Mac
You can quickly turn on/Enable Apple macOS Ventura stage manager with a few clicks. To enable stage manager on macOS, Ventura “Go to the control center” and Clicks on Stage Manager to enable. Likewise, to disable it again, Go to the control center and click on stage Manager.
Stage Manager settings on Mac
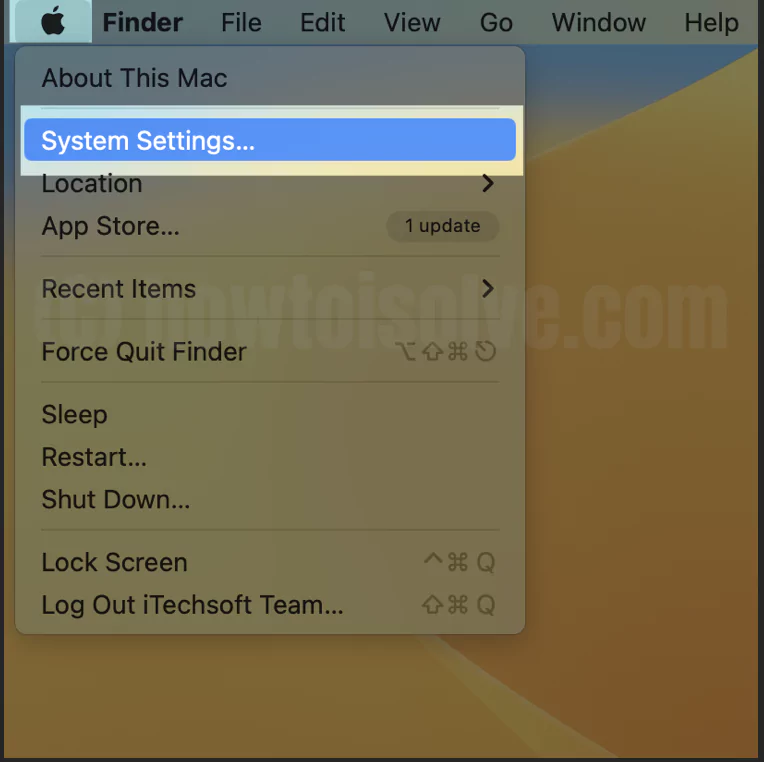
Step 1→ Go to Apple Logo Menu on macOS Ventura. Select System Settings.
Step 2→ Now Scroll down the left pane and Click on Desktop & Dock.
Step 3→ Turn on Toggle Next to the Stage Manager to enable the Stage Manager.

Now, for more stage manager settings, follow the below steps
Step 4→ Click on customize button next to Stage Manager.
Step 5→ Enable the toggle next to “Recent applications.” It will Show recent applications on the left side.
Therefore If you Disable the toggle, it will not show the Recent application on the left side of the screen.
Step 6→ Enable the toggle next to the “Desktop icon” to show the desktop icon. Else Disable the toggle to hide the desktop icon.
Step 7→ Show Windows From an Application at Once: Choose the option from “All at Once” or “One at a Time” for “Show windows from an application.”

Step 8→ Select Done.
That’s it! With the help of the above step, you can easily customize settings for the Stage manager on MacOs Ventura.
Enable & Disable Stage manager using Keyboard Shortcut on Mac
This is quick and easy method to Turn on Stage manager using Keyboard Shortcuts on Mac and Turn on using Keyboard Shortcut as well. By default, There no Keyboard Shortcut for stage manager, But we have to customise it and enable for your Keyboard Shortcuts choice under Keyboard Shortcuts settings.
1. Go to the Apple Logo from top menu > System Settings.
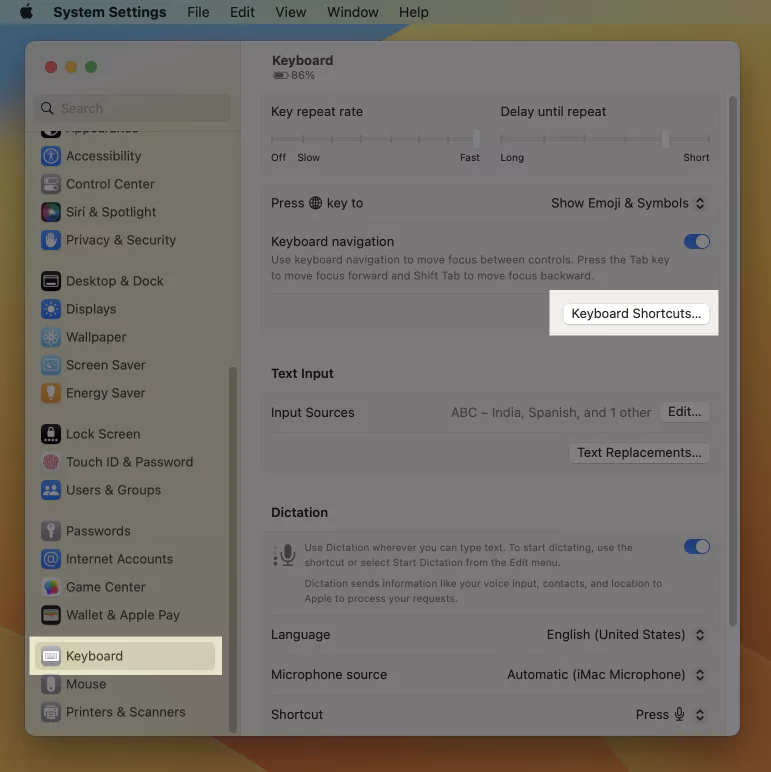
2. Now, Click on Keyboard > Keyboard Shortcuts Option.
3. Next, Under the Mission Control option, Find the Option for Turn Stage manager on/Off. Double click on none option and Give keyboard Shortcut as you press keys from your keyboard.


here I set command + P. click on done to apply the changes. and make sure option is tick.

4. Now, Stage manager is starting using Keyboard shortcut.
Or Find Stage Manager Shortcut in control center, and Click on it to enable.

We can Quickly Turn on and Turn off the Stage manager from the control center and From the top menu Shortcut as well.

Stage Manager in Top Menu
To add a Stage Manager Shortcut in the Menu bar, Go to the Apple Logo > System Settings > Control Center > Stage Manager > Show in Menu Bar.
The removable Stage manager Shotcut icon in the Top menu, is a Quick method to enable or disable. even in Full screen. While your mac has Enable FullScreen Menu Bar. if you wish to remove the Stagemanger icon from the top menu, Press the Command + Drag Stage Manager icon to down on the screen until the (X) button shows.

Stage Manager: Open New App Alongside Open App Using Shortcut
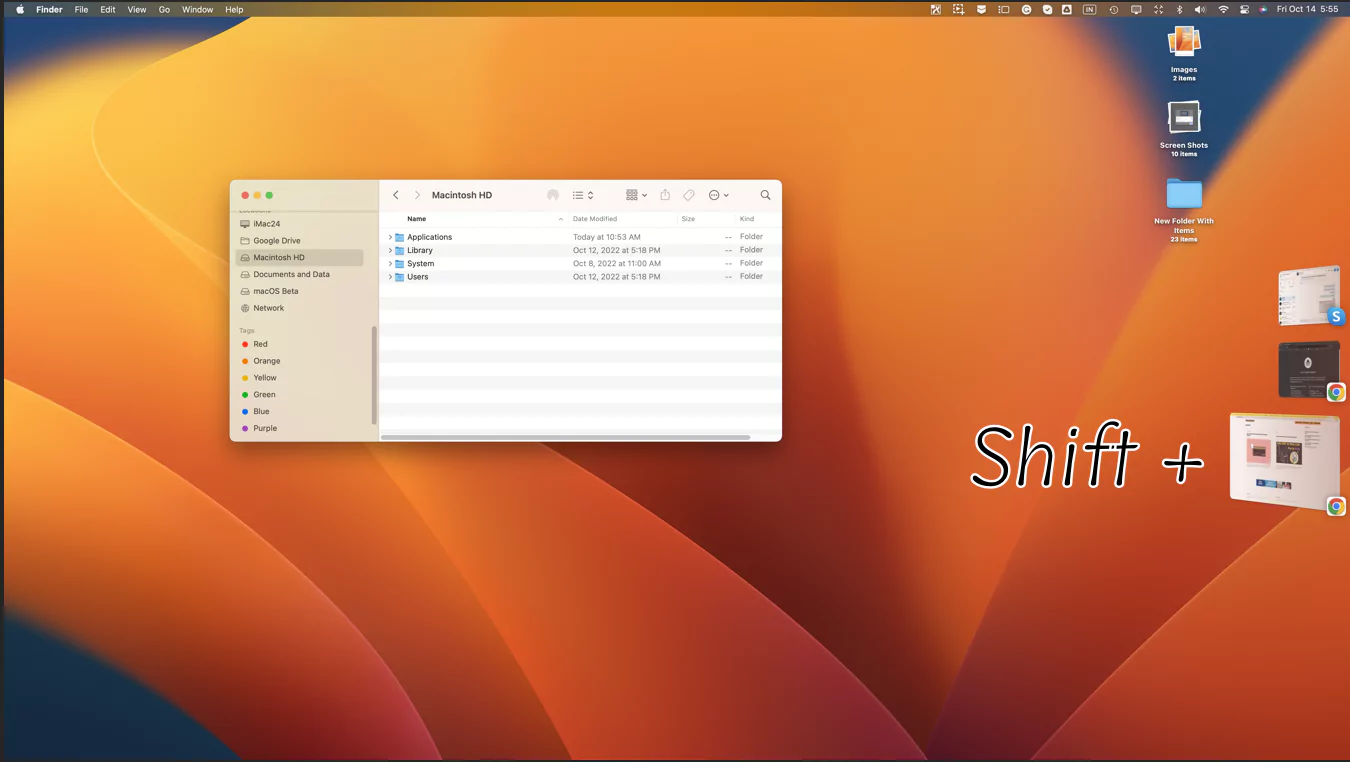
Mac keyboard Shortcut Works to Open a New app from a Recently Opened apps group with an Existing Open app. Using Shift Key + Click on Opened App Preview in Stage manager’s Recent applications.
Or
Drage the App window from Recent applications to Existing app windows screen in Side manager window.
How to Move Recent Apps in Stage Manager on Left or Right
Stage Manager automatically adjusts the desktop screen either left or right. It depends on the existing dock setup. Stage manager’s Recent applications will move opposite side of the dock position.
The default position for Recent Apps in Stage Manager is left. While the dock is at bottom of your mac screen. to Change it, right-click on dock span, Right click on it, and select Position on Screen > Bottom or Right.
That’s it.
Trick to Use Stage Manager on iPad
To bring iPad functionality close to mac, Apple launched the Stage Manager feature for iPad too. However, only some iPads are compatible. The compatible iPad are iPads with the M1 processor, iPad Pro 11-inch, third-generation, or newer iPad Pro 12.9-inch models. Furthermore, Stage Manager with an external display feature will exclusively be available for M1 iPads.
The iPad user gets full screen when using the iPad app. However, with Stage Manager enabled, iPad users can resize the screen. Hence, you can easily access all applications with a visible dock, and the recently used app will be visible on the left side. Therefore, switching between apps becomes super easy and fast. Stage manager with layout capabilities can work with overlapping app windows that you can resize.
Enable or Disable Stage Manager iPad
From Control Center
On your iPad Pro, follow these steps to enable/disable the stage manager through the control center.
- Pull your finger down from the iPad screen’s top right to Open the Control Center.
- Tap on the Stage Manager icon to Enable.
If you hard press the Stage Manager icon on the Control center, it will open Recent apps and Dock settings.
1. Tick or Untick Recent Apps
2. Tick or Untick Dock.
From Settings App
Here are the steps to turn on Stage Manager via the settings app on your iPad.
1. Tap the Settings app on your iPad.
2. Now Select Home Screen & Dock.
3. Next, Tap Stage Manager at the bottom
4. Turn on the toggle next to the option Use Stage Manager on the iPad.
5. Check Recent Apps to show recent apps. Else uncheck to hide it.
6. Check Dock to show Dock. Else uncheck to hide Dock.
You can easily enable or disable the stage manager on your iPad by going through the above steps.
FAQ
Do you need magic keyboard for stage manager?
To use stage manager, you don’t need a magic keyboard; you can access it with any Bluetooth mouse or trackpad and keyboard. However, you must ensure that you use a stage manager-compatible iPad. The Stage Manager compatible iPad are iPads with the M1 processor, iPad Pro 11-inch, third-generation, or newer iPad Pro 12.9-inch models.
Which Macs get stage managers?
The stage manager feature will be for Macs that support macOS Ventura. Here is the list of macs that supports macOS Ventura.
- iMac, MacBook, MacBook Pro (2017 and later)
- MacBook Air (2018 and later)
- Mac Pro (2019 and later)
- iMac Pro
- Mac mini (2018 and later)
How to group apps using stage Manager on iPad?
The advantage of Stage Manager is that you can access recent apps from the left side of the screen and group different apps window. For making the group open first app you want to use. Next, drag and drop another app from Recent Apps at the Left or bottom Dock.
In this way, you have created a group for two different apps. The group will be accessible from the Recent Apps Menu at left from the stage manager. However, those apps will be in the group until you manually remove them.


