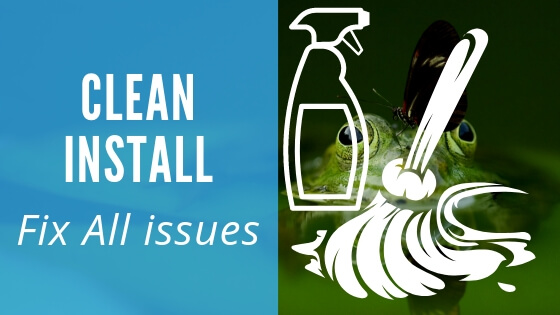
Cleaning your iPhone and iPad should be the final step for all iOS users who want to make their devices like new. After cleaning, you can freely sell or trade in your device or hand it over to someone for repairs and continued use. Once the device is cleaned, you have two options: you can perform a clean install based on your needs or requirements. This method is particularly useful for addressing internal issues by conducting a clean install and then restoring your iPhone or iPad. As you may know, Apple has discontinued iTunes support on Macs, which has changed and simplified the backup and restoring processes. Now, a clean install of iOS requires Finder to back up, restore, and sync data to your iPhone or iPad. Let’s check out this tutorial.
Restore after Erasing iPhone/iPad: Restore the required old backup that should be the latest. You will get photos, videos, apps or settings, and other important data. The backup we can restore from iCloud or iTunes (now Finder). I recommended iTunes because it’s very fast and more user-friendly. No worry about how much your backup was.
Note: Restore iPhone/iPad using iCloud before Erase, Upgrade iCloud storage then start the backup.
Setup Like new after Erase: Once you erase all data from the device, it is very easy to start iPhone/iPad like new. (Skip Restore from iCloud) Follow the on-screen instructions.
Steps for Erase and Restore iPhone and iPad or Setup New
Erase Device – iPhone/ iPad
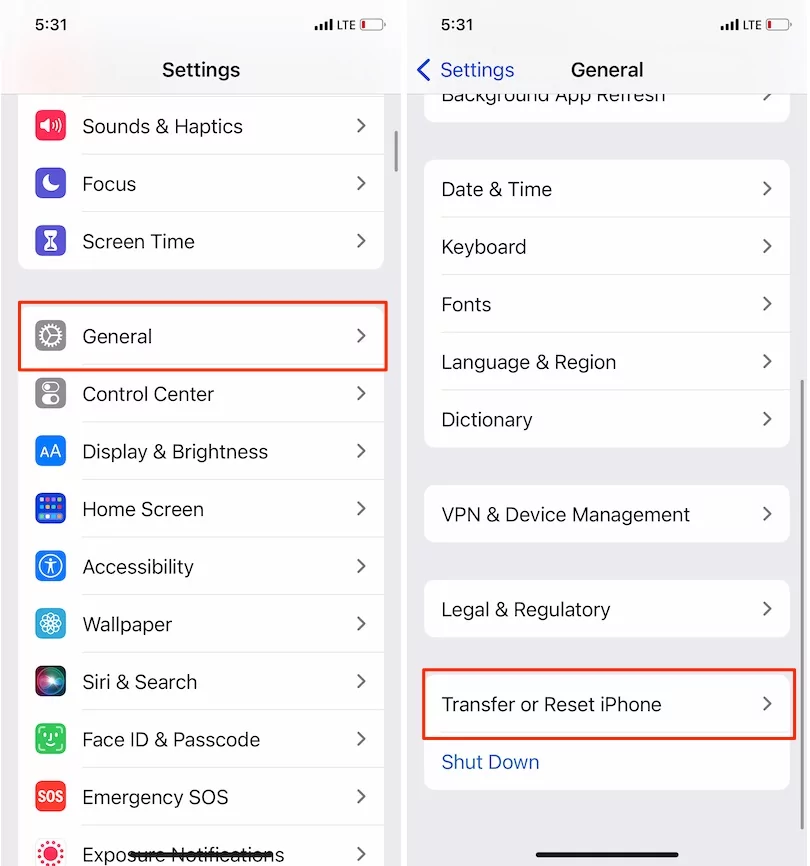
- Go to the Settings app on the iPhone or iPad.
- Next, Scroll down a screen and Tap on General.
- Scroll to the Option, “Transfer or Reset iPhone“
- Erase All Content and Settings.

- See the on-screen instructions and continue with Data will be erased, Apple ID, Find My Remove, and Apple Wallet.
- Now, Enter your iPhone lock screen passcode, and Your iPhone will upload data to iCloud > Enter your Apple ID password to remove the lock and turn off find my activation.
- That’s it.
Restore From iCloud or iTunes/Finder: Old Latest Backup
Connect your device via USB Lightning cable to your Mac/ PC after erase.
- Open iTunes/Finder on PC or Mac. Wait for the sync times then your device will appear in iTunes top tab.
- Turn off “Find My iPhone” on iPhone, iPad (Go to the Settings App on iDevice > Tap on Apple ID Profile Name > iCloud > Find My iPhone > Disable Find My iPhone).
1.1 Using Finder [iOS Restore on MacOS]
- First, Connect your Phone to a Mac computer or laptop.
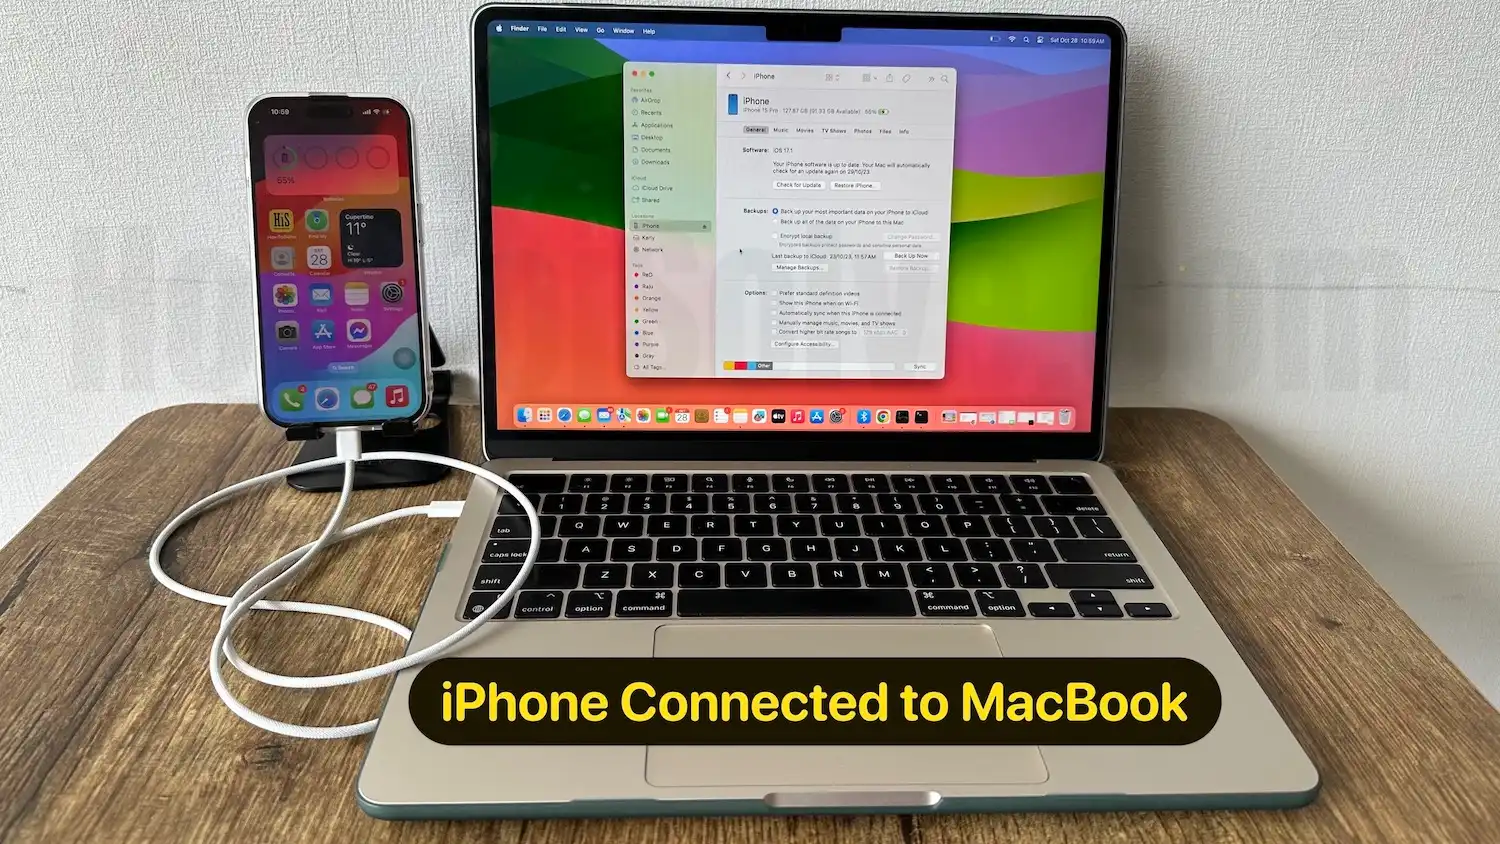
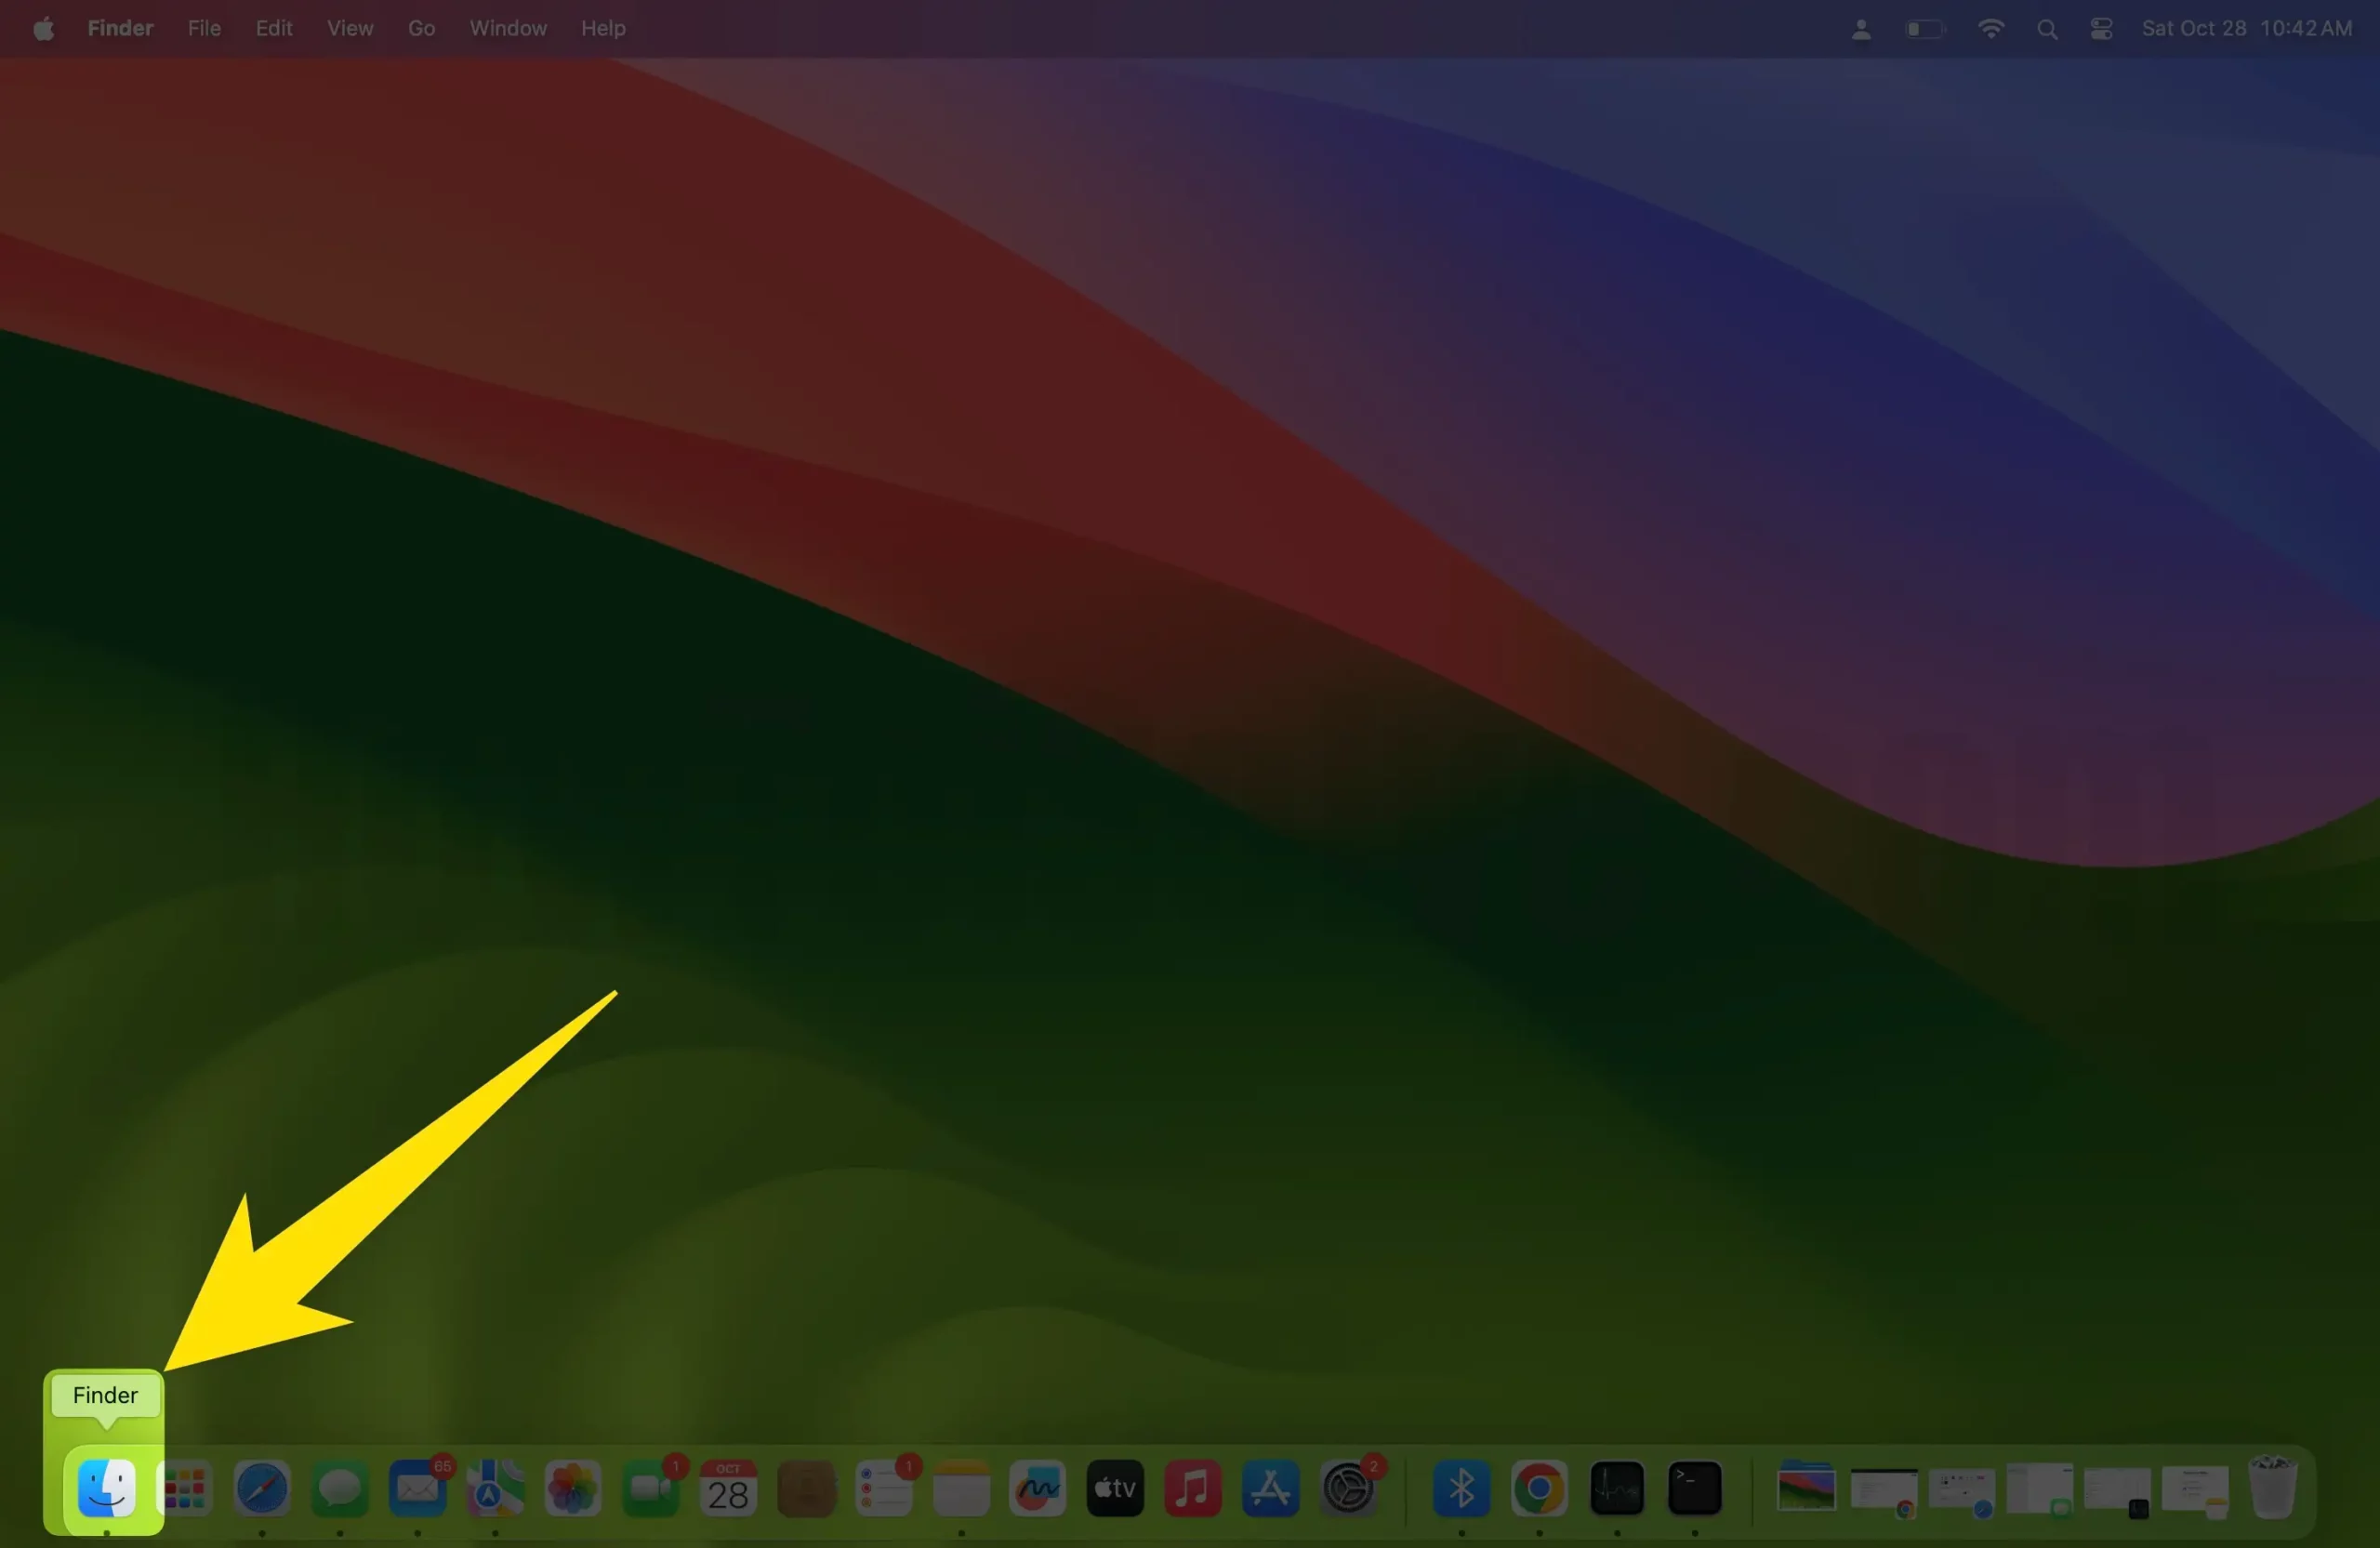
- Open Finder on Mac running MacOS.
- Next, Connect your iPhone to Mac and Get the iPhone under the Locations.
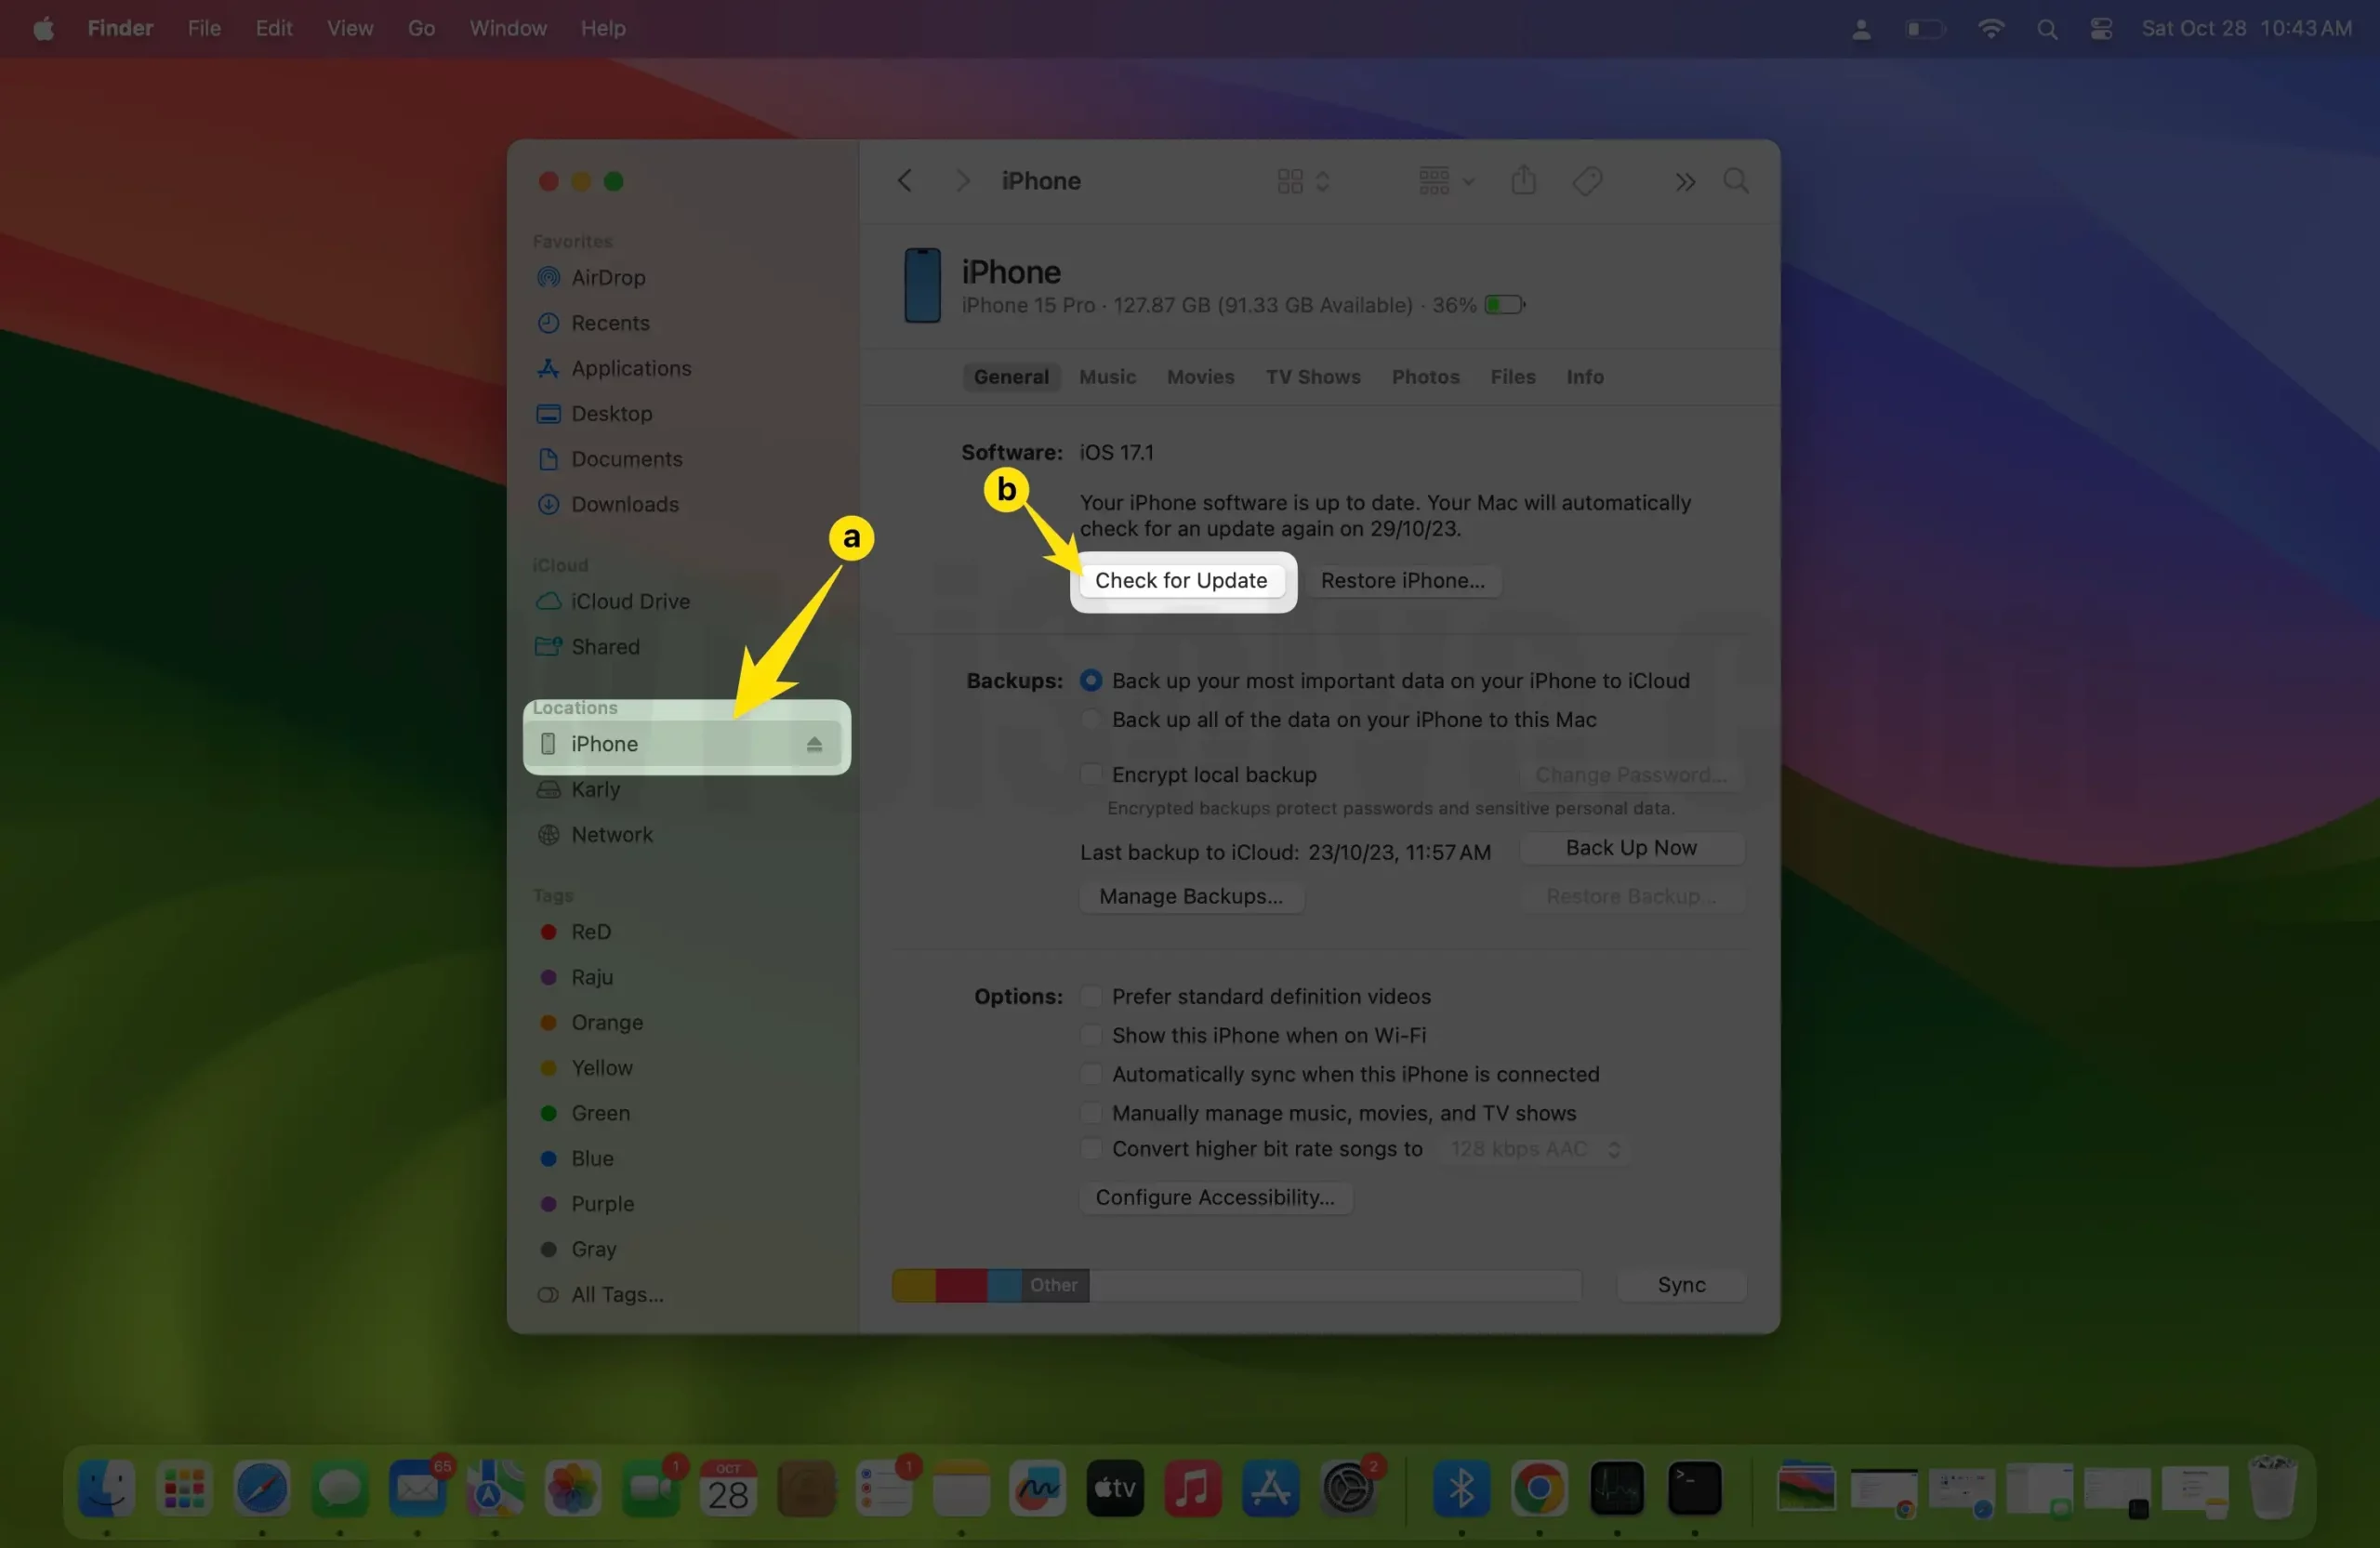
- Click on your iPhone name, and Your iPhone required to pair,
- Unlock the iPhone screen and enter the lock screen passcode on iPhone Screen. Once you validate, Finder will show the below screen.
- Here’s Check for Backup and Restore iPhone button, which will show here.
Now use Option Key + Click on Restore iPhone button to Browse downloaded ipsw file. Choose the ipsw file and click on Open.
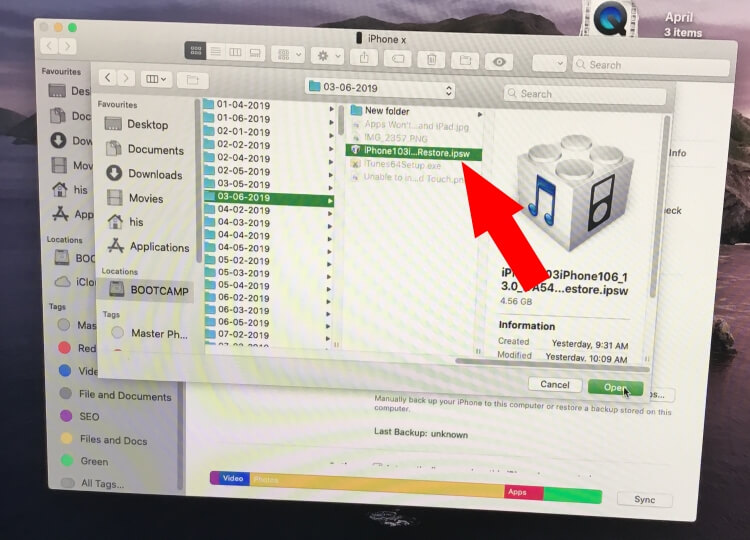
- restore ipsw file using finder restore option on Mac
Go with the Update button. To start the process. Enter the passcode to continue the restoring process. First Enter Passcode on iPhone and Tap on the continue button.
Don’t disconnect the iPhone from Mac, Your iPhone will reboot many times during the process. When you see the lock screen, you can disconnect and set up like a new one.
Restore Old Recent Backup using Finder on Mac [Without iTunes]
Now, copy data from an old, recent backup, follow the same steps, and select Restore backup under the Backup and Restore options.

1.2 Using iTunes Restore and Backup

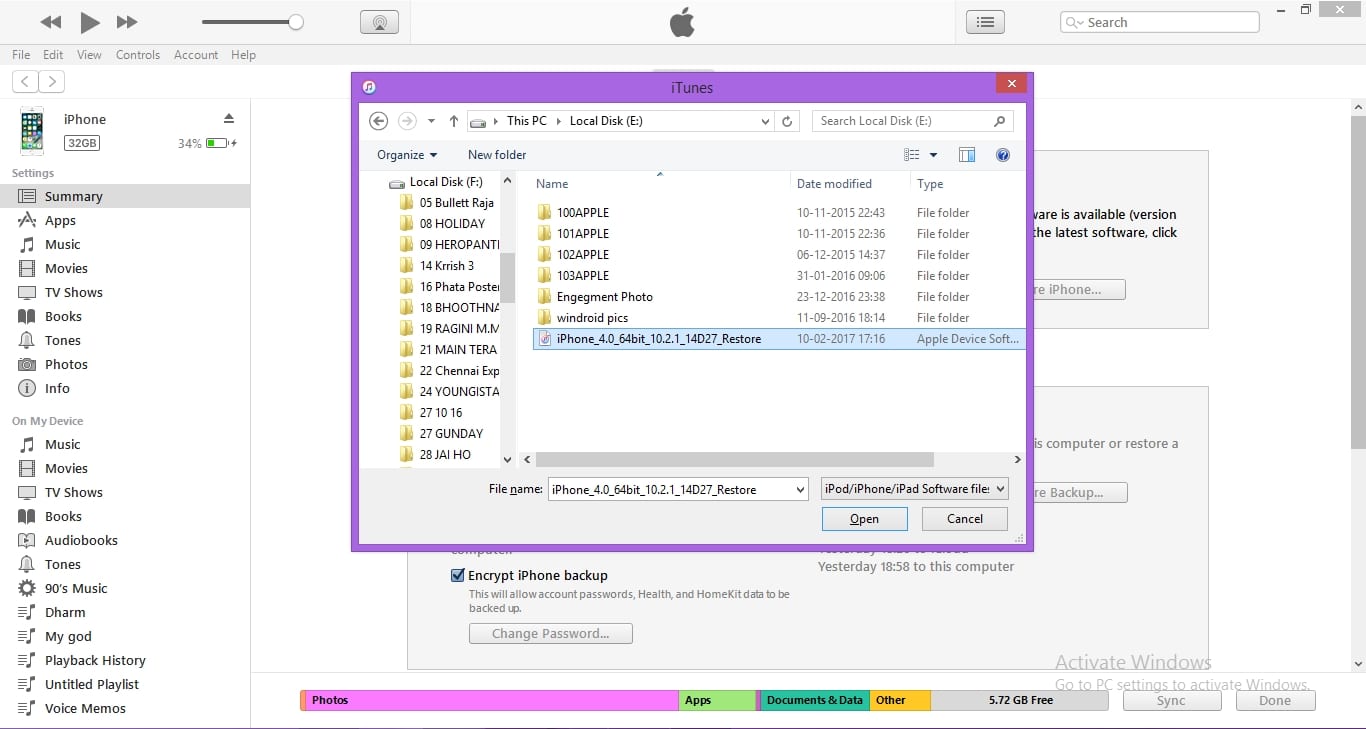
3. Click on it > Summary > Restore iPhone (Choose last backup or what you want)

4. Click Restore iPhone + Shift key on Windows && Click on Restore + Option Key on Mac

5. Press Continue > Next on confirmation popup,
6. Browse .ipsw file (Get latest .ipsw file for the update or downgrade purpose from below links). Then Open. (.ipsw file for iPhone, iPad and iPod Touch)
Installation Tutorial:
- install iOS 13 Beta on iPhone
- install iOS 12 Beta on iPhone
- install iOS 11 on iPhone
- .ipsw for iOS 10 clean install: install iOS 10 on iPhone, iPad, iPod Touch Using iTunes or iCloud.
- Install iOS 9 on iPhone or other iOS devices.
- Install iOS 8 on iPhone

7. Start Restore, Wait for a few minutes; it depends on your system speed. Don’t unplug the iPhone or iPad in between processes.
(Restore Old Backup on iPhone)
2. Clean Install Without iTunes: Use iCloud for Restore
Before erasing, if we have a recent past backup in iCloud, then you can go with the iCloud restore. After resetting your new device, the setup will show a screen option to start to restore data from iCloud. If you didn’t take the backup of your device earlier, then take a backup first in iCloud:Open Settings app on iPhone > Tap on Apple ID profile name > iCloud > iCloud Backup > Enable iCloud Backup Toggle > That’s it.
Now, Erase the Device from settings app > General > Reset > Erase All Content and Settings. Now your iPhone will take a few minutes to erase the device. and then set it up like new. Follow the below steps,

It’s a totally online automatic process and doesn’t need iTunes or Mac/PC. Restore time depends on your internet speed and Size of data.
Don’t Restore old Backup, Setup like new
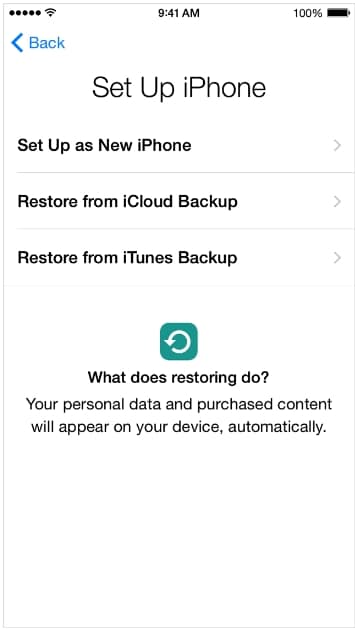
Skip all the restore processes after erase the full device explained in the first step. Skip backup restore instruction and Choose “Set up as New iPhone”. And complete setup.
I hope you get the complete overview and Guide on what to do for a clean install or Restore iPhone and iPad like new. For extra help comment on the box.