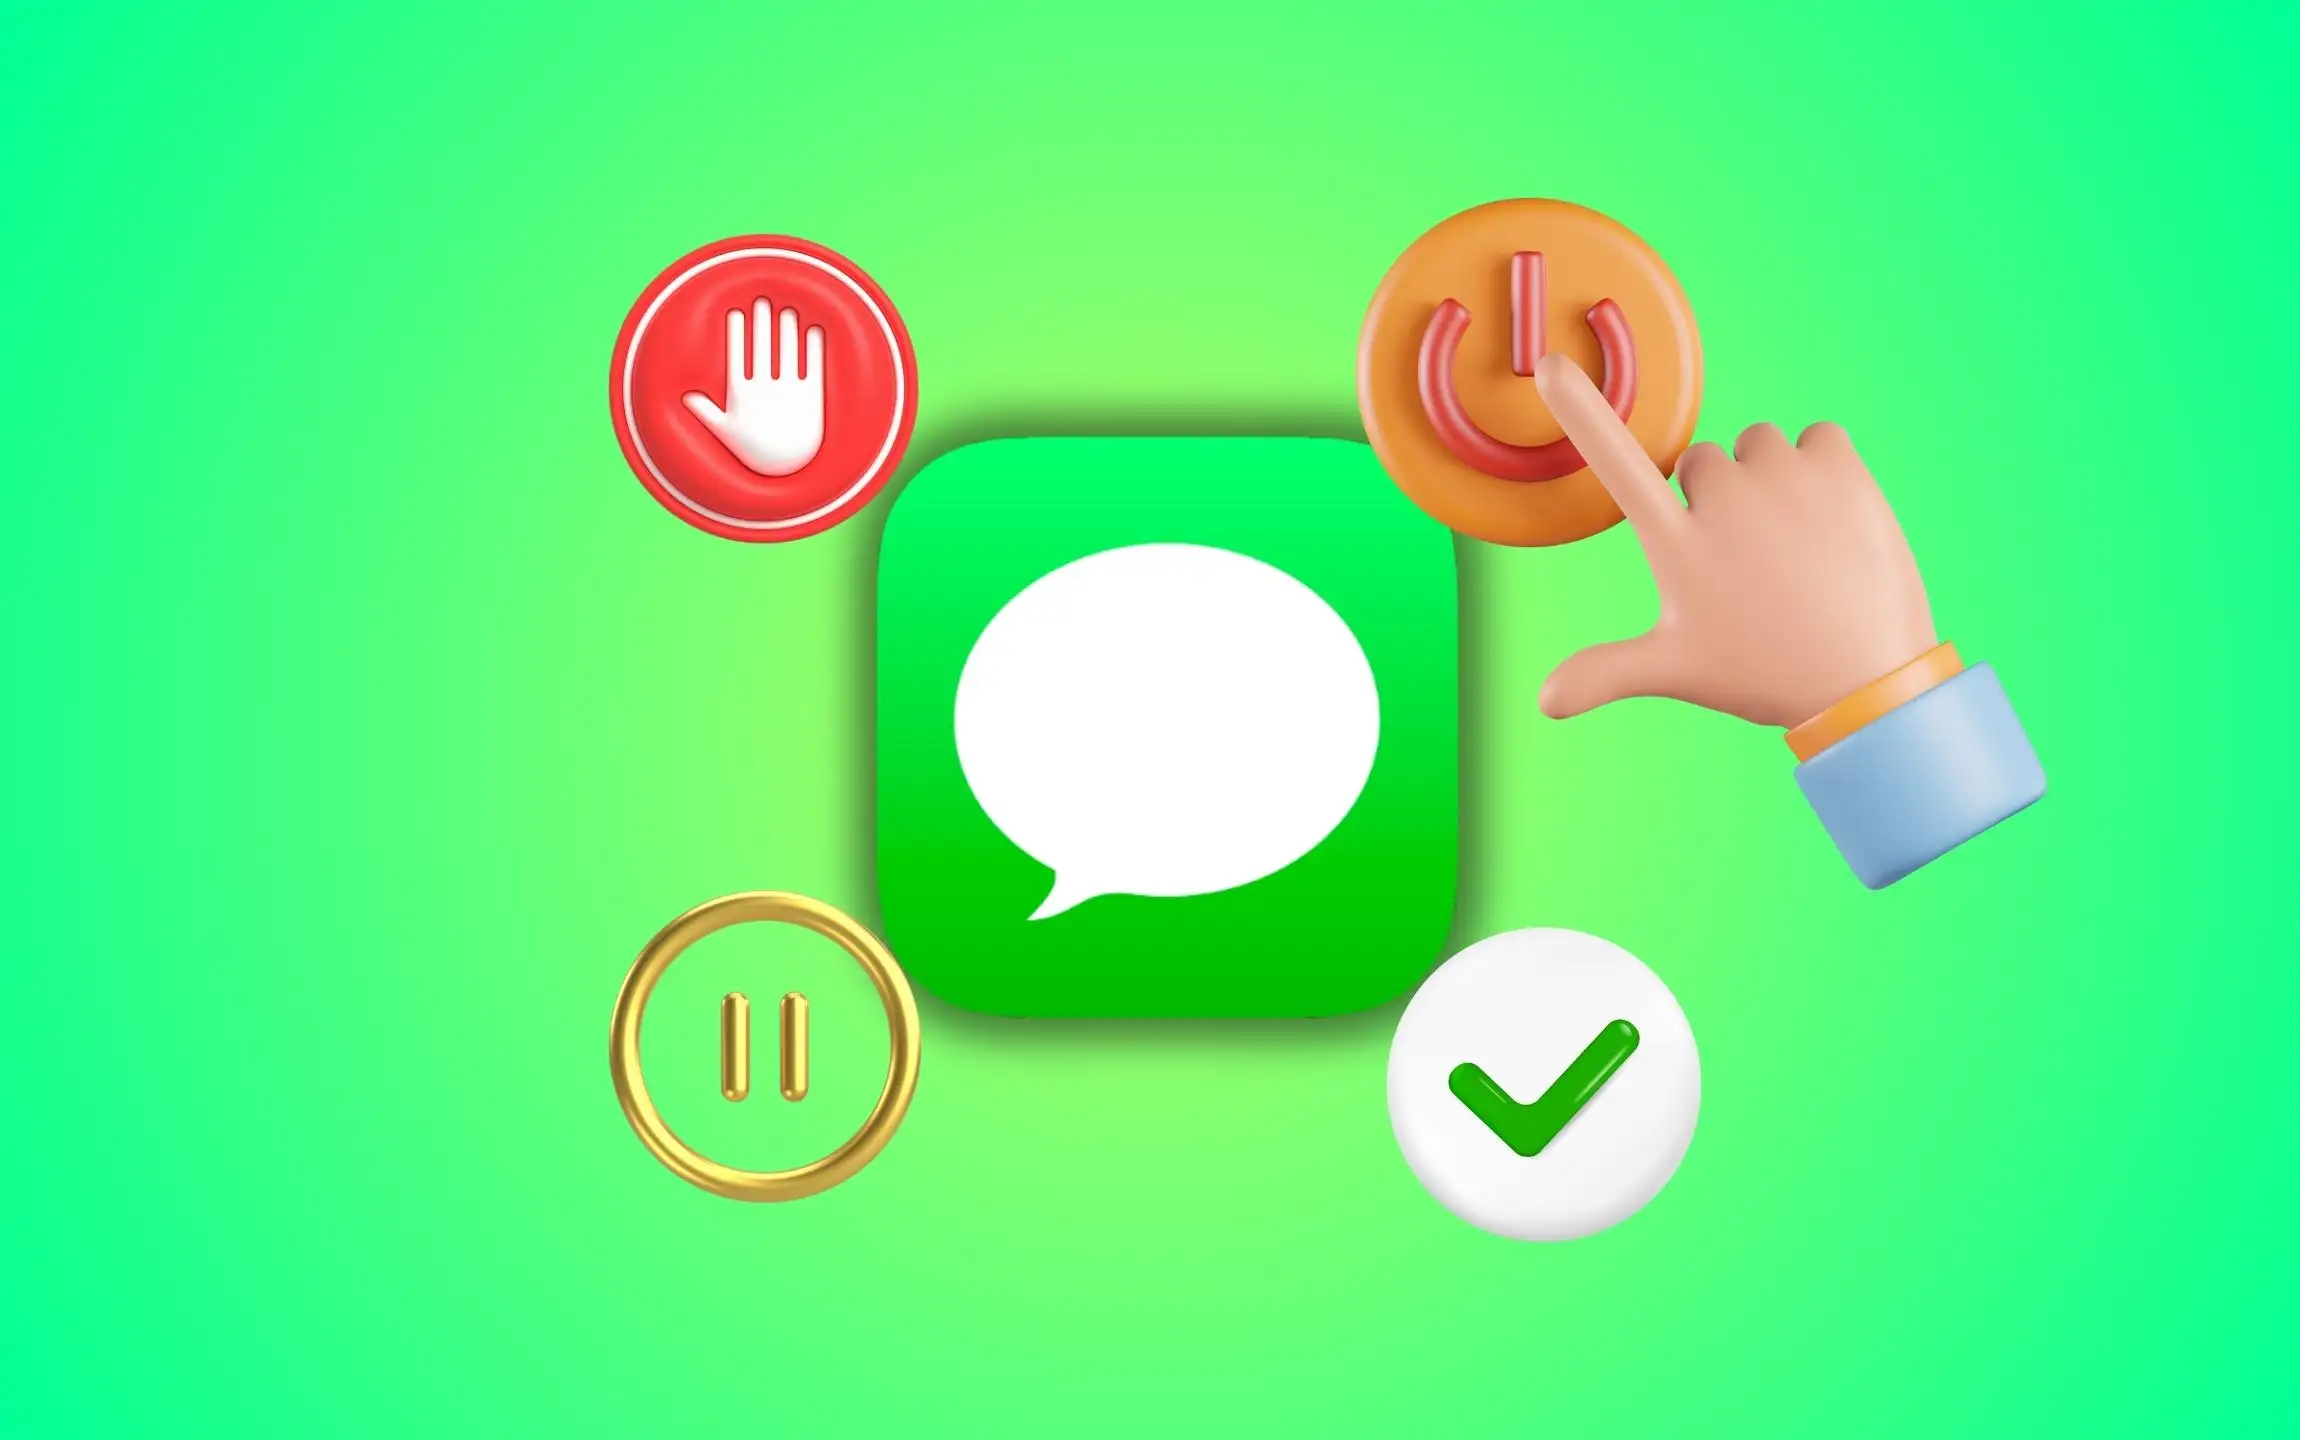
Signing out of iMessage on your Mac can be useful for various reasons, such as ensuring privacy on a shared computer, troubleshooting issues related to messaging, or simply when you prefer not to receive messages on your Mac. This action involves disconnecting your Apple ID from the Messages app, which stops iMessages from being sent or received on the device.
iMessage Settings in Messages on Mac
Signing out of iMessage on your Mac is a straightforward process that can be reversed at any time by logging back in. However, it’s important to weigh the benefits of increased privacy and reduced distractions against the potential for missing messages and disrupting the seamless experience Apple aims to provide across its devices.
Steps to sign out of iMessage on Mac
Before proceeding to the procedure, you should know that this method will sign out from your Apple ID on your Mac computer. So, you may lose access to other Apple services when you sign in.
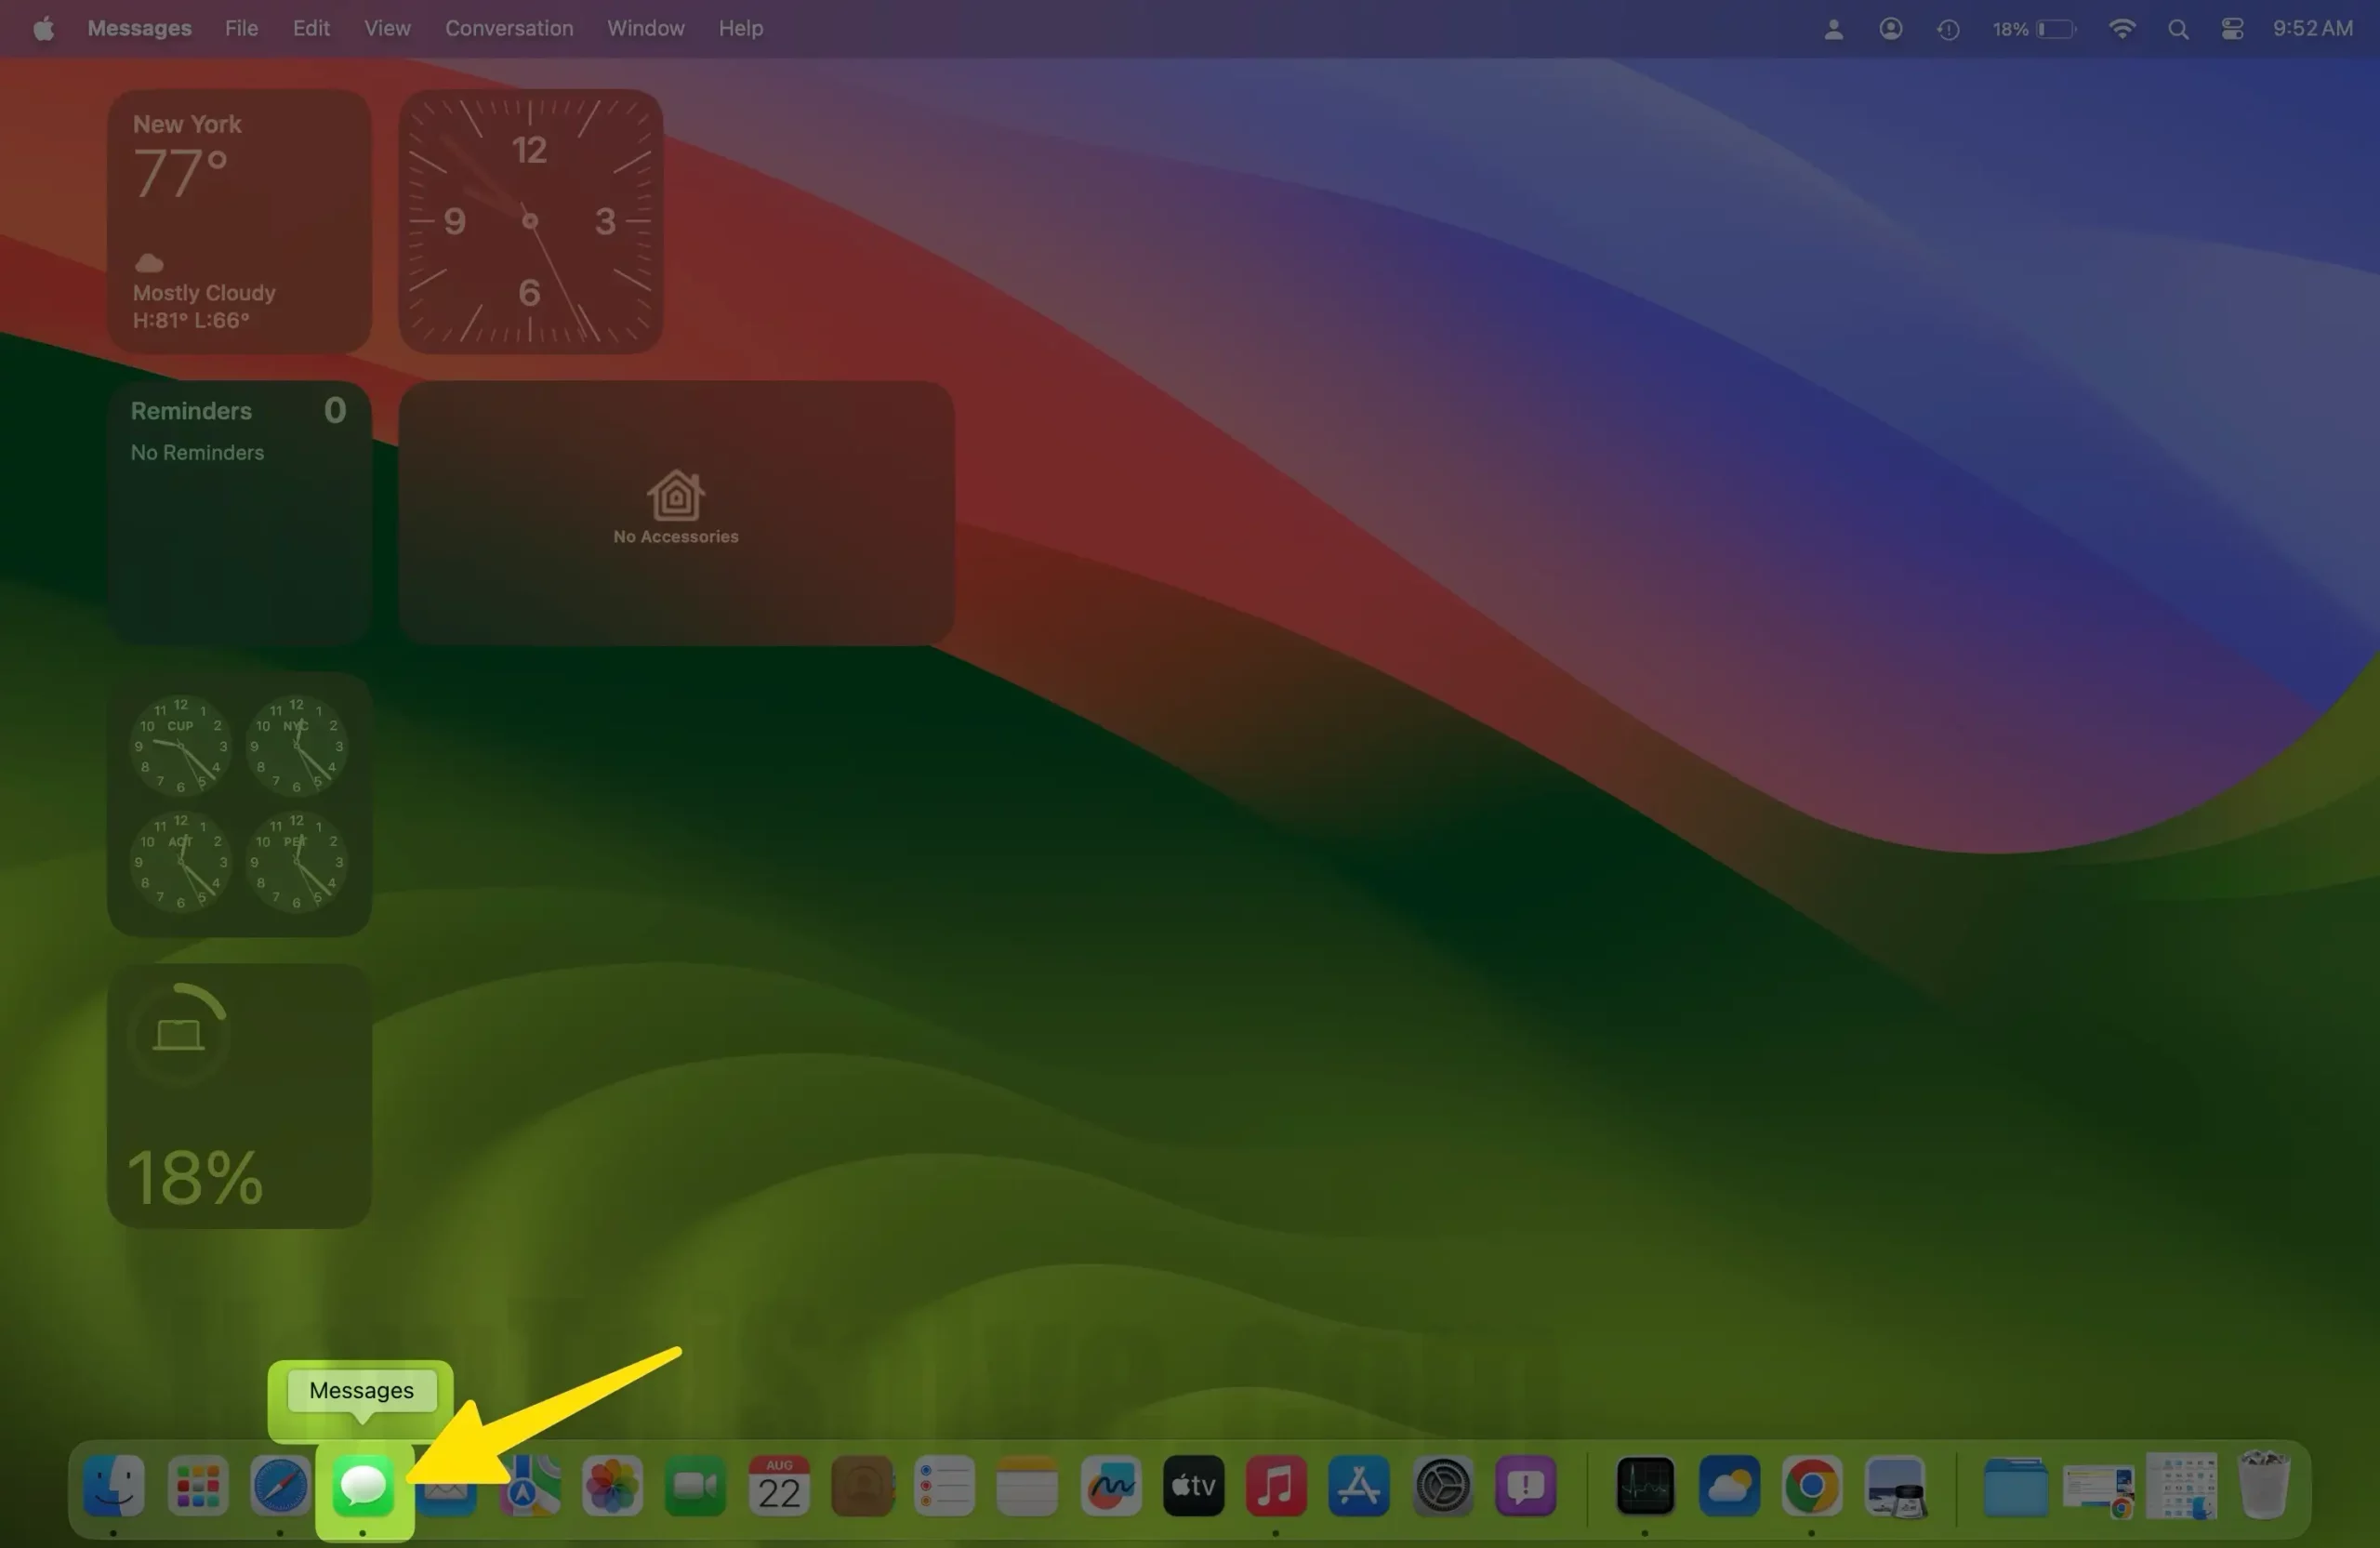
Step 1: Access the Messages on your Mac computer. It may be located in the dock of your Mac. You can access it from the Applications in Finder if it isn’t available there.
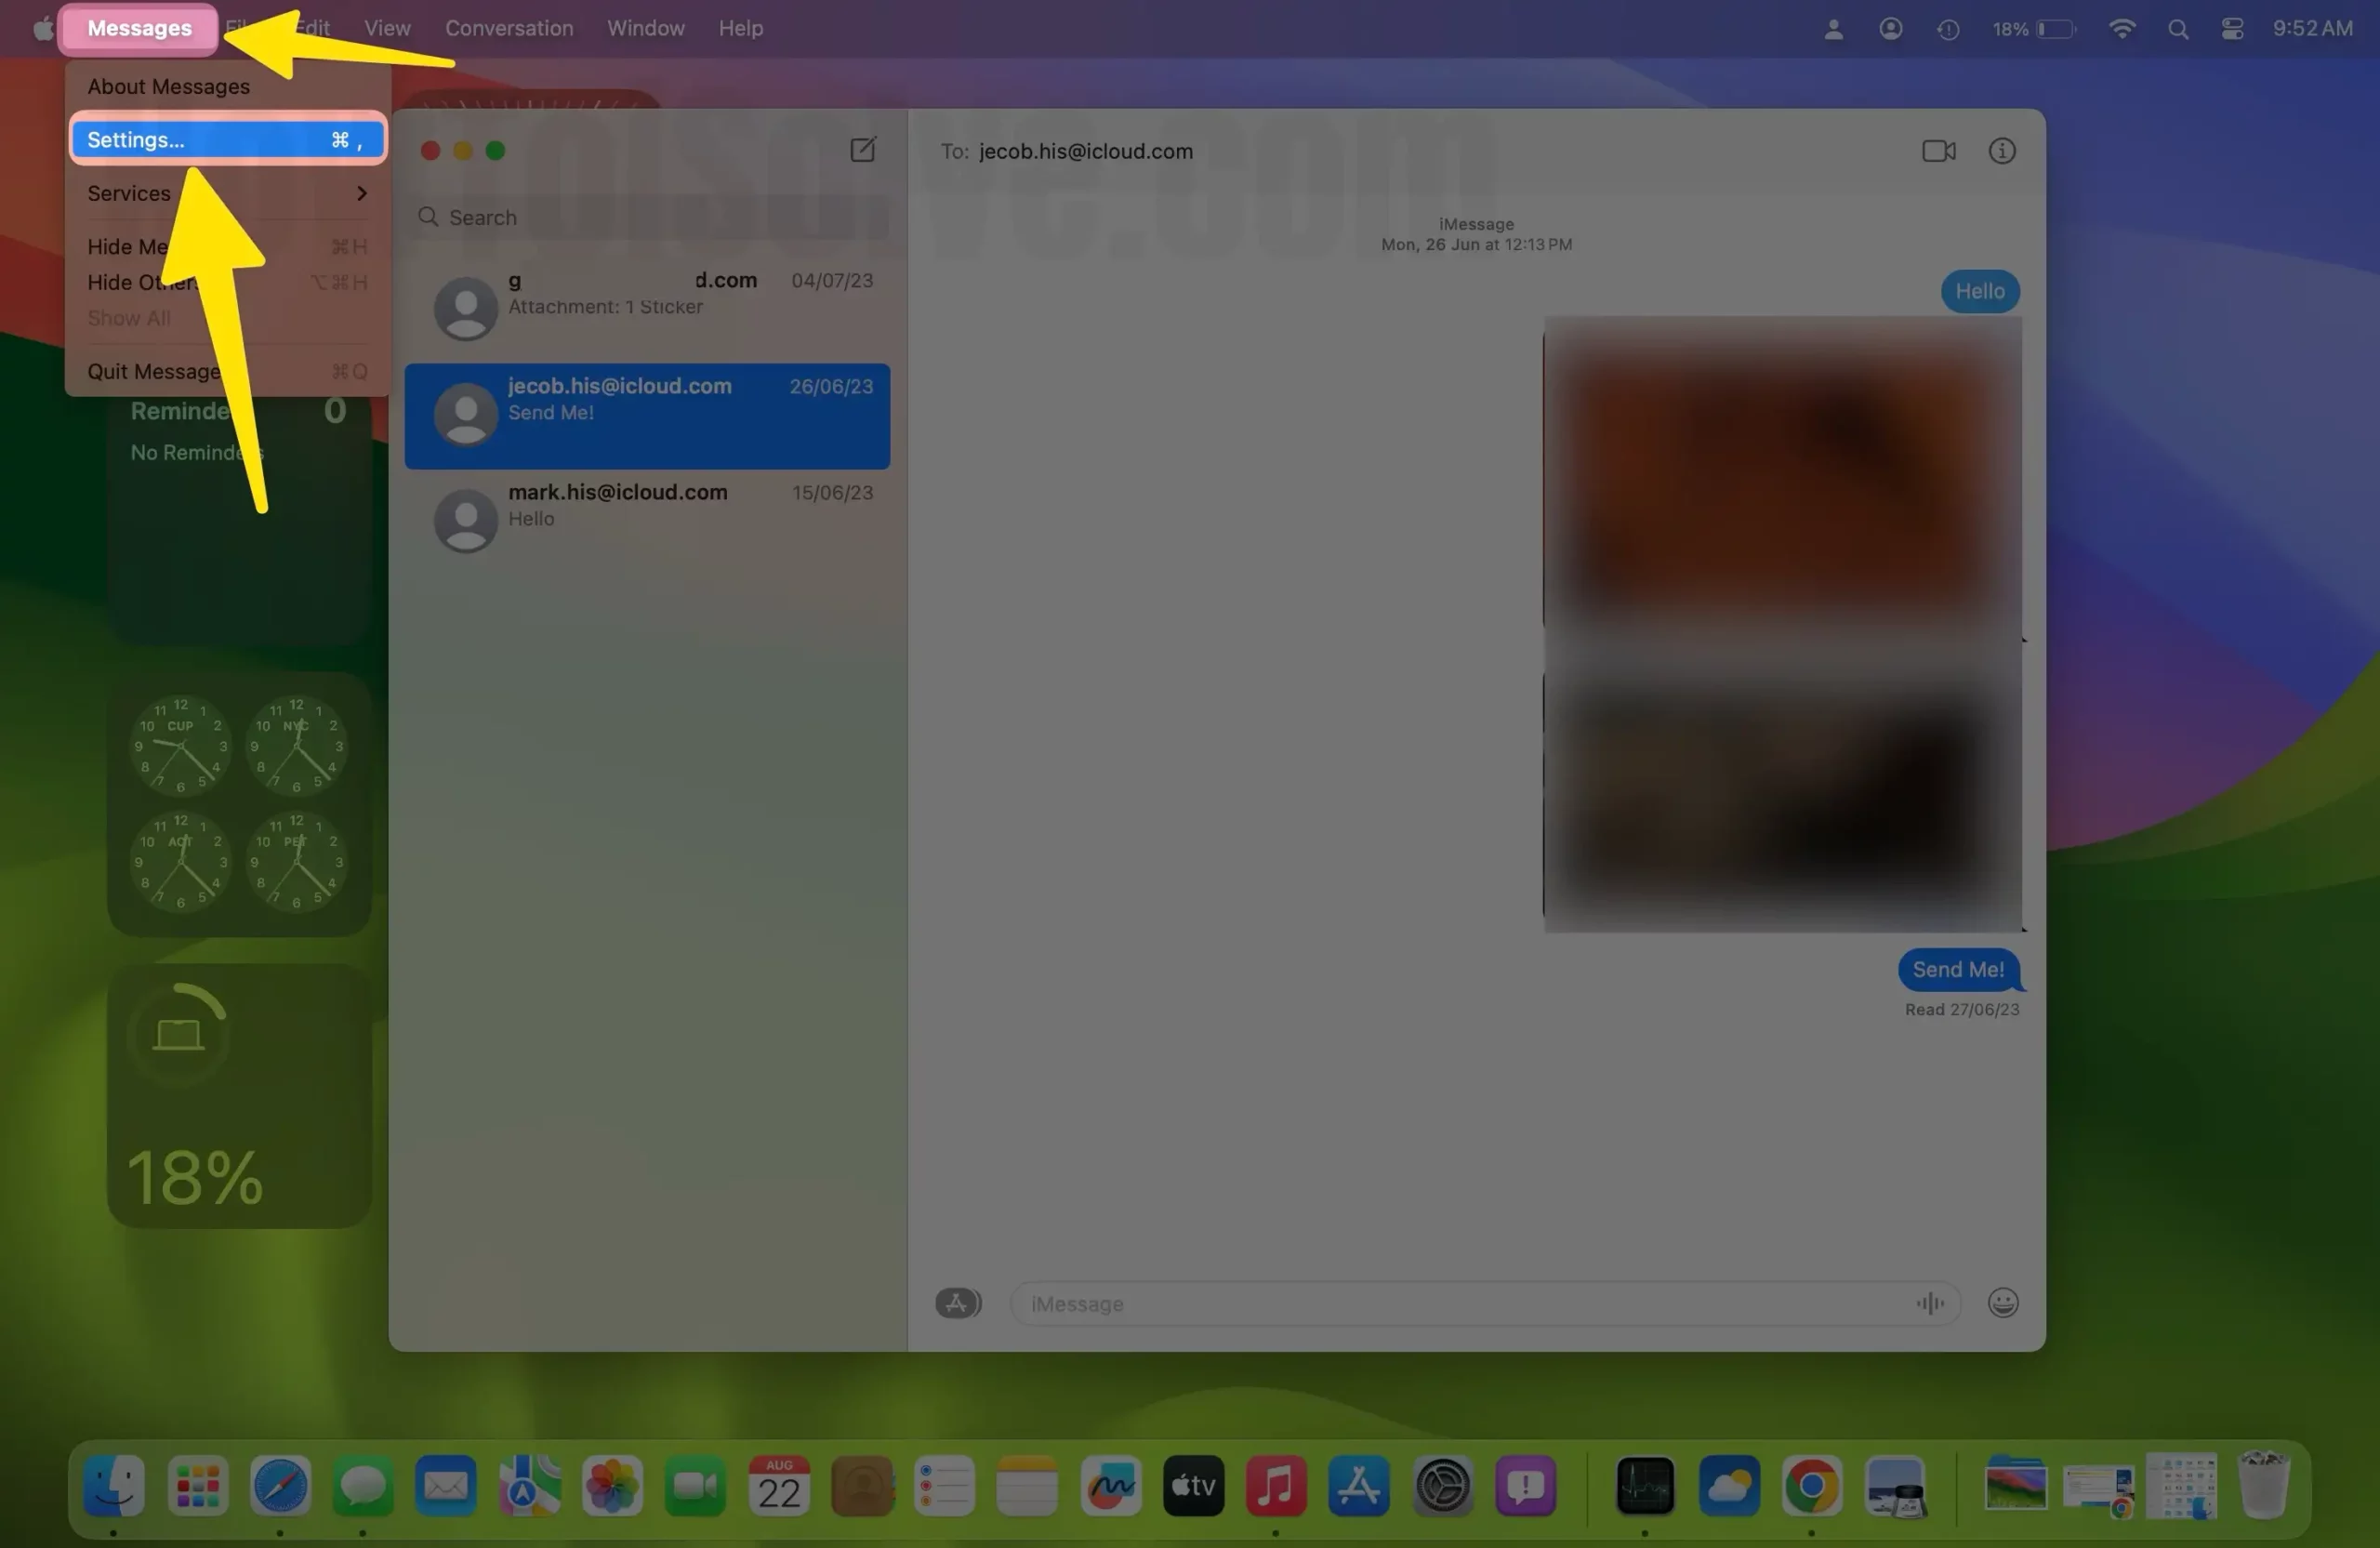
Step 2: Select Messages from Menubar. Click Settings…

Step 3: Go to the iMessage Tab. Choose Sign Out.

You will be signed out from your iMessage account -as well as another account that is linked to your Apple ID. That’s all; you will no longer receive and send messages from your Mac.
If you log out of iMessage on your Mac, there are some restrictions that you should be aware of.
Limitations
- Continuity Disruption: Signing out of iMessage on your Mac disrupts the continuity of conversations across your devices.
- Manual Sign-In Required: Each time you wish to use iMessage again on your Mac, you’ll need to manually sign in.
- No Automatic Synchronization: Messages received while signed out won’t be automatically synchronized when you log back in.
Pros and cons of signing out of iMessage on your Mac
| Pros | Cons |
|---|---|
| Enhanced Privacy | Disruption of Continuity |
| Prevents unauthorized access to your messages on shared or public computers. | Disables seamless synchronization of messages across your devices. |
| Troubleshooting Tool | Missed Messages |
| Can help resolve issues related to message delivery and app performance. | You may miss important messages while signed out, unless checked on other devices. |
| Reduces Distractions | Inconvenience |
| Limits notifications and interruptions, especially beneficial during work or study. | Regularly signing in and out can be cumbersome, especially with two-factor authentication. |
| Control Over Device Use | Setup Time Upon Re-entry |
| Gives you control over which devices receive messages, allowing for better device management. | Requires time to log back in and possibly deal with authentication steps. |
Steps to turn off iMessage notifications on Mac
The procedure below will completely turn off message notifications. However, if you want to use the Message app and avoid distraction by notifications, you can disable it by following the steps below.
Step 1: Access the Apple Menu from the Mac Menubar. Select System Settings…
Step 2: Choose Notification from the left panel. In the menu on the right side, you will see a list of applications. Choose Messages.

Step 3: Finally, disable the toggle next to the Allow Notification.

This will turn off notifications for the Messages app on your Mac so you can focus on your Mac computer. But in this case, you can still send and receive messages from your Mac. If you want to enable notification, you can go back in and enable the toggle next to the Allow Notifications.
Customize notifications in Messages Settings
You might wonder how to disable iMessage on Mac because you’re bombarded with various messages.
Step 1: Open the Messages App.
Step 2: Select Messages from menubar. Click Settings.
Step 3: Go to the General Tab.
Now you can untick Notify me about messages from unknown contacts and Notify me when my name is mentioned.

Besides all of this, you can also disable Auto-play Messages Effect and Play Sound Effect.
Mute conversations individually
The best part is that Apple Message also lets you mute conversations individually. If there’s a particular chat you want to prevent, you can do so with just a few clicks. Here’s how.
1. Open Messages and right-click on the conversation in the sidebar.
2. From the pop-up menu, select Hide Alerts.

3. Once you do so, you’ll see cross through bell icon, which shows the conversation is muted. Follow the same procedure for each conversation you want to mute.
Remember, perform the same procedure to unmute the chat conversation individually.
Temporarily block notifications via the Notification Center
If you want to avoid distraction completely, you can temporarily turn it off with just a couple of clicks using Notification Center. This involves enabling the Focus feature, designed to reduce distraction so you can focus on your work.
However, fuss not, iMessage won’t stop syncing, but your Mac will hide notifications until you turn the feature off. This is an excellent and temporary way to keep message notifications quiet.
- On the top right-hand side of your menu bar, click the Notification Center Icon.
2. Click on the Focus icon on the control center.

3. Now select Do Not Disturb. You won’t receive any alerts until you turn off Do Not Disturb.

That’s It!
Final Thought!
This is how you can disable iMessage on a Mac. However, if you don’t want to disable iMessage completely, you can mute notifications conversations, and we’ve covered all things above in the article. Moreover, if you have a relatable query, please drop it in the below comment box.


