Normally, your Mac should automatically detect an external drive when you plug it in. When this happens, the external drive should appear on your desktop or in the Finder sidebar under Locations.
If you can’t find yours here a few seconds after plugging it into a USB port on your Mac, chances are that the hard drive is not mounting.
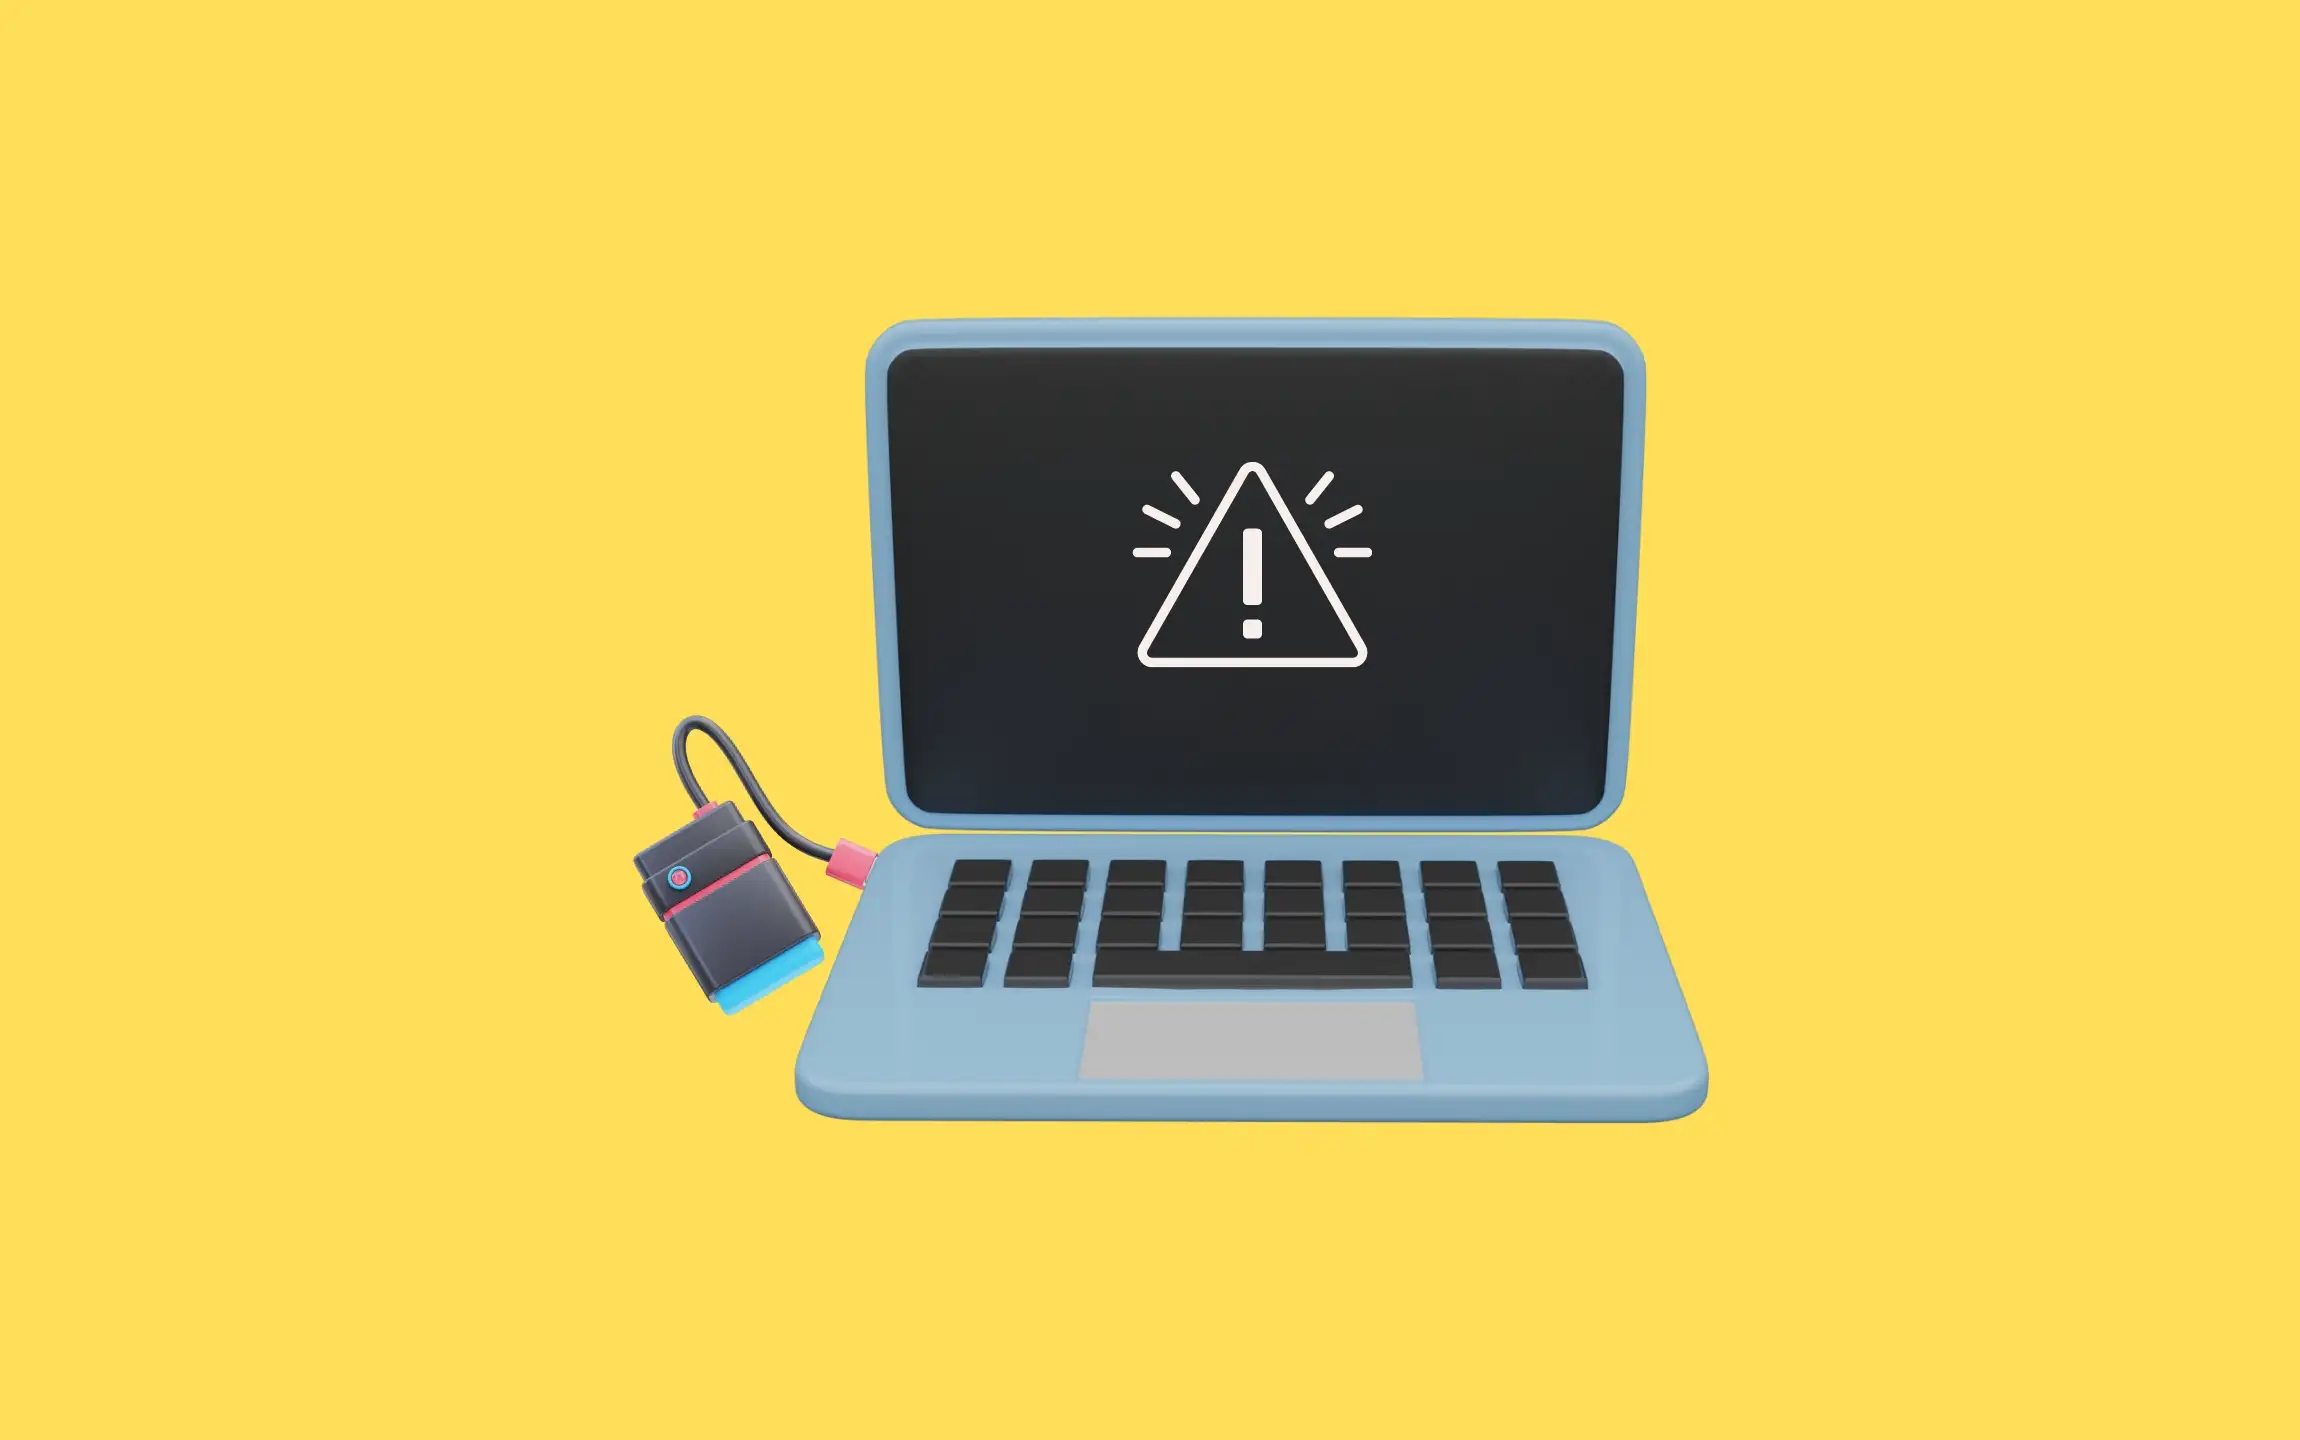
So, why is your external hard drive not mounting in Mac? Get to know this and the various methods you can use to fix the problem.
Why is My Mac Not Reading My External Hard Drive?
In some cases, your Mac may fail to recognize or discover the external hard drive altogether. In other cases, the drive may be mounted, but you cannot write anything on it (copy files onto the external hard drive). Different things can cause an external hard drive not to mount on a Mac.
Here are some of the common causes of the external hard drive not mounting problem in Mac computers:
- Improper Connection or Damaged Cable
Accumulation of dirt and grime in the USB ports on your Mac or even on the tips of the cable. connectors may prevent the hard disk from making proper contact. It is also possible that you are using a damaged USB cable to connect your external hard drive to a Mac.
You may also be plugging the drive into the wrong USB port on your Mac. In either case, you Mac will not be able to read the external hard drive. In this case, you can try using a different cable or using a different USB port on your Mac, as described later on in this guide.
- Disabled Display Settings on Your Mac
If you happen to have disabled the necessary display settings on your Mac, the Mac may fail to recognize the connected drive. You may have disabled these settings accidently or another user may have altered them. Regardless of the case, this problem is relatively easy to troubleshoot and fix.
To rule out this cause, check whether you can see an Unmount button on your Mac’s Disk Utility. If you can see this button, your external hard drive is already mounted but happens to be hidden. This guide will enlighten you on how you can easily fix such an issue.
- The Mac Ran Out of Resources
Your Mac may fail to recognize an external hard drive simply because it ran out of resources while trying to mount the drive. This could also happen when the Mac refreshes itself while the disk is being mounted.
These will prevent the external hard drive from mounting properly in Mac.
- Corrupted Hard Drive
Different things, ranging from virus attacks to unplugging it while something is being copied from or onto the disk. If you pull an external hard drive while some files are being transferred onto or from it, some sectors may become corrupted on the hard disk.
This may, in turn, prevent the external hard drive from mounting properly on Mac. Learn how you can fix such a problem later in this guide.
- The Hard Drive is Not Formatted Properly
If your external hard disk is not formatted properly, you may encounter what is commonly referred to as the NTFS read-only problem. The New Technology File System (NTFS) is a Microsoft proprietary file system. By default, most Macs tend to only have read-only support for this file system.
If you are attempting to mount an NTFS formatted drive, this may be the problem. The external drive may even show up on Disk Utility even though it is not properly mounted. Get to know how you can fix this problem later in this guide.
- The External Drive is Damaged
External hard drives are rather delicate—susceptible to damage by water, temperature, and impact. If your external hard drive is spinning, but not mounting in Mac, the drive is probably damaged.
If your external hard drive is physically damaged, it is probably irreparable. In such a case, all you can do is try and recover your data.
How to Fix the “External Hard Drive Not Mounting” Issue in Mac
To access an external drive on your Mac, it needs to be properly mounted. Normally, a hard drive should mount automatically in the background as soon as you plug it into a USB port on your Mac.
If your external hard drive is not mounting in Mac, plug it out and reconnect it. If it is still not mounting, there are different methods you can use to troubleshoot and fix the problem.
Discussed below are some of the best solutions to this issue:
Method 1: Try Connecting the Drive to Different USB Ports
This may sound too easy, but it helps to try plugging the external hard drive into different ports on your Mac. Well, most Mac computers are equipped with both USB 2.0 and USB 3.0 ports. According to user reports, the external hard drive not working issue is more prevalent when the drive is connected to a USB 3.0 port.
This is particularly the case on Macs running macOS Big Sur, Monterey, and Ventura. The problem often has to do with the difference in transfer rates and power supply between USB 2.0 and USB 3.0 ports. In yet other cases, the USB port you are using may be damaged.
Regardless of the case, try mounting the external hard drive from a different USB port on the Mac.
Method 2: Restart Your Mac
If the external hard drive is not mounting even after trying out different USB ports, you should restart the Mac and try again. As mentioned earlier in this guide, your Mac could have run out of resources while attempting to mount the drive.
The mounting process could also get stuck if the Mac refreshes itself while mounting an external drive. In both cases, restarting your Mac can resolve the mounting problem. To restart your Mac:
- Unplug the external hard drive and any unnecessary USB accessory that may be connected to the Mac.
- Click on the Apple logo on your desktop to expand the Apple drop-down menu
- Select Restart from this menu
Now wait for the Mac to restart and try mounting the external hard drive once again.
Note: If the Mac is unresponsive, you can restart it by just long pressing the lower button until it shuts down. Next, press the power button to start it up once again.
If this does not fix the issue, check whether your display settings are configured properly, as illustrated below:
Method 3: Check Drive Display Settings on Your Mac
If not configured properly, the Mac may recognize an external hard drive but fail to show it up on the desktop or even on Finder. To check whether this is the case on your Mac, launch the Disk Utility and check whether you can find the Unmount button.
If you can find the Unmount button, the hard drive is already mounted. The problem is that Mac is not showing the drive on the desktop or Finder. If this happens to be your case, you need to alter your display settings to allow for this. To do this:
- Click on the Apple Logo and select Finder from the drop-down menu that comes up.
- Navigate to the General tab on the Finder window and check the box next to the External disks option.
Note: Depending on the macOS version you are running, you may need to navigate to Finder menu > Settings > General tab or Finder > Preferences > Sidebar
- Now switch to the Sidebar tab and then check the box adjacent to External disks under the Locations section.
Method 4: Force Mac to Mount an External Hard Drive Using Disk Utility
As mentioned above, you can check whether your disk is mounted from the Disk Utility. If the drive is not mounted, you may use Disk Utility to force Mac to mount the drive. So, How do you force your Mac to mount an external hard drive?
Here is how you should go about it:
- Click on the Apple logo and select Finder.
- Next choose the Applications option before clicking on Utilities
- Now find and select the external hard drive you’d like to mount or drive volume
- Finally, click on the Mount button to initiate the process.
If successful, your drive should be visible on the Finder sidebar or your Mac desktop.
Method 5: Change the Drive Format for the External Hard Drive
Using Disk Utility, check whether the external hard drive you are trying to mount is NTFS formatted. If so, you probably are facing the NTFS read-only problem. If the format used on the external hard disk is incompatible with your Mac, you may encounter the external hard disk not mounting in Mac problem.
To fix such an issue, you simply need to change the format used on your external hard drive.
Note: Formatting your external hard drive will wipe it clean and may result in data loss. As such, it is advisable to first backup the hard drive before formatting it.
Since the drive is in an incompatible format, you need to change the format to any of the Mac-supported file systems, including HFS, APFS, and HFS+. Alternatively, you could format the drive into a format that is supported by both macOS and Windows computers, such as exFAT and FAT32 file systems.
You could also format a corrupted disc to fix the external hard drive not mounting in Mac problem. In either case, this is how you should format an external hard drive to enhance compatibility with macOS:
- Connect the problematic drive to a Mac via the recommended USB cable.
- From your Launchpad, open Finder. You could also launch Finder by searching for it on the Spotlight and then clicking on its icon from the search results.
- Find the external hard drive you’d like to format on Disk Utility—it should appear on the column to the left side of the Finder window.
- Navigate to the toolbar and click on the Erase toolbar
If you are prompted, name the drive and select the format you’d like to format it to (be sure to select a Mac-supported format as described above).
- Once you’ve done that, now click on the Erase button to initiate the formatting process.
- Once Mac is done formatting the external drive, click on the Done button.
Note: APFS is the standard file system for macOS.
Method 6: Uninstall and Install the Latest NTFS for Mac Version
If you don’t wish to format your external hard drive, the alternative would be to install the latest NTFS for Mac—a menu bar utility tool that allows Mac to read and even write data into NTFS formatted drives.
If your external hard drive was formatted using a Windows computer, you won’t be able to mount it onto a Mac unless you have this tool installed. With the Microsoft NTFS for Mac by Paragon installed on your Mac, you can mount the drive as well as edit, copy, and even delete items on the drive.
If you already have the NTFS for Mac software installed, but still can’t mount an external hard drive in Mac, uninstall it and then install the latest version of the software. The following procedure will help you accomplish just that:
Step 1: Uninstall the NTFS Version Currently Installed on Your Mac
If you already have the NTFS for Mac software installed on your Mac, you should first remove it before installing the latest version. You can uninstall this software from the Launchpad, Menu Bar, or the System Preferences on your Mac.
This is how you should go about it:
- From the Menu Bar on your Mac, click on the Paragon NTFS/extFS for Mac icon—usually located on the top-left corner of the Menu Bar.
- Next, select the Preferences option to open the NTFS Preferences window, as illustrated below.
- Now find the yellow Uninstall button—towards the left side of the preferences window. As shown below
- When prompted, confirm the uninstallation by clicking on the Uninstall button. Now wait for Mac to uninstall the software.
Note: You should reboot the Mac prior to installing another version of the NTFS software.
If You’d rather uninstall the NTFS software using Terminal, follow these steps instead:
- From Applications on your Mac, select Utilities, and then Terminal to open a new Terminal window
- Now Paste the following command onto the Terminal window, depending on the software you wish to uninstall:
If Uninstalling NTFS:
sudo /Library/Application\ Support/Paragon\ Software/com.paragon-software.ntfs.uninstallIf Uninstalling extFS:
sudo /Library/Application\ Support/Paragon\ Software/com.paragon-software.extfs.uninstall- Having copied the appropriate command into the Terminal window, press the Return key to execute the command.
- When prompted, enter your password and then press the Return key once again
Note: If you have NTFS for Mac 14 installed on your Mac, you can uninstall it from System Preferences or use the NTFS for Mac 14 DMG file.
Step 2: Download the Latest NTFS Installer
At this point, you need to download the latest NTFS for Mac version from the official website. To download the installation package for this software, launch your preferred browser on Mac and navigate to the official Paragon Software download page.
Alternatively, you can just download the NTFS for Mac DMG file from your ParagonBox account.
Note: If the download does not start automatically, right-click on the download link and then select the Save Link As option to manually initiate the download.
Once downloaded, the installer file should appear in the Downloads folder by default—unless you changed the download folder on your Mac.
Step 3: Install the Latest NTFS for Mac Version
Now that the NTFS for Mac Installer is downloaded, the next step would be to install it onto your Mac. To install the latest NTFS for Mac software on Mac:
- Navigate to the downloads folder on your Mac, as illustrated in the image above. You may need to scroll down to find the installer file you downloaded in step #2 above.
- Find the NTFS fir Mac DMG file you downloaded and double-click on it to start the installation process. This will open an installation window on your Mac.
- Next, double-click on the Install NTFS for Mac window on the installation window.
If you are promoted whether to open an application downloaded for the internet, click on the blue Open button to confirm.
- When you get the Software License Agreement screen, scroll down to read through and then check the box to show that you read through and Agree with the statement.
- Once you’ve accepted the terms, click on the Next button to continue.
The installation window should now show a progress bar that indicates how far the installation process has gone. Allow the Mac enough time to finish installing the software. Towards the end of the installation, Mac will prompt you to enable Paragon’s driver components.
This is because the software is Kermel Extension (KEXT)-based, hence the need to allow macOS to load the driver’s components. The right procedure for doing this depends on the processor you are using on your Mac, as explained below:
- For Apple Silicon Macs
If your Mac is running an Apple Silicon processor, you’ll be required to reboot the Mac into recovery. To enter security settings in Ventura and later macOS versions, navigate to Utilities from the menu bar. You should then select the Startup Security Utility option.
Now, you need to allow Paragon’s Kernel Extensions to load on your Mac by setting your Policy to Reduced Security.
Note: The Paragon’s Kernel Extensions and software have been verified by Apple to be safe for your Mac. Therefore, changing your policy should not be a concern. Be sure to check Just the first box, though, As illustrated below.
Once you are done, click on the OK button and then reboot your Mac into macOS.
- For Intel-Based Macs
If you happen to be using an Intel-based Mac, the above-described step is not necessary. Instead of rebooting your Mac into recoveryOS, you should just navigate to System preferences > Security & Privacy.
You should the allow the Paragon Extension, as illustrated below:
After clicking the Allow button, you’ll be prompted to reboot the Mac so that the Kernel Extension can load. After rebooting, you’ll be asked to give full Disk Access to the com.paragon-software.ntfsd component.
Note: this is necessary because the component happens to be a File-System driver that works with drives. To give the component full access, navigate to System Preferences > Security & Privacy.
In newer macOS versions, you should navigate to System Settings > Privacy & Security
Having met all the parameters, the product should launch on your Mac—giving you the option to start a 10-day trial period or enter the license key.
Method 7: Use Disk Utility to Repair the External Drive
If your external hard disk appears on Disk Utility, but cannot be unmounted, or does not appear to have any volumes, the drive is probably corrupted. In such a case, you should run the First Aid tool on Disk Utility to repair the external hard drive.
To repair an external hard drive using Disk Utility:
- From the Launchpad in your Dock, open Spotlight and run a search for Disk Utility.
- Click on the Disk Utility icon from the search results to open it.
- Next, click on the Explore button on the left pane of the Disk Utility window
- Now locate your external hard drive and select it
- Click on the First Aid icon and then click on the Run button to initiate the process. .
If the tool finds any error, follow the on-screen prompts to fix it. If this method does not fix the external hard drive not mounting problem, backup the drive them format it entirely.
Method 8: How to Fix the External Drive Not Mounting Issue on Terminal
Still having problems mounting your external hard drive? You can try fixing the error using Terminal on your Mac as follows:
- From Applications, select Utility and then choose Terminal to open a new window.
- Enter the following command into the new Terminal window:
diskutil list.- Press the Return key and find a section labeled /dev/disk_ (external, physical) and record the disk number.
- Now copy the following command into the Terminal window:
diskutil info disk_Note: Replace the “_” in the command above with the disk number you recorded in step #3 above then press Return key to execute the command.
This will show you whether the Mac is recognizing the external hard drive. If your Mac has recognized the drive, you can proceed with the following steps:
- Eject the drive from your Mac by entering the following command into Terminal:
diskutil eject disk_- Press Return to run the command then physically unplug the hard drive from your Mac
Now plug the hard drive back in and check whether it is mounting correctly.
Final Verdict
Even when you are using the best external hard drives for Mac, different things may prevent it from mounting properly on Mac. When that happens, you won’t be able to copy or write anything onto the disk.
As you have learned throughout this guide, different things may prevent your external drive from mounting in Mac. Regardless of the cause, the above-described methods will help you troubleshoot at fix the external hard drive not mounting problem.
Useful Source related to this Article may help you a lot


