
See how to add Watermark to PDF on Mac. Set Your Text, Company logo, or Image as a transparent background of all PDF pages without any tools or software.
Here’s the good news for all Mac Users. Because apple saves millions of dollars on purchasing tools or software for Watermark PDFs pages, let’s see steps with pictures on how to add Watermark to PDF using two different free methods in MacOS running on Any Mac, iMac, Mac Mini, MacBook Pro, MacBook Air, and Touch Bar as well.
It is a pretty good way to watermark PDFs so that nobody can steal your important documents from you. After looking at the steps don’t panic yourself; once you learn how to watermark PDFs and images in macOS, you can easily carry out the process in minutes.
Next Tutorial: How to Add Watermark on Photos using Quick Action.
2 Ways to Add Watermark to PDF on MacBook, Mac in MacOS
MacOS Ventura or later macOS users can Try both methods to Apply Watermark on PDF. But macOS Monterey & Earlier macOS users can use the Automator app [Method 2]. Without wasting time, let’s get straight into this.
Method 1: Create PDF Watermark That Only Shows When Printed
On the latest macOS, you can now add the PDF watermark (PDF > File > Print > Watermark from the print preview) that needs to show up when the PDF is printed using the built-in Preview App.
It doesn’t end here; now, you are allowed to change the watermark color, size, style, and alignment of the PDF Watermark using a free tool on Mac. Isn’t it great! But first of all, we will learn how to add a print-only watermark to a PDF. Follow the instructions below.
Fact: You won’t be allow to add the Image in the Watermark Field.
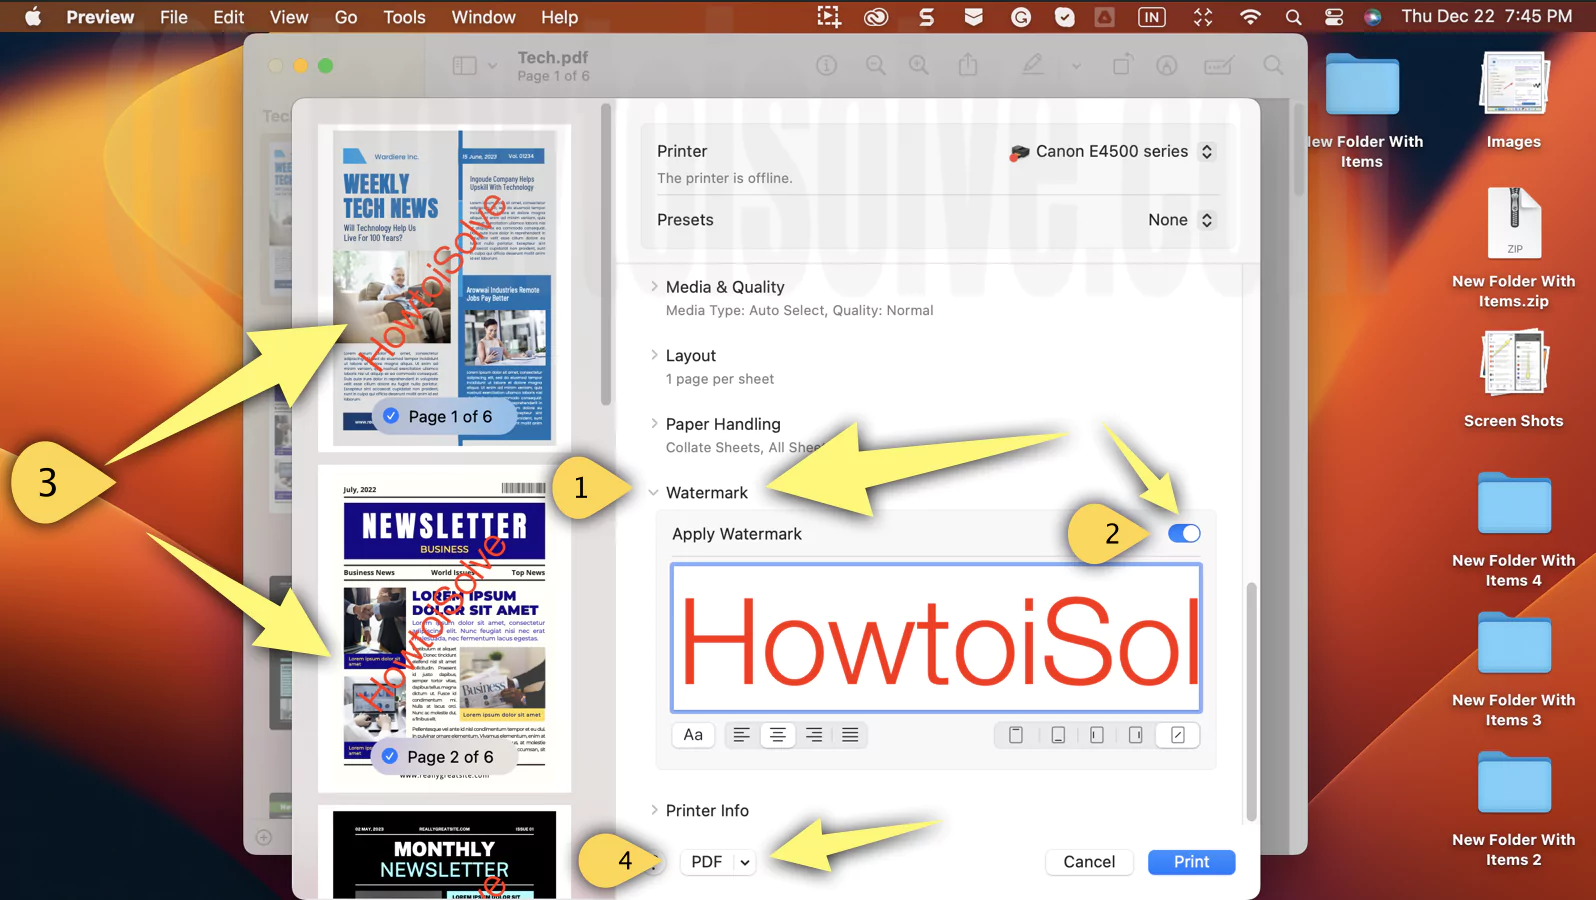
1. Open the PDF in preview.

2. Select File from the menu bar. Click on Print Or (Command + P).

3. From the Print Preview, scroll down and select Watermark Dropdown.

4. Enable the Apply Watermark Toggle.

5. Now, write the Watermark in the Apple Watermark Field. Below the watermark field, you will receive various settings; Font, Alignment, and Position. Once you do so, tap on Print. (Let’s learn and See in detail)

However, following this method will prevent make added watermark from only showing while printing out, as it shows the real-time change in the preview sidebar.
How To Change Font Style Of PDF Watermark On Preview
With a preview on Mac, you can now change the font style of PDF Watermark. Since the Preview watermark feature has a vast collection of font styles. Here is how you can do so.
1. Open the PDF in the preview.
2. Select File > Print… or Command + P
3. From the Print Preview, scroll down, select Watermark, and toggle to enable the Apply Watermark.
4. Once you rewrite the Watermark in the Apply Watermark Field, click on Aa Button. In the next window, you will receive; Collection, Typeface, Style, And Size.

Collection: Collection is the set of font categories that are predefined on the Mac. However, you can also add a new collection by clicking on the + Icon. But not allow to remove those which are predefined when selecting and clicking on the – Minus Icon.

Typeface: The typeface is a design of a word or font that includes Different Variations, Weight(Bold), Size, Slope, Width, etc.

Style & Size: In Style & Size, you can change the Style of Typeface. Similarly, you can alter the Size too.

Apart from this, you can also change the typography of select fonts. If you want to do so, select the Circle With Three Vertical Line Dropdown at the top left corner of the wind. Now select, Typography… For instance, select Myraid Pro from Typeface.

After this, all the Typography applications to the font style selected will appear. Apply Typography Accordingly!

Right after selecting the preferred font, head to the Print Preview Page and choose Print or Save to PDF.

How To Change Alignment Of PDF Watermark On Mac
Accurate alignment of Watermark is one of the essential tasks. After all, alignment aims to make your Watermark easily readable; that’s why it needs to be consistently preserved on your PDF.
To change the alignment of the PDF Watermark, first of all, open the PDF in Preview. Press Command + P to open print preview. Now scroll down to Watermark Drop down and select it. Tap to turn on Apply Watermark and write Watermark in the blank watermark field.

Select the Alignment Accordingly and give a print.
How To Change The Position Of PDF Watermark On Mac
Unlike the alignment, the positioning of the PDF watermark also plays a vital. However, the positioning of the Watermark earlier was tough to do on Mac. But after the latest macOS update, you can do this with 3-4 steps.
Access the desire PDF in Preview. Press Command + P to open print preview. From there, swipe down and select Watermark Dropdown. Toggle to enable Apply Watermark. Next, enter the Watermark in Watermark field. There are five different positions (Top, Bottom, Center Left, Center Right, Cross) available below the watermark field on the right side.

Select the one appropriately and give print.
How To Change Color Of PDF Watermark On Preview
From now on, you can Add a “Print Only” Watermark to PDFs using Preview. Besides this, you can add different colors to the Watermark to make it look attractive from the preview settings. To learn how to add the colors to the Watermark, follow the instructions below.
- Open the PDF in the Preview.
- Select File > Print…
- Next, scroll down, and choose Watermark Dropdown. Enable the toggle next to Apply Watermark.
- Enter the text in Watermark Field.
- Choose Aa from the bottom. Click on the Circle With Three Horizontal Dots Dropdown. Select Colors…

Note: To apply, first of all, you need to select a complete word or select Alphabet from word from the Watermark field.
6. You will receive the Color Window with Color Palette (Web Surf Colors, Crayons, Developer, Apple), Color Slider(Grayscale Slider, RGB Slider, CMYK Slider, HSB Slider), Spectrum, and Pencil.

However, within some of those color settings, you can add your personalize category by clicking on the Circle With Three Horizontal Dots > New. Once you get the color of your choice, apply to the Watermark, head back to the Print Preview and choose Print.
How To Add Characters… To PDF Watermark On Preview Mac
Adding Characters(Emjoi’s) to a PDF Watermark has now become easier using Preview on latest macOS. Just open the PDF in the Preview. Then, select File and choose Print. Next, follow the given steps below.
- From the print preview, swipe down and select Watermark Dropdown. Enable the toggle next to Apple Watermark and write Watermark in Watermark Field.
- Select Aa Icon. Click on the Circle Filled With Three-Horizontal Dots Drop down and select Characters…

3. Now you will receive the character screen. Select the category from there and double-click on the character to add it to the Watermark. That’s It!


Note: To customize the list of categories, click on the Circle Filled With Three-Horizontal Dots Drop drop on the left side of the Character Viewer Window. And then choose Customize List…
Export Watermark PDF
In this decade and age, everyone is trying to use less amount of paper, besides this, there are lots of reasons to download PDF instead of print. It might be a marketing agency where it shares the soft copy along with a watermark. And other times, do you want to hold the Watermark PDF before PDF Print Watermark securely? Here is how you can do so.
- Open PDF in preview. Select File > Print… > Apply Watermark as Given above steps. PDF > Save as PDF.

- Select Location to save on your Mac in Watermark PDF When Printed or Do Print.

Method 2: Using Automator App Shortcut
1. From the Spotlight, launch “Automator”.

2. Click “New Document” and then choose “Quick Action Workflow” and select.

3. Now, on the sidebar, you will find “PDFs” option, select it.
4. Then, double-click the “Watermark PDF Documents” option to find more properties like add watermark image or your logo.

5. Click “Add” and browse the image you want to watermark. [You should use .png image file]

6. Now, Select logo or Watermark image from your Finder,

7. From there you can adjust the Offset, Scale, Angle, and Opacity of the file.

8. Now, From the first section, under “Library“. Go to “Files & Folder” > Double click on “Move Finder Items”.

9. You can “select the desired destination” to save the watermarked PDF and also you can give a suitable name. Once you apply this shortcut in a finder window, the New Watermarked file export to destination folder that you set here.

10. Now Save the Workflow with Your name, Go to File > Save.

11. Click PDF Watermark. choose Save.
12. Give a Name to the New Automator Shortcut.

Test a Drive for Make a First PDF Watermark using Quick Action
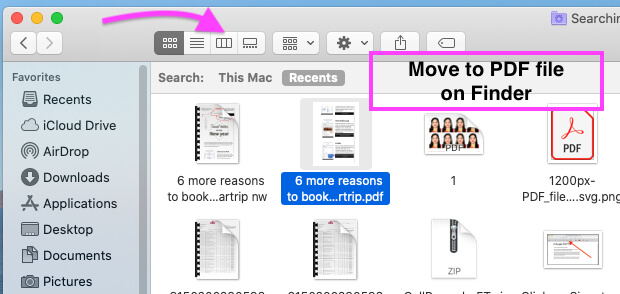
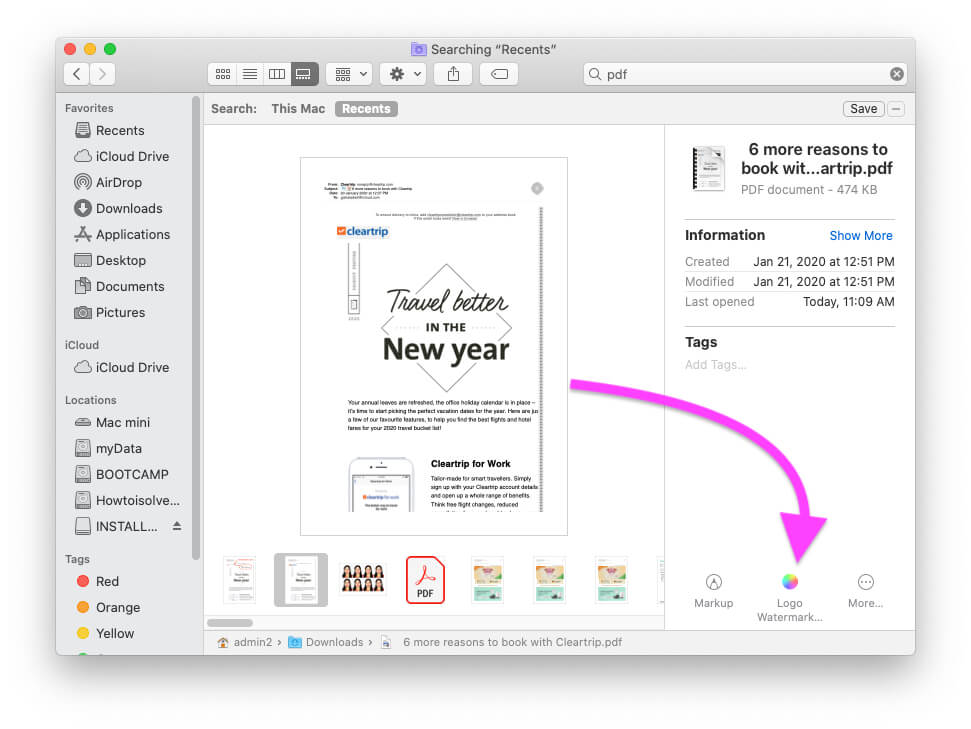
To Test with the Example, Open Finder where PDF file saved.
- Select Gallery View, “Select PDF file” > “See PDF watermark option” in the Quick action section.
- Click on PDF file and See the Preview tools in finder windows. Click on Watermark shortcut to Appy Watermark to PDF file.
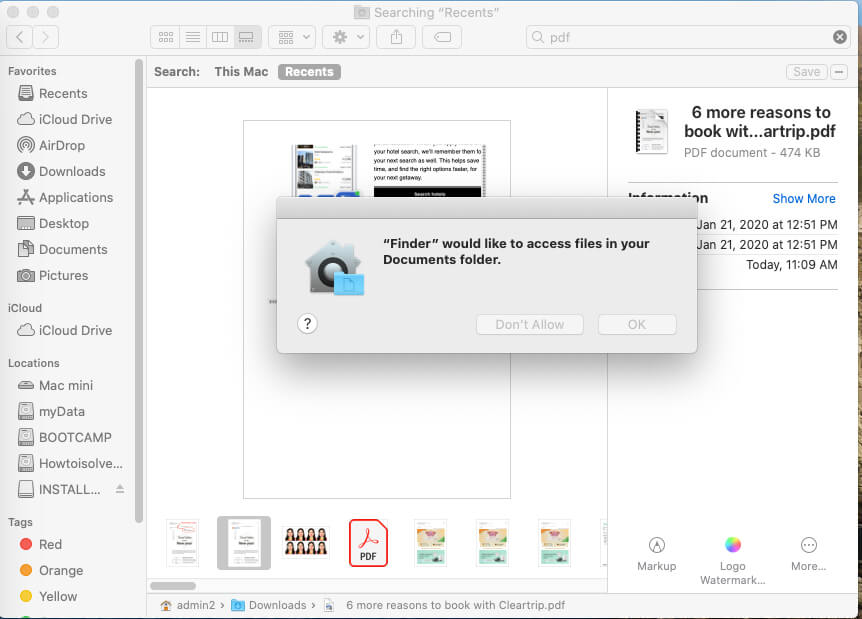
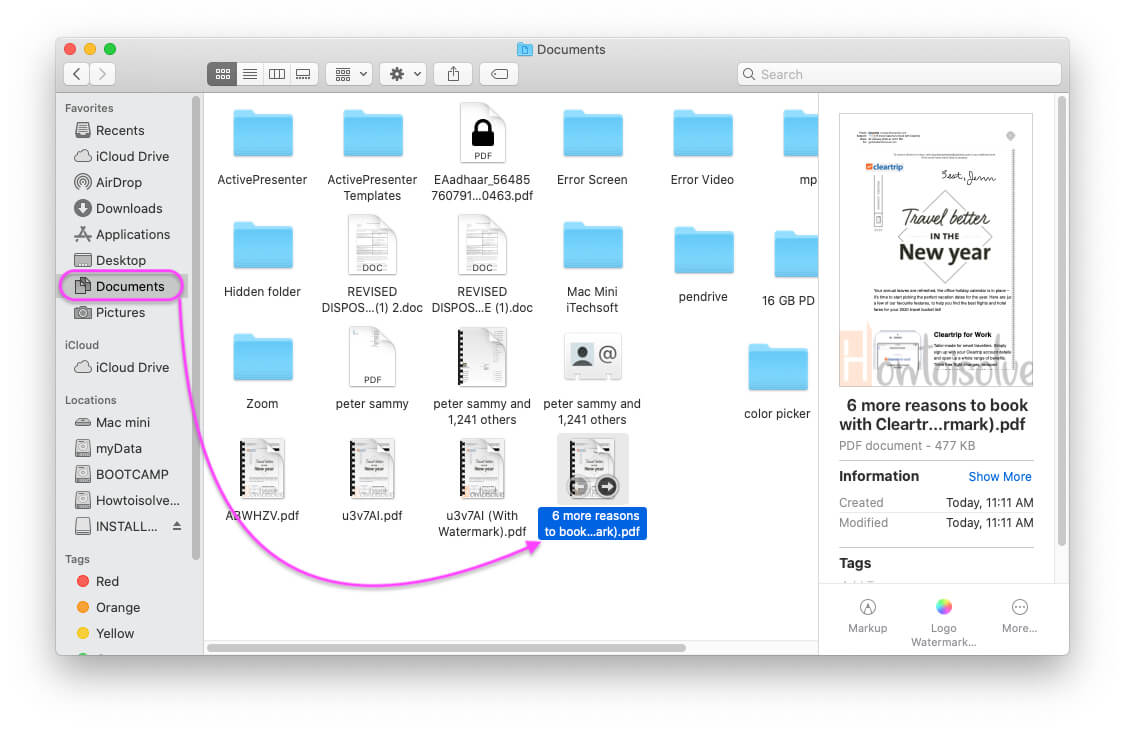
- New Watermarked PDF file will be saved to the Desired location, Documents in our Example. Allow Permission to Save.
- Check the new PDF files saved in Finder’s Document folder.
- That’s it.
You can view PDF with Watermarked image on all pages without any Software,

Note: If you wish to change the watermark picture, go to Automator and duplicate the PDF workflow. Rename it.
How to change watermark image in PDFs in macOS Mojave
If you didn’t like the watermark or in case you want to make changes in images in PDFs, then it is also possible. It will not take much time like the above process.
Step 1: Launch the “Automator” on your MacBook.
Step 2: Next, open “PDF Workflow”.
Step 3: Choose the “Watermark Image link” and tap to “Remove”.
Step 4: Add “New Watermark”.
Step 5: Finally, “save it“.
Delete PDF watermark Shortcut: Created using quick action on MacOS
We can Re-Create and Add new Watermark Shortcut Using Automator on Mac, And in the same way we can create a Watermark for image file as well.
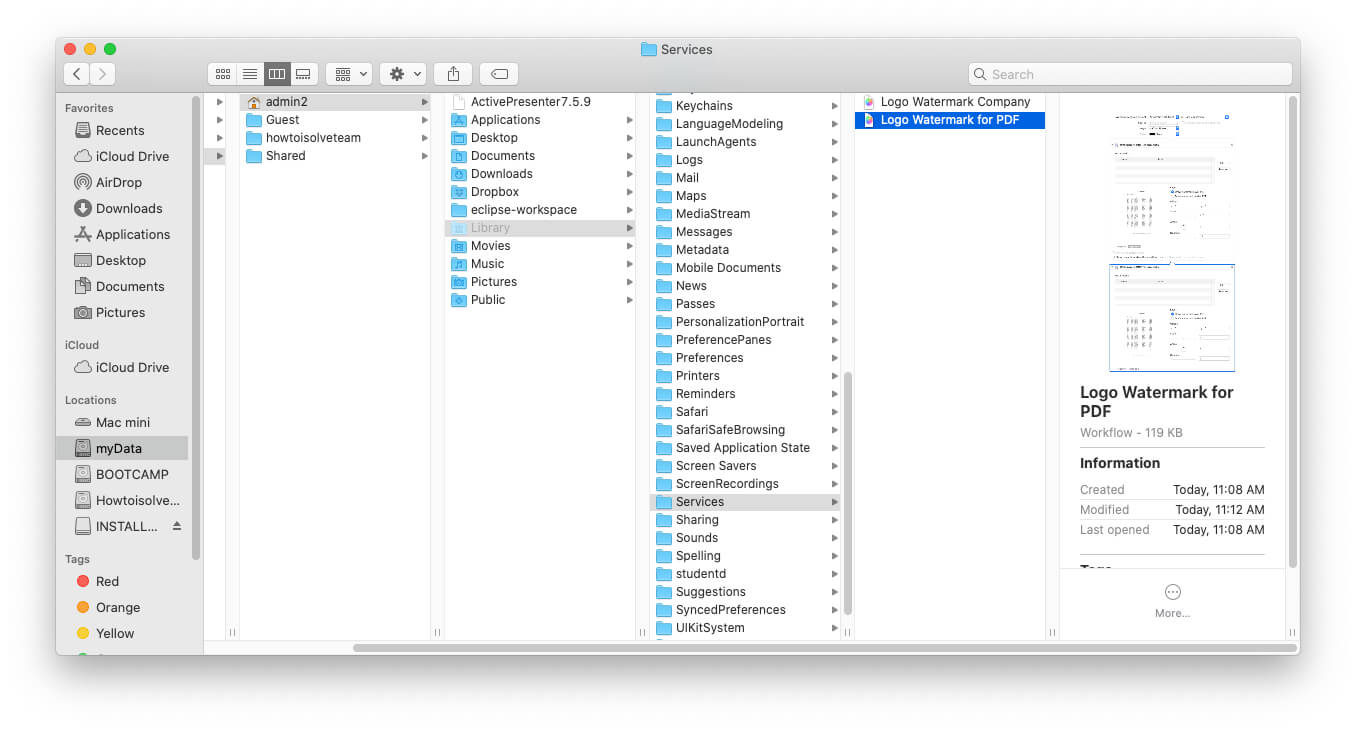
- “Open Finder” windows on Mac. Go to the top menu “Go > Go to Folder”.
- Type This command: ~/Library/Services.
- See the Watermark PDF Workflow is there, Select this and Move to Trash to delete or Remove PDF watermark Shortcut on Mac OS.

Don’t miss to like this article if you help! Also like us and share this post on your social profile. Having any issue in setup Watermark PDF shortcut in Quick action, comment in the below box.


