
MacOS Optimization needs time to time. Becuase High-Quality Photos, Videos, and Screen Recordings will take too much space as compared to expected. So, Mac users trying to Free Up space with fewer efforts. Here I am showing the best way to Use the Optimized Storage option given in the Built-in option. Also, iPhone and iPad Backup takes Gigabytes of storage, So we can delete or Move Backup to an External drive.
So here I’m going to demonstrate the use of Optimized Storage macOS Sierra. Because we know you love your Apple Mac and are filled with so much stuff like documents, photos, files, IPSW files, Backup, Videos, etc., therefore, Optimized Storage feature will help you to get the rid alert message ‘’Your disk is almost full’’.
So now, you not needed to make space or delete items manually on Mac, but now-a-days, macOS Sierra or later macOS-compatible Mac users can make free space using the Optimizing Storage feature. So you are one click away from making room (freeing up space) on your Mac laptop or desktop. Let’s dive into knowing Optimized Storage.
How to Turn on or use Optimized Storage Space On Mac
On MacOS Ventura
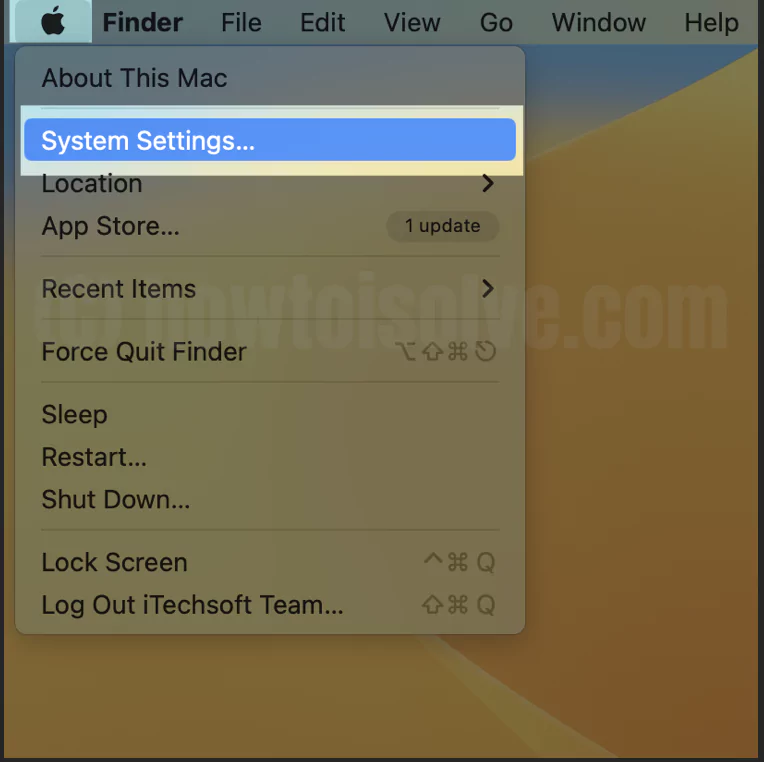
1→ Go to the Apple Logo from the top Mac menu > System Settings.
2→ Next, Select General > Storage.

3→ here are all storage details… In GBs and MBs > Click on (i) Button next to Documents.

4→ Find the Large Files,
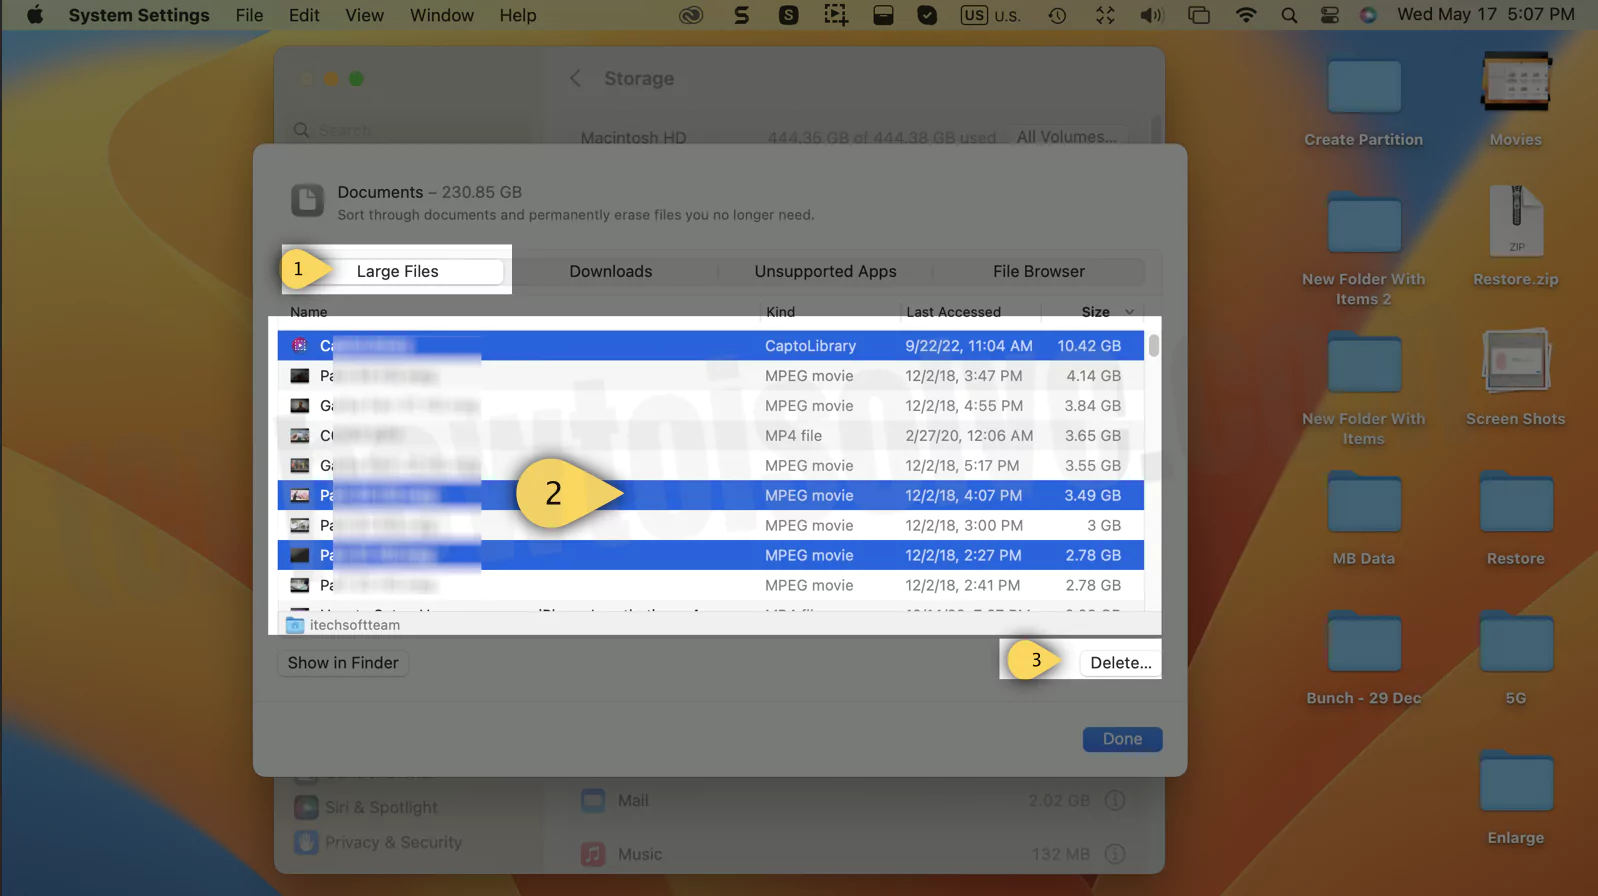
Download,
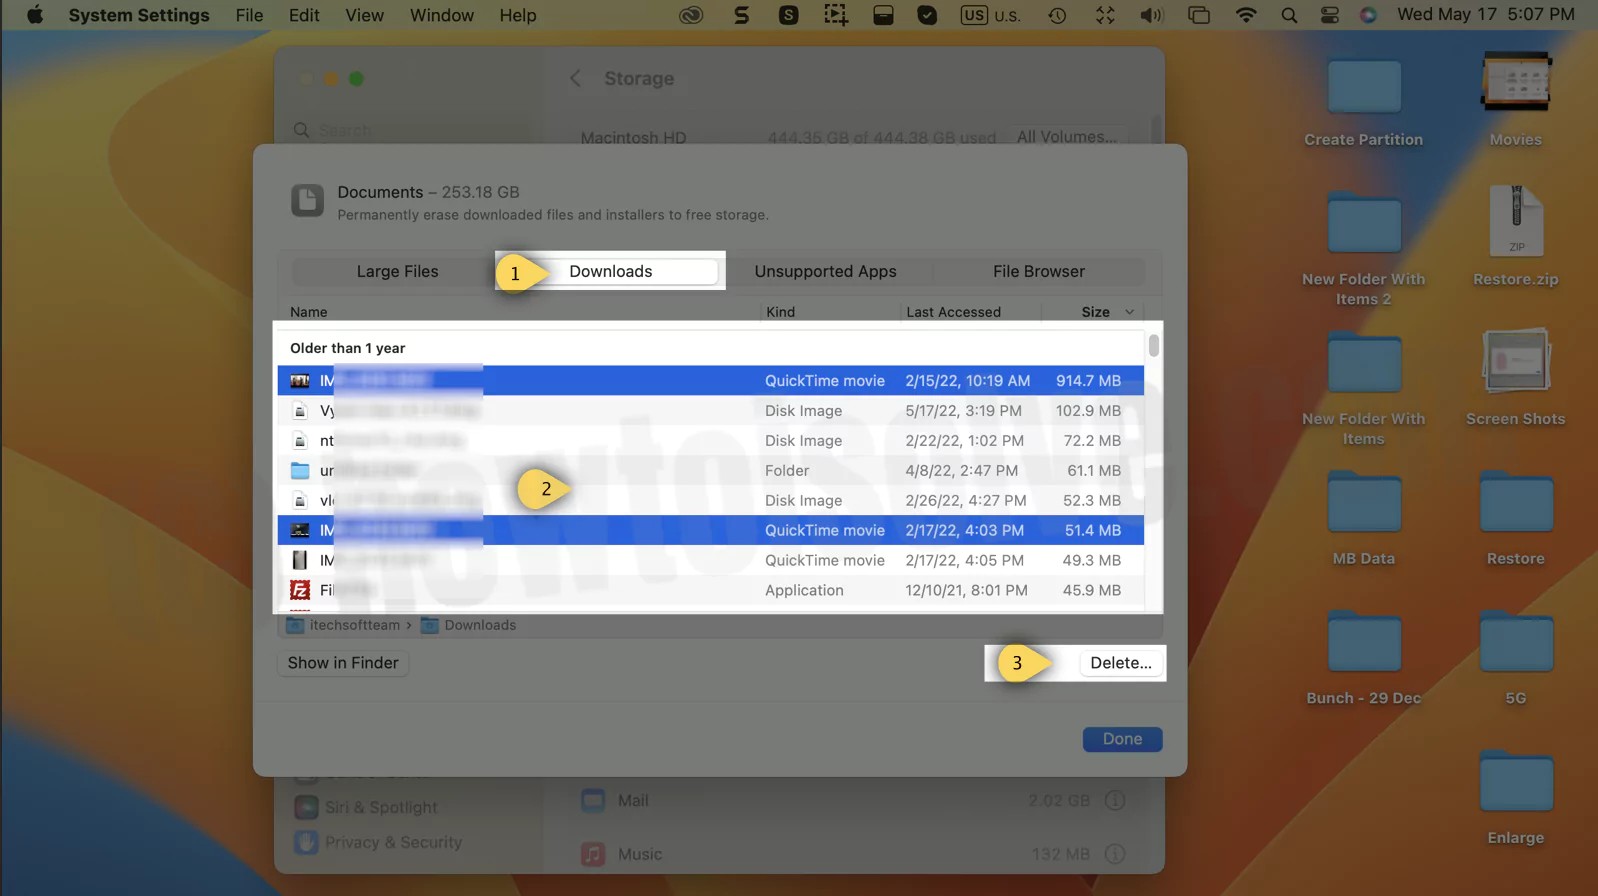
Unsupported Apps,

and File Browser.
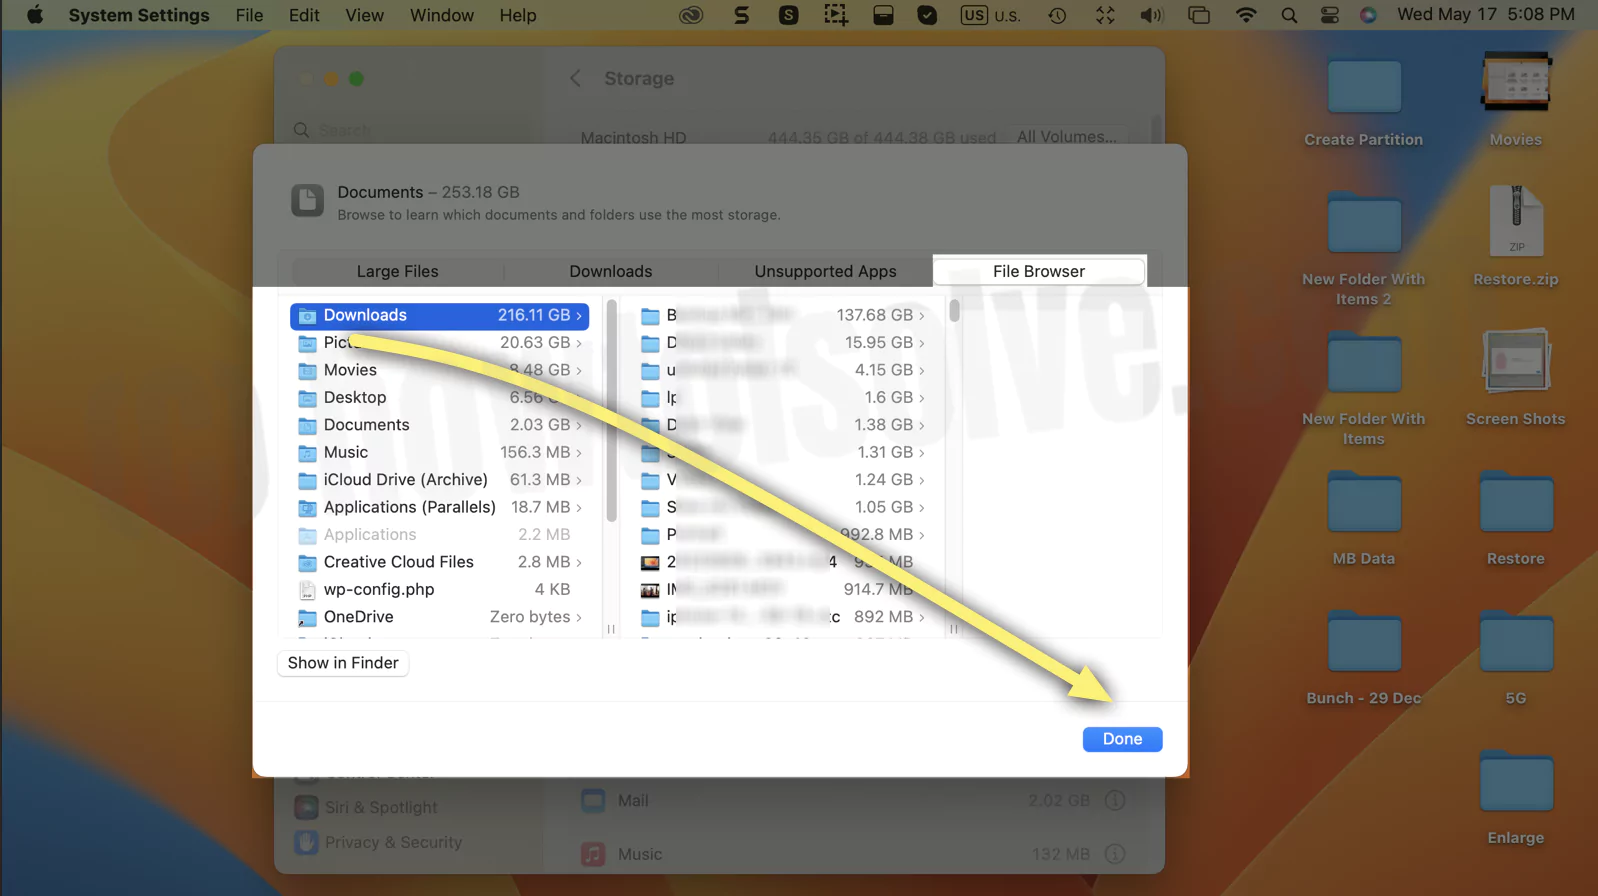
Select the Tap on Optimize space by clearing unwanted data.
Are you looking for a one-click optimization solution for your Mac? We recommend this software to clear up the Mac space securely and easily.
On MacOS Monterey & Earlier
Step 1. Go to the Apple logo that appears on the top menu bar.

Step 2. Next up, you have to click on About This Mac.
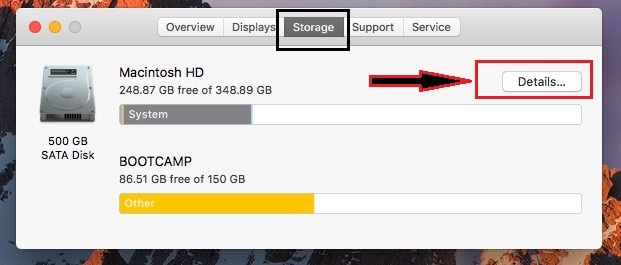
Step 3. Select Storage tab, then Click on Details…, which you can see below given screen.
Step 4. So now, on the left side pane, the recommendations tab will be highlighted options to make Free space on MacBook, MacBook Air, MacBook Pro, iMac, and MacMini running on macOS Sierra or later.
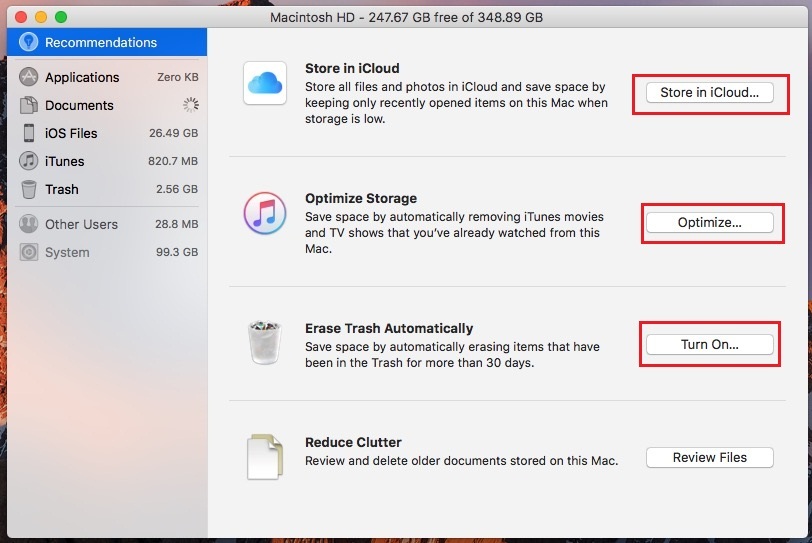
You’ll be open up with very storage management options such as given below:
Store in iCloud – Store all files and Photos in iCloud and save space by keeping only recently opened items on this Mac when Storage is low.
Optimize Storage – Click on Optimize… next button to the Optimize storage to save space by automatically removing iTunes Movie and TV that you’re already watched from this Mac.
Erase Trash Automatically– to avoid disk full problem on Mac, you need to turn on Erase Trash Automatically on macOS Sierra so that you can get space by automatically erasing items that have been in the trash for more than 30 days.


Reduce Clutter – Review and delete older documents stored in this Mac. macOS Monterey can keep unneeded files from cluttering up your Mac. It reminds you to delete used app installers, safari cache, and clear duplicate downloads.
In addition, alternatively, you can also delete data manually by using options that appear under the left-side recommendation tab, including Applications, Documents, iCloud Drive, iOS Files, iTunes, Mail, Photos, and Trash. You should click on each of these options and see if there are any items that you want to format.
So above was the story all about to make free up space on Mac (macOS Updated). Having any trouble enabling or using optimized storage macOS? Please comment to us we will help you as soon as possible. Like it? Share it.


