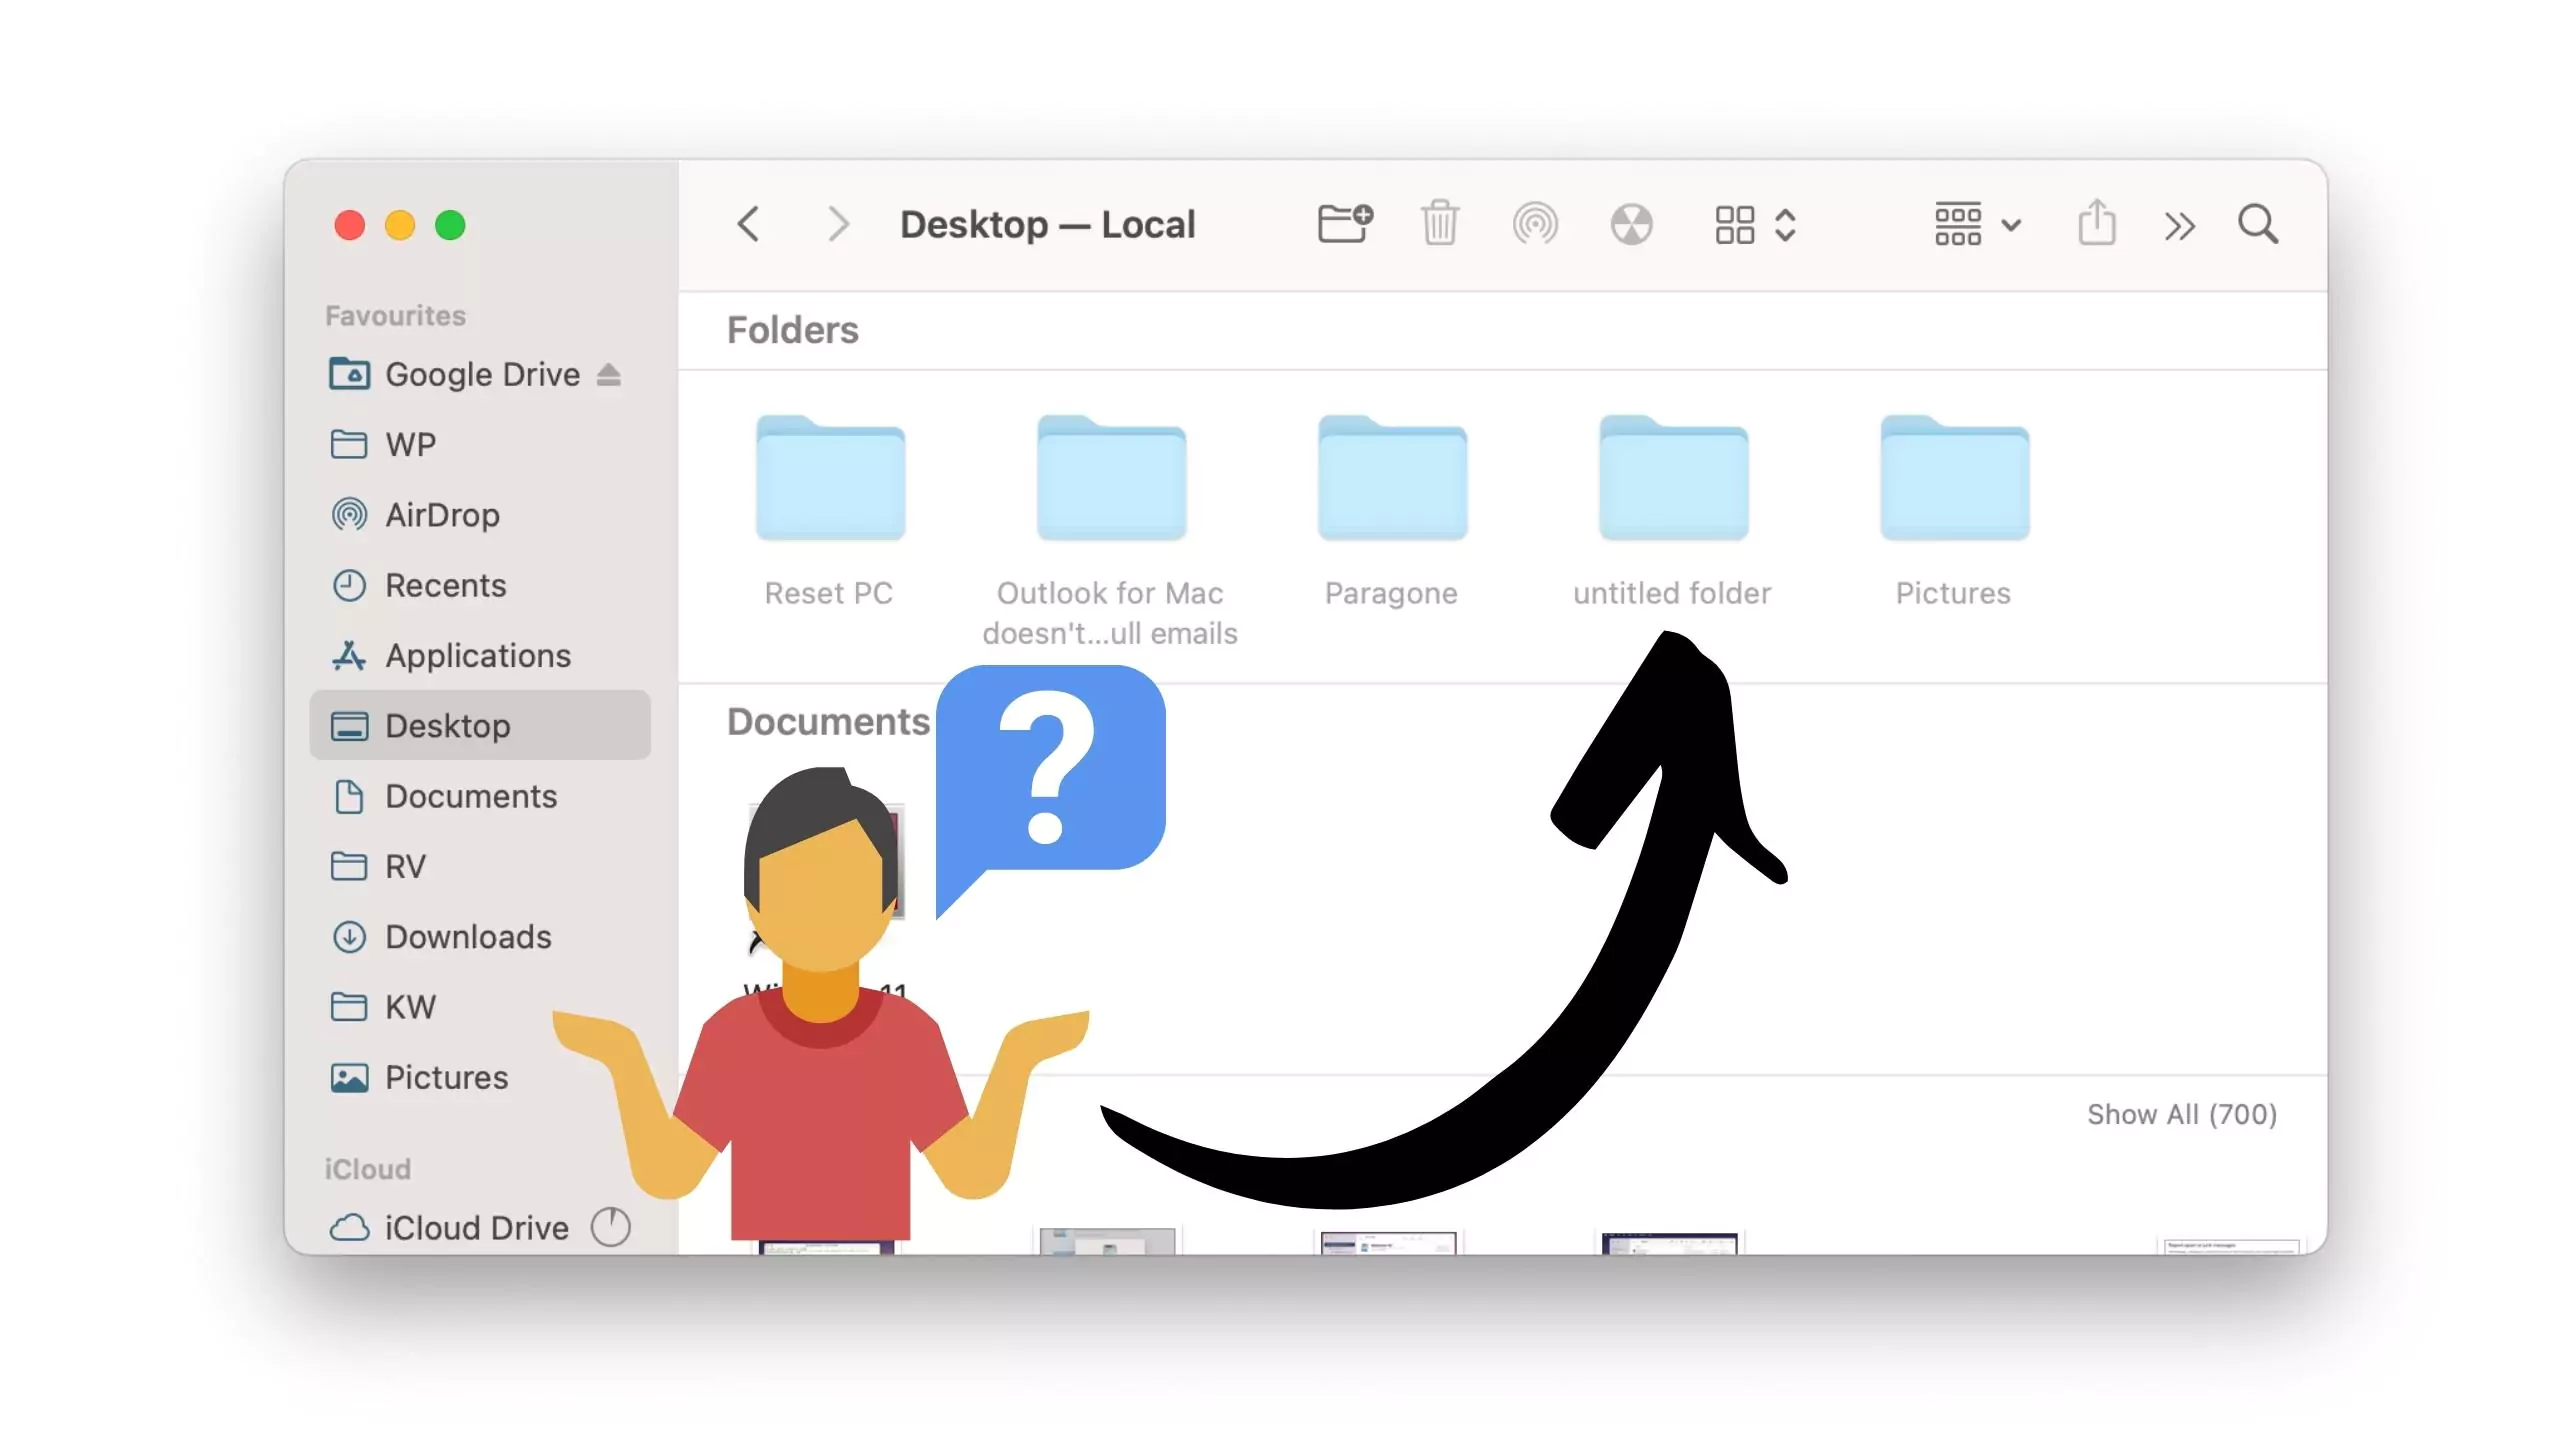
Your Mac should present all files and folders in Finder using the standard typeface and icons. However, you may discover grayed-out files or folders on your Mac due to several occurrences. Worse, you can’t even open them, let alone remove them, on a Mac.
Let’s look at why folders and files are grayed out on Mac and how to repair the problem.
Why are files grayed out on Mac?
The most likely cause of my documents being greyed out on Mac is that you were transferring files from one location to another or changing folders from one location to another, and something interrupted the transferring process. After that, the files or folders will be grayed out in Finder. And each of these grayed-out files or folders will have a date of January 24, 1984.
What does “January 24, 1984” mean? First, it marks the initial appearance of the Macintosh computer. Now that you understand why folders or files are greyed out on Mac, you must exercise caution while moving files or folders from one location to another.
Let’s get started on how to repair greyed-out files.
Best Solutions to Fix Mac Folders Grayed out.
Solution-1: Repair the Mac Drive using Disk Utility.
Disk Utility can identify and rectify problems with a Mac disk’s format and logical architecture. For example, faults might cause unexpected behavior when using your Mac, and severe errors may prohibit your Mac from booting up.
Here is how to repair a Mac drive-
- Open the Disk Utility application by going to the area of your Applications > Utility folder.

- In the Disk Utility program window, choose your disk. You may perform this by selecting View from the top bar and then tapping on Show All Devices.
- Here, you will see each accessible disk or storage device on the left side, starting with your startup drive. You should also be able to view any applications and partitions that are available on that device underneath each drive.

- Begin by choosing the final volume on each disk you want to fix, then click the First Aid > Run button or Tab key on your keyboard.


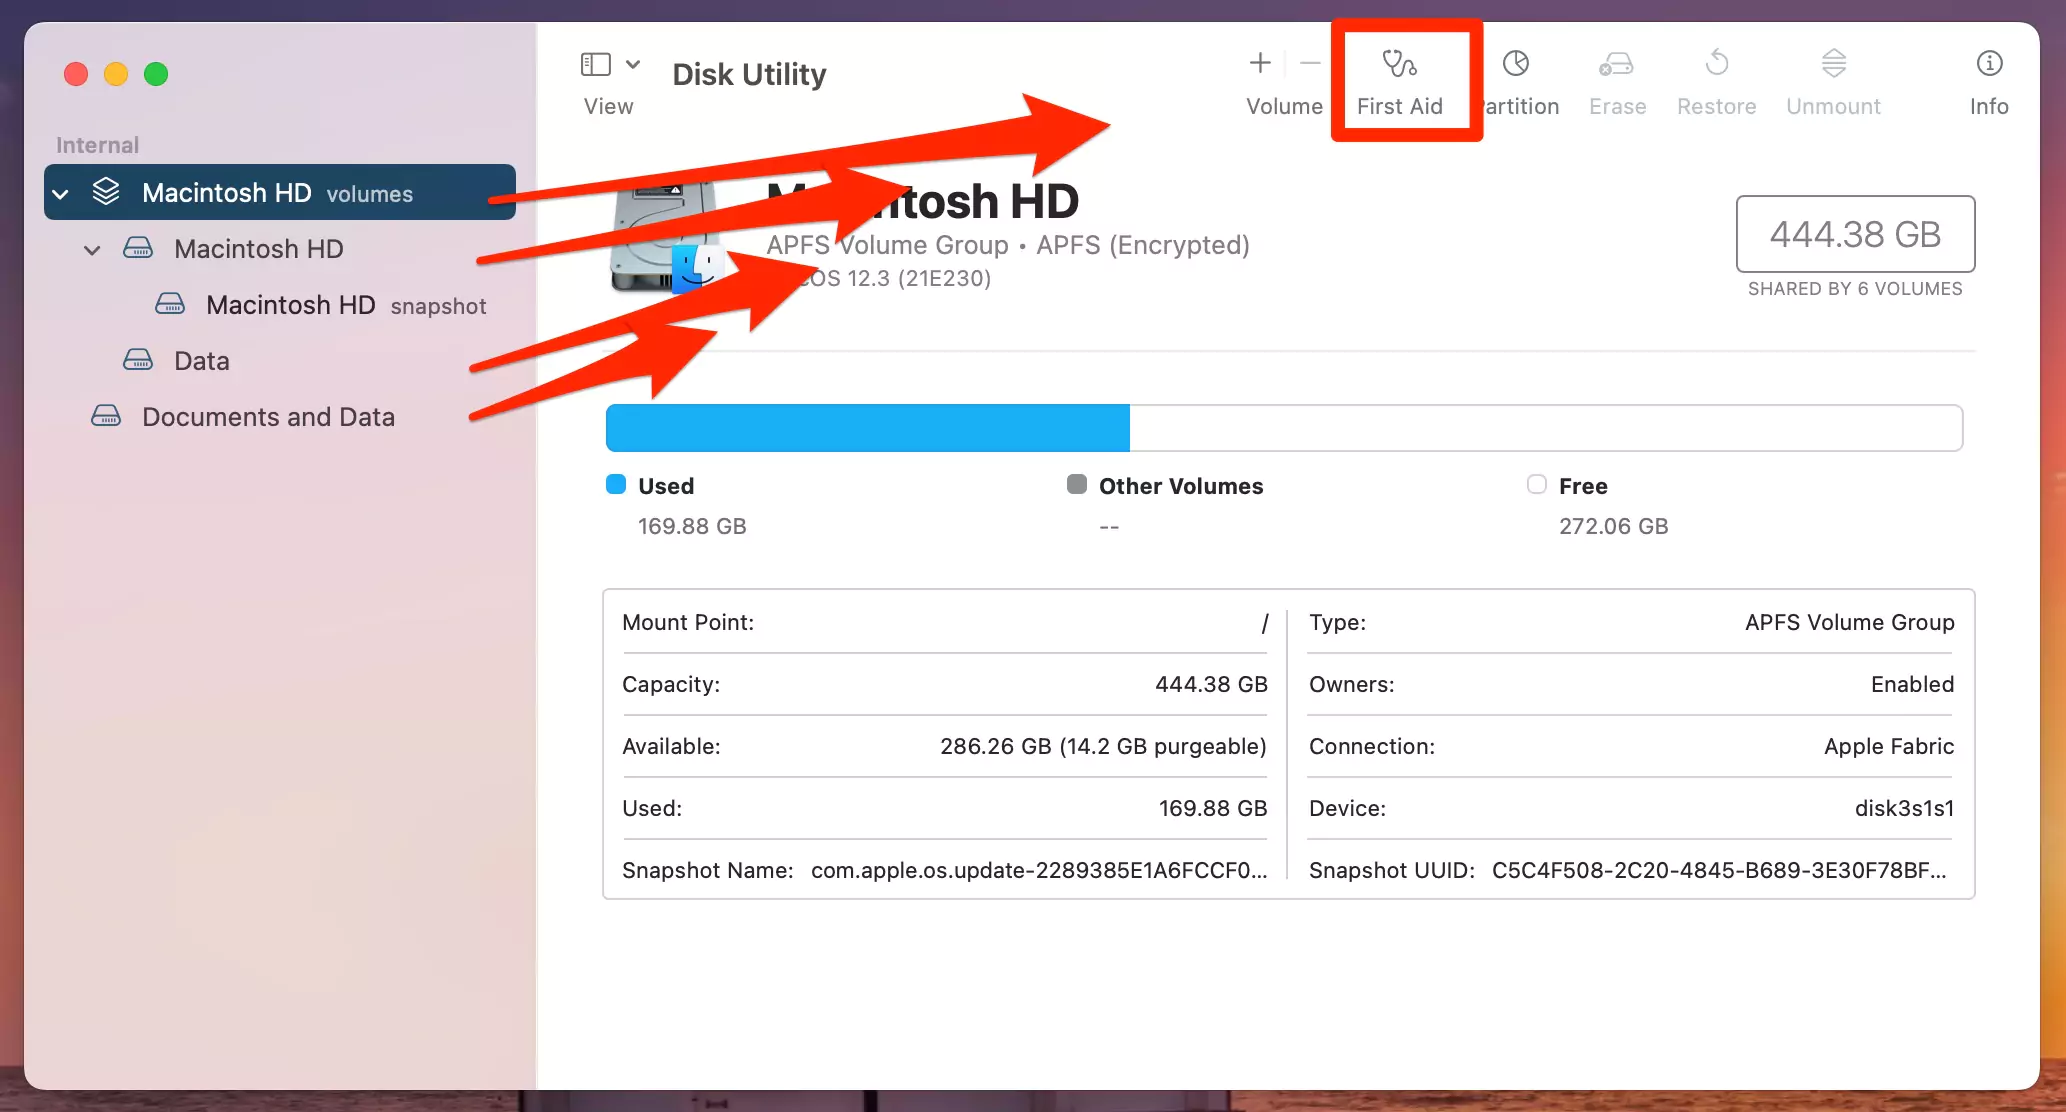

To inspect the selected volume for problems:
- Click Run.
- After examining the volume, choose the item above it in the left bar and run the First Aid application again.
- Continue down the list, performing First Aid on each partition, then each container, and eventually the disc itself.
Once done, exit the Disk Utility application and restart your Mac.
If this does not fix the issue, we will try using a terminal command next.
Solution-2: Using Terminal Command
It is effortless to use Terminal to restore the grayed-out folder by following the instructions below:
- Open the Spotlight dialog box. To do so, press the Command + Space keys on your keyboard.
- Type Terminal and press Return to launch the Terminal Application in the spotlight.
- In the Terminal window, type the following code and hit enter:
defaults write com.apple.finder AppleShowAllFiles FALSE; killall Finder
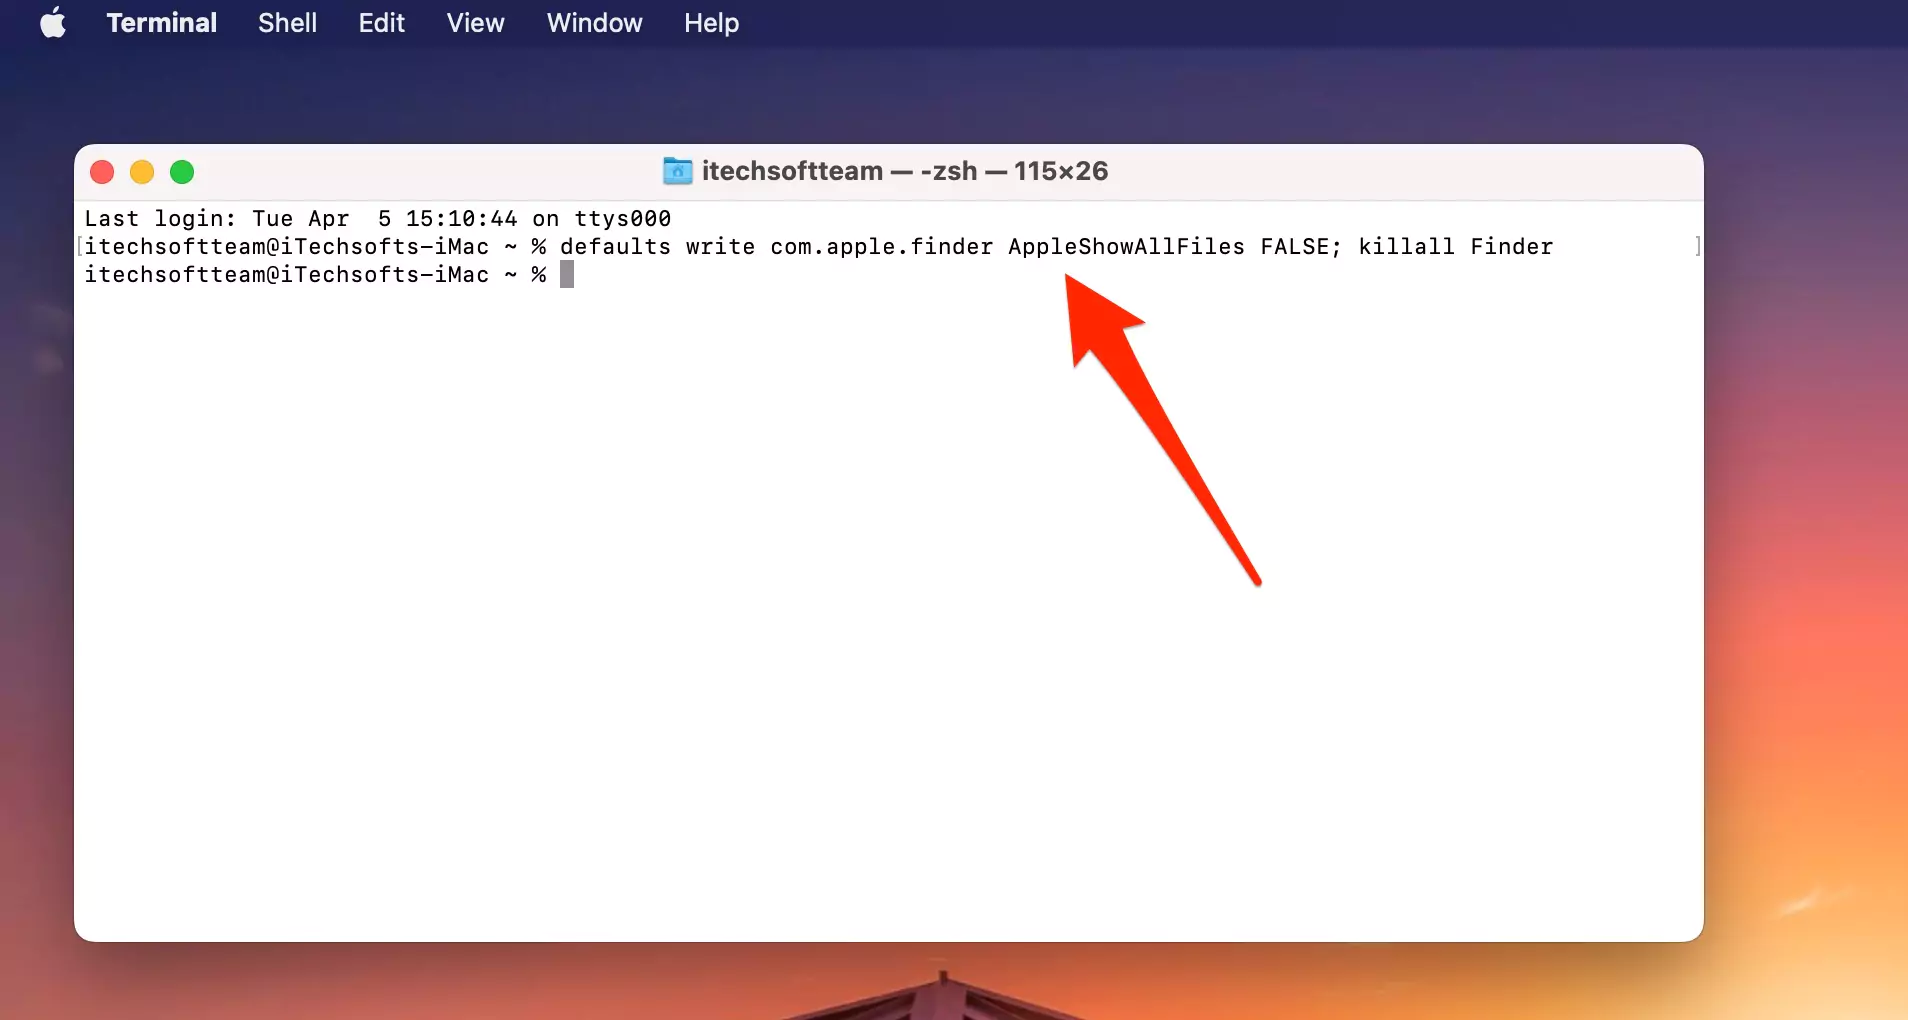
And, there you go, this should solve your issue. But, if not, we have other fixes as well.
Solution-3: Make an Alias Folder
An Alias is a tiny file that mimics another item in a native drive and offers a dynamic link. You can relocate or modify the original file without breaking the link with the Alias File. By using this feature, we can also fix our problem. Here’s how:
- Go to the grayed-out folder’s area and right-click on it.
- Select Make Alias. This will give you access to the folder’s content through the Alias Folder.
- Move all items from the grayed-out folder to a fresh one.
Please remember that you may be required to input the Admin password to copy the files.
Solution-4: Directly open the grayed-out folder using the Terminal Application.
It is extremely simple to use Terminal to restore the grayed-out folder by following the instructions below:
- Open the Spotlight dialog box. To do so, press the Command + Space keys on your keyboard.
- Type Terminal and press Return to launch the Terminal Application in the spotlight.
- In the Terminal program window, type Open and then press Space.
- Now, drag the grayed-out folder directly onto the Terminal window.
- You’ll see that your Mac has automatically filled the folder address in with the entire path.
- After that, press Return to bring up the grayed-out folder and then move the files to a new folder.
Solution-5: Try reinstalling macOS
To reinstall macOS, you can use macOS Recovery. When you reinstall macOS, Recovery will preserve your data and user settings. Here’s how you can reinstall macOS:
- Reboot your machine into macOS Recovery mode. To do this, select the Apple menu and then choose Shut Down.
- Next, you need to press and hold the Power button until the message Loading startup choices appears.
- Then, select Options and click on Continue.
- In the following window, select Reinstall for your macOS.
- Then click Continue when the dialogue box appears.
- When prompted, follow the directions on the screen and pick your current macOS volume.
Done! This should reinstall your MacOS.
Solution 6: Make Sure You Logged in Admin Account!
Due to the user’s admin restriction, some content and folder might be not open on the Guest account. So you have to verify the user account type for the issue of Grayed Out Folders Or Files.
To check it, Go to the Apple logo from top Menu > System Preferences > Users & Groups > See logged-in User account, and Type Admin.
Solution 7: Folder is Corrupted, Restore from Time Machine backup
That’s the big reason behind the Folder is greyed out or the file is Corrupted. Suddenly you found some of the folders are greyed out because macOS was corrupted. So, Restore the old backup using the time machine. here’s the tutorial on Restore Old Time Machine backup on your Mac.
Solution 8: Make sure your Mac is Up-To-Date.
To update your Mac to the latest version, follow these steps:
- You will see the Apple menu in the top-left, represented by an Apple icon. Select the Apple menu.
- In the window that appears, click System Preferences.
- Then, Software Update.
- The System Preferences window will appear, looking for new macOS upgrades. If there are any updates, click Update Now to update your device. If the update has already been downloaded, choose Restart Now to install it.
Depending on the size of the upgrade and the strength of your internet connection, downloading and installing a new software update for your Mac might take anywhere from five minutes to five hours. After finishing the downloading, your Mac will ask you to restart so that it can install it.
Solution 9: Run Antivirus Software – Bitdefender
Scan the entire system and remove any malware that has been installed on your Mac with third-party Software. So, now we have some free & premium tools that help in to Remove viruses in just a few clicks in the background and Without Affecting your Mac data and settings.
Bitdefender is the #1 rated best antivirus software for your Mac supported by all macOS. Here’s the full guide to remove virus from Mac.
Solution 10: Fix with XCode.
The simplest way to fix grayed-out folders or files on Mac is to change the date. However, please keep in mind that this solution needs users to download XCode from the App Store first and then follow the steps below to resolve the issue:
- Launch the Finder program and check for grayed-out files and folders with January 24, 1984, Calendar Issue.
- Now, go to Applications.
- Next, start the Terminal Application.
Then, click Return after typing SetFile -d 30/03/2022/Path/to/grayed-out-folder/
When you run the above code, you will update the timestamp of the grayed-out files to March 30, 2022. You may also change the timestamp to suit your requirements.
If you don’t want to install XCode, there is an easy alternative.
Solution 11: Using the Note App
If you don’t want to download XCode but still want to fix a grayed-out folder on Mac, you can use the Note app.
- Open your Note App from Application Folder. Then, go to Create a Note.
- Open Finder and locate your grayed-out folder; drop it immediately onto the blank area of the newly created note.
- After some time, open this folder and find all your files. Next, copy the files from this folder to another new one.
And Done!
Next, we will look at some other fixes that you should try if the problem persists.
And that’s it! These are all the solutions that can help you fix grayed-out files. We hope this article was helpful, and if the issue persists, contact Apple Support.


