When it comes to iPhone, iPad, and Mac, Apple ID plays a crucial role; without having access to the Apple ID and Password, the Apple device might get locked and need a password to unlock it. The newer updates on iPhone, iPad, and Mac made so many improvements, and one of them is adding recovery contacts in case you want to reset the Apple ID Password. You can add trusted contacts that could help you recover your Apple ID Password; consider it an emergency contact or the Best Apple ID Account Recovery method After the Apple ID Account Recovery key.
We all know with Apple ID, all of our Apple devices are bound and connected; we can easily access Apple Services across devices signed in with the same Apple ID. Therefore, ensure iPhone, Mac, iPad, Apple Watch, and whatever device you have are signed in with the same Apple ID.
What is a Recovery Contact?
An account recovery contact can verify your identity and help you recover your account and its data if you ever get locked accidentally.
Who should be your recovery contact?
The recovery contact should be someone you trust the most, just like your family member or a close friend. You can set up a single contact, or if you are joined with a family sharing group, any member from the group can be recommended. You can configure up to five recovery contacts for your account. To protect your privacy, Apple will not remember all your recovery contacts, so it’s vital for you to remember them.
What does your recovery contact need?
You need to have iOS 15 or iPadOS 15 or later version, or macOS Monterey & later and must reach minimum requirements. However, your recovery contacts won’t have access to your account, only the ability to give a code in case you need one.
Requirements for setting up a recovery contact
- You must be over the age of 13.
- Two-factor authentication must be enabled on your Apple ID.
- All your devices must be updated to iOS 15, iPadOS 15, macOS Monterey or later, or watchOS 8.
- You can only add contacts who are using iMessage.
How to set up an account recovery contact
Below is the procedure to recover contact on your iPhone or iPad with iOS 15 or iPadOS 15 or later or on your Mac running macOS Monterey or later.
Steps to set up an account recovery contact on Mac
Step 1: Click on the Apple Logo in the left top corner.
Step 2: Select System Settings… from the menu.
Step 3: Navigate to Apple ID [Your Name]. Click on Sign-in & Security on right side.
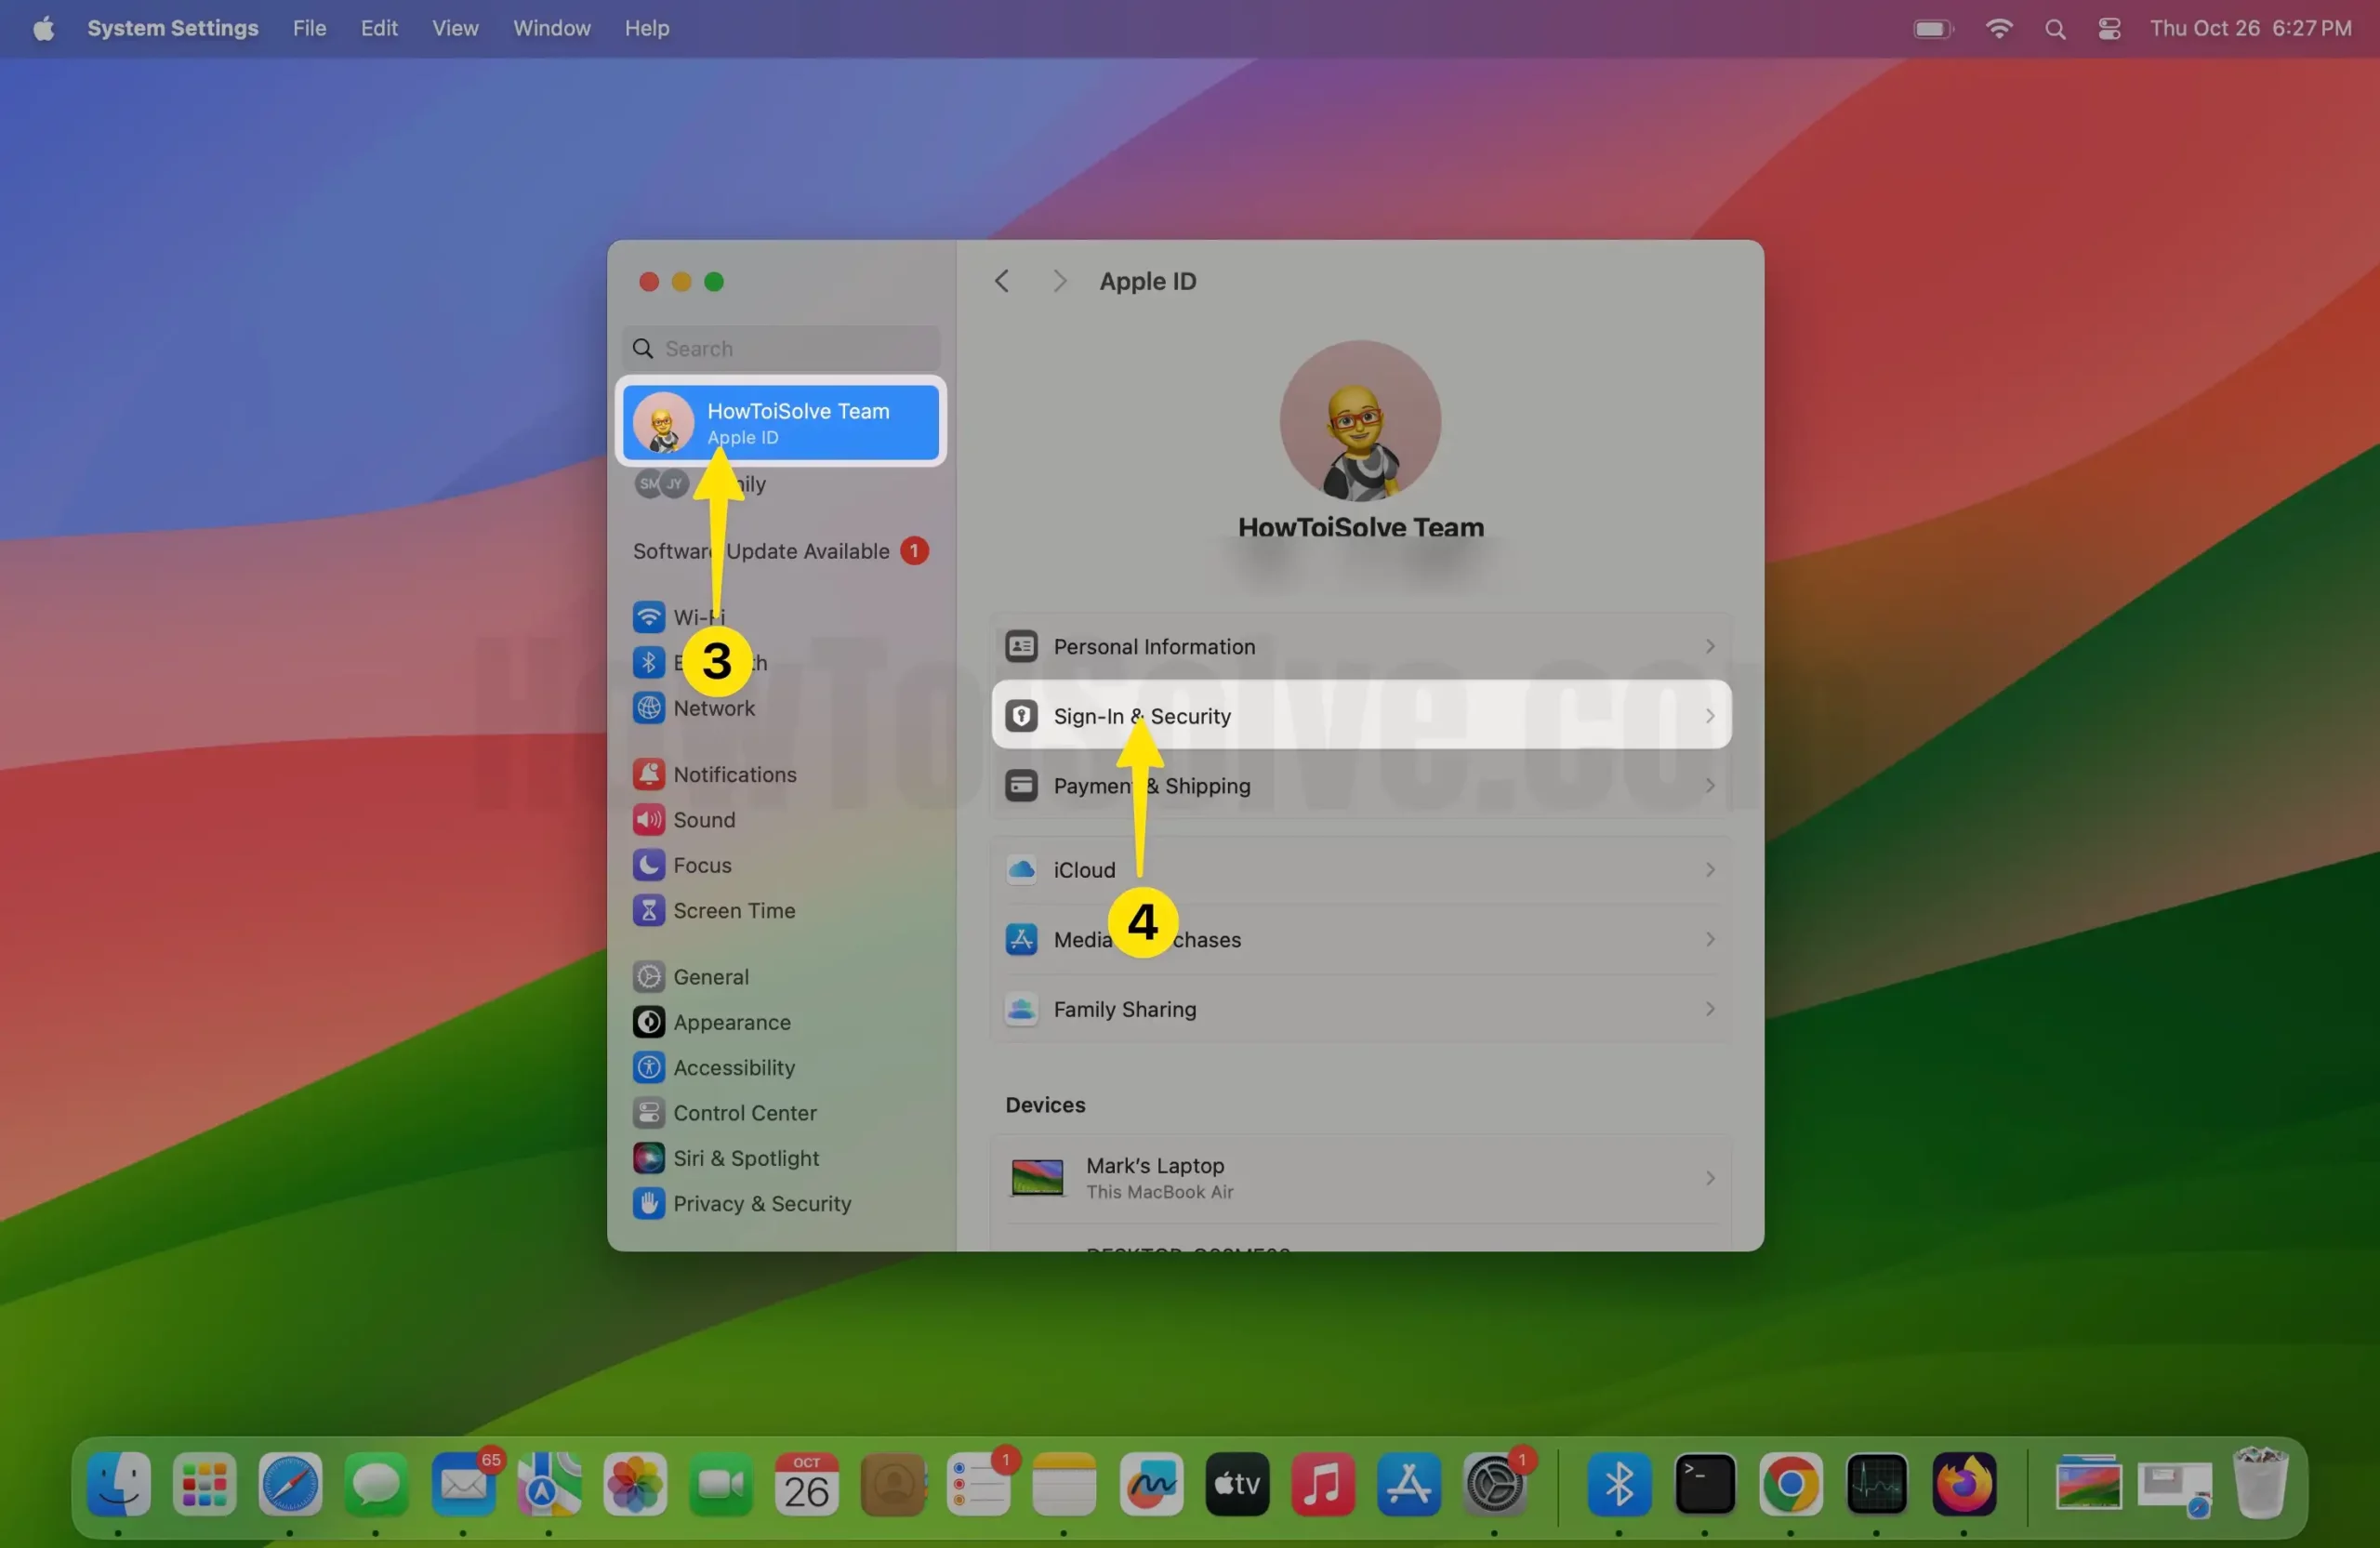
Step 4: Go to Account Recovery and then click on + Icon. As soon as you do so, you’ll recive Account Recovery Contact screen; Click on Add Recovery Contact.


Step 5: In the System Settings pop-up, enter your Mac lock screen password and click Unlock.
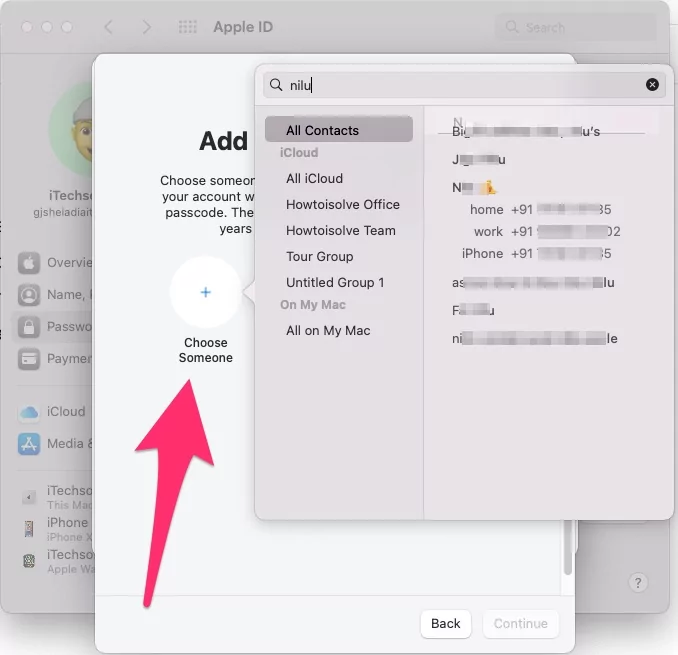
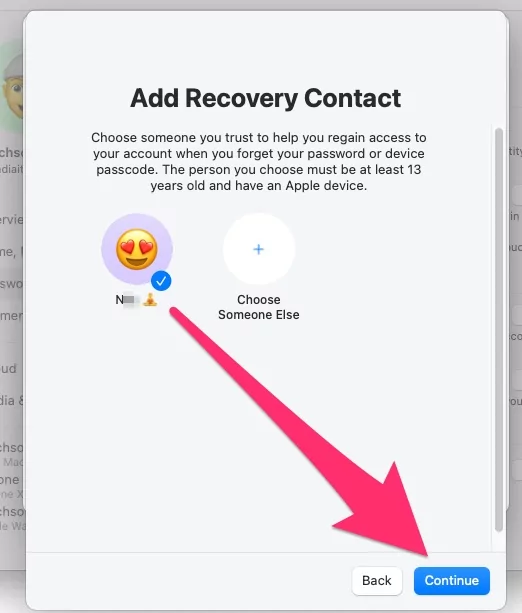
Step 6: Click on + Choose Someone and then select desired contact.

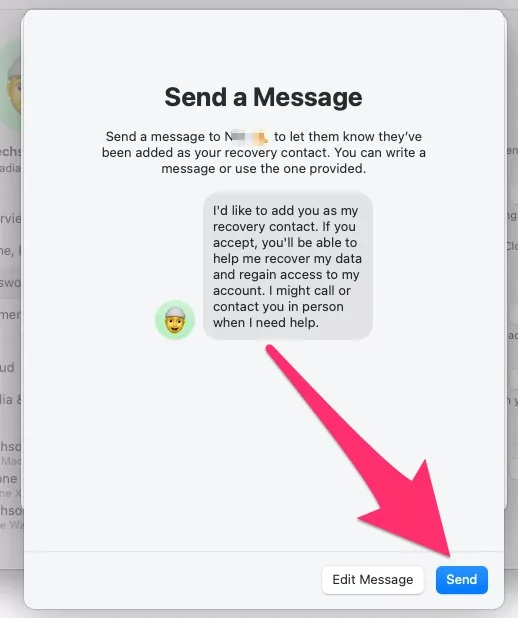
Step 7: After this, select Continue. From the Send a Message window, click on Send > Done.


Open message app > Verify the message. That’s it.

On Old macOS,
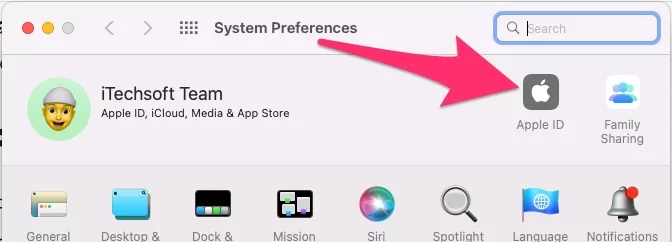
- Click on Apple logo from Top Mac Menu > System Preferences.
- Next, Click on Apple ID.

- Select “Password & Security” > “Edit“.

- Click on Edit next to Account Recovery > Click on Plus (+) icon to Add Recovery Contacts. [Recovery key is Also option for Activate Disabled Apple ID or Locked Apple ID account]. Also Setup Account Recovery key explained here.

- Enter your mac login password to verify and start setup.

- Click on Add new contact.

- Continue to send Text message.

- Then, Click on Send Now,
- Click on Done to save.

- That’s it.


Steps to set up an account recovery contact on iPhone
Note: You can only add contacts who are using iMessage.
Step 1: Head to the Settings App on your iPhone. Tap on Apple ID [Your Name].
Step 2: Hit on Sign-In & Security > Account Recovery.

Step 3: Choose Add Recovery Contact > Add Recovery Contact and authenticate with your Face ID or Touch ID or by entering a passcode. In this step, we are using a passcode.

Step 4: From Face Not recognized pop-up, tap on Enter Passcode. Then, enter your iPhone lock screen passcode.
Step 5: Within the To field, tap on + Icon. Search and select the contact you want to add. Do the same if you want to add multiple messages.
Step 6: Tap on Add in the top right corner. If you select the family member, they will automatically be registered in recovery contact. If you choose a contact, you’ll receive a Send a Message screen; from there, tap on Send.
Step 7: At last, hit on Done.

Verify on your friend’s iPhone,
Your contact will receive a message titled “Account Recovery Contact”. Please accept and help to recover data, and regain access to your friend’s account. You can contact us again whenever you need further assistance.
Launch the message app > Verify the message. That’s it.

Tips: Also Create an Account Recovery Key to Recover your Apple ID account.
Furthermore, whatever contact you’re adding as a Recovery Contact needs to grant permission for the same so that you can use the contact as your recovery contact. Stay tuned to the article; we’ll update it with detailed steps.
More Help!
If you have an issue recovering your account using Recovery Contact, get free help from Apple support near you or Book an Appointment at Apple Genius Bar.