
Shit happens; where you might accidentally delete data stored (even from Trash) on your Mac computer. Or you might have upgraded yourself to latest Mac computer. Do not worry if you have set up a Time Machine. Since it allows you to restore the data, and best part is you can also retrieve back your Mac Settings.
But unfortunately, some of the users aren’t familiar with the process to do so. If you are one such, read our article on how to restore the backup on a Mac computer.
Restore Mac files from Time Machine, Old Mac or Windows
Most of the users preferred Time Machine to restore. Since it offers to restore the data from day one or selected files too. Moreover, you restore the data from old Mac to new Mac using the Migration Assistant.
Restore Backup Using Migration Assistant
- Transfer data from an old Mac to a new Mac or Windows PC.
- Transfer data from a Time Machine Backup or Disk.
Best of all, there is no need to move your documents manually, user accounts, apps, and settings from an old to a new Mac. Since the Migration Assistant is here to help.
We show you how to prepare a migration assistant and then how to use it. The aspect of Mac will make a copy of the content you are willing to transfer from an old Mac to a new one. Keep a note of the administrator password of your old Mac computer. It might be the same password you use to login into a Mac.
Next, ensure both Mac computers are connected to the power and nearer to each other. And also, make sure both devices are connected to the same Wi-Fi network. Then, once you are done with it, follow the steps below.
1→ First, Turn on your new Mac. Select Apple Logo.
2→ Choose System Settings… > General. Click on Transfer And Reset.

3→ From the right side, click Open Migration Assistant Button.

4→ Click on Continue in Data & Privacy Window.

5→ Up next, in the Migration Assistant window, you will be asked how you want to transfer your data; click on box next to From Mac Time Machine Backup Or Startup Disk. Choose Continue.

6→ Now on your old Mac, go to Finder.
7→ Select Applications from left sidebar.
8→ Double-click on Utilities Folder. Furthermore, double-click Migration Assistant. Once you do so, you will not be allowed to access an application except Migration Assistant. Select Continue button when you are ready.
9→ In the following prompt, enter Administrator Password to begin the process. Click OK.
10→ Migration Assistant will ask how you want to transfer your information; select To Another Mac and click Continue.
11→ On your new Mac, click on the Icon with name when asked where you want transfer information from. Choose Continue.
12→ A Six Digit Code will appear on both peripherals. Confirm that they match. And then click Continue from right bottom of the screen on old Mac.
13→ Migration assistant will take a while to transfer all of your data.
14→ On your new Mac, this information will appear and select by default. Click on Continue to move further.
15→ In the next screen, you will be asked to create a new administrator password; click Set Password Button. And then set up a password. Then choose Set Password.
16→ Doing so will appear Green Check Signal next to the user name. Click Continue. A transfer will begin.
17→ The screen will dim up on the new Mac, and the loading bar or Apple logo will appear.
18→ Once the transfer finishes, your new Mac computer will automatically restart. If not, click on Restart Now Button.
19→ Let the process finish, and then you can click on Done.
20→ Similarly, on an old Mac, click Done. No changes will be implied on the old Mac; it will remain as it was. Now you can access the new Mac by entering the password you have set up during the process. That’s It!
Restore Data Using Recovery Mode
- Restore Data in recovery Mode if Disk or System is damaged.
First, reinstall the macOS on Mac. And in case you are restoring the system since there is an issue with startup, replace or repair the disk. Then, it will boot the Mac computer to Recovery Mode. However, the process differs for Apple Silicone Chip and Intel Chip Mac.
Note: Before we begin the process, keep note the Time Machine needs to be connected to your device and enabled. Moreover, while ongoing with the process, you won’t be allowed to browse the computer. So please keep the copy or share it using AirDrop, then follow steps mentioned below.
For Apple Silicone Chip:
- Select the Apple Logo. Click on Shut Down from the drop-down.
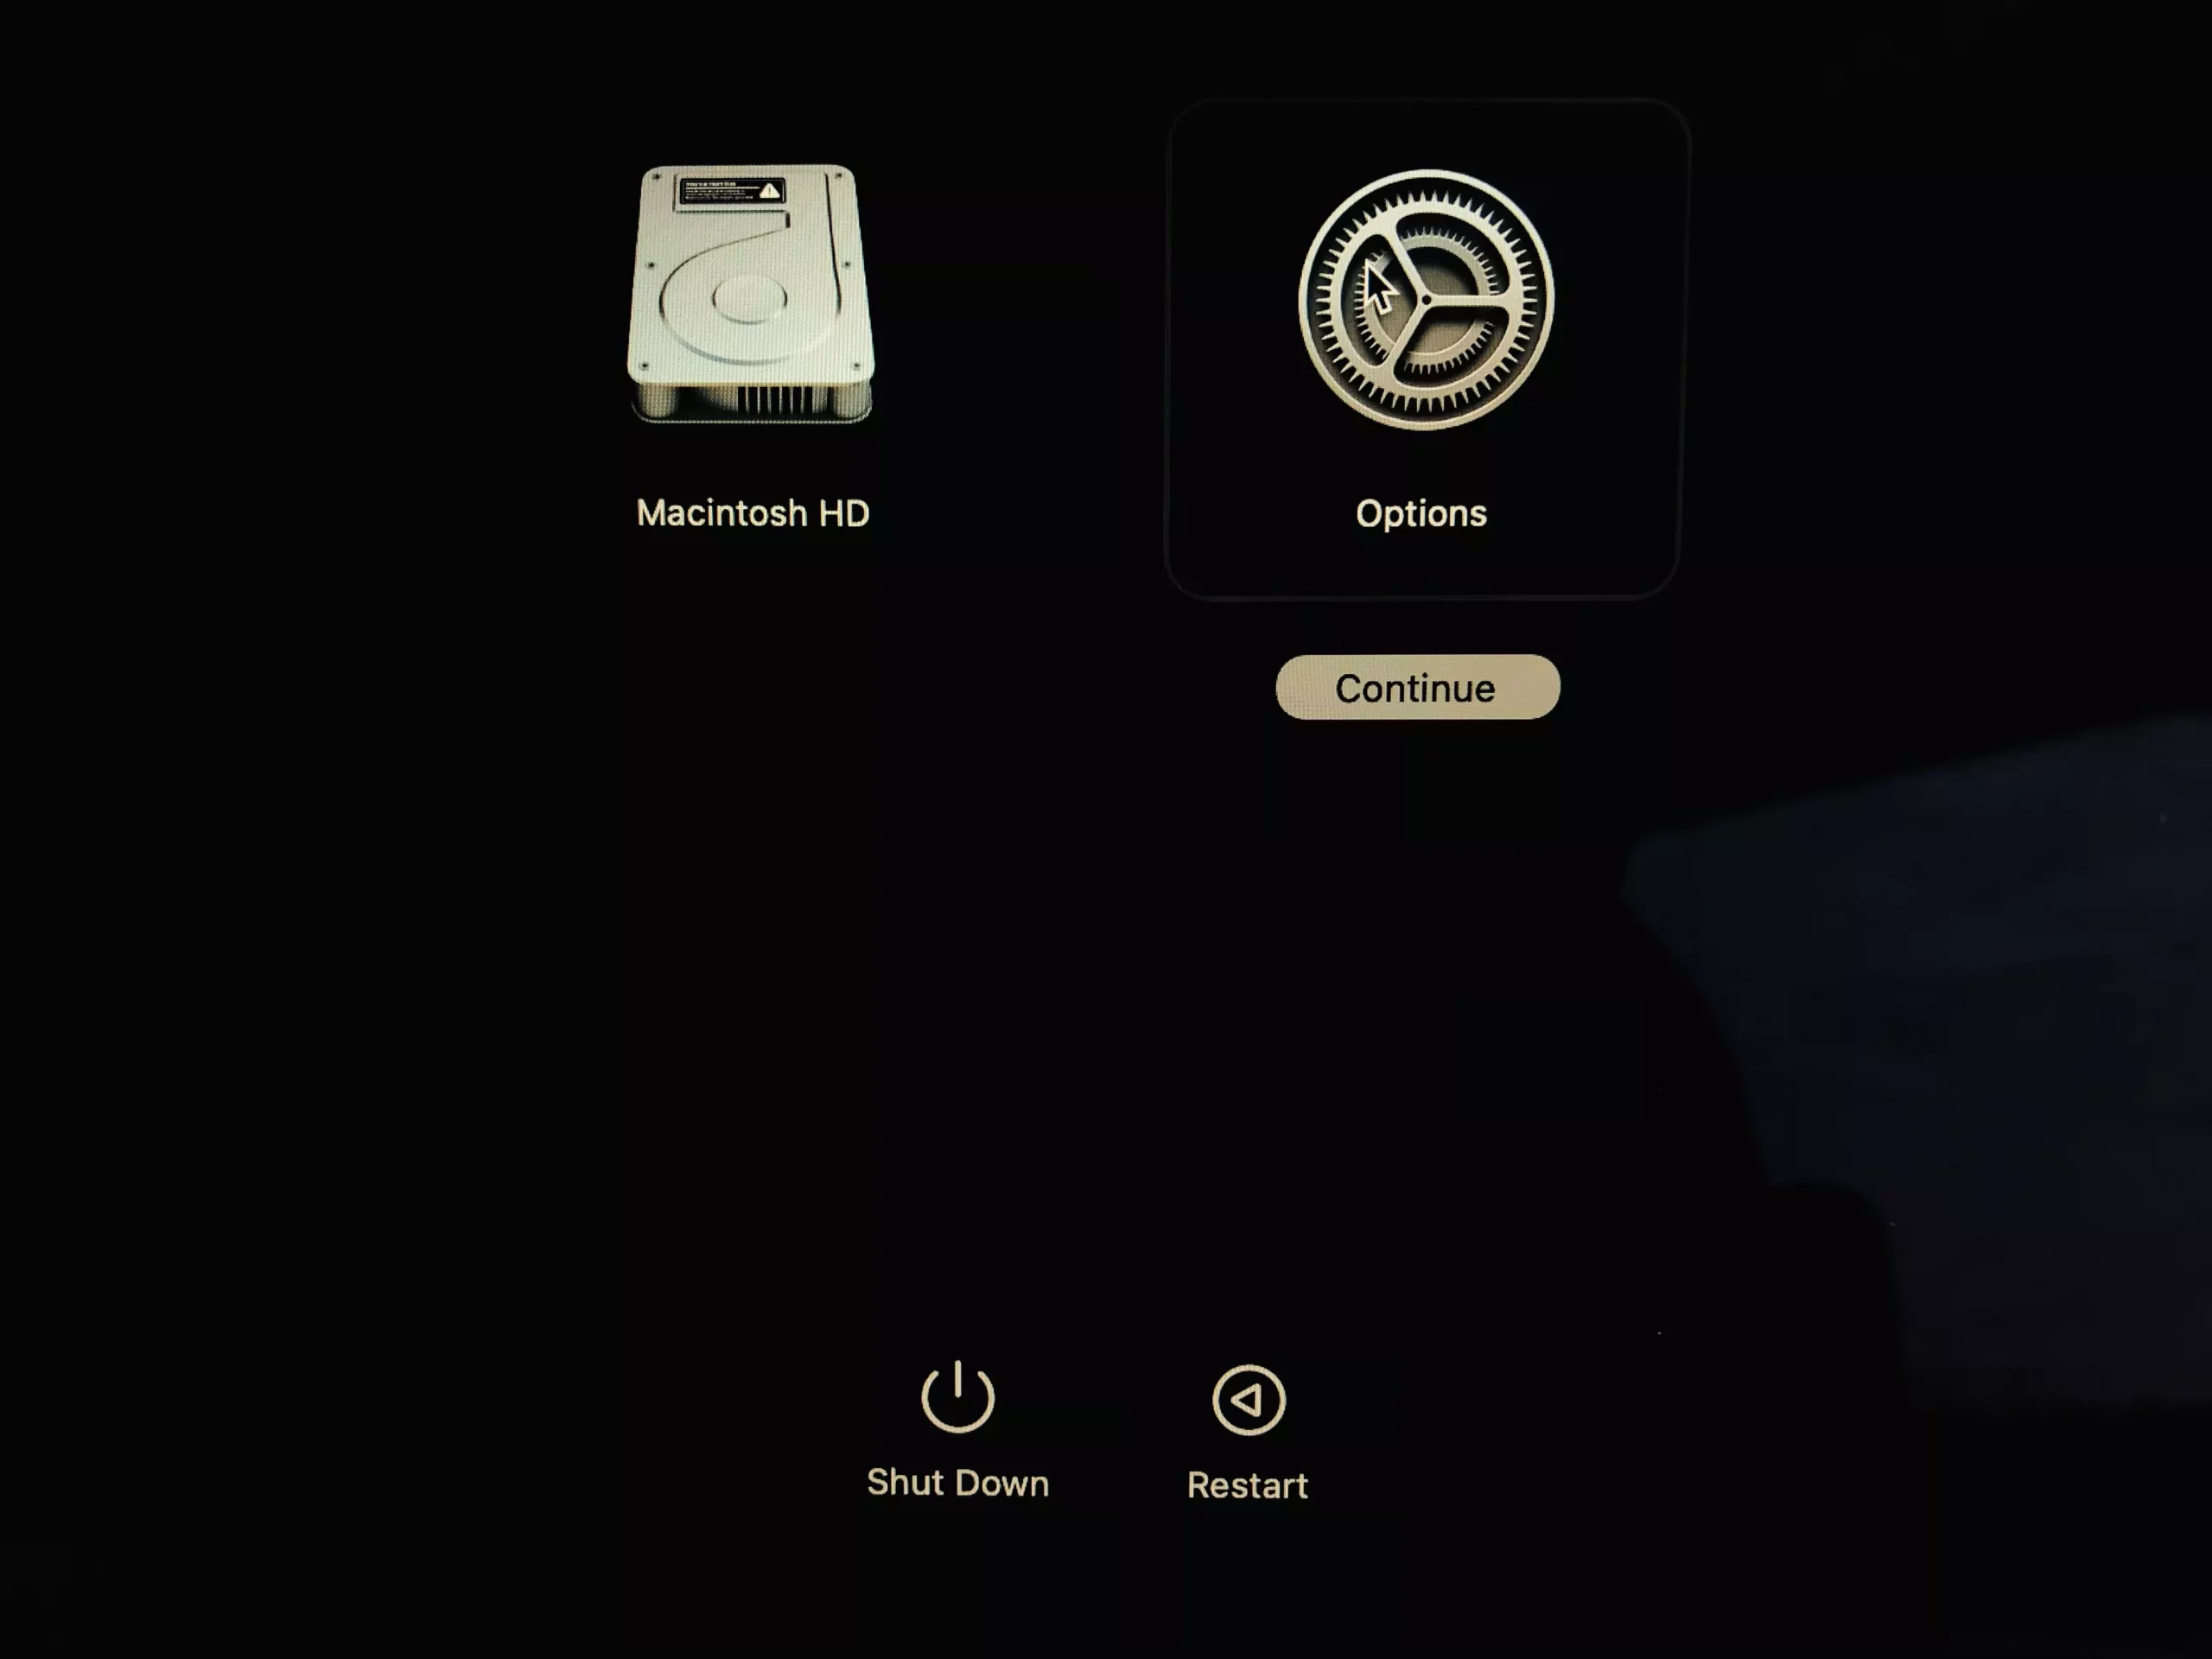
- Long press the Power Button and let out when the screen prompts Loading Startup Options.

3→ Choose Options.
4→ And accordingly, the password.

5→ Select the date and time from the next screen and follow the on-screen instructions.

6→ Now, Select the Mac drive to restore the backups from the time machine drive on your Mac. and Unlock it.
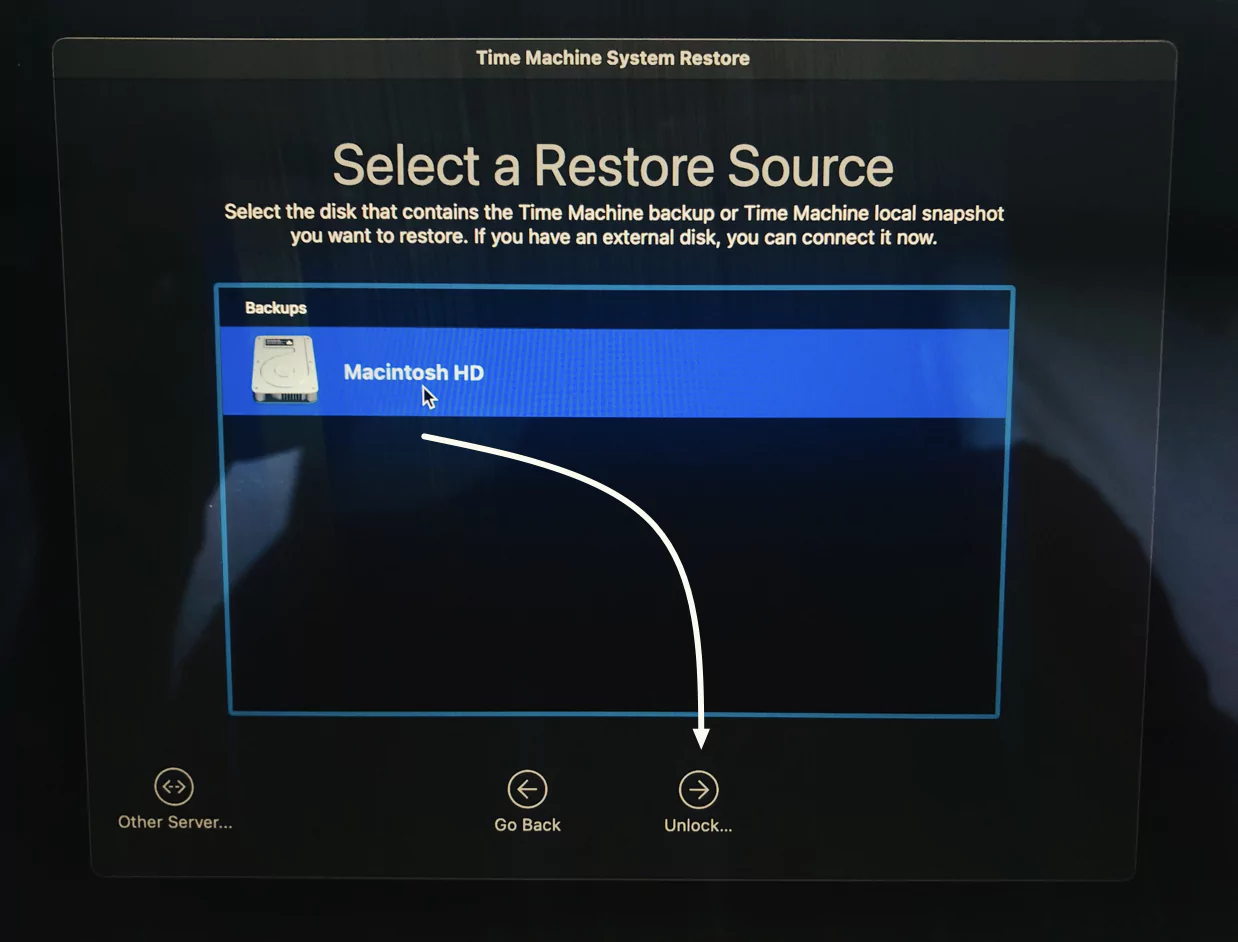
7→ Follow the on-screen setup and restore the data to Mac from the Time machine in Recovery mode.
For Intel Chip
- Click on the Apple Logo from the drop-down, and choose Restart.
- Instantly press the Command + R and let out when the startup screen appears.
- Up next, jot down your admin name and password.
- Click on Restore From Time Machine Backup. Pick up the date and time, and then follow the on-screen instructions.
That’s It!
Get Back Specific Files With Time Machine On Mac
- Restore Specific files using Time Machine from Hard disk.
Keep a note; you can retrieve the back the data you have accidentally deleted.
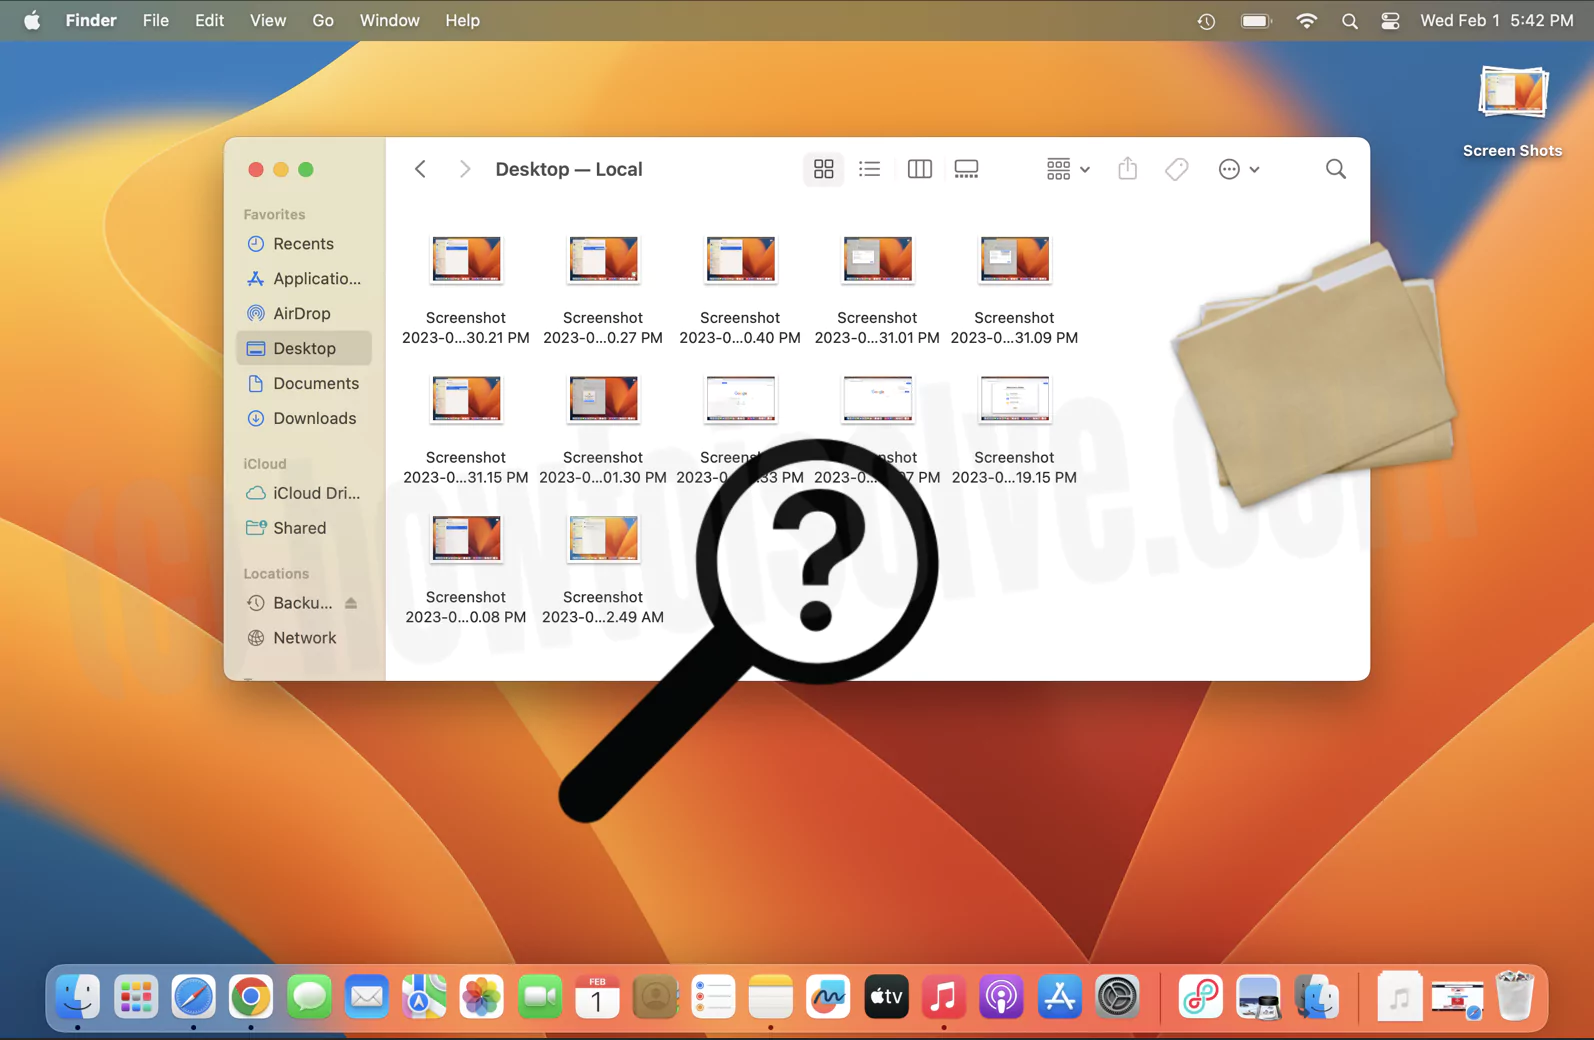
1→ On your Mac computer, access the window of the item you want to restore. For instance, to recover a file, you have accidentally deleted from the documents. If the item is present on the desktop, it is not necessary to open it.
2→ Access the launchpad to open to view and access applications on Mac. From the System Settings…(System Preferences…) open the Time Machine.

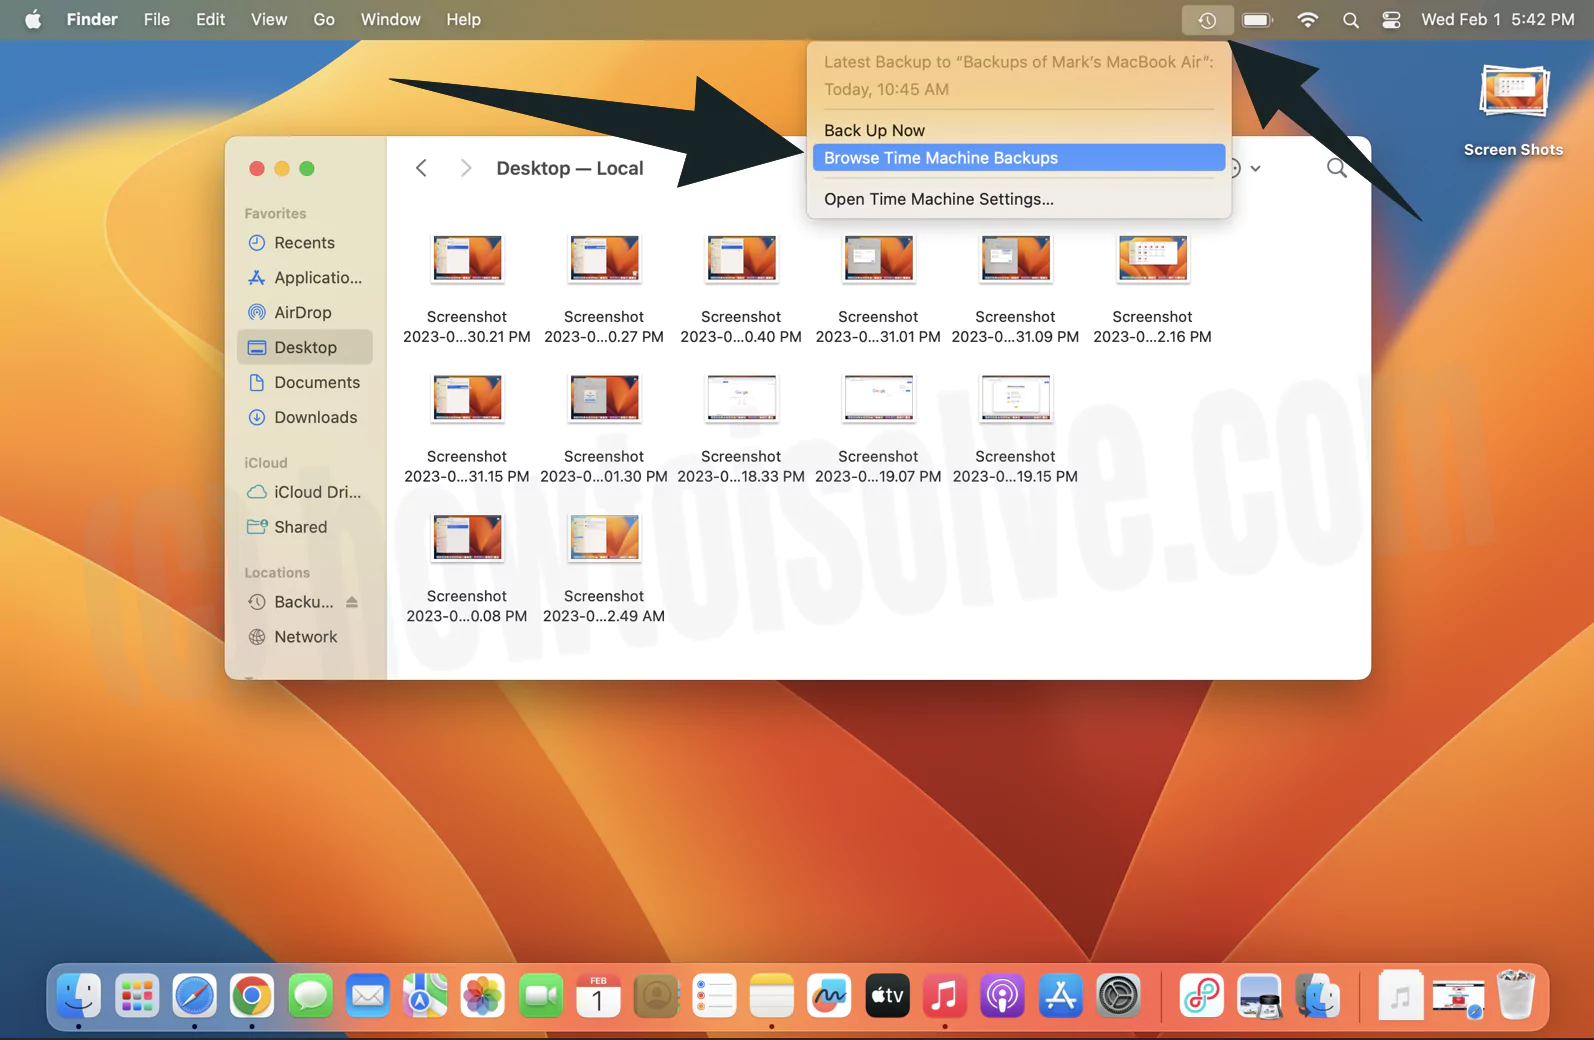
3→ With the help of the arrow, go through the snapshots and backup. If you encounter the semi-dark grey line, the backup is still validating in the hard disk.

4→ Choose multiple items to restore and select Restore.

Once you do so, the restored item will be retrieved back to the original location.

Bottom Line
Now you have got to know three different ways to restore the backup from one Mac to another. So drop in the comment box which method you find the easiest.


