In Short
- Connect your Mac on Ethernet connection.
- Turn off WiFi on Mac, and Turn on Internet sharing on Mac.
- Setup Wi-Fi Options. Set WiFi name and Password for your Mac WiFi Hotspot.
Your Mac can be used as a WiFi hotspot to connect multiple devices through Internet Sharing. You can securely share your internet by turning on and setting a password on your Mac’s WiFi hotspot. This is particularly useful when you have only one available source but multiple devices that need to connect to the internet. To set a password on your Mac’s WiFi hotspot, follow the steps below.
Related: How to set/ change personal hotspot password in iPhone
How to Internet Sharing using set password on Mac WiFi hotspot
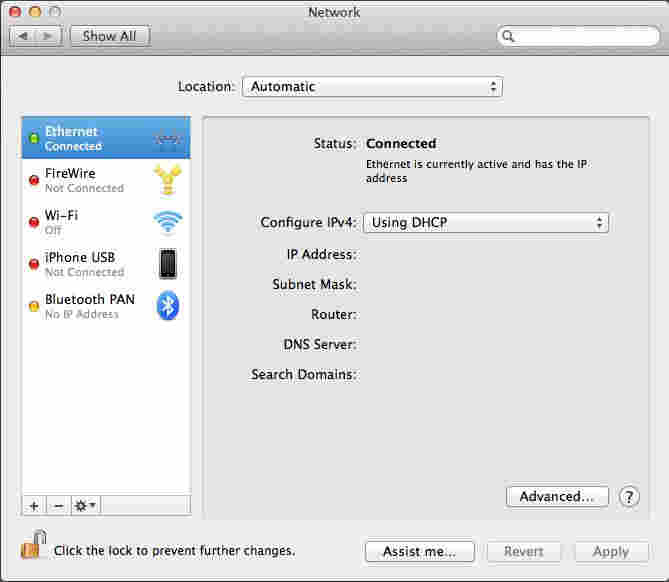
- Connect your Mac with an Ethernet connection. Click on Apple Logo on your Mac Menubar. Next, Select System Settings.
- Tap on Network From the Left Pane > Your Mac Connected With Ethernet at the Right Pane.

- Select General > Tap on Sharing.

- Tap on the Internet Sharing toggle to Enable.

- Click on Configure and Start configurations.

- Enable Internet Sharing: On toggle. Select Ethernet from the Drop-Down in Share your connection From and Tap on Wi-Fi to Enable the Toggle.

- Enter your Mac login details (username & password). Next, Tap on Allow.

- Set Your WiFi Name and Password > Tap OK. That’s it.

- Enable Wi-Fi. Then, Click on Done.

- Now, On your other device, Launch the Settings App on your iPhone.
- Tap on Wi-Fi.
- Enable Wi-Fi and Tap on your Mac Hotspot Name to Connect.

That’s it.
To change Mac as a Wi-Fi Hotspot password: Repeat the same steps (Steps 1 to 7 and Change New Password) That’s it.
- Tap on Wi-Fi Options.

- Enter your New Password to Change and Tap OK.

Useful: Reset forgotten mac password without disk or Boot Drive [How to].
Here, you should follow the above step for set password on Mac WiFi hotspot. Have you any another ways to get this? Then please share your alternative way to us in below comment.


