
Apple Music and iTunes require admin authorization to play explicit songs or any other music once you download the application. This authorization tells MacBook that you are willing to agree to all the application’s terms and conditions and allow it to play all the songs.
But if your children or other relatives frequently use your Mac or Exceed the limit of Maximum devices signed up to 5, then de-authorizing the computer is the best way to prevent any problems. This great feature prevents the younger audience from getting exposed to cuss words and other explicit music on your MacBook. Read the methods listed in this post to learn how to authorize and de-authorize your MacBook.
How to authorize your MacBook to play songs from iTunes and Apple Music?
For personal MacBooks that people use at home for watching videos, movies, listening to music, or any other purpose, authorizing your MacBook to play music from iTunes and Apple Music is the ideal decision. You can authorize your computer by mimicking the method described below.
Step. 1→ First, launch Apple Music or iTunes on your MacBook.
Step. 2→ Click on the “Account” menu from the options available at the top panel of the app.
Step. 3→ In the drop-down context menu that appears on the screen, select the “Authorizations” action.
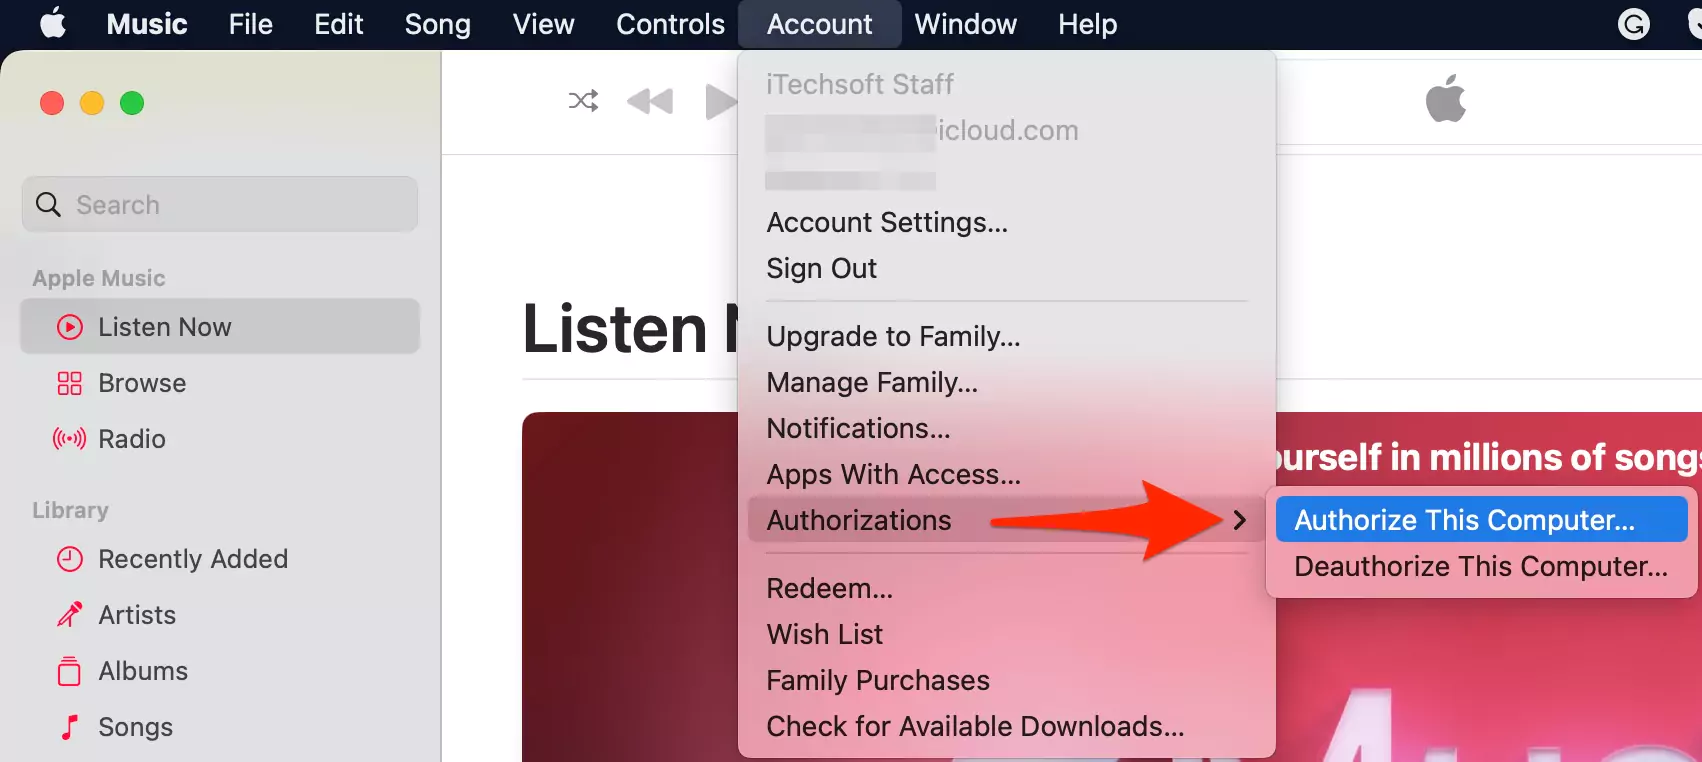
Step. 4→ Then, tap on the “Authorise this Computer…” action.
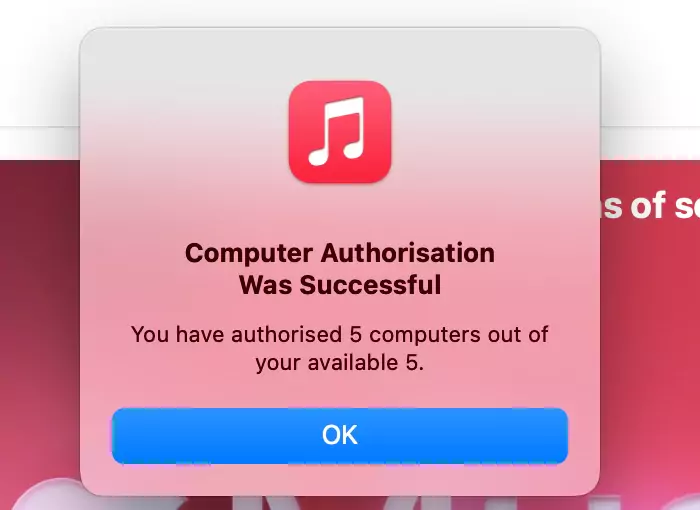
Step. 5→ Finally, fill in your Apple ID password in the respective space and hit Enter.

The above-described process will authorize your MacBook to play songs from iTunes and the Apple Music app. Suppose your Apple account has multiple devices associated with it. In that case, you might need to remove some of them as iTunes/Apple Music only supports five computer devices and ten total devices, including iPhone and iPad. You can check how many devices are associated with your Apple account by going to the “Account Information” tab.
If you are failing to authorize your Mac for Apple Music then De-Authorise Apple Music from Another Mac using the Steps given in this tutorial. or Check Apple System Status online. or Try after Force quit the apple music app and Restart your Mac. also you can try in Safe mode.
The authorization and de-authorization feature is simple to use and has a vast range of applications. Hence, if only you use your computer most of the time, authorize the Mac to play songs from iTunes and Apple Music app. But if you have decided to de-authorize your MacBook from Apple Music or the iTunes app, then follow the last method explained in this article to do the needful.
Mac sure your Apple ID account is signed in, if not, To Join Apple Music on Mac,
Step 1→ Go to the Account > Join Apple music.

Step 2→ If You have an Active Apple Music Subscription account, then Use it to Enter your Apple ID and Password and Sign in.

That’s it.
How To De-authorize Apple Music on Your Mac & Sign out
If you have decided to de-authorize your MacBook due to any of the reasons listed in this post or any other reason, then this section will help you do so. This process is how to de-authorize your computer running on macOS Ventura.
Step. 1→ Launch the Apple Music app or iTunes on your Mac.
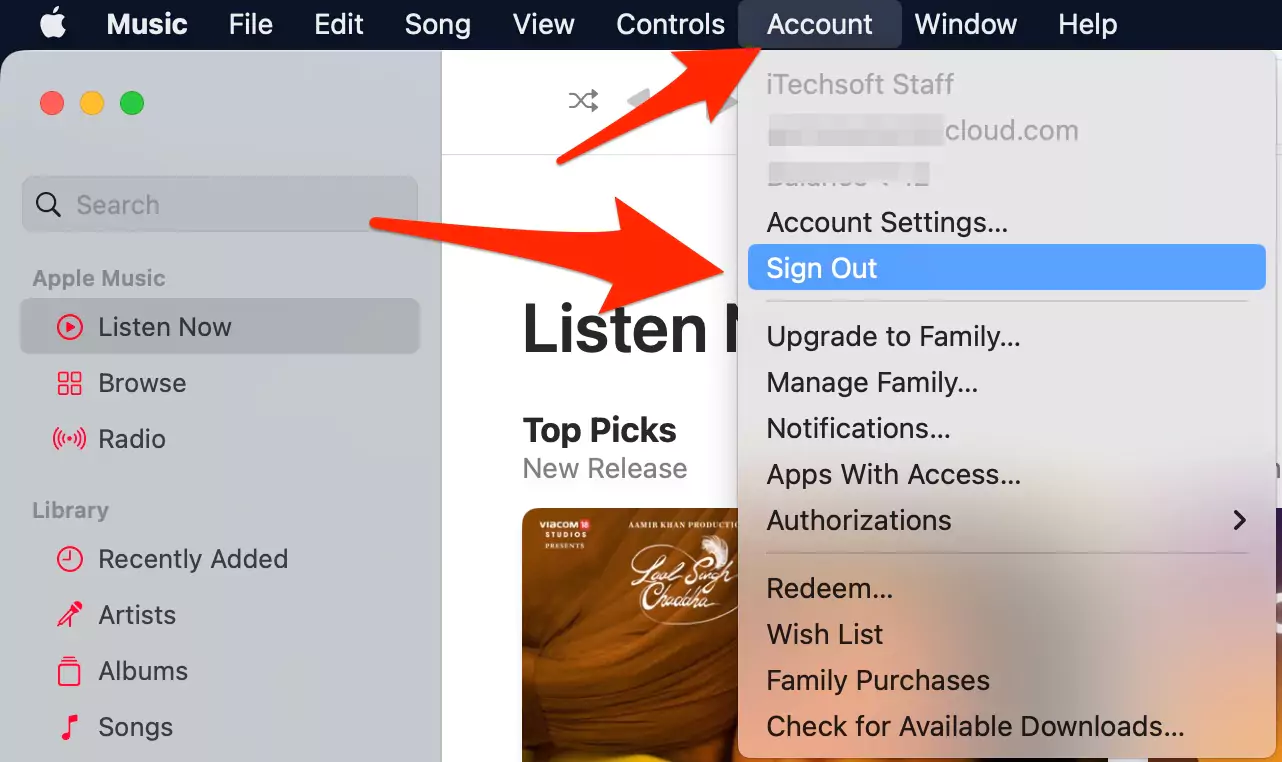
Step. 2→ Then, tap on the “Account” heading to open the account settings.
Step. 3→ Move your cursor over the “Authorisations” option in the drop-menu panel.
Step. 4→ Out of the two options, select the “De-authorise This Computer” action in the right tab.

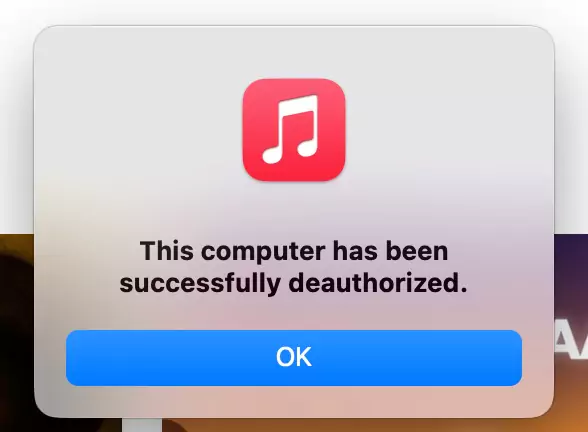
Step. 5→ At last, enter your Apple ID and password to confirm the de-authorization of your Mac.

Wait for a few seconds, you will get a confirmation for Succesful Deauthorization.
To Sign out, Apple Music, Click on Account From the apple music app menu > Sign out. That’s it.
Enter your Apple Music Subscription details [Valid Apple ID and Password] to Successfully sign out.
This method will de-authorize your MacBook and prevent iTunes and Apple Music from playing certain songs on your device Because of Many reasons like the Maximum Device limit [5 Devices on a single account].
FAQs→
How to authorize a MacBook for Apple music?
→ If you want to authorize your MacBook to play songs and podcasts from the Apple Music app, you should refer to the first method described in this article. Launch the Apple Music app and follow the steps given in this section.


