
Setting up Touch ID on your MacBook provides a convenient and secure way to unlock your device, make purchases, and access sensitive information with just a fingerprint. In this guide, we’ll walk you through the simple steps to enable Touch ID, enhancing both security and ease of use on your MacBook.
Set up Touch ID on MacBook Pro
To use Touch ID on a MacBook, add at least one fingerprint in System Preferences. Touch IDs are stored locally and encrypted. You can have up to three for a single account and five across all accounts. If needed, delete extra fingerprints to keep only one.
How to Add Fingerprints on a MacBook
MacOS Ventura
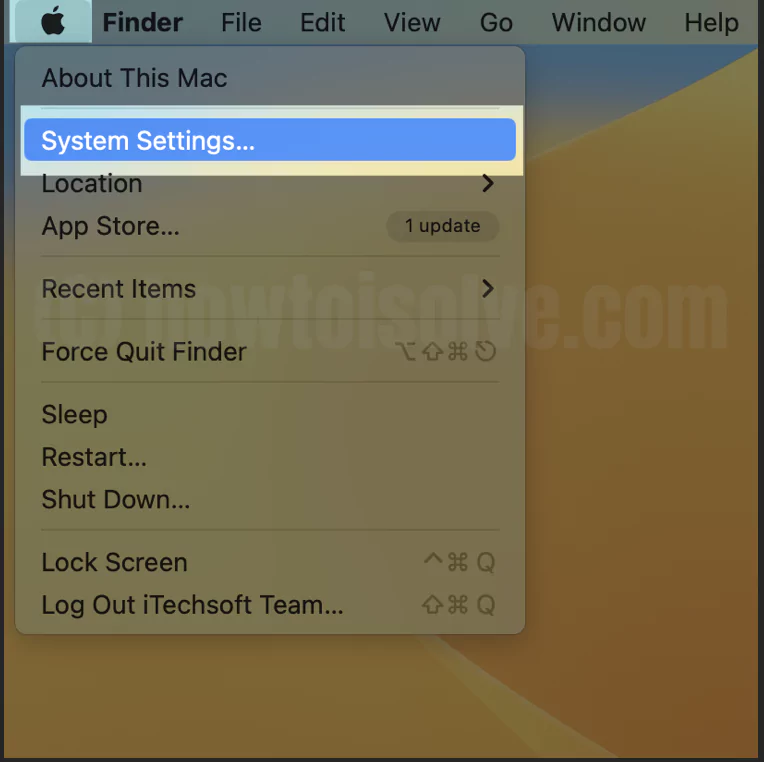
1→ Go to the Apple Logo from the top menu > System Settings.
2→ Select Touch ID & Password > Add Fingerprint.

Enter your Mac login password

3→ Place your Finger on the Touch ID Button (At top right corner of the Keyboard – Macbook or Apple Magic Keyboard). Touch ID setup is Ready.


4→ That’s it.

MacOS Monterey & Earlier
1: Go to the Apple Logo Menu > System Preference on Macbook Pro.
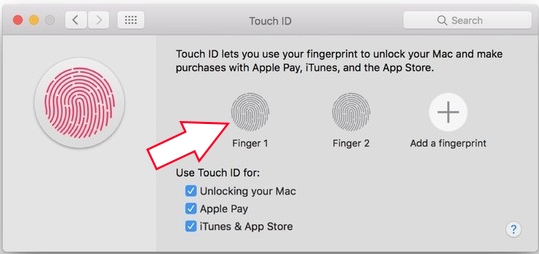
2: From the System Preference, Find Touch ID.
3: To Add New, Click on Add a fingerprints.
4: Enter your User Password, Then Scan your Fingerprints using Touch ID button from a Macbook, Just like Touch ID Setup on iPhone/ iPad. Rest your Finger until the scan is complete.

Note: We can rename fingerprints on saved individually by clicking on Name near to bottom each. Type desired name and Hit the return key.
How to Delete Fingerprints on MacBook
On macOS Venture
1→ Go to the Apple Logo from the top menu > System Settings.
2→ Select Touch ID & Password > Hover the Cursor on Touch ID to Remove it. Click on the Close (X) button to Delete it.

3→ Again, Delete the confirmation popup on the Screen.
On MacOS Monterey & Earlier
1: Go to the Apple menu > System Preference from Drop down on Macbook pro.
2: Select Touch ID on the System Preference pane.

3: Hover one saved fingerprint until you show ‘X’ icon at the top of the saved fingerprints.
4: Enter the password for verification
5: Then, press the Delete button.

Enable/ Disable Touch ID on Macbook Pro: Apple Pay, Unlock login and App store
Yes, Apple gives options for customizing use of Apple ID on Unlock login screen, Sleep to wake up, Apple pay validation, or New app Download from App Store/ Buy new App
On macOS Ventura
1→ Go to the Apple Logo from the top menu > System Settings.
2→ Next, Click on Touch ID & Password Option > See the Option to Enable Touch ID or Disable Touch ID For…

- Use Touch ID to unlock your Mac
- Use Touch D for Apple Pay
- Use Touch ID for purchases in iTunes Store, App Store,and Apple Books
- Use Touch ID for auto-filling passwords
- Use Touch ID for fast user switching
3→ That’s it.
On MacOS Monterey & Earlier
1: Go to the Apple Menu > System Preference.
2: Touch ID, Select Use of Touch ID for,

- Unlocking your Mac
- Apple Pay
- iTunes & App Store
Done, Touch ID Enable for that. For Disable Touch ID, Un-check checkbox from list.
Also Check: Touch Bar in Macbook Pro Explained
Share your Troubleshoot Problem and Experience on Use Touch ID in Macbook Pro 13 inch to 16 inch.


